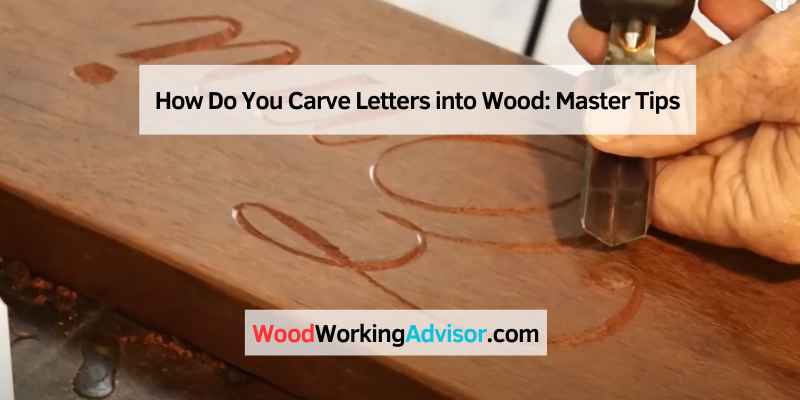
How Do You Carve Letters into Wood: Master Tips
To carve letters into wood, use a wood carving tool to carefully etch the desired letters. Begin by outlining the letters before carving them out to create depth and definition.
This process requires patience and precision to achieve clean and professional-looking results. Wood carving can be a rewarding craft that allows you to personalize and decorate various wooden items such as signs, plaques, and furniture. Whether you are a beginner or an experienced woodworker, mastering the art of carving letters into wood can open up a world of creative possibilities.
In this blog post, we will explore the step-by-step process of carving letters into wood and provide tips for achieving excellent results.
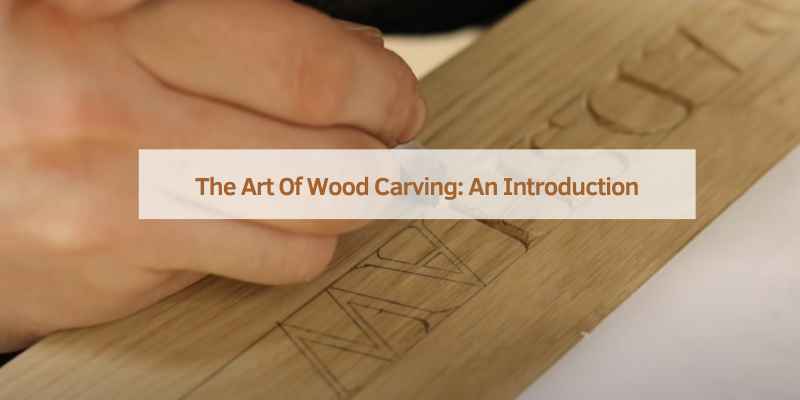
The Art Of Wood Carving: An Introduction
Wood carving is a timeless art form that has been practiced for centuries, with the technique of carving letters into wood holding a special place in the craft. Whether for creating decorative signs, personalizing gifts, or adding a unique touch to furniture, the art of letter carving in wood requires precision, patience, and a deep appreciation for the natural beauty of wood.
The History Of Letter Carving In Wood
Letter carving in wood has a rich history that dates back to ancient civilizations, where inscriptions and decorative motifs were meticulously carved into wooden surfaces. From the ornate lettering on medieval church doors to the intricate woodblock prints of the Renaissance period, the art of carving letters into wood has evolved and adapted to various artistic movements and cultural influences.
Essential Tools For Wood Carving
When it comes to carving letters into wood, having the right tools is essential for achieving precision and detail. Some of the essential tools for wood carving include chisels, gouges, mallets, knives, and sanding blocks. Each tool serves a specific purpose in the carving process, allowing the artist to create smooth curves, crisp lines, and intricate details within the wood.
Preparation Steps Before Carving
Before you start carving letters into wood, there are several essential preparation steps that you need to follow to ensure the best results. From choosing the right type of wood to transferring your design onto the wood, each step plays a crucial role in the success of your wood carving project.
Choosing The Right Wood
When selecting wood for carving letters, it’s important to choose a type that is both durable and easy to work with. Hardwoods like oak, maple, or cherry are excellent choices due to their density and fine grain, which make them ideal for intricate carving. Softwoods like pine or cedar can also be used, especially for beginners, as they are easier to carve and less expensive.
Designing Your Layout
Before you begin carving, carefully plan and design the layout of your letters on the wood. Sketch your design on paper or use design software to create a digital layout. Pay attention to the size, spacing, and style of the letters to ensure a visually appealing composition.
Transferring Your Design Onto Wood
Once you have a finalized design, transfer it onto the wood using transfer paper or by creating a stencil. Ensure that the design is accurately positioned and secured on the wood before you start carving.
Basic Techniques For Letter Carving
Letter carving is an art that requires precision and patience. To carve letters into wood, you need to master the basic techniques, such as selecting the right tools, using proper lettering techniques, and practicing your strokes. With practice and dedication, you can create beautiful letter carvings that stand the test of time.
Carving letters into wood is a skill that requires patience, practice, and precision. Basic techniques for letter carving are essential to create beautiful and professional-looking woodcarvings. In this post, we will discuss two of the most popular techniques for letter carving: the stop cut technique and the relief cut technique.
The Stop Cut Technique
The stop cut technique is a fundamental technique used in letter carving. This technique involves making a shallow cut around the outline of the letter, creating a “stop” for the chisel to work against. This technique helps to define the edges of the letter and prevent the chisel from slipping.
To use this technique, follow these steps:
- Draw the outline of the letter onto the wood.
- Choose a chisel that matches the width of the line you have drawn.
- Make a shallow cut around the outline of the letter, angling the chisel towards the center of the letter.
- Repeat this process until you have cut the outline of the letter to the desired depth.
- Use a wider chisel to carve out the inside of the letter.
The Relief Cut Technique
The relief cut technique is another popular technique used in letter carving. This technique involves making a series of cuts at an angle towards the center of the letter, removing material in layers. This technique is useful for creating three-dimensional letters that stand out from the wood.
To use this technique, follow these steps:
- Draw the outline of the letter onto the wood.
- Choose a chisel that matches the width of the line you have drawn.
- Make a series of angled cuts towards the center of the letter, removing material in layers.
- Repeat this process until you have removed enough material to create the desired depth.
- Use a wider chisel to carve out the inside of the letter.
In conclusion, mastering the basic techniques for letter carving is essential for creating beautiful and professional-looking woodcarvings. The stop cut technique and relief cut technique are two of the most popular techniques used in letter carving. With practice and patience, you can become proficient in using these techniques to create stunning woodcarvings.
Advanced Carving Techniques
When carving letters into wood, mastering advanced techniques can elevate your craftsmanship to the next level. Let’s explore some advanced methods to enhance your wood carving skills.
Carving Curved Letters
Curved letters add a touch of elegance to woodwork. Use a gouge to follow the natural flow of the curves.
Adding Depth And Dimension
Enhance your carved letters by creating depth and dimension. Use a V-gouge to outline the letters and then deepen the cuts for a 3D effect.
Finishing Touches For Your Carved Letters
Enhance your carved letters on wood with the perfect finishing touches. Achieve crisp, clean lines and a professional look by sanding, staining, and sealing the letters for a polished final result. Master the art of carving letters into wood with precision and finesse.
Sanding For A Smooth Finish
To achieve a smooth finish, start by sanding your carved letters gently. Use fine-grit sandpaper in circular motions. Repeat until the surface feels even.
Applying A Finish To Protect The Wood
Protect the wood by applying a finish after sanding. Choose a clear polyurethane or varnish. Brush on a thin coat evenly.
Finishing Touches for Your Carved Letters
After carving your letters into wood, the finishing touches are crucial. Sand the surface for a smooth finish and apply a protective coat to keep the wood looking its best.
Sanding for a smooth finish
– Gently sand the letters with fine-grit sandpaper
– Use circular motions for an even surface
Applying a finish to protect the wood
– Choose a clear polyurethane or varnish
– Brush on a thin, even coat to safeguard the wood
Troubleshooting Common Carving Mistakes
Discover effective solutions for common carving mistakes when carving letters into wood. Learn valuable tips to enhance your wood carving skills effortlessly. Master the art of carving letters with precision and creativity to achieve professional-looking results.
Fixing Uneven Depths
Carving letters into wood can be a tricky process, especially when it comes to achieving even depths. One common mistake is digging too deep in some areas while barely scratching the surface in others. To fix this, start by determining the desired depth for the entire piece and marking it with a pencil. Then, carefully carve away material until each letter reaches the same depth. Use a straight edge or ruler to ensure consistency and take your time to avoid over-carving.
Correcting Smudged Lines
Another common mistake when carving letters into wood is creating smudged or blurry lines. This can happen if the carving tool slips or if the wood grain causes the tool to veer off course. To correct this mistake, start by sanding the area lightly with fine-grit sandpaper to remove any rough spots. Then, use a sharp carving tool to carefully trace over the smudged lines, taking care to stay within the original letter shape. If necessary, use a magnifying glass to ensure accuracy.
Carving letters into wood is a skill that takes practice and patience. By troubleshooting common carving mistakes, such as uneven depths and smudged lines, you can create beautiful, professional-looking pieces that will last for years to come. Remember to take your time, use the right tools, and always keep safety in mind. With a little practice and determination, you can master the art of wood carving and create stunning pieces that will be treasured for generations.
Projects To Practice Your Letter Carving Skills
Letter carving is a beautiful and timeless art form that adds a touch of elegance and personalization to any wooden project. Whether you are a beginner or an experienced woodworker, there are several projects you can undertake to practice and hone your letter carving skills. In this blog post, we will explore two exciting projects that will allow you to showcase your creativity and create stunning pieces of art.
Creating A Personalized Wooden Sign
One of the most popular projects for practicing letter carving is creating a personalized wooden sign. Whether you want to add a welcoming touch to your front porch or create a unique gift for a loved one, a wooden sign with carved letters is the perfect choice.
To get started, follow these simple steps:
- Select a suitable piece of wood for your sign. It can be a smooth plank or a reclaimed piece with character.
- Sketch out your design and choose the font style that best suits your vision. Consider using stencils or printing out a template to guide you.
- Secure the wood firmly and use a sharp chisel or carving knife to carefully carve the letters into the surface. Take your time and pay attention to the details.
- Once the carving is complete, sand the surface to smooth out any rough edges and apply a protective finish to enhance the beauty of the wood.
By following these steps, you can create a personalized wooden sign that showcases your letter carving skills and adds a unique touch to any space.
Decorating A Wooden Box With Carved Letters
Another exciting project to practice your letter carving skills is decorating a wooden box. Whether you want to create a jewelry box, a keepsake box, or a storage box, adding carved letters can elevate the overall design and make it truly special.
Here’s how you can do it:
- Select a wooden box of your choice. It can be a plain box or one with intricate patterns.
- Decide on the message or initials you want to carve onto the box. Keep in mind the size and shape of the box when planning your design.
- Using a sharp carving tool, carefully carve the letters into the wood, ensuring a steady hand and precise movements.
- Once the carving is complete, consider adding additional embellishments such as staining, painting, or varnishing to enhance the overall look of the box.
By decorating a wooden box with carved letters, you not only practice your letter carving skills but also create a functional and beautiful piece that can be cherished for years to come.
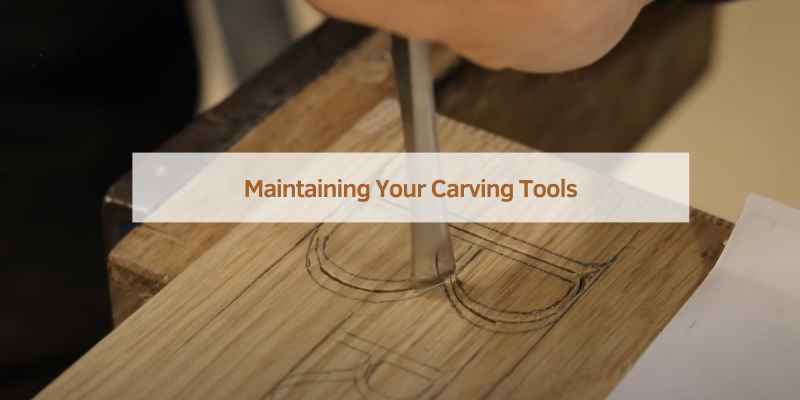
Maintaining Your Carving Tools
Keeping your carving tools in good condition is essential for achieving clean and precise letter carvings in wood. Proper maintenance ensures that your chisels and gouges remain sharp and ready for use whenever inspiration strikes. Here are some key steps to help you maintain your carving tools:
Sharpening Your Chisels And Gouges
To achieve crisp and accurate letter carvings, it is crucial to regularly sharpen your chisels and gouges. Blunt tools can lead to messy and uneven cuts. Follow these steps to keep your tools sharp:
- Securely hold the tool in a vise or clamp to ensure stability during sharpening.
- Using a sharpening stone or honing guide, sharpen the beveled edge of the tool by moving it in a circular motion.
- Apply even pressure and maintain a consistent angle to achieve a sharp edge.
- Check the sharpness of the tool by running your finger lightly across the bevel. It should feel smooth and without any nicks or burrs.
- Finally, wipe the tool clean and apply a thin coat of oil or wax to protect the blade from rust.
Storing Your Tools Properly
Proper storage of your carving tools is essential to prevent damage and maintain their longevity. Consider the following tips for storing your tools:
- Keep your tools in a dedicated tool roll or case to protect them from dust, moisture, and accidental impacts.
- Ensure each tool has its own designated slot or compartment to prevent them from knocking against each other.
- If storing your tools in a drawer or toolbox, use dividers or foam inserts to keep them organized and prevent scratching.
- Regularly inspect your tools for any signs of wear or damage. Replace or repair any tools that show signs of significant wear or deformation.
- When transporting your tools, use protective caps or sheaths to prevent accidents and keep the cutting edges safe.
By following these maintenance practices, you can ensure that your carving tools remain in optimal condition, allowing you to create beautiful and intricate letter carvings in wood for years to come.
Frequently Asked Questions
How Do You Carve Letters Into Wood?
Carving letters into wood involves using specialized tools like chisels or woodcarving knives to carefully remove material and create the desired letter shapes. The process requires precision, patience, and a steady hand. It is important to plan the design, sketch the letters onto the wood, and then gradually carve away the excess wood to reveal the letters.
What Are The Best Tools For Carving Wood Letters?
The best tools for carving wood letters include chisels, gouges, and woodcarving knives. Chisels are versatile and come in various shapes and sizes for different lettering styles. Gouges are curved tools that are ideal for creating rounded or curved letter shapes.
Woodcarving knives are great for intricate details and fine lines. It is important to choose tools that suit your carving style and project requirements.
What Type Of Wood Is Best For Carving Letters?
The best type of wood for carving letters depends on your preferences and project requirements. Hardwoods like oak, walnut, and cherry are popular choices due to their durability and beautiful grain patterns. Softwoods like pine and cedar are easier to carve and are suitable for beginners.
It is important to select a wood that is free from knots and defects to ensure clean and precise letter carving.
How Do You Transfer Letter Patterns Onto Wood For Carving?
To transfer letter patterns onto wood for carving, you can use various methods. One common technique is to print or draw the letters onto paper, then use carbon paper or transfer paper to transfer the design onto the wood surface.
Another option is to create a stencil by cutting out the letters from a template and then tracing the outline onto the wood. Once the pattern is transferred, you can begin carving the letters.
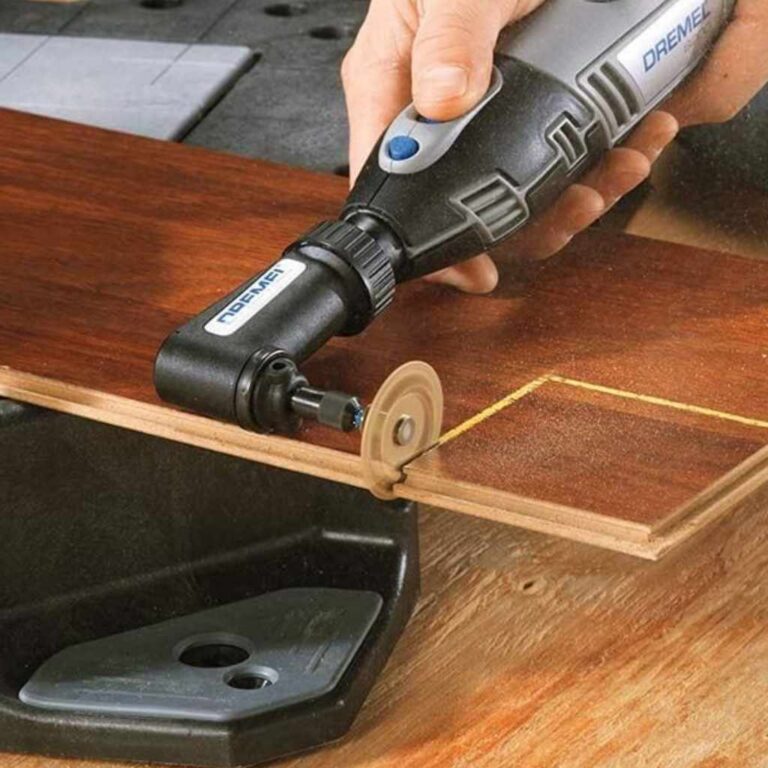
Conclusion
Carving letters into wood is a timeless craft that requires patience and precision. Whether using hand tools or power tools, the process involves careful planning and execution. By following the techniques and tips discussed in this guide, you can create beautifully carved wooden letters to enhance your woodworking projects.