How to Attach Aluminum to Wood Without Corrosion or Cracking
The reliable way to attach aluminum to wood is a 300-series stainless steel screw through an oversized hole in the aluminum, with a barrier between the metal and any pressure-treated lumber. The fastener, the treated wood, and the metal’s thermal movement cause nearly every failure. This guide covers all three, with real expansion numbers for runs from 2 to 12 feet.
Disclosure: This post may contain affiliate links. As an Amazon Associate we earn from qualifying purchases.
What Is the Best Way to Attach Aluminum to Wood?
Best 316 Stainless Screw Pick
 |
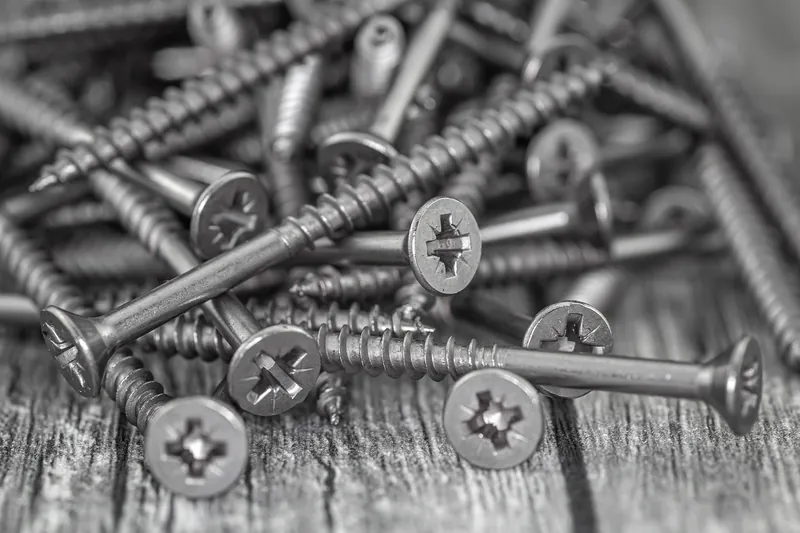
#10-12 x 1 in. 316 Stainless Steel Phillips Pan Head Self-Tapping Screws (50-count), $18.65 A full-thread, coarse-pitch pan head screw in marine-grade 316 stainless, sized to clamp thin aluminum trim or angle to a wood frame.
|
As an Amazon Associate we earn from qualifying purchases.
Pick the method by the job. Screws handle anything that carries load or sees weather. Adhesive suits small, lightly loaded parts where no fastener may show. Both need to allow for aluminum’s movement, which wood does not share. For the basics that apply to every metal, such as pilot holes and bolt choices, see our general guide to attaching metal to wood. This page covers what changes for aluminum.
| Job | Best method | Watch out for |
|---|---|---|
| Aluminum trim or fascia on a wood frame | Stainless screws through oversized holes | Over-tightening dimples the trim and pins it in place |
| Aluminum angle or bracket on a post | Stainless screws, one per hole, bracket loose enough to move slightly | Treated posts: add a barrier under the bracket |
| Aluminum sheet or panel on plywood | Flexible adhesive across the face plus screws at the edges in oversized holes | Rigid epoxy cracking as the sheet expands |
| Small decorative part, indoors | 2-part epoxy or VHB tape on sealed wood | Weak bond on raw, dusty wood |
| Aluminum grill or frame into timber joints | Stainless screws through brackets into pre-drilled wood | Splitting near the end of the timber |
Does Aluminum Corrode Against Treated Lumber and Steel Screws?
Yes, and the lumber matters more than most guides admit. Pressure-treated wood made with copper preservatives (ACQ and copper azole, the common treatments since CCA was phased out of residential use) corrodes bare aluminum that touches it when the wood is wet. Building-trade guidance on this is consistent: keep aluminum out of direct contact with ACQ-treated lumber. The same preservatives also attack plain steel fasteners, which is why the fastener finish table in our general guide to attaching metal to wood is worth a look if you are building on treated wood.
- Barrier first: a membrane made for deck framing, butyl flashing tape, or a layer of polyethylene sheet between the aluminum and the wood stops the contact.
- Stainless fasteners: a small stainless screw in a much larger piece of aluminum is a mild galvanic pairing. A large stainless part against small aluminum is the reverse, and it is a poor pairing.
- Avoid plain steel and plain zinc-plated screws: they rust, streak, and set up the corrosion you are trying to avoid.
- Or skip treated wood: untreated cedar, redwood, or white oak need no barrier, though they still need stainless screws.
A common myth: a nylon or neoprene washer under the screw head does not isolate the joint. The screw shank still touches the aluminum at the hole wall, so the washer only separates the head. Use a barrier at the wood face, and use stainless for the screw.
How Much Does Aluminum Expand Compared With Wood?
Aluminum expands about 23 microns per meter for every degree Celsius, and wood along the grain moves about 3, per Engineering ToolBox’s published coefficients. Across an 80 degree F temperature swing (for example 20 to 100 degrees F, which a south-facing trim piece can easily see), here is how far each piece lengthens:
| Run length | Aluminum grows | Wood along grain grows | Difference your fasteners must absorb |
|---|---|---|---|
| 2 ft | 0.025 in | 0.003 in | 0.021 in |
| 4 ft | 0.049 in | 0.006 in | 0.043 in |
| 8 ft | 0.098 in | 0.013 in | 0.085 in |
| 12 ft | 0.147 in | 0.019 in | 0.128 in |
Those figures are linear temperature expansion only, calculated from the coefficients above. Wood also swells and shrinks with moisture, mostly across the grain, so real joints see more than this table shows. The takeaway is simple: a short clip barely moves, but a 12 ft fascia strip slides about an eighth of an inch against its backing, and a tight screw in that strip either rips out or distorts the aluminum.
How to Screw Aluminum to Wood Without Cracking or Stripping
Fix the aluminum at one point and let the rest of the piece slide away from it. That anchor goes near the middle so growth is split between both ends, which halves the travel at each end.
- Pick the fastener and check the lumber: Use 300-series stainless screws, and confirm whether the wood is ACQ or other copper-treated lumber. If it is, plan a barrier between the aluminum and the wood.
- Lay out the holes: Mark every hole on both pieces and fix one anchor point near the middle of the run.
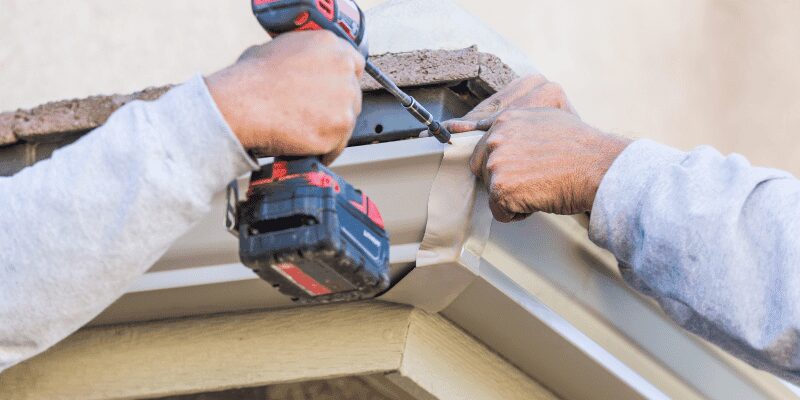
- Drill clearance holes in the aluminum: Drill the anchor hole just larger than the screw shank. Drill every other hole oversized or slotted so the metal can move.
- Drill pilot holes in the wood: Drill a pilot hole for each screw at the wood side, using the screw maker’s recommended size (a #21 bit for a #10 Type A screw).
- Fasten without crushing: Drive each screw until the head just seats, then stop. Do not overtighten, or the screw will pinch the aluminum and stop it sliding.
For the wood-side pilot, the listing for our pick calls for a #21 bit with its #10-12 Type A screws. For other screw sizes, our wood screw drill size chart covers the match. Keep holes at least half an inch from board edges to avoid splitting.
When Glue or Tape Is the Better Choice
Adhesive removes the visible fastener, but it has to survive the movement in the table above. Rigid 2-part epoxy gives the highest initial strength and suits small brackets, but it can crack across a long run. A flexible polyurethane or MS polymer adhesive gives with the metal. Degrease the aluminum and scuff it with fine abrasive first, because mill oil blocks adhesion.
3M VHB acrylic foam tape is a good fit for trim and panels, with one catch that most guides leave out: 3M’s surface-preparation bulletin says porous materials like wood must be sealed first with paint, varnish, or another hard coating, then wiped with a 50:50 isopropyl alcohol and water mix. Raw lumber is not a suitable surface. If the project is the reverse, wood onto an existing metal frame, see how to attach wood to metal without screws.
If a trim gap opens up at the ends after cutting, center the piece and fill the gap with a flexible, paintable caulk instead of rigid filler. Our guide to filling large gaps in wood trim covers gaps over 1/4 inch.
Fixing Problems After Installation
- White or gray powder at a screw: that is aluminum oxide. Replace the fastener with stainless and add a barrier if the wood is treated.
- Buckled or wavy trim: the holes were too tight or the screws too snug. Back the screws off a quarter turn or open the holes.
- Cracked glue line on a long run: the adhesive was too rigid. Re-bond with a flexible adhesive and add edge screws in oversized holes.
- A loose screw: the wood pilot was too big. Move to a longer screw or fill the hole with a glued hardwood dowel and redrill.
Safety: wear eye protection when drilling aluminum, since the chips are sharp. Clamp the piece instead of holding it by hand, because a bit can grab thin aluminum and spin it. Ventilate the area when using solvent degreasers or adhesives.
Frequently Asked Questions About Attaching Aluminum to Wood
What is the best screw to attach aluminum to wood?
A 300-series stainless steel screw, with 316 preferred outdoors or near salt air. Stainless does not rust and stain the aluminum the way plain steel does, and a small stainless screw in a larger aluminum part keeps the galvanic effect mild.
Can you use pressure treated wood with aluminum?
Not in direct contact. Copper-based preservatives such as ACQ and copper azole corrode bare aluminum, so put a barrier membrane or butyl flashing tape between the aluminum and the wood, or use untreated or naturally rot-resistant wood.
Does glue work for aluminum to wood?
Yes on small pieces, if the aluminum is degreased and scuffed first. On long runs use a flexible adhesive such as polyurethane or MS polymer instead of rigid epoxy, because aluminum moves more than wood with temperature.
Can you use 3M VHB tape on raw wood?
3M’s surface-preparation guidance says porous surfaces such as wood must be sealed first, with paint, varnish, or a similar hard coating, then cleaned with a 50:50 isopropyl alcohol and water wipe. Raw, unsealed wood is not a good surface for it.
How big should the screw holes be in aluminum?
Make the clearance hole in the aluminum larger than the screw shank so the strip can slide. A 12 ft run moves about 0.15 in over an 80 degree F swing, so long runs need slots or generous oversized holes, with one fixed anchor near the middle.
Why is there white powder around my aluminum screws?
White or gray powder is aluminum oxide from corrosion, not dirt. It usually means a wrong-metal fastener or contact with treated wood. Replace the fastener with stainless and add a barrier if treated lumber is involved.
Conclusion
Attaching aluminum to wood comes down to three choices: use stainless screws, keep the aluminum off treated lumber with a barrier, and give the metal room to move with oversized holes and one fixed anchor. Get those three right and the joint holds for years outdoors.
Sponsored / affiliate links. As an Amazon Associate I earn from qualifying purchases. I may earn additional commission from eligible campaigns.