How to Bring Out Wood Grain Texture (4 Real Methods Compared)
Wire-brushing raw wood permanently raises the grain, while stains, enhancers, and wax only highlight grain that’s already there — the wrong method on soft pine can flatten the texture instead of revealing it. Skipping a pre-stain conditioner on blotch-prone woods like pine or maple leaves patchy color that hides the pattern. This guide compares four real methods — mechanical raising, stain, grain enhancers, and colored wax — by time, tools, and durability. If a real stain or dye is off the table entirely, see our guide to genuinely stain-free grain methods instead.
Which Wood Species Show Grain Best
Best Card Scraper For Popping Grain
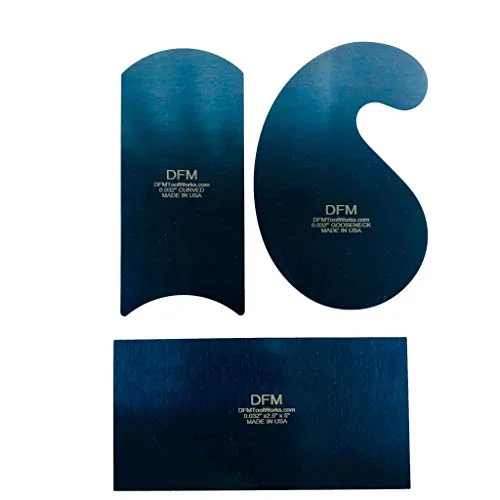 |
DFM Tool Works Card Scraper Set (3-Piece) – $14.10 A burnished card-scraper edge pops figure and chatoyance in curly or quilted maple more than sanding alone — the technique covered below.
|
Not every board rewards this work equally. Wood grain texture comes from the contrast between dense, dark latewood (grown in late summer) and softer, lighter earlywood (grown in spring) — the bigger that contrast, the more dramatic the result of any method below.
- Oak — wide, open pores and strong ring contrast; the easiest wood to texture and the most forgiving of mistakes (see oak’s natural color range).
- Walnut and mahogany — deep, rich grain that responds especially well to oil-based stains and enhancers.
- Ash and hickory — pronounced ring patterns similar to oak, good candidates for wire brushing.
- Maple and cherry — tight, fine grain with a higher blotching risk; always use a pre-stain conditioner before any color method.
- Pine and other soft woods — grain raises dramatically with mechanical methods (wire brush, water) since the soft earlywood scrubs away easily, but blotches badly with stain unless conditioned first.
If you’re starting from a piece with an existing finish rather than raw wood, strip and clean it first — none of the methods below work through an old topcoat.
Compare The 4 Methods
Each method changes the wood differently — some physically carve out the texture, others just deepen the color of grain that’s already visible. Here’s how they stack up before you commit to one.
| Method | Best For | Time Required | Durability |
|---|---|---|---|
| Wire brush / water-raising | Raw softwood, weathered/rustic look | 30–60 min + drying | Permanent — physically removes wood |
| Oil-based stain | Any raw wood, especially open-grain species | 1–2 hrs + overnight dry | Lasts until refinished or heavily sanded |
| Grain enhancer | Subtle highlighting under a clear topcoat | 20–30 min | Lasts as long as the topcoat holds |
| Colored/contrast wax | Already-stained pieces, dramatic two-tone look | 30–45 min | Moderate — wax wears with heavy handling, needs reapplication |
📊 Wire brushing and water-raising are the only methods on this list that permanently change the wood itself — every other method is reversible with enough sanding. Source: comparative technique testing across pneumaticaddict.com, Fine Woodworking, and woodworker community forums, 2026.
Popping Figure And Chatoyance, Not Just Color
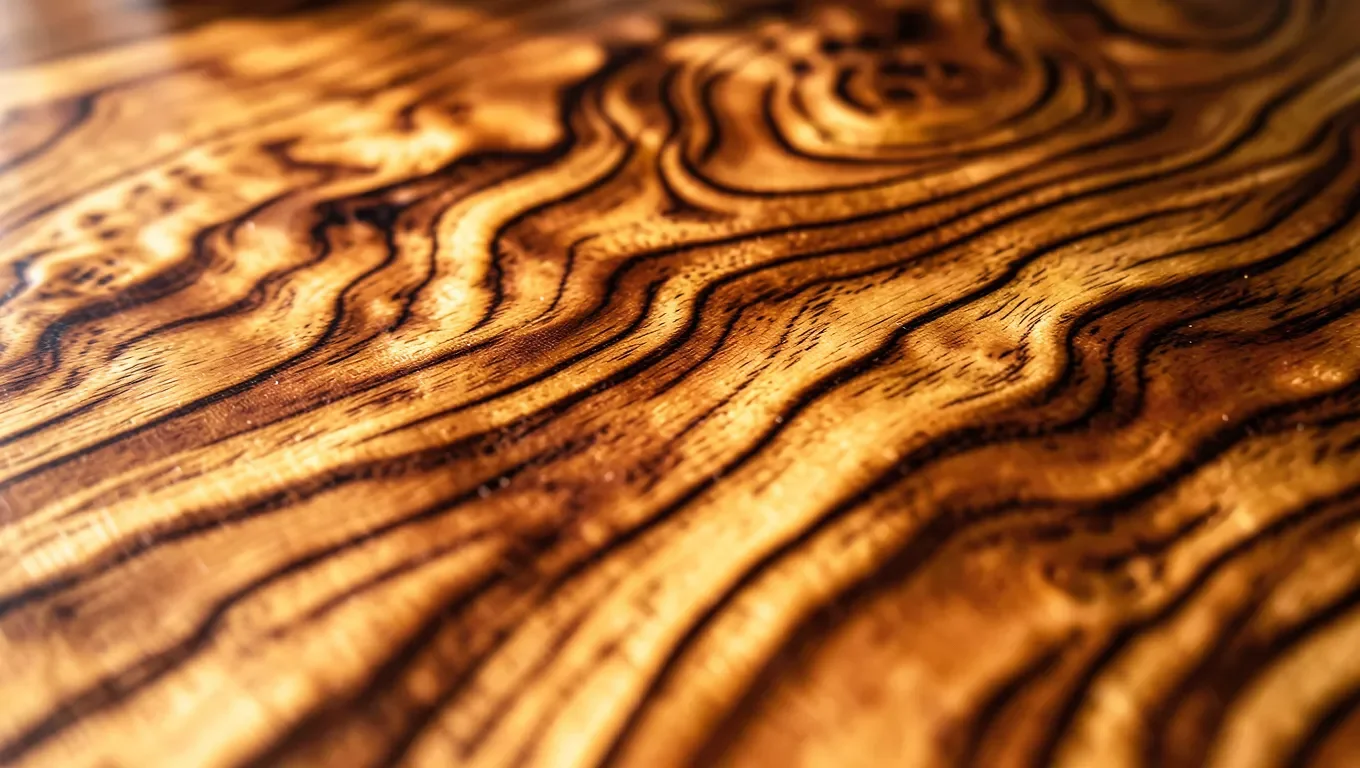
Everything above changes the wood’s color or physical texture. Figure and chatoyance are different — chatoyance is the optical shimmer you see in curly maple, quilted maple, or tiger oak when the wood’s wavy grain reflects light at different angles across the same board, so the pattern seems to shift and glow as you move around it or tilt it under a lamp. No stain creates chatoyance; a finish can only reveal or dull the figure that’s already in the wood’s cell structure.
The Wet Test
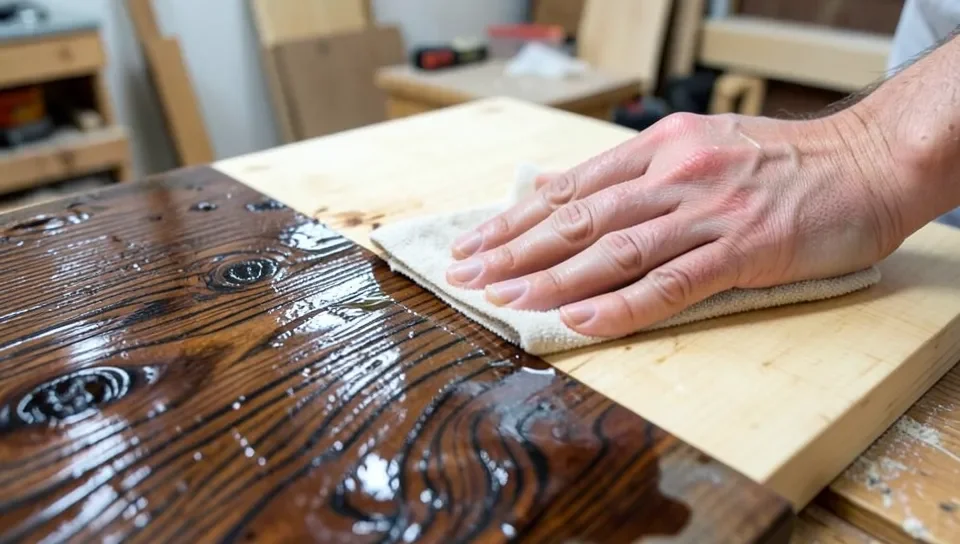
Before applying any finish, wipe a small section with water or mineral spirits and watch what happens. Both temporarily darken the wood and saturate the surface the way a clear topcoat eventually will, so you get a genuine preview of how much the figure will pop once finished — without committing to anything permanent. Mineral spirits evaporates without raising the grain the way water does, so it’s the closer preview if your final finish is oil-based or oil-modified.
Why A Hand Plane Or Card Scraper Beats Sanding On Figured Wood
A sharp hand plane or a burnished card scraper shears the wood fibers cleanly, leaving a burnished, slightly polished surface that reflects light more evenly than a sanded one — that even reflection is what makes chatoyance read clearly. Sandpaper, by contrast, tears and compresses fibers rather than shearing them, and going too fine too early can actually burnish the surface shut, closing the open pores a finish needs to penetrate and muting the exact figure you’re trying to bring out. On curly or quilted maple especially, many experienced finishers scrape or hand-plane first and use sandpaper only for final smoothing at a moderate grit, not as the primary surfacing step.
Sanding Sealer And Wet-Sanding For Figured Woods
A thin first coat of sanding sealer (or a thinned first coat of the finish itself) followed by wet-sanding — sanding with the finish still slightly wet, using the liquid itself as the lubricant — fills the surface evenly without the blotching a straight stain can cause on figured grain. This first coat also seals the wood so the figure shows clean and even before any additional color or topcoats go on, which matters more on curly and quilted grain than on straight-grained boards.
Prepare The Surface First
Every method below starts from the same clean, properly sanded surface. Skipping this step is the single biggest reason results come out patchy.
- Strip any existing finish. If the wood was previously painted or stained, remove it with a scraper and acetone before doing anything else.
- Sand with the grain, starting at 120-grit and working up to 220-grit — see our guide on choosing the right sandpaper grit for more detail. Sanding across the grain leaves scratches that show through every method here.
- Remove all dust with a tack cloth or a shop vacuum with a brush attachment — leftover dust causes uneven color and clogs wire brushes.
- On blotch-prone wood (pine, maple, cherry, birch), apply a pre-stain wood conditioner now if you’re planning to stain or use a grain enhancer later in this guide.
Method 1: Wire Brush And Water-Raising (Raw Wood Only)
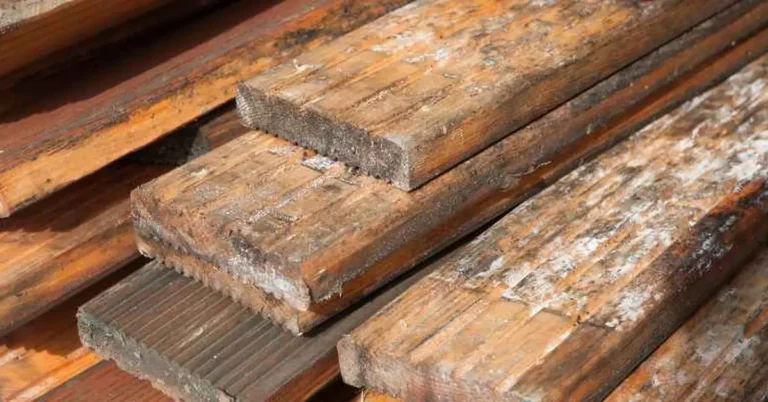
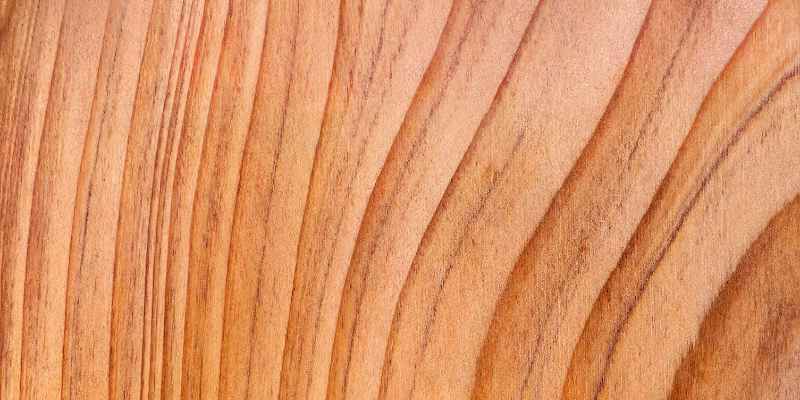
This is the only method that permanently carves the texture into the wood — it works by physically removing the soft earlywood between the harder growth rings, so the ring pattern stands out even without any color added. It only works on bare, unfinished wood.
Raising The Grain With Water
- Wet the surface completely with warm water from a spray bottle and let it sit for 2–3 minutes. The wood fibers swell as they absorb moisture, which raises the grain slightly on its own.
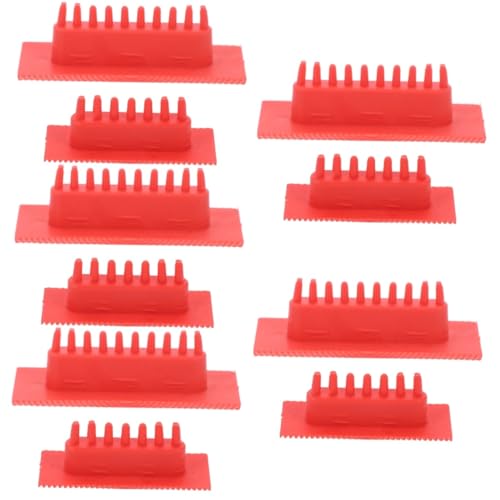
- Drag a rack of full-size nails (not brads) heavily along the grain, tracing any knots or swirls. Several firm passes work best — this scrapes out more of the soft wood while it’s swollen and soft from the water.
- Let it dry completely, typically 1–2 hours depending on humidity, before moving to the wire brush.
Finishing With A Wire Brush
- Identify the grain direction first — brushing across the grain instead of with it tears the fibers instead of texturing them cleanly.
- Scrub firmly with a stiff wire brush (or a wire wheel attachment on a drill or angle grinder for larger surfaces) along the grain. This sinks the low spots deeper and softens the harsh edges left by the nail rack.
- Switch to a finer wire brush for a final pass if the texture feels too rough or splintery to finish safely.
- Vacuum and wipe the surface clean of loose fibers before applying any finish.
A drill-mounted wire wheel speeds this up significantly on larger pieces like tabletops or doors — a hand brush alone works but takes real arm effort over a big surface.
Method 2: Oil-Based Stain And Grain Enhancers
Unlike wire brushing, this method doesn’t remove any wood — it deepens the color of the grain that’s already visible by penetrating unevenly into the wood’s pores.
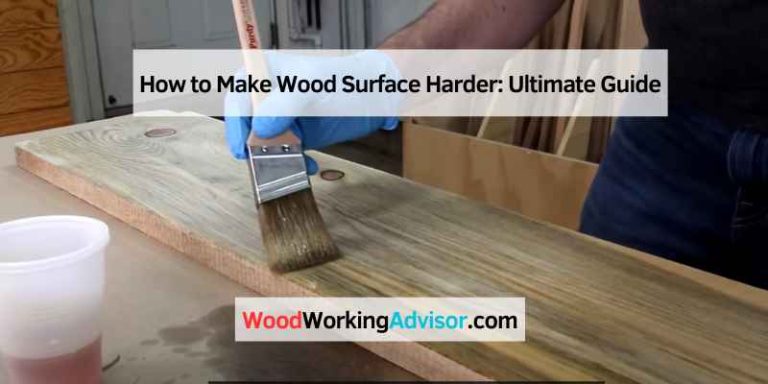
- Choose an oil-based stain over water-based for this job — oil penetrates deeper into open pores and creates a more pronounced grain contrast (on open-grained woods like mahogany, a grain filler can level the pores first for a smoother stain result). Gel stains work well on vertical surfaces where drips are a problem.
- Apply with a rag or foam brush, working in the direction of the grain and in manageable sections so you can wipe off excess before it dries in place.
- Wipe off excess stain after 5–15 minutes (check the product label) — the longer it sits, the darker and more dramatic the grain contrast, but too long risks a blotchy, uneven film.
- Let it dry fully overnight before adding a protective topcoat like polyurethane, lacquer, or shellac.
Grain enhancers work as a lighter-touch alternative to full staining — they’re designed to penetrate and highlight the grain pattern without adding much overall color change, which is useful when you like the wood’s natural tone and just want the pattern to pop under a clear finish.
Method 3: Burning And Wire Brushing (Shou Sugi Ban Style)
Charring the surface with a torch, then brushing away the burned soft wood, is the oldest method for exposing grain texture and produces the most dramatic, darkest result of any technique here. It also carries a real fire risk that the other three methods don’t.
- Work outdoors or in a well-ventilated space with a fire extinguisher or hose within reach, and keep the torch moving — don’t let it linger in one spot.
- Char the surface evenly with a butane or propane torch until it darkens; more charring produces a more pronounced grain once brushed.
- Let the wood cool completely before touching it or brushing — charred wood stays hot longer than it looks.
- Brush off the burnt layer with a metal wire brush, which removes the charred soft earlywood and leaves the harder latewood standing out in sharp relief.
- Wipe away loose char dust, then apply a clear oil or finish to seal the surface.
⚠️ This method uses an open flame directly on wood. Never do this indoors, near flammable materials, or without water or a fire extinguisher on hand. If you’re not confident controlling an open flame safely, use Method 1 (wire brush and water) instead — it produces a similar textured look without any fire risk.
Method 4: Colored Wax For Contrast
This method works best on wood that’s already stained dark — it fills the open grain lines with a lighter-colored wax so the pattern reads as a two-tone contrast rather than a single shade.
- Stain the wood dark first and let it dry completely, typically overnight.
- Rub a light-colored wax (white, cream, or pale gray) into the surface by hand, working it into the open grain with pressure.
- Scrape off excess wax from the flat surface with a plastic putty knife, leaving wax only in the recessed grain lines.
- Let it set 10–20 minutes, then buff the flat areas clean with a rag lightly dampened in mineral spirits or a compatible oil, being careful not to pull wax back out of the grain.
- Seal with a topcoat once the wax has fully set — for ongoing upkeep of a waxed piece, see caring for waxed wood surfaces.
Protecting The Finish Long-Term
Whichever method you use, the textured or highlighted grain needs a topcoat to protect it — bare, textured wood traps dirt and moisture in the recessed grain lines faster than a flat surface would.
- Choose a topcoat based on how the piece will be used — polyurethane for durability on high-traffic surfaces, lacquer or shellac where a faster-drying, more repairable finish matters more.
- Clean with a mild soap and water solution; avoid harsh chemicals that strip the sealant over time.
- Keep finished pieces out of direct sunlight to prevent fading, and use coasters or placemats on tabletops to prevent water rings.
- Reapply a fresh coat of sealant every few years on pieces that see regular handling or sun exposure.
Common Mistakes To Avoid
- Over-sanding. Aggressive sanding past 220-grit smooths away the texture you’re trying to expose. Stop at 220-grit for staining, and don’t sand at all after wire-brushing.
- Choosing the wrong finish. Paint and heavy opaque stains hide the grain completely — if the goal is to show the grain, stick with clear coats, thin stains, or wax.
- Skipping the conditioner on blotch-prone wood. Pine, maple, cherry, and birch all take stain unevenly without a pre-stain conditioner, which hides the grain in blotches instead of highlighting it.
- Brushing against the grain. Wire brushing across the grain tears fibers instead of sculpting them — always work in the direction the grain runs.
Frequently Asked Questions
How Do You Bring Out Wood Grain Texture?
Sand the wood smooth in the direction of the grain, then choose a method based on whether you want a permanent physical texture (wire brush and water) or a highlighted color pattern (oil-based stain or grain enhancer). Apply a pre-stain conditioner first on blotch-prone woods like pine or maple.
Does Wetting Wood Raise The Grain?
Yes. Water causes wood fibers to swell, which raises the grain slightly on its own — this is why the water-raising step in Method 1 comes before wire brushing, and why it’s also recommended between coats of a water-based finish to knock down the raised fibers with a light sanding.
Does Acetone Raise Wood Grain?
Acetone can raise the grain slightly, similar to water, but it’s not recommended as a texturing method on its own — it can damage the wood’s surface and is better reserved for stripping old finishes before you start one of the four methods above.
What Tools Are Needed To Bring Out Wood Grain Texture?
At minimum, sandpaper (120 to 220-grit) and a tack cloth for prep. Beyond that it depends on the method: a stiff wire brush and a spray bottle for mechanical texturing, an oil-based stain or grain enhancer with a foam brush for color-based highlighting, or a torch and wire brush for the burned-and-brushed look.
Is A Clear Topcoat Necessary After Enhancing The Grain?
Yes, for any piece that will be handled, cleaned, or used regularly. A textured or highlighted surface without a topcoat traps dirt and moisture in the recessed grain lines faster than a smooth surface would, and the color from stain or enhancer will fade faster without UV and wear protection.
Conclusion
Wire brushing and water-raising permanently texture raw wood; oil-based stain, grain enhancers, and colored wax highlight the pattern that’s already there without removing any material. Start with the comparison table above to match a method to your wood species and the tools you already have, condition blotch-prone woods before adding any color, and finish with a topcoat that matches how the piece will actually be used. For more finishing guidance, see the complete wood finishing guide.
Sponsored / affiliate links. As an Amazon Associate I earn from qualifying purchases. I may earn additional commission from eligible campaigns.