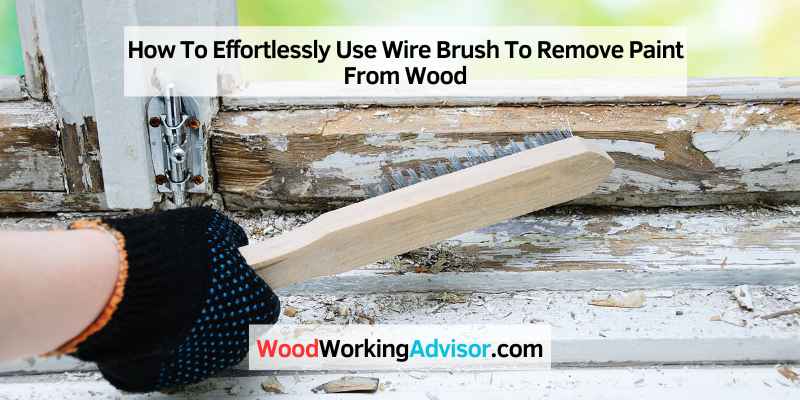
How to Use a Wire Brush to Remove Paint From Wood: Strip First
A wire brush won’t strip a full paint coat off wood on its own — it’s a cleanup tool for loose flakes and crevice residue after a chemical stripper or heat gun does the real work. Skip that step and steel bristles just gouge soft grain or leave a rusty haze. This guide covers picking the right bristle material, hand vs. drill-mounted technique, and the EPA lead-dust threshold for pre-1978 wood.
Quick Answer
Apply a chemical stripper or heat gun to loosen the paint first — a wire brush alone won’t strip a full coat. Once paint bubbles or lifts, brush along the grain with light-to-medium pressure to clear crevices and residue. On pre-1978 wood, test for lead paint before brushing — EPA rules require lead-safe methods above 6 sq ft indoors.
Choosing The Right Wire Brush
Best Wire Brush Set Pick
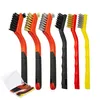
6-Piece Stainless Steel, Brass & Nylon Wire Brush Set – $5.69
Covers all three bristle materials this guide compares — steel for stubborn coats, brass for softwood and trim, nylon for the final cleanup pass — in one set.
- Best for: Matching brush material to your specific wood and paint type without buying three separate tools
- Why we picked it: Only set found that includes all three fills this guide recommends choosing between
- Main drawback: Hand-held only — no drill-mounted option included
Compare more wire brush options
 Option 1 ValueMax 8PC Set – $14.99
|
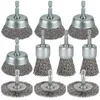 Option 2 WENORA Drill Wire Wheel Set – $9.99
|
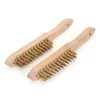 Option 3 MAXMAN Brass Brush Set – $13.33
|
As an Amazon Associate we earn from qualifying purchases.
Choosing the appropriate wire brush is essential for effectively removing paint from wood. Proper selection and usage can yield optimal results in paint removal without damaging the wood surface.
Consider The Type Of Paint
When it comes to removing paint from wood, one of the first things you need to consider is the type of paint you are dealing with. Different types of wire brushes are designed to handle different types of paint, so it’s important to choose the right one for the job. If you are working with latex or water-based paint, a brush with softer bristles will be sufficient. For oil-based paint or more stubborn coatings, a brush with stiffer bristles may be necessary.
Select The Appropriate Brush Size
In addition to considering the type of paint, you also need to select the appropriate brush size. The size of the brush you choose will depend on the size of the project and the detail you need to maintain. Larger brushes are better suited for larger surfaces, such as tables or floors, while smaller brushes are ideal for more intricate work, like furniture or trim. It’s important to choose a brush that is comfortable to hold and maneuver, as this will make the paint removal process much easier.
| Brush Size | Recommended Projects |
|---|---|
| 1 inch | Small furniture, trim, and detail work |
| 2 inch | Medium-sized furniture, cabinets, and doors |
| 3 inch | Large surfaces like floors or walls |
Steel, Brass, Or Nylon: Which Wire Fill Should You Use?
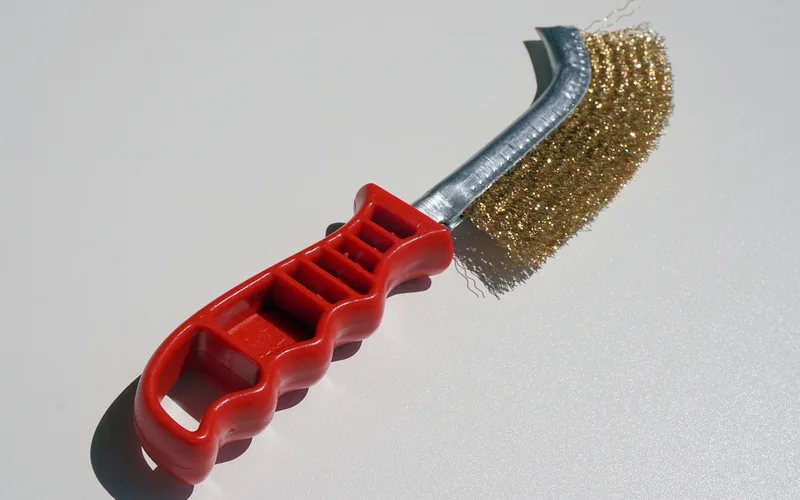
Brush size only solves half the problem — the bristle material determines whether you clear paint or scratch the wood underneath it. Steel is the most aggressive and fastest at breaking up thick, stubborn coats, but it will scratch softwoods and can leave a black stain on oak and other tannin-rich woods where the metal reacts with the wood’s natural acids. Brass is roughly half as hard as steel and clears loosened paint without marking softwood or oak. Nylon and other non-metallic fills are the gentlest option, useful for a final cleanup pass but too soft to shift paint that hasn’t already been loosened.
| Bristle Material | Best For | Risk On Wood |
|---|---|---|
| Steel | Thick paint, hardwoods, metal hardware | Scratches softwood; stains oak (tannin reaction) |
| Brass | Softwoods, trim, pieces you plan to stain | Minimal — softer than steel, still clears flakes |
| Nylon / poly | Final cleanup pass, dust and debris removal | None — but won’t move paint that’s still stuck |
Proper Maintenance And Safety
Taking proper care of your wire brush is essential to ensure optimal performance and longevity. After each use, clean the brush by gently wiping away any paint residue with a cloth or rag. If the bristles become clogged with paint, use a wire brush comb or a stiff brush to remove the dried paint. Always store your wire brush in a dry location to prevent rusting.
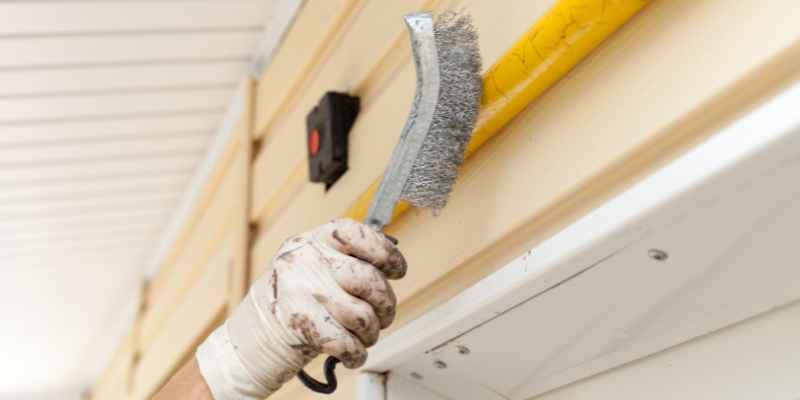
When using a wire brush, it’s important to prioritize safety. Wear protective eyewear and gloves to shield yourself from loose paint chips and bristles. Additionally, make sure you have proper ventilation in the working area to avoid inhaling paint dust or fumes.
“Always wear appropriate protective gear, including safety glasses, gloves, and a dust mask, to guard against flying debris and metal particles.”
Preparing The Wood Surface
Before diving into the paint removal process, it’s crucial to prepare the wood surface properly. This step is essential to ensure a smooth and effective paint removal process, without causing any damage to the wood. In this guide, we will discuss the two important aspects of preparing the wood surface: cleaning the wood and protecting surrounding areas.
Clean The Wood
Cleaning the wood is the first step in preparing the surface for wire brushing. By removing any dirt, debris, or loose paint, you create an ideal canvas for the wire brush to work its magic. Here’s how you can clean the wood effectively:
- Start by using a stiff-bristle brush or a vacuum cleaner to remove loose dirt and dust from the wood surface.
- Next, dampen a clean cloth or sponge with warm soapy water and gently scrub the surface. Be sure to use a mild detergent that won’t harm the wood.
- Rinse the wood with clean water to remove any soap residue. Make sure to thoroughly dry the surface before proceeding.
Protect Surrounding Areas
While wire brushing, it’s important to protect the surrounding areas to prevent any accidental damage. Here are some tips to do so:
- Cover nearby furniture, flooring, or objects with plastic sheets or drop cloths to shield them from paint chips and wire brush bristles.
- If there are any delicate or hard-to-reach areas adjacent to the surface you’re working on, use masking tape to create a protective barrier.
- Ensure that all outlets, switches, and electrical equipment are covered or taped off to avoid any potential damage.
By taking these precautionary measures, you can focus solely on removing the paint from the wood surface without worrying about damaging anything else in the process.
Test For Lead Paint Before You Start (Pre-1978 Wood)
Wood painted before 1978 may contain lead, and dry wire-brushing turns that paint into airborne dust. Swab a scratched, inconspicuous area with a lead-check swab before brushing anything you suspect is original paint on an older house.
📊 Minor repairs disturbing 6 sq ft or less of interior paint (or 20 sq ft or less outside) are exempt from EPA’s lead-safe contractor rule — anything larger on pre-1978 wood requires lead-safe work practices, not dry wire-brushing. — Source: EPA Renovation, Repair and Painting Program
Before you reach for the brush, see our comparison of chemical stripper, heat gun, and sanding methods to loosen the bulk of the paint — the wire brush is a finishing step, not a starting one. For more on the category, browse the full paints and paint-removal library.
Hand Wire Brush Vs. Drill-Mounted Wire Wheel: Which Should You Use?
A hand-held wire brush gives you full control for detail work, but a drill-mounted wire wheel clears large flat panels far faster. The tradeoff is precision — a spinning wheel held in one spot for even a second or two can gouge a groove into soft pine or leave swirl marks that show through a clear finish.
| Method | Speed | Best For |
|---|---|---|
| Hand wire brush | Slow, fully controlled | Trim, crevices, carved detail, small pieces |
| Drill-mounted wire wheel | Fast — up to 4,500 RPM | Large flat panels, doors, decking boards |
If you do move to a drill attachment, use a crimped wire wheel rather than a knotted one — knotted wheels are built for aggressive metal stripping and remove wood fiber along with the paint. Keep the drill under roughly 2,500 RPM on softwoods, keep the wheel moving in overlapping passes, and never let it linger over one spot.
Using The Wire Brush
Learn how to effectively use a wire brush to remove paint from wood. This simple technique helps restore the natural beauty of your wooden surfaces once the bulk of the paint has already been loosened.
When it comes to removing paint from wood, using a wire brush can be an effective and efficient cleanup method. This versatile tool can clear away the loosened layers, revealing the beautiful natural wood beneath. To ensure you achieve the best results, it’s important to use the wire brush correctly. Let’s explore some key techniques to keep in mind when using a wire brush to remove paint from wood.
Hold The Brush Correctly
Holding the wire brush correctly is crucial to effectively remove paint from wood. Start by gripping the handle firmly with your dominant hand. This will provide you with better control and accuracy as you work. Make sure to position your fingers around the base of the brush, keeping them clear of the bristles to avoid any accidental scrapes or cuts. Pro tip: if the handle of your wire brush has a rubber grip, be sure to utilize it for added comfort and stability.
Apply Gentle Pressure
While it may be tempting to exert excessive force when using a wire brush to remove paint, it’s important to remember that a gentle touch is often more effective. Applying too much pressure can not only damage the wood surface but also wear out the bristles of the brush more quickly. Instead, focus on using light, controlled strokes to gradually remove the paint layer by layer. By maintaining a consistent and gentle pressure, you can achieve a smoother and more even finish.
Move In The Direction Of The Wood Grain
As you work with the wire brush, it’s essential to move in the direction of the wood grain. Following the natural grain of the wood ensures that the brush effectively reaches into grooves and crevices, allowing for thorough paint removal. By moving in the same direction as the wood grain, you can prevent any accidental scratches or gouges. Remember to take your time and work systematically, focusing on each small section at a time, until the desired paint removal is achieved.
Removing Paint From Wood
Removing paint from wood can be a challenging process, but with the right tools and techniques, it can be accomplished effectively. One such tool that is commonly used for this purpose is a wire brush. In this section, we will discuss how to use a wire brush to remove paint from wood, step by step.
Start With A Test Area
Before you begin removing the paint from the entire wooden surface, it is important to start with a test area. This will allow you to assess how the wood reacts to the wire brush and avoid any potential damage. Choose a small, inconspicuous spot to test first, such as the back of the wooden piece or an area that will be covered later.
Brush In Small Sections
Once you have determined that the wood can handle the wire brush, it’s time to start removing the paint. Remember, it’s always best to work in small sections to ensure thoroughness. Begin by gently brushing the wire brush back and forth over the painted area. Apply light to medium pressure, allowing the bristles to effectively scrape off the paint without damaging the wood.
- Start by dipping the wire brush in warm soapy water to moisten the bristles.
- Hold the wire brush at a slight angle, making sure the bristles make contact with the paint.
- Move the brush back and forth in a controlled motion, focusing on one small section at a time.
- Continue brushing until you begin to see the paint flaking off or loosening.
Remove Loose Paint Debris
Once you have successfully removed the paint from a section, it’s important to remove any loose paint debris. This will prevent the flakes from settling back onto the wood and allow for a smoother finish once you are done.
- Use a vacuum cleaner or a soft brush to gently remove the loose paint flakes.
- Alternatively, you can wipe the surface with a damp cloth to pick up any remaining debris.
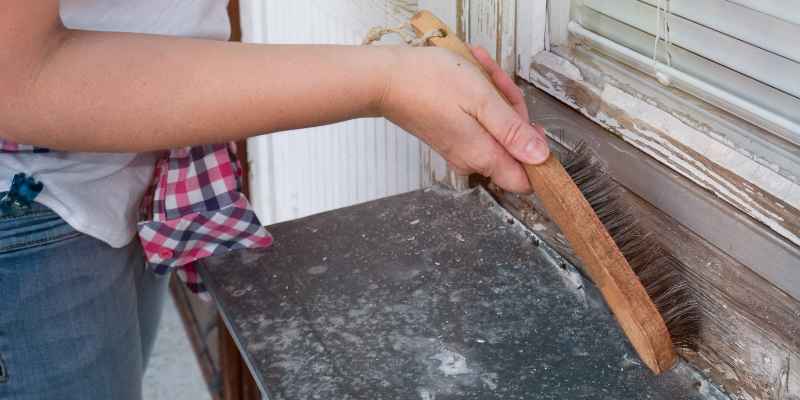
Continue this process of brushing and removing loose paint debris until you have successfully removed the paint from the entire wooden surface. Using a wire brush can be a time-consuming process, especially for larger areas or multiple layers of paint — take breaks if needed and be patient for the best results.
Cleaning Up
Once you have removed the paint from the wood using a wire brush, it’s important to properly clean up the area and take care of the brush. This will ensure that you are ready for your next painting project and preserve the lifespan of your tools. Follow these steps to effectively clean up and store your wire brush:
Dispose Of Paint Debris Properly
Before you clean up the area, it’s crucial to dispose of the paint debris properly. You don’t want any leftover paint chips or dust to end up in the environment. Here’s how you can do it:
- Place a drop cloth or a large plastic sheet underneath the work area to catch the debris.
- Using a dustpan and brush, carefully sweep up the paint chips and dust from the surface.
- Collect the debris in a sturdy, sealable bag or container.
- Dispose of the bag or container according to your local regulations for hazardous waste or paint disposal. Check with your local authorities or recycling center for guidance.
Clean And Store The Brush
Once the debris has been properly disposed of, it’s time to clean and store the wire brush to keep it in optimal condition for future use:
- Prepare a bucket or basin of warm soapy water.
- Submerge the wire brush in the soapy water and swirl it around to loosen any remaining paint.
- Using a stiff brush or your fingers, gently scrub the bristles of the wire brush to remove any trapped paint or debris.
- Rinse the brush thoroughly with clean water to remove all soap residue.
- Shake off any excess water and pat the brush dry with a clean towel.
- Store the wire brush in a dry and well-ventilated area to prevent rusting.
Before refinishing, sand the wood with 120–150 grit sandpaper to smooth the grain the wire brush raised, then finish with 220 grit. Skipping the fine-grit pass leaves visible bristle marks under stain or a clear topcoat.
Frequently Asked Questions
Does A Wire Brush Damage Wood?
Yes, if used across the grain or with heavy pressure — steel bristles can scratch and fuzz softwoods like pine and can stain oak through a tannin reaction. Brass or nylon bristles are gentler and less likely to mark the surface. Always brush with the grain and test an inconspicuous spot first.
Can You Use A Wire Brush On A Drill To Remove Paint From Wood?
Yes — a drill-mounted wire wheel with crimped (not knotted) wire removes loosened paint faster than hand brushing. The tradeoff is control: higher speed also removes wood fiber faster, so keep the drill under roughly 2,500 RPM on softwoods and keep the wheel moving instead of holding it in one spot.
Will A Wire Brush Remove All The Paint From Wood By Itself?
No. A wire brush alone can’t strip a full, intact paint coat — it clears loosened flakes and crevice residue after a chemical stripper or heat gun has already lifted the bulk of the paint. Used alone on intact paint, it mostly polishes the surface rather than removing it.
Is It Safe To Wire-Brush Old Painted Wood That Might Contain Lead?
Not without testing first. Wood painted before 1978 may contain lead, and dry wire-brushing creates airborne lead dust. Test with a lead-check swab before brushing; if lead is present, use a wet method and EPA lead-safe work practices instead of dry brushing.
What Grit Sandpaper Should You Use After Wire Brushing Wood?
Start with 120–150 grit to smooth the raised grain a wire brush leaves behind, then finish with 220 grit before staining or sealing. Skipping the fine-grit pass leaves visible bristle marks visible under a clear finish.
Conclusion
A wire brush is a cleanup tool, not a paint stripper — loosen the bulk of the paint with a chemical stripper or heat gun first, then use the correct bristle material and brush size to clear the residue along the wood grain. Test for lead on pre-1978 wood, take your time on detail areas, and finish with a 120–220 grit sanding pass before refinishing.
Sponsored / affiliate links. As an Amazon Associate I earn from qualifying purchases. I may earn additional commission from eligible campaigns.