DIY Wood Serving Tray: Crafting Elegance at Home
Creating a DIY wood serving tray is simple and rewarding. It adds a personalized touch to your home décor.
Wood serving trays are versatile, functional, and stylish. They make great gifts or additions to your kitchen. Building your own tray allows you to customize size, shape, and finish. Start with selecting quality wood, such as oak, pine, or walnut.
Cut the wood to your desired dimensions and sand the edges for a smooth finish. Assemble using wood glue and nails or screws for durability. Adding handles can enhance functionality. A coat of varnish or paint will protect the wood and add a polished look. Enjoy your handmade tray for serving food, displaying items, or as a decorative piece.
Introduction To DIY Wood Serving Tray
Create a stylish DIY wood serving tray to elevate your home decor. This simple project adds both function and charm to any space.
The Charm Of Handmade Accessories
Handmade items have a special charm. They show care and effort. A wood serving tray can be a great project. It adds a personal touch to your home. It can also be a unique gift for friends. Crafting this tray can be fun and rewarding.
Benefits Of DIY Projects
DIY projects help in learning new skills. They save money. They also allow for custom designs. You can make items exactly how you want. Working on DIY projects can be relaxing. It brings a sense of accomplishment.
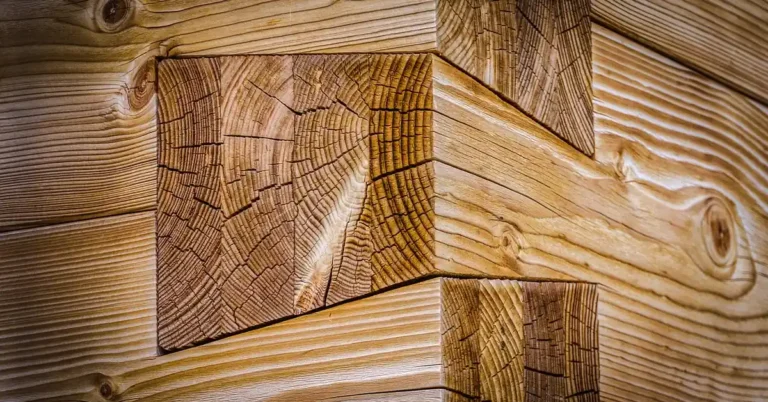
Selecting The Right Wood
Oak is strong and lasts long. Maple is another good choice. Both types are easy to find. Pine is softer but still good. Walnut looks nice with dark color. Cherry wood is also good, it has rich color. Each type has its own look.
Strong wood lasts longer. Oak and Maple are very strong. Pine is soft and easy to cut. Walnut and Cherry look pretty. Choose wood that fits your style. Think about how it will look.
Designing Your Tray
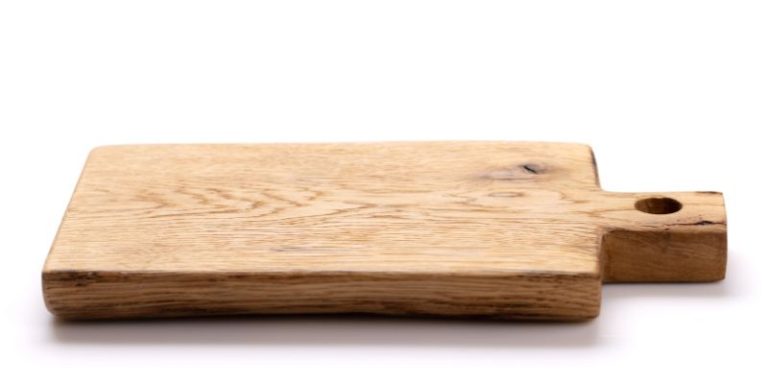
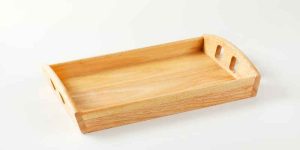
Choose a size that fits your needs. A small tray is good for drinks. A large tray is better for food. Pick a shape you like. Rectangles are common. Circles are fun and unique. Think about storage space. Will it fit in your cabinet?
Paint your tray with bright colors. Use stencils for designs. Add handles for easy carrying. Glue small decorations on the tray. Seal with varnish for protection. Personal touches make it special. Enjoy using your unique tray.
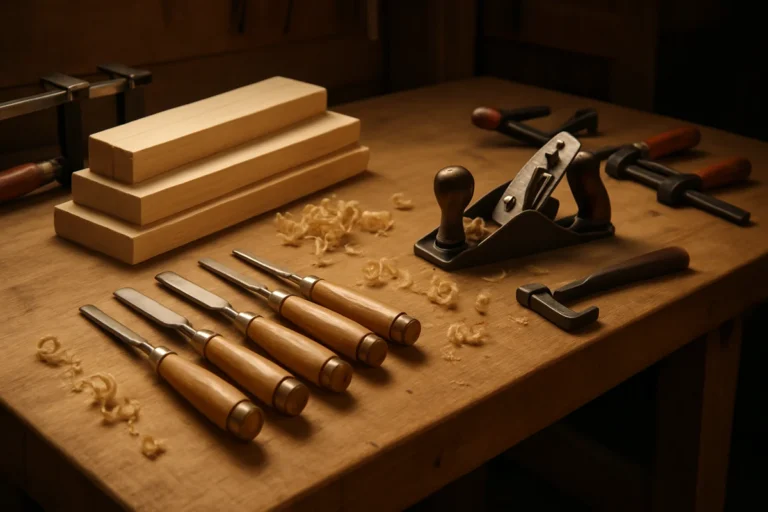
Tools And Materials
You need a saw to cut the wood. A hammer is useful for nails. Get a measuring tape for accuracy. Use clamps to hold wood pieces. Sandpaper smooths the wood. A drill makes holes easily.
| Supplies | Quantity |
|---|---|
| Wood planks | 2 |
| Nails | 20 |
| Wood glue | 1 bottle |
| Paint | 1 can |
| Brush | 1 |
Cutting And Assembling
First, gather all your wood pieces. Measure each piece carefully. Use a ruler or measuring tape. Mark the measurements with a pencil. Make sure marks are clear. Cut the wood along the marks. Use a saw for straight cuts. Be careful while cutting. Safety is important. Wear gloves and safety glasses.
Lay out all the cut pieces. Arrange them in the tray shape. Ensure all edges align properly. Use wood glue on edges. Press pieces together firmly. Let the glue dry. After drying, use nails or screws. Secure all corners tightly. Sand the tray for smooth finish. Apply varnish for a polished look.
Sanding And Finishing
Start sanding with coarse grit sandpaper. Move to medium grit next. Finish with fine grit sandpaper. Sand all surfaces evenly. Wipe away dust with a damp cloth. Make sure all edges are smooth. Repeat sanding if needed. Check for rough spots by touch.
Select a finish that protects the wood. Clear varnish shows wood’s beauty. Stain adds color and depth. Oil finishes bring out wood grain. Always apply finish in a well-ventilated area. Use a brush or cloth to apply. Let each coat dry before adding more. Sand lightly between coats for best results.
Decorative Elements
Choose strong handles for the tray. Metal handles are durable and sleek. Wooden handles match the tray’s texture. Attach handles with screws or glue.
Use a pencil to draw designs first. Then, use a wood-burning tool to trace. Keep lines even and steady. Practice on scrap wood before starting. This helps to avoid mistakes. Clean the tray after burning.
Caring For Your Wood Serving Tray
Wipe the tray with a damp cloth. Use mild soap if needed. Dry the tray well after cleaning. Avoid soaking the tray in water. Keep the tray away from direct sunlight. This helps to prevent cracking.
Check the tray for cracks or chips. Sand down rough edges gently. Apply wood oil to the surface. This keeps the wood nourished. Let the tray dry before using it again. Tighten any loose screws or nails.
Creative Uses For Your Serving Tray
A wood serving tray can be a lovely decor piece. Place it on your coffee table with candles and books. It will make the room cozy. Use the tray to hold your keys and mail. It keeps things neat and tidy. You can also add small plants to the tray. It will bring life to any room.
Serve snacks and drinks with your DIY tray. Guests will love it. Use the tray for breakfast in bed. It will make mornings special. The tray is great for outdoor parties too. Serve lemonade and cookies with ease. You can also use it for movie nights. Hold popcorn and drinks for a fun time.
Frequently Asked Questions
What Materials Are Needed For A Diy Wood Serving Tray?
To create a DIY wood serving tray, you need wood, handles, screws, sandpaper, wood stain, and a brush.
How Do I Choose Wood For A Serving Tray?
Choose hardwood like oak, maple, or walnut for durability. Ensure it’s smooth and free from defects.
Can I Customize My Wood Serving Tray?
Yes, you can customize it by painting, staining, or adding decorative handles to match your style.
What Tools Are Required For Making A Serving Tray?
You need a saw, drill, screwdriver, measuring tape, and sandpaper to build your tray.
Conclusion
Creating a DIY wood serving tray is a rewarding project. It adds a personal touch to your home decor. With simple tools and materials, anyone can craft a beautiful tray. Enjoy the satisfaction of using something made with your own hands.
Start your DIY journey today and impress your guests!