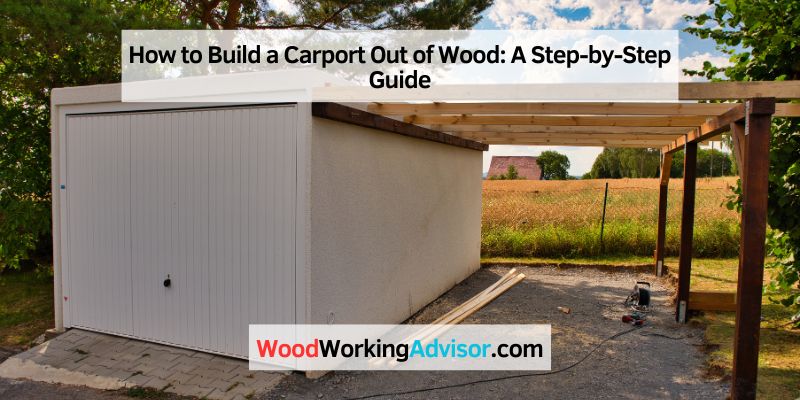
How to Build a Carport Out of Wood: A Step-by-Step Guide
To build a carport out of wood, start by measuring and marking the desired area, then dig holes for the support posts and secure them with concrete. Next, install the roof structure using beams and rafters, and attach the roofing material.
Finally, add any finishing touches, such as paint or stain, to protect the wood. Building a carport out of wood is a practical and cost-effective solution to protect your vehicles from the elements. Whether you need shelter for a single car or multiple vehicles, a wooden carport can be a great addition to your property.
By following a few simple steps, you can create a sturdy and durable structure that will not only provide protection but also enhance the aesthetics of your home. We will guide you through the process of building a carport out of wood, from measuring and marking the area to adding the finishing touches. So, let’s get started and create a functional and attractive wood carport for your needs.
Gathering Materials
To build a carport out of wood, the first step is gathering materials such as pressure-treated lumber, concrete, anchors, and roof panels. Ensuring you have all the necessary items beforehand will make the construction process smoother and more efficient. Selecting high-quality materials will also ensure the durability and longevity of the carport structure.
Measuring Your Space
To start building your carport, you need to take accurate measurements of the space where it will be located. Use a tape measure to determine the length, width, and height of the area you plan to cover with the carport. Measure the distance from the ground to any eaves or overhead structures that may affect the height of your carport. Make sure to write down these measurements as they will be crucial when determining the amount of wood and other materials needed.
Choosing The Right Wood
When it comes to building a carport out of wood, selecting the right type of wood is essential for both durability and aesthetics. Choose a wood species that is known for its strength and weather-resistant properties. Hardwoods like cedar, redwood, or oak are popular choices due to their natural resistance to rot and decay. Softwoods like pine or spruce are also viable options, especially if the carport will be treated with a protective coating. Consider the cost, availability, and maintenance requirements of each wood type before making your final decision.
Now that you have measured your space and chosen the right wood, it’s time to gather the necessary materials for constructing your carport. Here’s a list of items you will likely need:
- Wood planks or beams for the frame and supports
- Wood panels or plywood for the roof and walls
- Galvanized screws or nails for securing the wood
- Concrete or cement for the foundation
- Metal brackets or connectors for additional structural support
- Waterproof sealer or stain to protect the wood from moisture
- Tools such as a circular saw, drill, level, and tape measure
- Safety equipment including goggles, gloves, and a dust mask
Make sure to gather all the necessary materials before starting the construction process. It’s always a good idea to have extra wood and screws on hand in case of any mistakes or unforeseen circumstances. With everything ready, you are now prepared to move on to the next steps of building your carport out of wood.
Preparing The Site
When building a carport out of wood, the site preparation is crucial. Make sure to level the ground, remove any obstacles, and mark the dimensions to ensure a stable and well-aligned structure. Follow these tips for a successful project.
Clearing The Area
Before you begin building a carport out of wood, it’s crucial to clear the area where you want to construct it. Remove any obstacles such as rocks, plants, or debris that might be in the way. By clearing the area, you can ensure a smooth and hassle-free construction process. It’s also important to mark the perimeter of your carport, so you have a clear visual representation of the space you’ll be working with. This will help you plan and layout the structure effectively.
Leveling The Ground
One of the key steps in preparing the site for your wooden carport is to level the ground. A level surface will provide a stable foundation for the structure and prevent any potential issues in the future. Start by removing any high spots or bumps on the ground using a shovel or a garden rake. Aim to create an even surface that’s free from any irregularities. Once the ground has been cleared of any obstacles, level it out using a heavy-duty level tool. Check multiple spots across the designated area to ensure an even and balanced surface.
Preparing The Foundation
After clearing and leveling the ground, it’s time to prepare the foundation for your wooden carport. A solid foundation is vital for the stability and longevity of the structure. Begin by marking the positions of the supporting posts on the leveled ground. These posts will serve as the base structure of your carport. Dig holes at each marked spot, ensuring they are deep enough to provide sufficient stability. Use a post hole digger, and make sure the holes are evenly spaced and aligned. Once the holes are dug, fill them with concrete and let it set properly according to the manufacturer’s instructions. This will create a sturdy base for your wooden carport.
Building The Frame
Building the frame is a crucial step in constructing a durable and functional wood carport. The frame serves as the skeleton of the structure, providing support and stability to the entire carport.
Cutting The Wood
To begin building the frame, start by measuring and cutting the wood according to the specified dimensions. Use a measuring tape and a circular saw to ensure precise cuts for the various components of the frame, such as the posts, beams, and rafters.
Assembling The Frame
Once the wood is cut, proceed to assemble the frame. Secure the posts in place using braces and screws, ensuring they are level and plumb. Next, attach the beams and rafters to form the skeleton of the carport, ensuring proper alignment and spacing between each component.
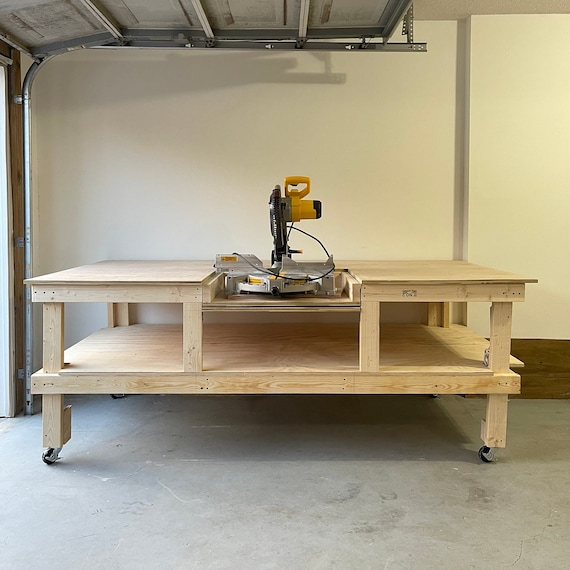
Credit: www.etsy.com
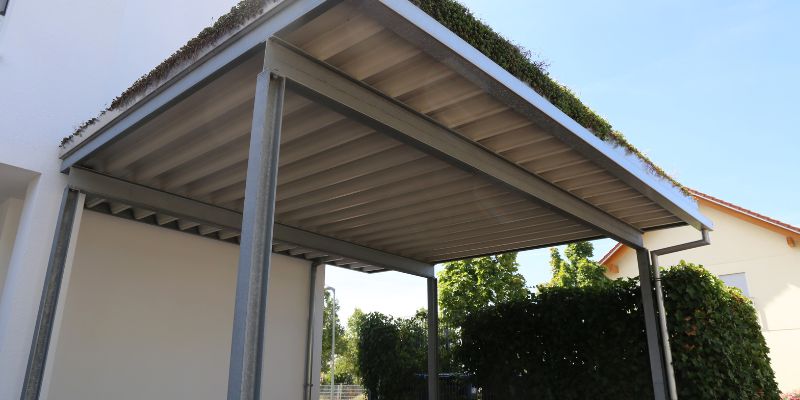
Adding The Roof
Build a wooden carport by adding a roof, a crucial step in protecting your vehicles from the elements. Choose a sturdy and weather-resistant material for optimal durability.
Attaching Rafters
Once you have constructed the frame of your wooden carport, it’s time to tackle the next step: attaching the rafters. The rafters are essential for supporting the roof and maintaining the structural integrity of your carport. Follow these steps to ensure a secure and stable roof:
- Measure and cut the rafters: Start by measuring and cutting the rafters according to your carport’s dimensions. Ensure that each rafter is the same length for a balanced and symmetrical roof.
- Position the rafters: Place the first rafter on top of the carport frame, aligning it with the edges. Use a level to ensure it is perfectly horizontal before securing it in place.
- Screw or nail the rafters: Attach the rafter to the carport frame using appropriate screws or nails, making sure they penetrate through both the rafter and the frame. Repeat this process for the remaining rafters, spacing them evenly along the length of the carport.
- Check for stability: Once all the rafters are attached, double-check their alignment and stability. Ensure that each rafter is securely fastened and provides adequate support for the roof.
Installing Roof Panels
Now that the rafters are in place, it’s time to install the roof panels. The roof panels will shield your carport from the elements, keeping your vehicles protected and dry. Follow these steps to correctly install the roof panels:
- Measure and cut the panels: Measure the dimensions of your carport roof and cut the roof panels accordingly. It’s essential to accurately measure and cut the panels to ensure they fit snugly on the rafters.
- Position the first panel: Start by positioning the first roof panel on one side of the carport roof. Ensure that it aligns with the edges of the rafters and overlaps the sides of the carport slightly. This overhang will prevent water from seeping into the structure.
- Secure the first panel: Carefully attach the first panel to the rafters using appropriate screws or nails. Make sure it is firmly in place before proceeding to the next panel.
- Install the remaining panels: Repeat the process by positioning and securing the remaining roof panels. Ensure each panel overlaps with the previous one to create a watertight seal.
Once you have successfully installed all the roof panels, your carport will begin to take shape. The sturdy wooden structure, coupled with a well-secured roof, will provide reliable protection for your vehicles. With a little patience and precision, you can create a functional and aesthetically pleasing carport using wood.
Finishing Touches
To complete building a wooden carport, the finishing touches are essential. Applying a protective sealant to the wood, adding decorative elements, and ensuring sturdy support are crucial for creating a functional and visually appealing carport. These finishing touches not only enhance the structure’s durability but also contribute to its aesthetic appeal, offering a well-rounded final product.
Applying Protective Finish
Once the carport has been constructed, the next step is to apply a protective finish to ensure the longevity of the wood. Applying a protective finish not only adds a professional touch to your carport, but it also helps to prevent damage caused by weather elements, such as rain, snow, and harsh UV rays. Here are some key points to consider when applying a protective finish:
- Choose the right product
- Selecting a high-quality wood sealant or stain is crucial to protect the wood from moisture, rot, and pests. Look for a product that is suitable for outdoor use and provides UV protection.
- Prepare the surface
- Before applying the protective finish, make sure the wood surface is clean and free from dirt, dust, and debris. Use a brush or pressure washer to remove any leftover construction materials or loose particles.
- Apply the finish
- Follow the product instructions carefully and apply the protective finish evenly using a brush, roller, or sprayer. Ensure that all sides of the wood, including the corners and edges, are thoroughly coated.
- Allow drying time
- After applying the finish, it is important to allow adequate drying time as specified by the manufacturer. This ensures that the finish will properly cure and provide optimum protection.
Adding Optional Features
To make your carport more functional and visually appealing, consider adding some optional features. These features can enhance the overall convenience and aesthetics of your carport. Here are a few ideas to take your carport to the next level:
- Storage space
- Incorporate storage areas within your carport design to keep items like gardening tools, bicycles, and outdoor equipment organized and easily accessible.
- Lighting
- Install outdoor lighting fixtures to brighten up the carport area during the nighttime. This can improve visibility and provide a sense of security.
- Gutters and downspouts
- Adding gutters and downspouts to your carport can help to divert rainwater away from your vehicle and prevent damage caused by water accumulation.
- Solar panels
- If you’re looking to reduce your carbon footprint and harness renewable energy, consider installing solar panels on the roof of your carport. This can help you generate electricity and potentially save on energy bills.
By applying a protective finish and adding optional features, you can transform your wooden carport into a durable and functional structure that perfectly suits your needs. Don’t forget to regularly maintain and inspect your carport to ensure it continues to provide the protection and functionality you desire.
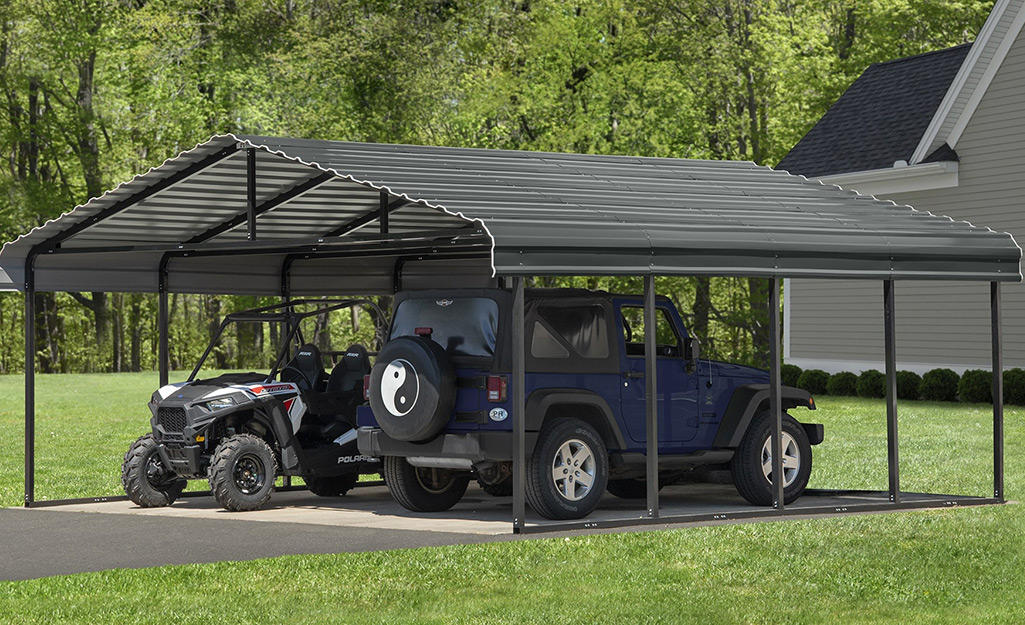
Credit: www.homedepot.com
Frequently Asked Questions On How To Build A Carport Out Of Wood
Is It Cheaper To Build A Wood Or Metal Carport?
A wood carport is generally cheaper than a metal one.
What Type Of Wood Should I Use For A Carport?
For a carport, it’s best to use pressure-treated or naturally rot-resistant wood like cedar or redwood. These types of wood can withstand outdoor elements better and ensure the longevity of your carport structure.
How Deep Should Carport Posts Be?
Carport posts should be buried at least 18 inches deep in the ground to ensure stability and support for the structure. It’s important to follow local building codes and regulations for specific depth requirements. Proper installation will help prevent shifting or damage over time.
How To Build A Freestanding Carport?
To build a freestanding carport, start by preparing the site and measuring the required dimensions. Dig holes for the posts and insert them, ensuring they are level and plumb. Attach the beams and rafters according to the design, and secure them with nails or screws.
Finally, add the roofing material and finish with any additional features or decorations.
Conclusion
Building a carport out of wood presents a cost-effective and functional solution for protecting your vehicles and adding value to your property. By following the step-by-step guide, you can create a sturdy and aesthetically pleasing structure that meets your specific needs.
With careful planning and the right materials, you can enjoy the benefits of a well-built wooden carport for years to come.