How to Cut Precise Angles in Wood: Choosing the Right Tool
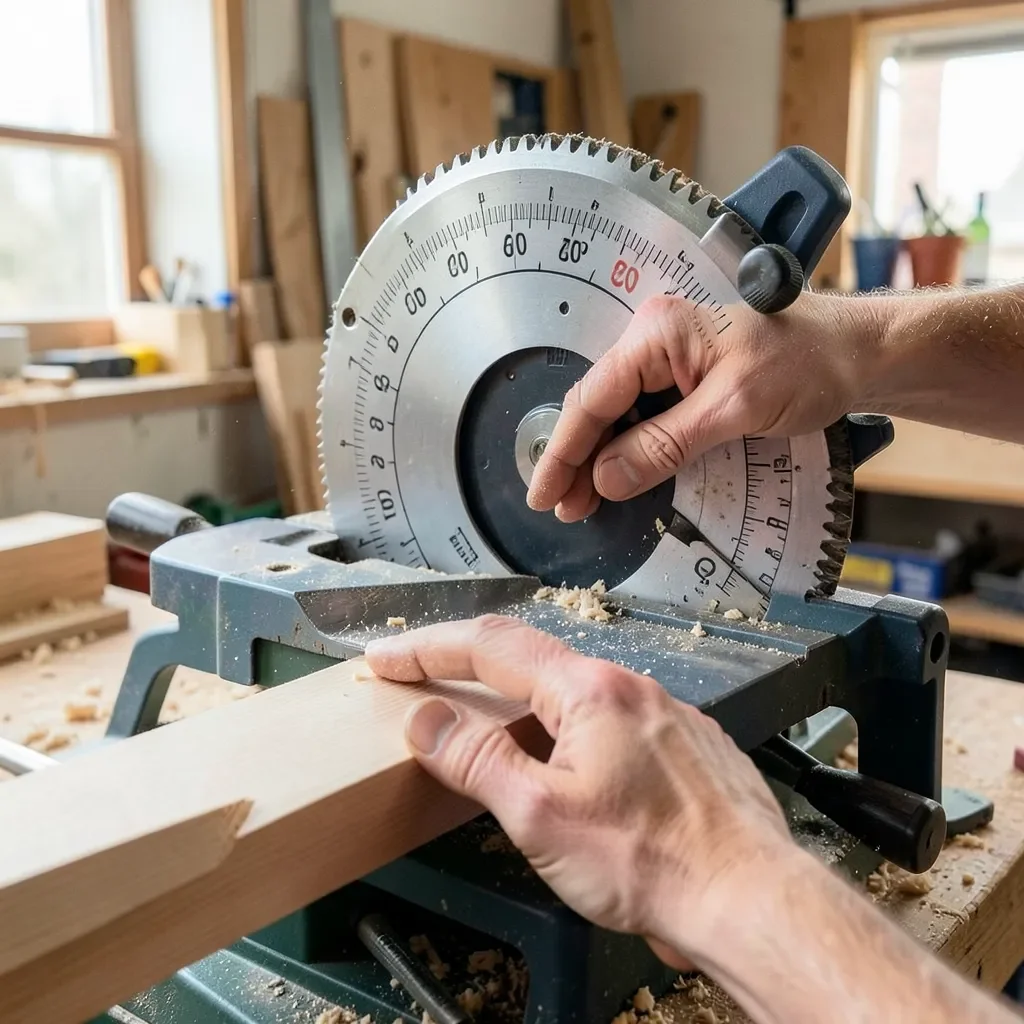
Cutting precise angles in wood comes down to matching the tool to the cut — a miter saw handles most crosscuts and miters, a table saw with a miter gauge repeats a bevel accurately across many pieces, and hand tools work when you need portability over speed. Pick the wrong tool and even a careful setup fights you the whole cut. This guide covers choosing between them, the measuring and calibration steps that apply no matter which you use, and where to go for a deep dive on a specific method.
Choosing the Right Tool for the Cut
Best Digital Angle Gauge Pick
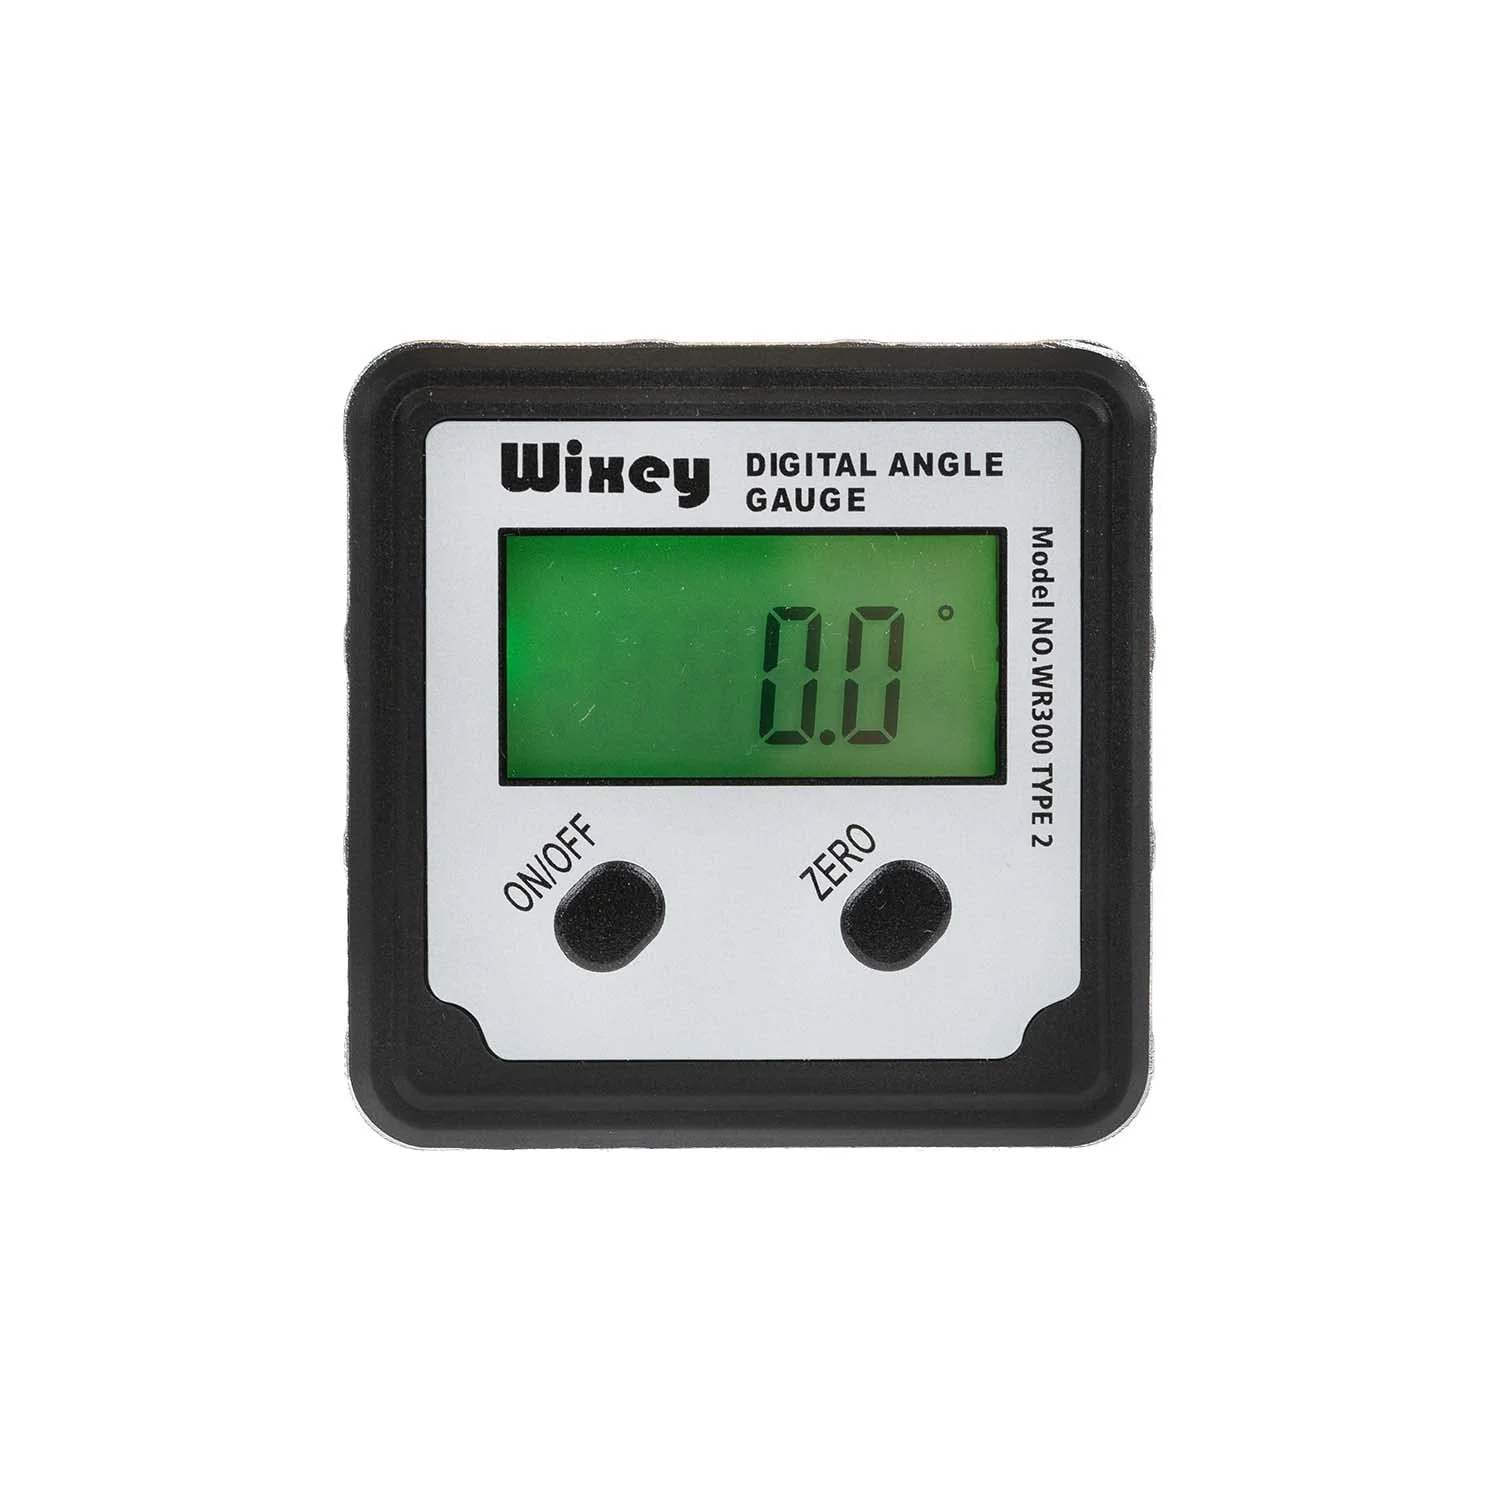 |
Wixey WR300 Digital Angle Gauge – $33.99 This is the kind of independent reference the calibration section below recommends — it checks the actual angle of your blade or fence instead of trusting the saw’s printed scale.
|
The biggest factor in cutting an accurate angle isn’t skill — it’s whether you picked a tool suited to the cut in the first place. Here’s how the common options compare:
| Tool | Best For | Limitation |
|---|---|---|
| Miter saw | Fast crosscuts and miters on trim, frames, and most general angle work | Limited to the width the saw can crosscut in one pass |
| Table saw + miter gauge | Repeating the exact same bevel or miter across many pieces | Slower to set up for a single one-off angle |
| Circular saw with adjustable base | Cutting angles in sheet goods or oversized boards a miter saw can’t fit | Harder to hold a perfectly consistent angle freehand |
| Hand saw + miter box or marking knife | Portability, quiet cuts, small trim pieces, no power available | Slowest option and the most dependent on a steady hand |
If you’re specifically working with a miter saw, our full miter vs. bevel guide covers compound angles, crown molding, and picture-frame math in depth. If you don’t have a miter saw at all, see our guide to cutting angles without one for a closer look at the circular saw, table saw, jigsaw, and hand saw methods. The rest of this guide covers what applies no matter which tool you pick.
Measuring and Marking Accurately
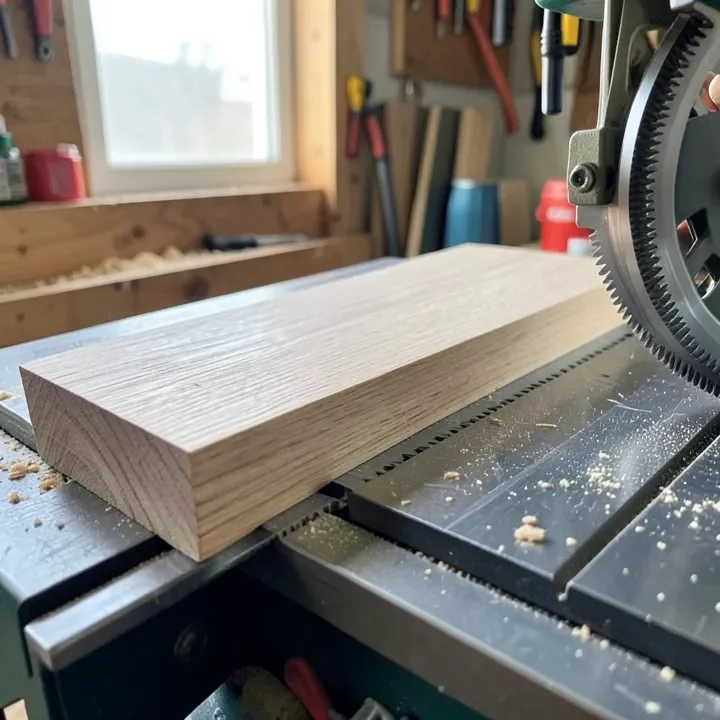
No saw can cut an angle more accurately than it was measured and marked. A combination square, bevel gauge, protractor, or digital angle gauge all work — the key is picking one and using it consistently rather than eyeballing.
- Mark with a sharp pencil held tight against the tool’s edge — a dull pencil widens the line and shifts your actual cut point.
- Mark directly on the cut line itself, not an offset reference, to avoid a transcription error.
- For an angle you’ll repeat several times, cut a scrap piece to that exact angle and use it as a story-stick template instead of re-measuring each time.
Calibrating Your Saw Before You Cut
A saw’s built-in angle scale drifts out of true with use, so don’t trust it blindly on a cut that matters.
- Make a test cut on scrap at the angle you’ve set, using the same blade and setup you’ll use for the real piece.
- Check the result against a protractor, combination square, or digital angle gauge — not the saw’s printed scale.
- Adjust and re-test if the test cut is off, rather than correcting on the fly during the final cut.
Also check the fence or guide you’re cutting against: it needs to be parallel to the blade, or every cut will carry the same consistent error no matter how carefully you mark.
Cutting Technique That Applies to Any Tool
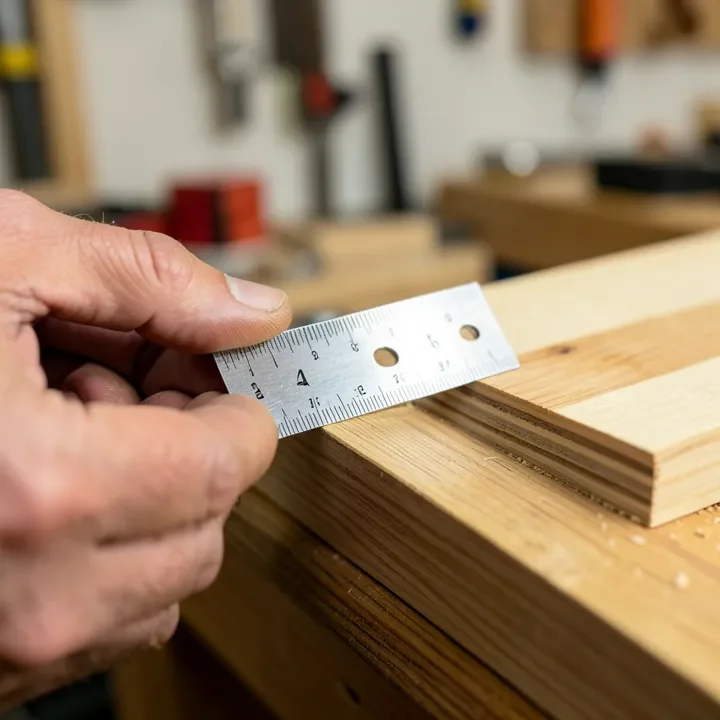
- Cut long, then sneak up on the line: leave the blade a hair outside your mark on the first pass, check the fit, and take a second light pass to reach the exact line — you can always remove more material, never add it back.
- Let the blade do the work: feeding too fast tears the wood and can push the workpiece off your marked line.
- Secure the workpiece: a clamp or the saw’s own hold-down prevents the tiny shift that turns a precise setup into an inaccurate cut.
- Use a sharp blade: a dull or damaged tooth tears the angled face instead of slicing it cleanly, and can deflect the cut off-line entirely.
“Cutting a hair long and sneaking up on the line with a second light pass is the single habit that separates a clean-fitting miter from a gappy one — you can’t put material back once it’s gone.”
📊 A hand saw guided by a miter box or a scrap-wood fence can hold roughly 1-degree accuracy if the workpiece is clamped and the blade tracks the mark — a useful benchmark for how much precision a no-power setup can realistically deliver.
Finishing the Cut
Sand the angled face with a sanding block, starting with a coarser grit and working up to a finer one, sanding in the direction of the grain. Then re-check the angle against your reference tool before assembly — a small adjustment now with sandpaper is much easier than disassembling a glued joint later.
Common Mistakes to Avoid
- Trusting the saw’s angle scale without a test cut — scales drift out of calibration over time.
- Using the wrong saw for the material or size — a miter saw can’t crosscut a 4-foot-wide panel; a circular saw struggles with a perfectly consistent freehand angle.
- Rushing the cut — precision needs a steady, unhurried pass, not speed.
- Not securing the workpiece — an unclamped board shifts exactly enough to ruin an otherwise careful setup.
Safety
Wear safety glasses and hearing protection, keep hands well clear of the blade path, use a push stick on a table saw, and clamp small pieces rather than holding them by hand near the cut line.
Frequently Asked Questions
How can I cut precise angles in wood?
Start by choosing the right tool for the job (a miter saw for most angle cuts, a table saw with a miter gauge for repeat cuts, hand tools for portability), then measure the angle with a protractor or digital angle gauge, mark it clearly, and make a test cut on scrap before cutting your final piece.
What tools do I need to cut precise angles in wood?
At minimum, a saw capable of angled cuts (miter saw, table saw with miter gauge, or circular saw with an adjustable base) plus an accurate way to measure the angle — a combination square, bevel gauge, protractor, or digital angle gauge.
Are there any tips for cutting precise angles in wood?
Mark your line with a sharp pencil, double-check the angle setting on your saw against a physical reference before cutting, and always test-cut on scrap wood first. Cutting slightly long and sneaking up on the exact line with a second pass is safer than cutting short on the first try.
How do I check that my saw is actually cutting the angle I set?
Make a test cut on a piece of scrap, then check the resulting angle with a protractor, combination square, or digital angle gauge rather than trusting the saw’s own angle scale — those scales drift out of calibration over time and use.
Conclusion
Precise angle cuts come from matching the tool to the job, measuring with something more reliable than a saw’s printed scale, and verifying with a test cut before committing to your final piece. Once that’s dialed in, the specific technique — miter saw, table saw, or hand tools — is just a matter of following the deeper guide for whichever tool you’re using.
Sponsored / affiliate links. As an Amazon Associate I earn from qualifying purchases. I may earn additional commission from eligible campaigns.