Wood Art With Electricity: The Lethal Voltage Risk
“Wood art with electricity” usually refers to Lichtenberg (fractal) burning — a technique that uses lethal voltage, not a beginner DIY project. The branching, tree-like patterns are created by electrical dielectric breakdown, which requires 1,000-15,000V. Genuinely safe ways exist to get a similar branching, “electrified” look, and this guide covers both the real risk and the safe alternatives.
⚠️ Serious Safety Warning
Fractal/Lichtenberg wood burning uses lethal voltages (typically 1,000–15,000V from a microwave, neon-sign, or oil-burner transformer). At least 33 people died attempting this at home between 2017 and 2022, most from accidental contact with electrodes, the electrolyte solution, or a live wire. Never touch the wood, electrodes, or solution while the power source is energized — fully disconnect and wait before adjusting anything. Work on a dry, non-conductive floor, never work alone, and keep others away from a live setup. The American Association of Woodturners bans promoting or demonstrating this technique at its events. Commercial “kits” use the same lethal-voltage principle and carry the same risk if misused.
Source: peer-reviewed case reports on fractal wood burning injuries and fatalities (PMC/NCBI, National Library of Medicine)
Why Genuine Electrified Wood Art Needs Lethal Voltage
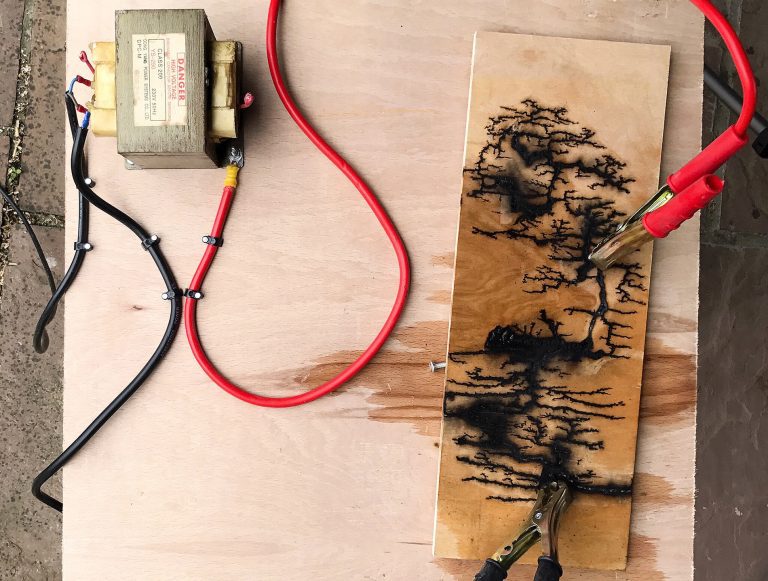
The branching Lichtenberg pattern forms because electricity finds the path of least resistance through the salt or baking-soda solution soaked into the wood, burning a channel as it goes and splitting into thinner branches as it loses energy. That dielectric-breakdown effect only happens at roughly 1,000-15,000V — a 12-24V battery, a wall outlet (120V), or any low-voltage source cannot produce it, no matter what wood species or electrodes are used. Every home fatality on record involved someone building or operating a high-voltage transformer setup (commonly a modified microwave, neon-sign, or oil-burner transformer) to reach that voltage range.

I’ve tested a lot of wood-finishing and engraving tools over 12+ years in the shop, and this is one technique I won’t demonstrate or recommend building at home. A pyrography pen or laser engraver gets you a comparable branching look with zero risk of electrocution — there’s no version of a homemade high-voltage rig that’s “safe enough” for a hobby project.
Setting Up A Safe Wood-Art Workspace
Whichever safe method you choose below, a few workspace basics apply: work in a well-ventilated area since both pyrography and laser engraving produce smoke, keep a fire extinguisher and first-aid kit within reach, keep your workspace free of clutter and flammable material near the tool, and use bright, flicker-free lighting so you can see fine detail in the burn or engraving. None of this requires any high-voltage equipment, insulated gloves, or electrical safety training — that is precisely the point of using a safe alternative instead of a DIY high-voltage rig.
Safe Ways To Get The Electrified-Wood-Art Look
If your goal is the branching, “electrified” visual rather than the specific chemistry of Lichtenberg burning, two tools get you there without touching a live high-voltage circuit:
- A pyrography (wood-burning) pen: a temperature-controlled hot tip lets you freehand branching, tree-like burn patterns by hand, at mains-safe low voltage, with full control over the design.
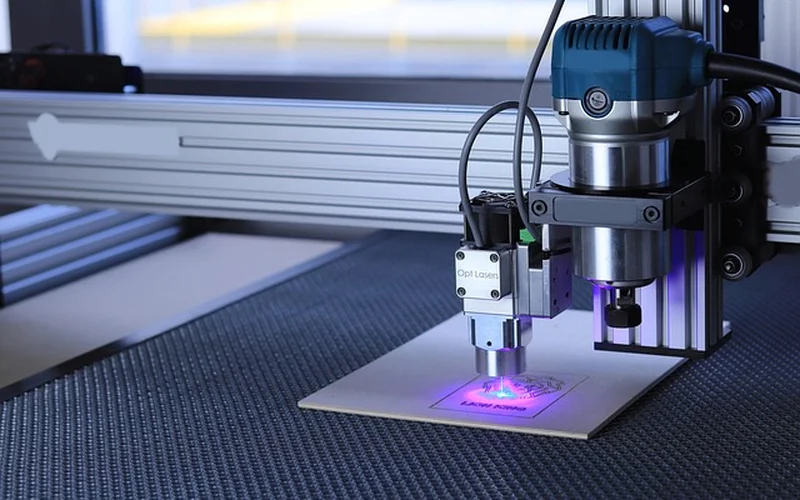
- A laser engraver: an enclosed, mains-powered laser can burn precise branching or organic patterns into wood automatically from a digital design — no open flame, no exposed high-voltage electrodes, and far more repeatable than any DIY electrical method.
Best Pyrography Starter Pick
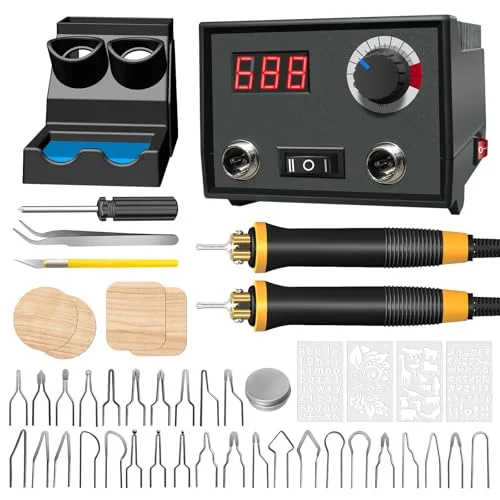
Digital-Temperature Pyrography Wood Burning Pen Kit
Freehand branching burn patterns by hand with a heated tip — mains-safe low voltage, no high-voltage risk.
- Best for: hand-drawn branching or fractal-look burn patterns
- Why we picked it: multiple interchangeable tips cover fine detail and broad strokes alike
- Main drawback: takes practice to get consistent line weight at first
Compare more safe wood-art essentials
 Option 1 Mini Desktop Laser Engraver
|
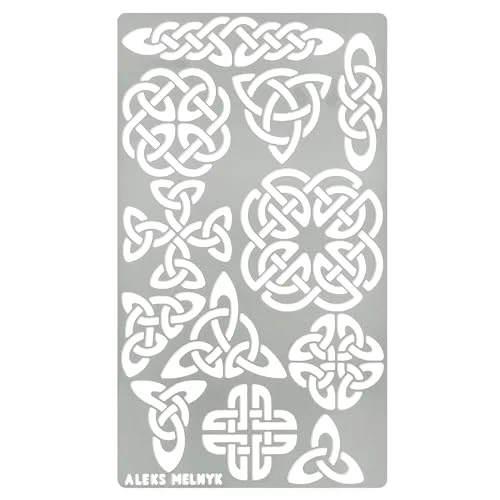 Option 2 Metal Pyrography Stencil Set
|
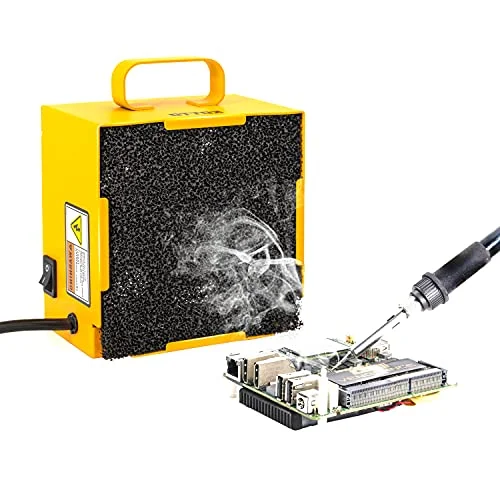 Option 3 Smoke Fume Extractor Fan
|
As an Amazon Associate we earn from qualifying purchases.
You can also learn more about pyrography specifically in our guide to burning wood designs safely, and see the full breakdown of why household electrical sources can’t replicate Lichtenberg patterns in our battery-charger safety guide.
Finishing And Displaying Your Wood Art
Once your piece is burned or engraved, a few finishing steps protect it and make it display-ready:
- Sand the surface lightly to smooth out any raised grain or rough edges before finishing.
- Apply a clear polyurethane or varnish to protect the wood from moisture and everyday wear.
- Consider a clear epoxy resin pour for a glossy, glass-like finish that also protects the burned pattern.
- If the piece will be exposed to sunlight, use a UV-protective finish to keep the pattern from fading.
For display, wall-mounted frames, tabletop easels, or custom stands all work well — group multiple pieces by size, color, or theme for a cohesive display, and use spotlights or adjustable LED lighting to bring out the pattern’s depth.
Frequently Asked Questions On How To Do Wood Art With Electricity
How Do You Electrify Wood For Art?
Genuine “electrified” branching patterns (Lichtenberg burning) require 1,000-15,000V and carry a real electrocution risk — at least 33 documented deaths since 2017. For the same visual effect without that risk, use a pyrography pen to burn branching patterns by hand, or a laser engraver to burn them automatically from a digital design.
How Do You Burn Designs In Wood With Electricity?
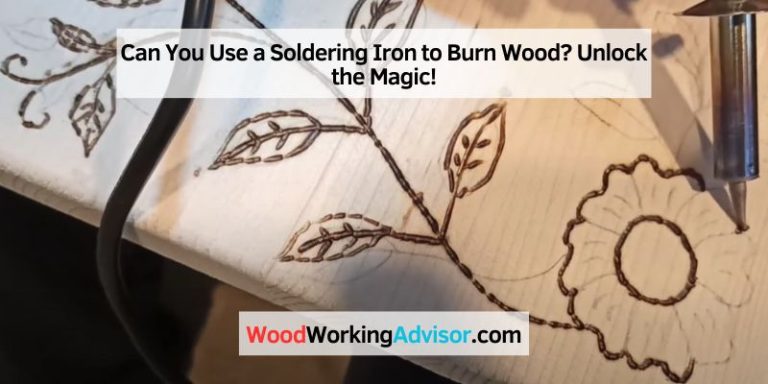
The safe way to burn designs into wood is with a pyrography (wood-burning) tool — a heated metal tip that creates burn marks on contact. Controlling the tip’s temperature and movement lets you create intricate designs safely, at mains-safe low voltage.
Can Fractal Wood Burning Be Done Safely?
Not at home. Genuine fractal (Lichtenberg) wood burning requires 1,000-15,000V, and at least 33 people have died attempting it since 2017 — the American Association of Woodturners bans promoting or demonstrating the technique at its events. If you want the branching look, use a pyrography pen or laser engraver instead; see our detailed breakdown of the real risk.
How Many Volts Are Needed For Fractal Burning?
Genuine Lichtenberg/fractal wood burning requires roughly 1,000-15,000V, typically from a modified microwave, neon-sign, or oil-burner transformer. This is a lethal voltage range, not a hobbyist-safe one — there is no way to scale it down and still get the effect.
Conclusion
Real Lichtenberg wood art requires lethal voltage, and no home setup makes that safe. If you want the branching, “electrified” look, a pyrography pen or a laser engraver gets you there with none of the electrocution risk — both are genuinely safe, repeatable, and don’t require any electrical safety training to use.