How to Fire Harden Wood (What the Science Actually Shows)
Fire hardening means rotating carved wood just above hot embers until it turns golden-brown, driving out moisture and slightly increasing surface hardness. A 2016 Royal Society study found the same charring cuts fracture strength by up to 36 percent, so it toughens a tool tip or bow belly but won’t fireproof a deck board or meet any fire-rated building code. This guide covers the real technique, what it’s good for, and where it stops working.
Fire hardening is a primitive wood-treatment method that uses direct, close-range heat to char and dry out a wood surface. It slightly raises surface hardness and helps the wood shed moisture, but it also measurably reduces the wood’s internal fiber strength. Use it to toughen small carved items — tool handles, tent stakes, digging sticks, bow bellies — not as a structural or fire-code treatment for lumber, decking, or framing. It’s one option among several for toughening a piece: a chemical wood hardener is the better choice when you need to reinforce soft or rotted spots rather than char a surface, and it’s worth reviewing alongside the rest of our wood care and protection guide before you commit to a technique.
Does Fire Hardening Actually Make Wood Stronger?
Best Fire-Hardening Safety Pick
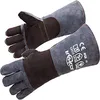
RAPICCA Fireplace Fire Pit Gloves, 932°F Fireproof Leather – $22.99
The Step 2 and Step 3 rotating-over-embers work in this guide means your hand is close to the heat for the whole process — a long, high-temp glove keeps your forearm covered while you turn the piece.
- Best for: handling wood right at the fire’s edge and picking up hot coals or embers safely
- Why we picked it: rated to 932°F and long enough (16in) to protect your forearm while rotating a piece over the flame
- Main drawback: bulkier than thin work gloves, so fine carving still needs bare hands
Compare more fire-hardening safety gear
 Option 1 TOPDC Welding Gloves, 482°F Heat Resistant – $12.99
|
 Option 2 Etekcity Infrared Thermometer Gun – $28.99
|
 Option 3 IR Laser Thermometer Gun (Budget) – $14.99
|
As an Amazon Associate we earn from qualifying purchases.
Mostly no — and this is where most articles on this topic get it wrong. Researchers Antony Ennos and Tak Lok Chan tested the popular assumption by fire-treating coppiced hazel poles the same way early humans would have charred a spear point, then comparing them to naturally seasoned poles of the same wood.
📊 A Shore D hardness test showed fire-treated wood was slightly harder on the surface, but flexural tests showed it was 30% weaker and its work of fracture (toughness) dropped 36% compared to untreated, seasoned wood of the same species. — Source: Ennos & Chan, Biology Letters, Royal Society, 2016
In practical terms: fire hardening trades a little surface hardness for a real loss in bend and impact strength. Researchers now think early toolmakers used it mainly to sharpen and shape a point faster over a fire, not because it produced a mechanically stronger weapon — the hardening was likely a side effect, not the goal. That doesn’t make the technique useless; it just means the honest reason to fire harden something is moisture resistance and a faster, harder-wearing surface, not raw strength.
Does Charring Wood Make It Fireproof?
No — and this claim gets repeated a lot online. Fire safety engineers are genuinely split on how much a char layer protects the wood underneath: some argue charcoal insulates and slows further burning, while others point out that char is still fuel that keeps burning at high enough temperatures. Either way, a charred surface is not a substitute for a code-rated fire-retardant treatment, and no residential fire-hardening project meets a wildfire building code on its own.
How to Fire Harden Wood, Step by Step
This is the traditional method used for tool handles, stakes, and spear or arrow points — small, hand-held pieces you can rotate over a fire. It’s a visual process, not a thermometer-controlled one; you’re watching color, not chasing a specific temperature.
Step 1: Carve And Shape The Wood First
Choose a well-seasoned (air-dried) hardwood and carve it close to its final shape, including a rough point or edge, before you char it. Charring dulls an edge, so you’ll resharpen after — carving first saves you from cutting through the hardened layer later.
Step 2: Build A Small, Controlled Fire
Use a small fire or a bed of glowing coals rather than a large open blaze — you want steady, even heat you can control by adjusting distance, not a flame you’re fighting. Clear the area of anything flammable and keep water or an extinguisher within reach.
Step 3: Rotate The Wood Just Above The Heat
Hold the wood just above the flame or embers — not in direct contact — and rotate it constantly, the same way you’d turn a marshmallow to toast it evenly instead of torching one side.
Step 4: Stop At Golden-Brown, Not Black
Watch the surface color, not a thermometer — there’s no agreed-on target temperature for this technique in either the historical or modern how-to record. You’re done when the wood reaches an even, toasted golden-brown. Solid black charring has gone too far and weakens the piece further than the technique already does.
Step 5: Cool, Scrape, And Re-Sharpen
Let the wood cool completely on its own — don’t quench it in water, which can crack a hardened surface instead of protecting it. Once cool, scrape off any loose char, rub in a little plant or animal oil if you want extra moisture resistance, and resharpen the point, since hardening dulls it.
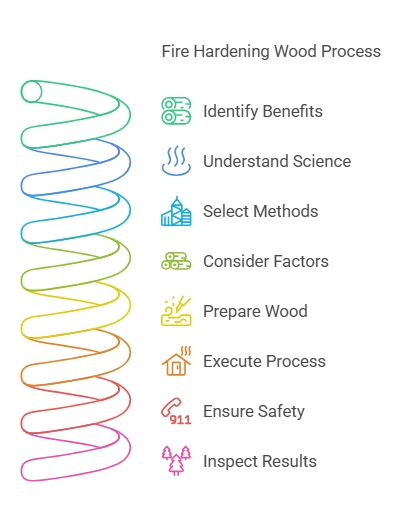
Fire-Hardening a Traditional Bow (Belly Tillering)
Traditional bowyers use a version of this technique on the belly (the compression side) of a bow stave, not the whole limb. Instead of a quick toast, heat is applied slowly and repeatedly with a small torch or over coals, scraping the charred wood away between passes and checking the tiller as you go.
- Done well, belly fire-hardening can raise a bow’s draw weight by up to roughly 25% without adding mass, and makes the belly noticeably more water-resistant.
- It also helps “set” a reflexed or recurved profile so the stave holds its shape.
- Best candidates are tension-strong, compression-weak white woods — elm, white oak, hickory, dogwood, and sweetgum are common choices.
- Go slow: a hotter fire needs less time, and rushing it will scorch through and ruin the stave rather than harden it.
Furniture, Decking, or Full Boards: A Different Technique Entirely
Rotating a piece by hand over a campfire only works at tool-and-stake scale. You can’t safely rotate a deck board or a table leg over an open flame, and trying to scales up the risk far more than the benefit. If you’re trying to fire-treat furniture-scale lumber, siding, or decking, the real-world technique is a distinct, better-documented one: shou sugi ban (yakisugi), the Japanese method of torch-charring flat boards, brushing off loose soot, and sealing with oil. For the full process on boards and siding, see our dedicated Japanese wood-burning (shou sugi ban) guide.
If your real question is the broader one — whether burning or charring preserves wood in general, including in ground contact — our explainer on burning and wood preservation and our piece on how long charred wood lasts in the ground cover that question directly, since it’s a different angle than hardening a hand tool.
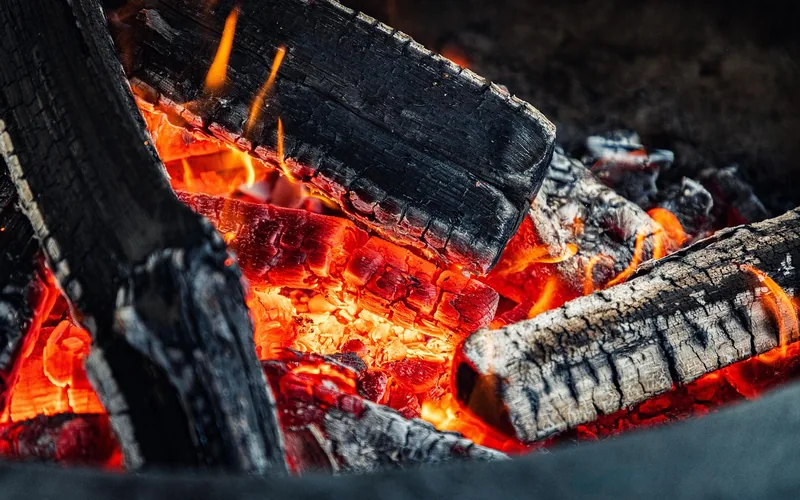
Best Wood Species for Fire Hardening
Dense hardwoods hold up best to close-range heat and char more evenly than soft, resinous species.
- Good choices: oak, hickory, ash, locust, maple, and osage orange — dense, and widely used historically and by modern bowyers and bushcrafters.
- Avoid: pine, poplar, and aspen — these softwoods tend to scorch, smoke, and burn through rather than char evenly.
- Moisture: well-seasoned (air-dried) wood chars far more predictably than green wood, which will hiss, steam, and split instead of hardening cleanly.
Safety Precautions
Fire hardening involves an open flame at close range for an extended time, so treat it with the same care as any other campfire task.
- Protective gear: heat-resistant gloves, safety glasses, and clothing that covers your arms — sparks and embers pop unpredictably.
- Location: work outdoors or in a well-ventilated space, clear of anything flammable, and never in an enclosed room.
- Supervision: never leave the fire unattended, and keep a way to put it out immediately within reach.
- Local rules: open burning is restricted or banned in many areas during dry seasons — check local fire regulations before you start.
“We treat fire hardening as a shaping and finishing step, not a strength upgrade. A scorched tent stake or tool handle sheds water and looks great, but we still baby anything load-bearing — the char is cosmetic and moisture-resistant, not structural.”
Frequently Asked Questions
What is fire hardening wood and how does it work?
Fire hardening is a traditional technique where wood is rotated close to fire or embers until the surface chars to a golden-brown. The heat drives out moisture and slightly increases surface hardness, though research shows it also reduces the wood’s internal flexural strength.
Does fire hardening actually make wood stronger?
Not overall. A 2016 study in Biology Letters found fire-treated wood was slightly harder on the surface but 30% weaker in bending and 36% less tough than seasoned, untreated wood of the same species. It’s a hardness-for-toughness tradeoff, not a pure strength gain.
What temperature do you fire harden wood at?
There’s no standard target temperature — this is a visual, not a measured, process. You hold the wood just above the flame or embers and rotate it until the surface reaches an even golden-brown; solid black charring means you’ve gone too far.
Can you fire harden furniture or full boards of lumber?
Not with this hand-rotated technique — it only works at tool-and-stake scale. For furniture-scale boards, siding, or decking, the equivalent real technique is shou sugi ban (yakisugi): torch-charring flat boards, brushing off soot, then sealing with oil.
How do you fire harden (cure) a traditional bow?
Bowyers apply slow, repeated heat to the belly (compression side) of the stave with a torch or coals, scraping charred wood away between passes. Done correctly, it can raise draw weight by up to roughly 25% and improve water resistance, best on tension-strong woods like hickory, elm, or white oak.
Does charring wood make it fireproof?
No. Fire safety experts are divided on how much a char layer slows further burning, but a charred surface is not a certified fire-retardant treatment and doesn’t meet any fire-rated building code on its own.
What wood works best for fire hardening?
Dense hardwoods — oak, hickory, ash, locust, maple, and osage orange — char evenly and hold up best. Avoid pine, poplar, and aspen, which tend to scorch and burn through instead of hardening cleanly.
Conclusion
Fire hardening is a genuine, centuries-old technique for toughening small wood tools, stakes, and bow bellies — it drives out moisture, hardens the surface, and adds some water resistance, at the honest cost of some internal strength. It isn’t a fireproofing method, and it doesn’t scale up to furniture or decking the way some guides suggest; for board-scale work, shou sugi ban is the right technique to reach for instead. Used for what it’s actually good at, and paired with the safety precautions above, it’s a worthwhile skill for tool handles, stakes, and a DIY outdoor project or two.
Sponsored / affiliate links. As an Amazon Associate I earn from qualifying purchases. I may earn additional commission from eligible campaigns.