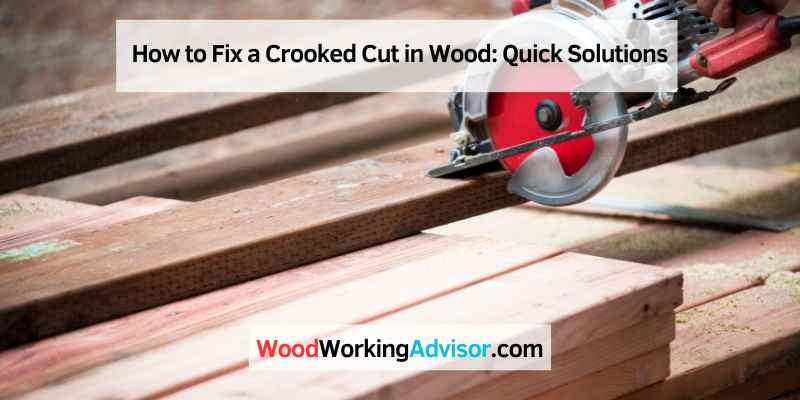
How to Fix a Crooked Cut in Wood: Quick Solutions
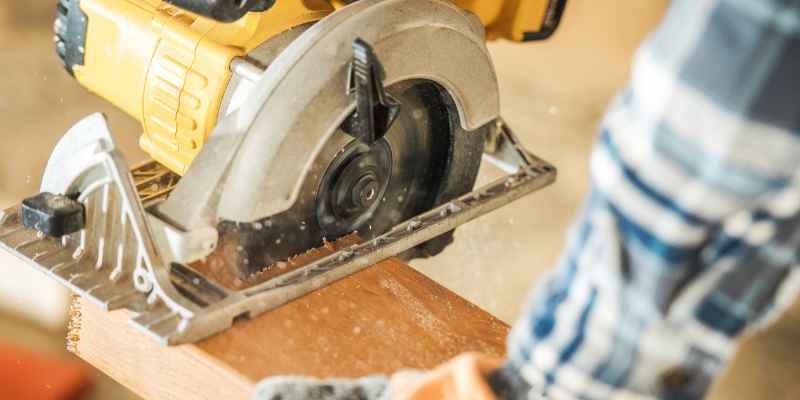
To fix a crooked cut in wood, you can use a hand plane or a belt sander for small adjustments. For larger corrections, you may need to use a circular saw or a table saw.
Start by marking the desired cut line and use a straight edge as a guide. Then, carefully trim or shave off the excess wood until the cut is straight. Remember to wear safety goggles and work slowly and methodically to ensure accuracy and prevent any damage to the wood.
With these steps, you can easily fix a crooked cut in wood and achieve a clean and precise result.
Introduction To Woodworking Challenges
The Frustration Of Imperfect Cuts
Woodworking can be immensely satisfying, but it also comes with its fair share of challenges. One of the most common frustrations is dealing with imperfect cuts in wood. Even the smallest misalignment or crooked cut can significantly impact the quality of your project, leading to a great deal of frustration for any woodworker.
Importance Of Precision In Woodworking
Precision is paramount in woodworking. Whether you are crafting intricate furniture or simple DIY projects, the accuracy of your cuts can make or break the final outcome. Achieving precise cuts not only enhances the aesthetics of your work but also ensures structural integrity and longevity.
Identifying The Crooked Cut
Visual Inspection Techniques
Visual inspection is the first step to identifying a crooked cut in wood. Look along the length of the cut, noting any noticeable bends or deviations from a straight line.
Tools To Measure Straightness
Measuring tools such as a straightedge, combination square, or laser level can help accurately determine the degree of crookedness in a wood cut. These tools provide precise measurements, allowing for a clear assessment of the cut’s straightness.
Immediate Actions Post-crooked Cut
When a woodworker encounters a crooked cut, taking immediate actions is crucial to rectify the situation. The steps taken right after the mishap can significantly impact the outcome, so it’s important to act promptly and appropriately.
Stopping The Saw Safely
To avoid any further damage, immediately turn off the saw after noticing the crooked cut. This prevents additional errors and ensures safety in the work area.
Assessing The Extent Of The Deviation
After stopping the saw, carefully examine the wood to assess the extent of the deviation. This evaluation will help in determining the best course of action for fixing the crooked cut.
Tools And Materials Needed For Repair
When fixing a crooked cut in wood, having the right tools and materials is essential for a successful repair. Below are the tools and materials needed for this task.
List Of Essential Repair Tools
- Saw
- Sandpaper
- Wood glue
- Clamps
- Wood filler
- Paint or finish
Selecting The Right Filler Material
Choosing the appropriate filler material is crucial for ensuring a seamless repair. Consider the following options:
- Wood Putty: Ideal for small cracks and holes.
- Epoxy Resin: Suitable for larger gaps and missing wood pieces.
- Wood Shavings and Glue: Perfect for matching the wood grain and color.
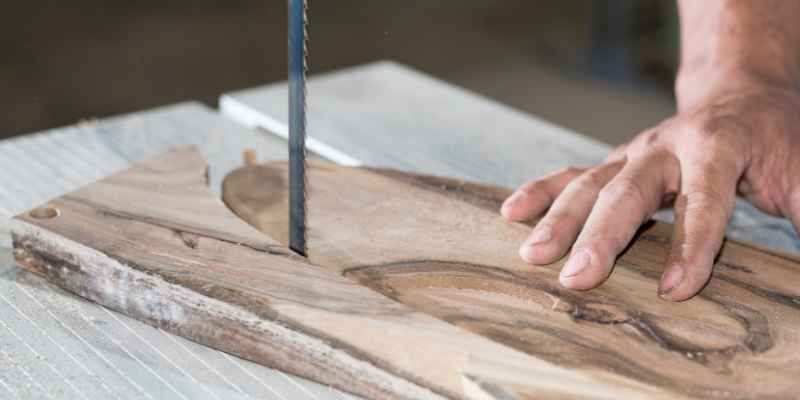
Straightening The Cut: Step-by-step Guide
Learn how to straighten a crooked wood cut with our detailed step-by-step guide. Fixing a misaligned cut is easy with these practical tips and techniques. Master the art of woodworking with precision and accuracy.
Fixing a crooked cut in wood can be a frustrating experience, but with the right tools and techniques, it can be a simple fix. One of the most important steps in straightening a crooked cut is clamping and securing the wood. This ensures that the wood does not move during the cutting process and results in a straighter cut. Additionally, using guided sawing techniques can help to ensure that the cut is straight and precise.
Clamping And Securing The Wood
Before beginning the cutting process, it is important to clamp and secure the wood in place. This will prevent the wood from moving during the cutting process and will help to ensure a straighter cut. To clamp and secure the wood, follow these steps:
- Place the wood on a stable work surface
- Use clamps to secure the wood to the work surface
- Ensure that the wood is level and straight
- Check the clamps to ensure that they are tight
Guided Sawing Techniques
Using guided sawing techniques can help to ensure that the cut is straight and precise. Guided sawing techniques involve using a straight edge or guide to help guide the saw in a straight line. To use guided sawing techniques, follow these steps:
- Choose a straight edge or guide
- Place the guide on the wood, ensuring that it is straight and level
- Hold the saw against the guide and begin the cut
- Continue to follow the guide as you cut through the wood
By following these steps, you can easily straighten a crooked cut in wood. Remember to take your time and be patient, as rushing the process can result in further mistakes.
Sanding And Smoothing Edges
When fixing a crooked cut in wood, sanding and smoothing the edges is a crucial step to achieve a polished finish.
Choosing The Correct Grit
Select the appropriate grit sandpaper based on the level of correction needed.
Manual Vs. Power Sanding
Consider whether manual sanding or using a power sander is more suitable for the project.
Applying Wood Filler For Gaps
Fixing a crooked cut in wood can be done by applying wood filler for gaps. Simply fill the gaps with wood filler, let it dry, and then sand it down for a smooth and even finish. This simple solution can help you achieve a professional-looking result.
Mixing And Applying Wood Filler
When it comes to fixing a crooked cut in wood, applying wood filler for gaps is an effective solution. Before applying wood filler, make sure to thoroughly mix it according to the manufacturer’s instructions. The consistency should be smooth and free of any lumps. Using a putty knife, apply the wood filler to the gap or hole in the wood. Make sure to overfill the gap slightly to compensate for any shrinkage during the drying process.
Sanding For A Seamless Finish
After the wood filler has dried completely, it’s time to sand the surface for a seamless finish. Begin by using coarse-grit sandpaper to remove any excess wood filler and level the surface. Gradually work your way up to finer-grit sandpaper until the surface is smooth and even. Be sure to sand in the direction of the wood grain to avoid any scratches or marks on the surface. Once the sanding is complete, wipe the surface clean with a damp cloth.
In conclusion, applying wood filler for gaps is a great way to fix a crooked cut in wood. By following these simple steps of mixing and applying the wood filler and sanding for a seamless finish, you can restore the appearance of your woodwork.
Finishing Touches
Correcting a crooked cut in wood can be achieved by using sandpaper to even out the edges and create a smooth finish. An alternative method involves using a wood plane to shave off excess material and achieve a straight edge.
These finishing touches are essential for a professional-looking result.
When it comes to fixing a crooked cut in wood, the finishing touches are just as important as the initial repair. The final steps of staining and applying a protective coat will not only make the repair look seamless, but also help to protect the wood from future damage. Here’s how to do it:
Staining To Match The Existing Wood
To ensure the repair blends in with the surrounding wood, you’ll need to stain it to match. Start by sanding the repaired area with fine-grit sandpaper to smooth out any rough spots. Then, choose a stain that matches the color of the existing wood. Apply the stain to the repaired area using a clean cloth, making sure to blend it in with the surrounding wood. Let the stain dry completely before moving on to the next step.
Applying A Protective Coat
Once the stain has dried, it’s time to apply a protective coat to the repaired area. Choose a clear wood finish that matches the sheen of the surrounding wood. Apply the finish using a clean brush or cloth, making sure to cover the entire repaired area. Allow the finish to dry completely, then lightly sand the area with fine-grit sandpaper to smooth out any imperfections. Apply a second coat of finish if desired, then allow it to dry completely before using the wood.
In conclusion, when fixing a crooked cut in wood, the finishing touches are crucial for a seamless repair. Staining the repair to match the existing wood and applying a protective coat will not only make the repair look great, but also help to protect the wood from future damage. Follow these steps and your repair will look like it never happened.
Preventing Future Crooked Cuts
To fix a crooked cut in wood, ensure the saw blade is sharp and properly aligned. Take time to measure and mark the cut line accurately before sawing. Use a guide or fence to keep the saw straight and prevent future crooked cuts.
Ensuring future precision in your wood cutting projects is essential to avoid crooked cuts. By focusing on Proper Saw Blade Maintenance and employing Techniques for Accurate Measurements, you can significantly reduce the chances of encountering crooked cuts.
Proper Saw Blade Maintenance
- Regularly clean and inspect the saw blade for any debris or damage.
- Ensure the blade is sharp to facilitate smooth and accurate cuts.
- Replace the blade if it shows signs of wear to maintain cutting precision.
Techniques For Accurate Measurements
- Use a high-quality measuring tape or a reliable ruler for precise measurements.
- Double-check measurements before making any cuts to avoid errors.
- Mark the cutting line clearly to guide the saw along the correct path.
Advanced Tips And Tricks
Fixing a crooked cut in wood can be a challenging task, even for experienced woodworkers. However, with some advanced tips and tricks, you can achieve precise and accurate cuts. In this section, we will explore some of the best techniques to fix a crooked cut in wood.
Using Jigs For Precision
Jigs are an essential tool for precision cutting. They can help you achieve accurate and repeatable cuts every time. There are various types of jigs available, such as crosscut sleds, miter gauges, and tapering jigs, to name a few. Depending on the type of cut you need to make, you can choose the appropriate jig to ensure precision and accuracy.
For instance, if you need to make a crosscut, a crosscut sled can help you achieve a straight and accurate cut. Similarly, a miter gauge can help you make precise angled cuts. By using jigs, you can reduce the chances of making a crooked cut and ensure that your cuts are always accurate.
Learning From Mistakes
Even the most experienced woodworkers can make mistakes. However, the key is to learn from these mistakes and avoid making them in the future. When you make a crooked cut, take the time to analyze what went wrong and how you can avoid making the same mistake again.
For example, you may have applied too much pressure on the saw, causing it to deviate from the intended path. Or, you may have used a dull blade, resulting in a crooked cut. By identifying the cause of the problem, you can take steps to avoid making the same mistake in the future.
Moreover, you can use the mistake to your advantage by turning it into a learning opportunity. By analyzing your mistakes, you can gain a deeper understanding of the cutting process and improve your skills as a woodworker.
By using jigs and learning from your mistakes, you can fix a crooked cut in wood and achieve precision and accuracy in your cuts. Remember to take your time and be patient, and with practice, you can become a skilled woodworker capable of making precise and accurate cuts every time.
Frequently Asked Questions
How Can I Fix A Crooked Cut In Wood?
To fix a crooked cut in wood, start by marking the correct cut line. Then, use a guide or straight edge to guide your saw for a precise cut. Ensure your saw blade is sharp to prevent splintering. Sand the edges for a smooth finish.
What Tools Do I Need To Fix A Crooked Cut In Wood?
To fix a crooked cut in wood, you’ll need a pencil for marking, a straight edge or guide for accuracy, a sharp saw for recutting, and sandpaper for finishing the edges. Having these tools on hand will help you achieve a straight and clean cut.
Is It Possible To Salvage A Crooked Cut In Wood?
Yes, a crooked cut in wood can be salvaged by carefully recutting along the correct line. Ensure to use a guide or straight edge for precision and take your time to make the necessary adjustments. With patience and the right tools, you can salvage the project.
Why Is It Important To Fix A Crooked Cut In Wood?
Fixing a crooked cut in wood is important to maintain the structural integrity and aesthetics of the project. A straight cut ensures proper fitting and alignment of pieces, resulting in a professional-looking finish. Correcting the cut also prevents wastage of materials and time.
Conclusion
Fixing a crooked cut in wood can be a simple yet effective process with the right approach. By using the techniques mentioned in this blog post, such as measuring accurately, using a guide, and making precise adjustments, you can achieve a straight and clean cut.
Remember to take your time, be patient, and practice these methods to improve your woodworking skills. With practice and attention to detail, you’ll be able to create professional-looking projects every time.