How to Identify Wood Types: 5-Step Key + Species Chart
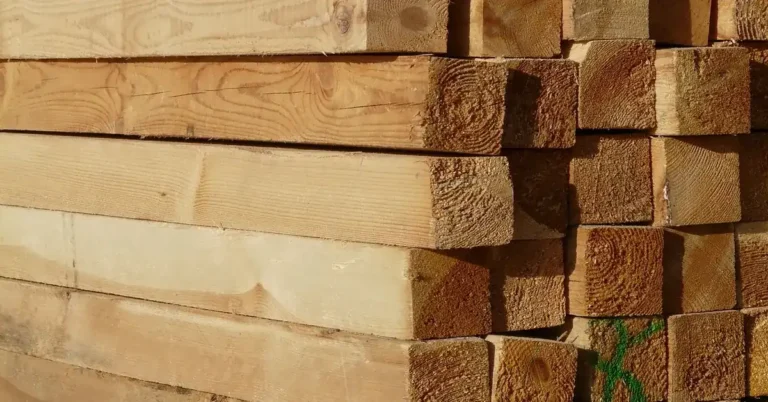
Identify a wood type by checking four clues in order: hardwood or softwood, end-grain pores and rays, weight, then color last, because stain, sunlight and age all change color. A 10x loupe on a freshly cut end grain separates most common species. This guide covers a 5-step key, an 8-species chart with density and Janka hardness, and the look-alike pairs (red vs white oak, ash vs oak) that trip people up.
Identify Wood Types: What You Need Before You Start
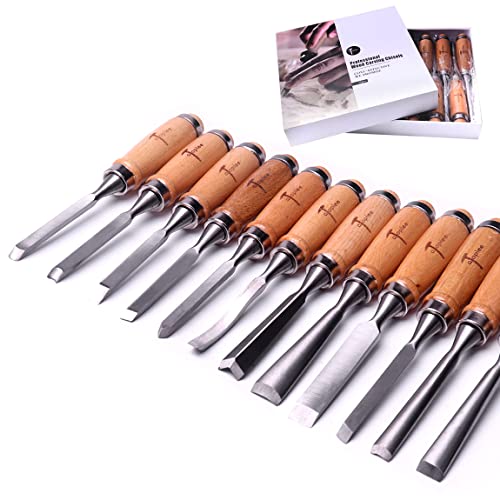
You need a sharp saw or chisel for a clean cut, sandpaper from about 100 up to 220 grit, a loupe, and a kitchen scale. The Wood Database identification guide recommends roughly 8x to 15x magnification for reading end grain, so a 10x loupe is the sweet spot. Wear a dust mask when sanding the cut end, because fine wood dust irritates the lungs.
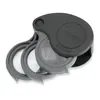 |
Best Wood ID Loupe Pick Carson TriView 5x/10x/15x Folding Loupe – $11.99 Three swing-out lenses cover the 8x to 15x range this guide uses for reading pores and rays on a sanded end grain.
|
As an Amazon Associate we earn from qualifying purchases.
Step 1: Hardwood or Softwood? Read the End Grain
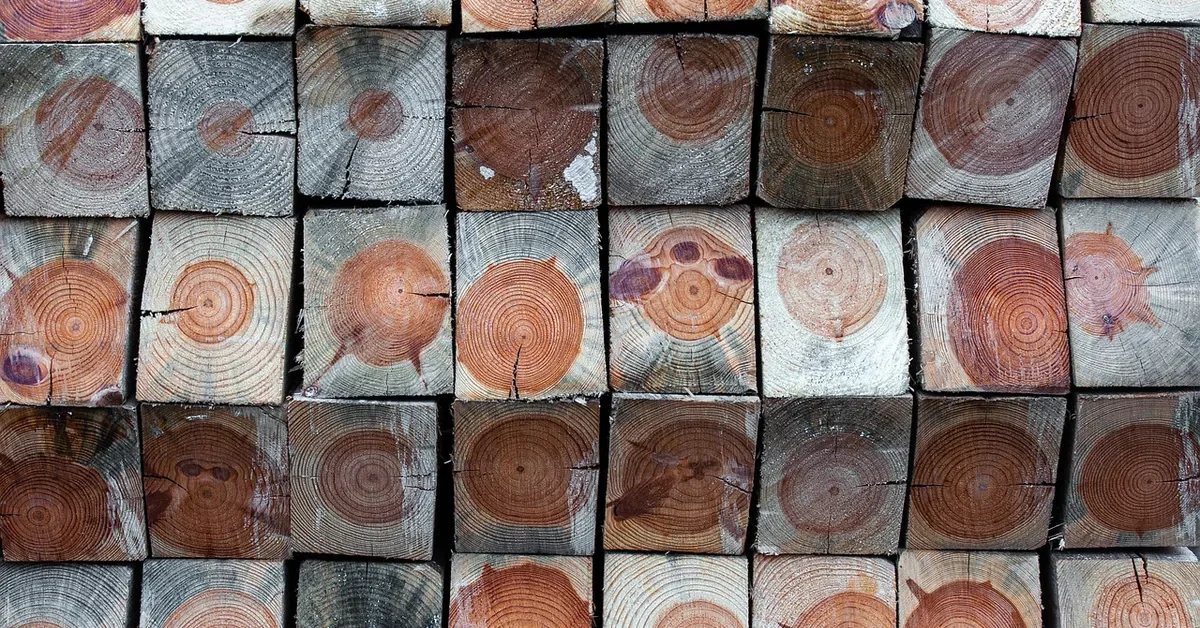
Hardwoods have vessel elements, which show up as pores on the cut end. Softwoods have no vessels at all; they are built from long tracheid cells, so their end grain looks fine and pore-free. According to the USDA Forest Products Laboratory’s Wood Handbook, vessels are the defining difference between the two groups.
One correction to a common claim: not every softwood shows resin canals. The Wood Handbook lists resin canals in pine, spruce, Douglas-fir and larch, so tiny resin dots point to those four, while other softwoods such as hemlock and cedar will look plain.
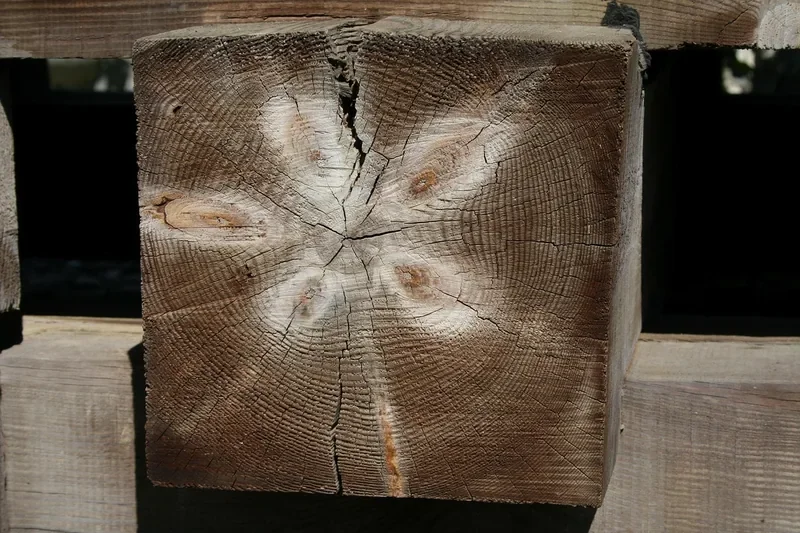
Do not rely on the names. “Hardwood” and “softwood” describe cell structure, not hardness: yellow poplar is a hardwood rated 540 lbf on the Janka scale, while eastern white pine, a softwood, is 380 lbf. For the full explanation see our guide on why ash counts as a hardwood, or the broader types of wood overview for hardwood, softwood and engineered categories.
Step 2: Classify the Pores (Ring-Porous, Semi-Ring-Porous or Diffuse)
Once you know it is a hardwood, look at how the pores are arranged across each growth ring. Three patterns cover nearly every North American species.
- Ring-porous: large pores form in the early part of each ring, then small ones follow. Oak and ash are the classic examples, and the pore band is often visible without a loupe.
- Diffuse-porous: small pores of similar size are spread evenly through the whole ring. Hard maple and yellow poplar fall here.
- Semi-ring-porous: pores shrink gradually from early to late wood instead of stopping abruptly. Black walnut is the usual example, and black cherry sits between semi-ring and diffuse.

Make the cut with a sharp blade rather than a dull saw, because tearing smears the pores shut. Denser woods are worth sanding through to 220 grit before you look.
Step 3: Check the Rays
Rays are thin lines that radiate from the center of the log. They are the fastest way to separate oak from other ring-porous woods. Both white oak and red oak have rays of two sizes, narrow and very wide, and the wide ones can be seen without magnification. White ash is also ring-porous but has only narrow rays, which is why ash end grain looks plain next to oak. Black walnut and yellow poplar rays are usually invisible without magnification.
Step 4: Weigh It to Get Density
Weight narrows the field better than most people expect. Measure the board in inches, multiply length by width by thickness, and divide by 1,728 to get cubic feet. Then divide the weight in pounds by that volume.
For example, a 12 x 6 x 0.75 inch board is 54 cubic inches, or 0.03125 cubic feet. If it weighs 1.4 lb, its density is about 44.8 lb/ft3, which lands in the hard maple, red oak and ash range of 42 to 44 in the chart below. The same board in eastern white pine would weigh only about 0.8 lb.
Use kiln-dried wood for this. Published densities are at about 12 percent moisture, so a wet or freshly sawn board reads much heavier and will mislead you.
Step 5: Check Grain, Color and Texture Last
Grain pattern and color are the first things people notice and the least reliable. Straight grain, curly or figured grain and interlocked grain can all occur within a single species, and a finish hides both color and grain. Black cherry is the best example: the heartwood starts light pinkish brown and darkens to a medium reddish brown with age and light exposure, so a new and an old cherry board can look like two different woods.
Check an unfinished surface, such as the back of a panel or a freshly planed edge. For grain-pattern photos and a color comparison, see our wood grain comparison chart, which focuses on surface grain rather than end grain. If the wood might be teak, our teak identification checks cover the species-specific tests.
Wood Identification Chart: 8 Common Species
Densities are dried values at about 12 percent moisture and Janka is side hardness in pounds-force. All figures come from the Wood Database species profiles.
| Species | Cell structure | Rays | Density (lb/ft3) | Janka (lbf) |
|---|---|---|---|---|
| White oak | Ring-porous, tyloses plug the large pores | Narrow and very wide, wide ones visible | 47.0 | 1,350 |
| Red oak | Ring-porous, open pores, no tyloses | Narrow and very wide, wide ones visible | 43.8 | 1,220 |
| White ash | Ring-porous, 2 to 4 rows of large pores | Narrow only | 42 | 1,320 |
| Hard maple | Diffuse-porous, small to medium pores | Narrow and wide, visible | 44.0 | 1,450 |
| Black walnut | Semi-ring-porous | Narrow to medium, invisible without a loupe | 38 | 1,010 |
| Black cherry | Semi-ring to diffuse-porous | Medium, barely visible | 35.0 | 950 |
| Yellow poplar | Diffuse-porous, small pores | Invisible without a loupe | 29 | 540 |
| Eastern white pine | No pores, large evenly spaced resin canals | Not a key feature | 25 | 380 |
As a quick weight check, a board foot of white oak (12 x 12 x 1 inches) weighs about 3.9 lb, while the same volume of eastern white pine is about 2.1 lb. That is simply the table density divided by 12.
Look-Alike Pairs That Fool People
| Pair | The tell |
|---|---|
| Red oak vs white oak | White oak pores contain tyloses, bubble-like blockages, while red oak pores are open. White oak face-grain rays can run taller than 1 inch, while red oak rays rarely exceed it. Color helps only a little: an olive cast for white oak and a reddish cast for red. |
| Ash vs oak | Both are ring-porous with similar density, but ash has only narrow rays and oak has conspicuous wide ones. |
| Hard maple vs yellow poplar | Both are diffuse-porous and pale, but maple is 44 lb/ft3 and 1,450 lbf against poplar’s 29 lb/ft3 and 540 lbf. Maple is about 50 percent denser and nearly three times as hard. |
| Black walnut vs black cherry | Walnut is semi-ring-porous with a dark chocolate color and darker streaks. Cherry has a single continuous row of early pores and a reddish-brown tone. |
For single-species walkthroughs see our maple identification guide and the oak vs maple comparison.
Data point: the Wood Database identification guide recommends 8x to 15x magnification for reading end grain, and its profiles note that white oak has tyloses in its large pores while red oak does not. Source: Wood Database, white oak profile
Identifying Wood in Furniture or Doors
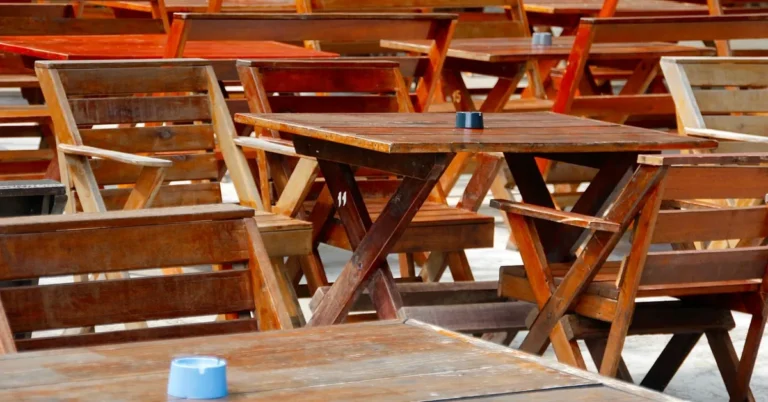
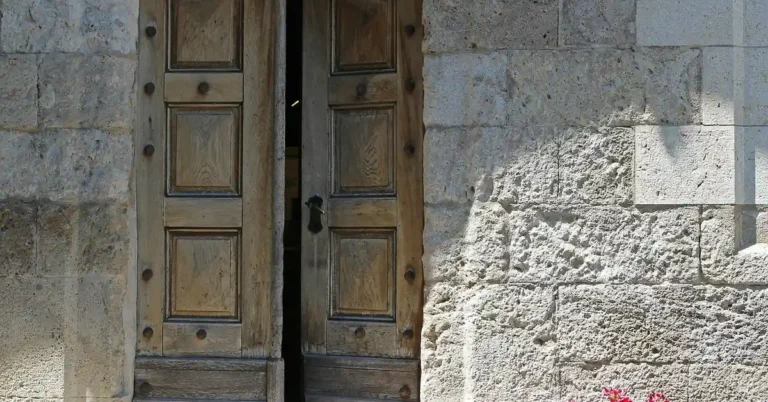
Furniture and doors are harder than raw lumber because the surface is usually stained, finished or painted. Look at an unfinished spot: the underside of a drawer, the back of a panel, or inside a joint. Door stiles and rails often expose a true end-grain face at the corners, so you can apply Steps 1 to 4 there. Be aware that some doors and panels are veneer over a core, in which case the visible surface may not match the wood underneath.
When the Tests Disagree
Smell can break a tie on freshly cut wood, because cedar and pine have recognizable aromas, but it fades with age and is not reliable alone. How the wood works under hand tools is another clue, as with carving by hand, where interlocked grain tears out and fine even grain cuts clean. If you still cannot decide, bring a small sanded sample to a lumberyard or a local woodworking club and ask someone experienced to look at it.
Frequently Asked Questions
What Is the Most Reliable Way to Identify Wood?
Examine the end grain under 8x to 15x magnification. Pore arrangement, ray width and the presence of resin canals narrow a sample to a small group of species, which is far more reliable than color or surface grain.
How Do You Tell Hardwood From Softwood?
Look at the cut end with a loupe. Hardwoods have visible pores (vessels). Softwoods have no pores, and only pine, spruce, Douglas-fir and larch show resin canals. The terms describe cell structure, not hardness.
How Do You Tell What Wood a Door or Furniture Piece Is Made From?
Check an unfinished edge, drawer underside or panel back, since stain and paint hide color and grain. Door corners often expose end grain you can read with a loupe. Weight and ray width add supporting clues.
What’s the Difference Between Ring-Porous and Diffuse-Porous Wood?
Ring-porous woods such as oak and ash have large pores concentrated in the early part of each growth ring. Diffuse-porous woods such as hard maple and yellow poplar spread small pores evenly across the ring. Semi-ring-porous woods such as black walnut fall between the two.
Can You Identify Wood Without Cutting It?
Partly. Weight, rays on a planed face, and the grain on an unfinished surface give clues. But distinguishing look-alikes, such as red oak from white oak, usually needs a clean end-grain cut and magnification.
Conclusion
Work the key in order: cell structure, pores, rays, weight, and color last. Keep a small sanded sample and a loupe in the shop, and compare against the chart; most common species resolve in a few minutes.
Sponsored / affiliate links. As an Amazon Associate I earn from qualifying purchases. I may earn additional commission from eligible campaigns.