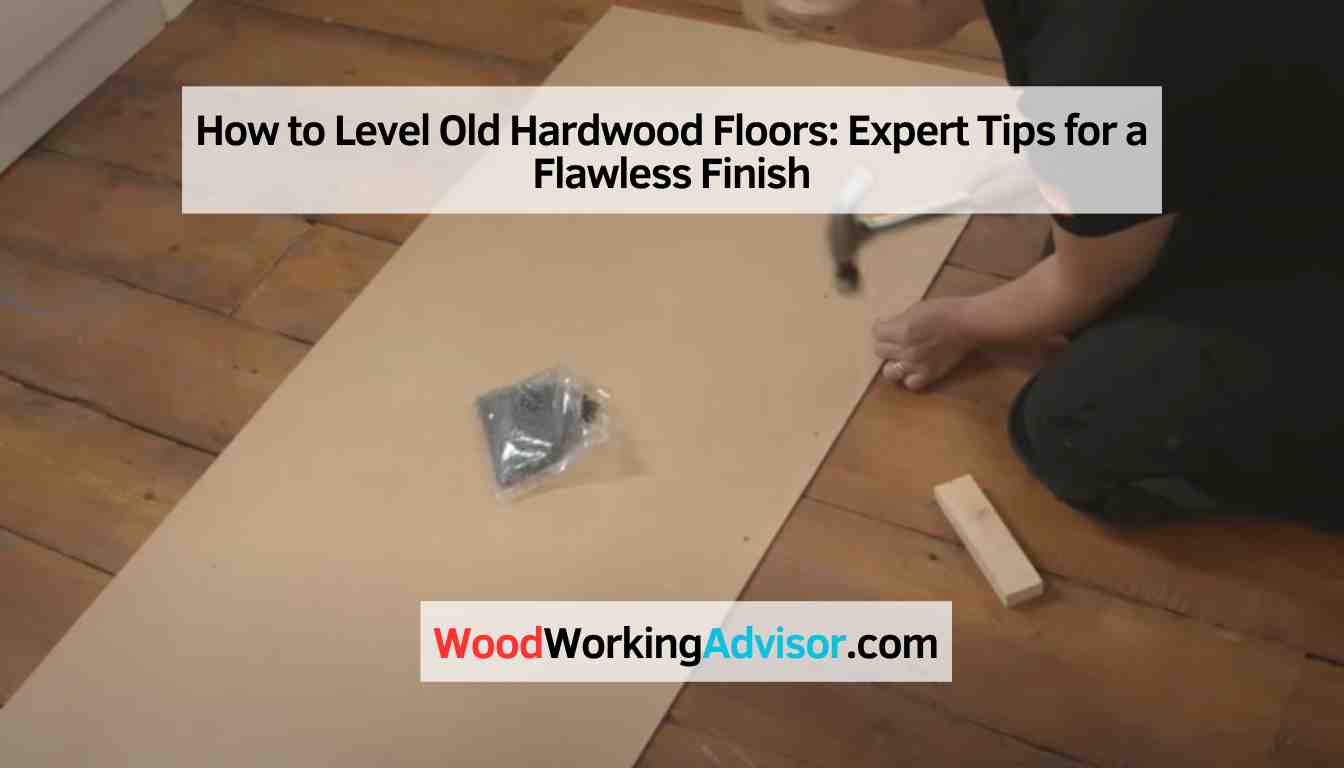
How to Level Old Hardwood Floors: Check Your Wear Layer Before You Sand
Old hardwood floors need a wear-layer check before any leveling work — floors sanded four or more times may have under 1/16 inch of surface material left. Sand an already-thin floor and you will expose blind nails (shiners), creating a surface that is worse than what you started with. This guide covers how to check remaining wear layer, pick the right leveling method (sanding, self-leveling compound, or plywood overlay), and what each approach costs.
Quick Answer
Level old hardwood floors by checking the wear layer first — if blind nails (shiners) are exposed, sanding is off the table; use self-leveling compound or 1/4-inch plywood overlay instead. For floors with enough material left, sand high spots to within 3/16 inch over a 10-foot span, then fill low spots with compound. DIY cost runs $3-8 per square foot in materials.
Check Your Wear Layer Before Choosing a Method
Best Self-Leveling Compound Pick
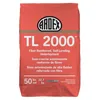
ARDEX TL 2000 Fiber Reinforced Self-Leveling Underlayment 50 lb
Fiber-reinforced formula designed for wood subfloors — flexes with seasonal movement without cracking.
- Best for: filling low spots on old hardwood subfloors up to 1 inch deep
- Why we picked it: Fiber-reinforced formula flexes with wood movement; rated for plywood and OSB subfloors
- Main drawback: More expensive per bag than basic compound; requires primer on porous subfloors
Compare more self-leveling compound options
 Option 1 Quikrete 50 lb FastSet Self-Leveling Floor Resurfacer
|
 Option 2 Ardex V 1200 Self-Leveling Underlayment 50 lb
|
 Option 3 Akona Self-Leveling Floor Underlayment
|
As an Amazon Associate we earn from qualifying purchases.
Every leveling decision for an old hardwood floor starts with one question: how much wood is left? Answering it correctly determines whether you can sand, must use compound, or need a plywood overlay. Skip this check and you risk permanently damaging boards that could have lasted another 30 years.
The Shiner Test: When Sanding Is No Longer an Option
A wear layer is the solid wood surface above the tongue-and-groove joint on a hardwood floor plank — it determines how many times the floor can be sanded and refinished before boards must be replaced. Standard 3/4-inch solid hardwood can typically handle four to seven complete sandings across its lifetime.
Look between boards at the surface level. Blind nails — fastened at an angle through the tongue of each plank — should be buried well below the face. When previous sandings have removed wood down to the nail depth, the head appears as a glint or bright spot between boards. This is a “shiner.” A floor showing shiners cannot be safely leveled by sanding; removing more wood splits the groove edge and permanently damages the boards.
Measuring the Remaining Wear Layer
If no shiners are visible, measure actual remaining material. Slide a thin putty knife or feeler gauge into the gap between two boards and feel for the tongue. Measure from the top face of the plank to the top of the tongue — that distance is your remaining wear layer. Check three or more locations, as boards are not always consistent from one area to another.
- 1/4 inch or more: Three to four more sandings safely possible
- 1/8 inch: One sanding maximum; use self-leveling compound for low spots instead of sanding them
- Less than 1/16 inch: No sanding at all; use compound or 1/4-inch plywood overlay only

Assessing the Condition of Your Old Hardwood Floors
How to Find High and Low Spots
Lay an 8-foot straightedge or carpenter’s level across the floor in multiple directions. Gaps under the straightedge indicate low spots; rocking indicates high spots. The accepted flatness standard for hardwood floors is 3/16 inch over 10 feet — anything beyond this range needs correction before new finish or flooring is installed.
A faster initial scan: drop a marble on the floor and watch where it rolls consistently. Any directional roll identifies the slope. Mark problem areas with painter’s tape before you move the straightedge, so you have a visual map of the whole room before you start any repairs.
Why Old Floors Go Uneven: Root Causes
Old hardwood floors go uneven for four main reasons, each pointing to a different fix:
- Joist settlement — Over decades, floor joists sag at their centers under load, creating consistent dips in the middle of a room. Shimming or sistering is needed for severe cases.
- Moisture cupping — Repeated seasonal humidity swings over 10 or more years cause boards to cup (raised edges, sunken center) or crown (raised center). This is the most common cause of uneven old hardwood floors and responds to sanding once moisture is stabilized.
- Board shrinkage gaps — Old floors dry out as heating systems change over decades; boards narrow, creating slight height differences at edges.
- Previous repair patches — Replacement boards or filler sections that were not leveled to the existing floor when installed.
“If level is out of the question, we go for flat.”
Preparing the Surface
Before any leveling work, the surface must be clean and structurally sound. Loose boards that shift during sanding or compound application undo the leveling work immediately.
- Sweep or vacuum to remove all dust, dirt, and loose debris
- Remove any existing carpet or rugs to expose the full floor surface
- Inspect for damaged boards and replace or repair as needed
- Secure loose boards with 2-inch screws driven at an angle through the tongue (blind-nail method) or through the face into joists below
- Fill cracks and gaps with wood filler; allow to dry completely before sanding or compound
Leveling Methods Compared
The right leveling method depends on whether the problem is a high spot, a low spot, or a structural sag — and whether the wear layer permits sanding. The table below maps each method to its appropriate use case and cost range.
| Method | Best For | DIY Cost | Drying Time |
|---|---|---|---|
| Sanding | High spots, minor unevenness under 3/16 in. | $0.50-$1/sq ft (sander rental) | None — sand and finish |
| Self-leveling compound | Low spots from 1/8 in. up to 1 in. deep | $1.50-$3/sq ft (material) | 24-48 hrs before finish |
| Shimming | Isolated low spots at joist level | $5-$20 (shim bundle) | Immediate |
| Plywood overlay | Widespread sag, very thin wear layer | $2-$4/sq ft (1/4-in. plywood) | None — screw and finish |
Sanding Down High Spots
Sanding is the fastest fix for minor high spots when the wear layer permits. Use a random-orbit sander (60-80 grit) for controlled removal of localized high spots. Check with the straightedge after every few passes. Hardwood is unforgiving: over-sanding an old floor is irreversible, and each pass removes more of the finite wear layer. Sand only what the straightedge confirms needs correction.
Self-Leveling Compound for Low Spots
Self-leveling underlayment (SLU) fills dips without removing any existing wood. Mix to the consistency of pancake batter, pour into low areas, and spread with a gauge rake — the compound flows and levels itself. One 50-lb bag covers approximately 25 square feet at 1/8-inch depth. Use a fiber-reinforced formula specifically rated for wood subfloors; standard cementitious SLU can crack on suspended wood floors that flex seasonally. Prime porous or dusty subfloors first to ensure adhesion.
Practical cost note: at 1/4-inch depth, one bag covers about 12-13 square feet. For a 100-square-foot room with widespread low spots at 1/4 inch average, budget $400-$600 in compound alone, plus primer and tools.
Shimming and Plywood Overlay for Sagging Sections
For floors where the wear layer is too thin to sand and the dips are too large for compound alone, a 1/4-inch plywood overlay is often the most cost-effective solution. Screw the plywood to the subfloor every 6-8 inches with 1-5/8-inch screws, stagger the seams, and leave 1/8-inch gaps at walls. This adds only 1/4 inch of finished height — usually within door-clearance tolerance — and provides a flat, stable base for new finish or a new flooring layer above.
For isolated structural sag at joist level, shimming adds tapered wood pieces between the subfloor panel and joist at low points. According to our hardwood floor leveling guide, shimming combined with joist sistering is the best approach for spans that have dropped more than 1 inch.
Applying the Finish
Once leveled, the floor is ready for finishing. For hardwood floor refinishing, the sequence is always sand lightly with fine grit, stain (optional), then seal. Old hardwood absorbs stain differently than new wood — test a small section first and let it dry 24 hours before committing to the full room.
| Finish Type | Advantages | Considerations |
|---|---|---|
| Polyurethane | High durability, excellent moisture resistance | Requires multiple coats; harder to apply evenly on patched areas |
| Oil-based finish | Enhances natural grain, deep penetration into old wood | Strong odor; 24-hour dry time between coats |
| Water-based finish | Faster drying (2-4 hrs), low odor | May raise grain on old wood; requires more coats for equivalent durability |
Maintenance and Care After Leveling
The most common reason old floors go uneven again after leveling is uncontrolled humidity. Wood expands in summer humidity and contracts in winter dryness — a cycle that, over years, creates the cupping and cracking patterns this guide addresses. After leveling, keep indoor relative humidity between 35 and 55 percent year-round to protect the result.
- Sweep or vacuum daily using a soft-bristle attachment to prevent abrasive grit from scratching the finish
- Damp-mop with a hardwood-safe floor cleaner — avoid excessive water, which seeps into the wood and reverses leveling work
- Wipe spills immediately with a dry cloth; liquid sitting even briefly can cause localized swelling in old, thin-finish floors
- Place felt pads under all furniture legs to prevent point-load dents that create new low spots
- Monitor humidity with a hygrometer; use a humidifier in winter and dehumidifier in summer to keep RH at 35-55%
- Avoid rubber-backed rugs directly on hardwood — they trap moisture and restart the cupping cycle
- Inspect annually for new soft spots or rocking boards — catching joist movement early means shimming, not expensive sistering
- Re-coat finish before bare wood is exposed; bare sections absorb moisture unevenly and create new unevenness within one season
DIY vs. Professional: When to Call an Expert
Most old hardwood floor leveling is a realistic DIY project if the variance is under 3/4 inch and structural causes are not involved. The thresholds below separate DIY-feasible from professional-required work.
DIY Is Appropriate When:
- Variance is under 3/4 inch over 10 feet and shiners are absent
- Cupping is present but the cause is seasonal humidity (not a plumbing or drainage issue)
- Wear layer check shows at least 1/8 inch remaining and only one sanding pass is needed
- You are comfortable operating a random-orbit sander and following compound manufacturer instructions
Call a Professional When:
- Floor variance exceeds 1 inch across the room (likely requires joist sistering at $8,000 or more)
- Shiners are visible on most boards and structural replacement may be needed
- Severe widespread cupping indicates active moisture from below (plumbing or waterproofing issue must be fixed first)
- The home predates 1978 and floor dust may contain lead paint or asbestos — professional hazmat removal required
Professional leveling cost: $3-12 per square foot in labor plus materials. A 200-square-foot room averages $600-$2,400 in labor. Joist sistering adds $8,000 or more. For DIY hardwood floor refinishing guidance once leveling is complete, see our step-by-step guide.
Frequently Asked Questions
Can you level old hardwood floors without replacing them?
Yes — old hardwood floors can be leveled without replacement if the wear layer is thick enough. Sand high spots and fill low spots with self-leveling compound. If the wear layer is depleted (shiners visible), a 1/4-inch plywood overlay is a code-compliant alternative that preserves the original floor beneath. Replacement becomes necessary only when boards are structurally split along grooves from over-sanding.
How do you know if your old hardwood floor has been sanded too many times?
Look for shiners — blind nails that appear at or near the surface between boards. You may also see splinters along groove edges where the top of the groove is broken or missing. If a caliper reads less than 1/8 inch remaining above the tongue, no further sanding is safe. A hardwood floor refinishing check should always include this measurement before any sanding begins.
What is the acceptable flatness tolerance for hardwood floor leveling?
The standard tolerance for hardwood flooring is 3/16 inch over a 10-foot span. Older floors may vary by 1/4 to 3/8 inch from decades of joist settlement — still within DIY-fixable range using sanding or self-leveling compound. Check with an 8-foot straightedge before and after any leveling work.
How much does it cost to level old hardwood floors?
DIY material cost runs $3-8 per square foot for compound-based leveling. A 200-square-foot room costs roughly $600-$1,600 in materials. Professional leveling runs $3-12 per square foot in labor plus materials, averaging $1,200-$3,200 for the same room. Structural repairs such as joist sistering add $8,000 or more and require permits in most jurisdictions.
How long does self-leveling compound take to dry before refinishing old hardwood floors?
Most self-leveling underlayments require 24-48 hours before applying flooring or finish coats. Fast-set formulas allow foot traffic in 3-4 hours but still need 24 hours before heavy finish application. Always check the manufacturer datasheet — compound applied too thick or that dries too fast can crack on wood subfloors that flex seasonally.
Conclusion
Leveling old hardwood floors starts with one decision: whether there is enough wear layer left to sand. Check for shiners, measure the remaining material, and choose the method accordingly — sanding for high spots when the wear layer permits, self-leveling compound for low spots, and plywood overlay when the floor is too thin for anything else. A room-size project costs $600-$1,600 in materials as a DIY job. Call a professional when variance exceeds 1 inch or when structural causes are involved.
Sponsored / affiliate links. As an Amazon Associate I earn from qualifying purchases. I may earn additional commission from eligible campaigns.