How to Make Wood Stronger at Home: 8 Fixes That Actually Work
Wood gets stronger through three distinct fixes — moisture control, mechanical reinforcement, or surface hardening — and using the wrong one wastes time and money. A sagging floor board needs a sistered joist, not epoxy; a split tabletop needs a butterfly key, not just glue, or the crack keeps spreading. This guide covers the moisture-strength numbers from USDA Forest Products Lab research, the right reinforcement for each failure type, and which wood hardeners are actually worth buying.
Understanding Wood Strength
Best Wood Hardener Pick
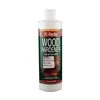
Minwax High Performance Wood Hardener (1 Pint) – $16.99
Penetrates soft or punky fibers the way this guide’s treatment section describes, then cures hard in 2–4 hours so you can fill, sand, and paint the same day.
- Best for: Soft or slightly rotted spots on trim, sills, and furniture before filling
- Why we picked it: Fast 2–4 hour cure time and wide retailer availability
- Main drawback: Solvent-based — needs ventilation and isn’t for wet or damp wood
Compare more wood hardener and repair options
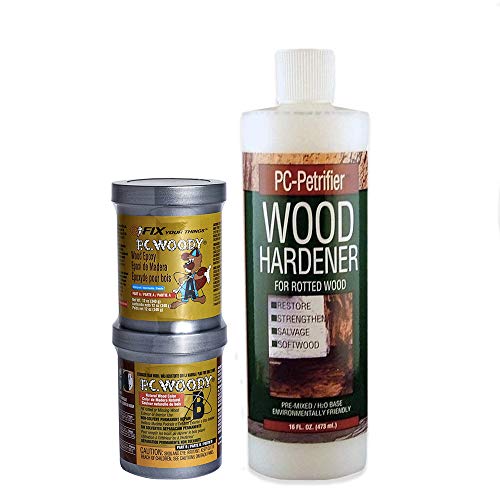
 Option 1 PC-Petrifier Water-Based Hardener (16 oz) – $10.19
|
 Option 2 PC-Woody Epoxy Paste (12 oz Two-Part) – $23.59
|
 Option 3 J-B Weld Wood Restore Liquid Hardener (16 oz) – $13.99
|
As an Amazon Associate we earn from qualifying purchases.
Wood is a versatile, natural building material, but not all wood is equally strong. Understanding what actually controls wood strength is the first step to fixing a weak piece instead of guessing at a product — and it’s worth checking you’re on the right page first, since “stronger,” “harder,” and “more durable” are three different problems.
This guide covers structural and mechanical strength. If the problem is a soft or worn surface rather than a structural weak point, see how to harden a wood surface instead.
If you’re trying to make a softwood species perform more like a hardwood, see can you harden soft wood instead.
And if the real issue is weathering and rot resistance over time rather than raw strength, see how to make wood more durable.
Factors Affecting Wood Strength
Five factors determine how strong a given piece of wood is:
- Species: Hardwoods such as oak and maple are generally much stronger than softwoods like pine and cedar.
- Moisture content: Wet wood is weaker and more prone to warping or rotting. Dry it or season it before use.
- Grain orientation: Long, straight grain resists breaking better than irregular or interlocking grain.
- Knots and defects: Knots and cracks create stress points that trigger structural failures.
- Board thickness: Thicker boards resist bending and breaking better than thin ones of the same species.
Why Strong Wood Matters
- Structural stability: Strong wood keeps furniture, floors, and framing sound under normal use.
- Wear resistance: It resists denting, scratching, and breaking under daily use.
- Load capacity: Shelves, tables, and decks built with strong wood carry more weight without sagging.
- Lower maintenance: Strong wood needs fewer repairs and holds up better to temperature and humidity swings.
Choosing the Right Wood
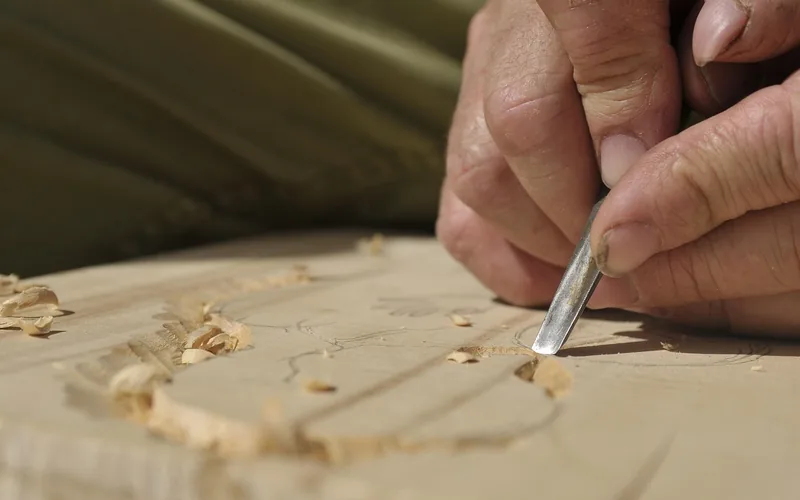
When you’re starting a project from scratch, picking the right species and grade does more for long-term strength than any treatment you apply afterward.
Selecting Strong Wood Species
- Hardwoods: Oak, maple, and cherry are well known for natural strength and are suited to structural and load-bearing work.
- Exotic hardwoods: Teak and mahogany resist moisture and decay, making them common picks for outdoor furniture.
- Bamboo: A grass, not a tree, bamboo has an unusually high strength-to-weight ratio and is a fast-renewing alternative to traditional lumber.
Evaluating Wood Quality
- Moisture content: Use a moisture meter and match the wood to your project’s target range.
- Grain orientation: Straight, uniform grain is stronger and less prone to splitting.
- Defects: Inspect for knots, cracks, or decay that compromise strength.
- Density: Heavier wood of the same species is generally stronger — weigh a sample board if you’re unsure.
Moisture Content Control
Moisture is the single biggest lever on wood strength, and it’s also the cheapest one to control at home.
How Moisture Affects Wood Strength
Excessive moisture weakens wood fibers, leading to warping and decay. Overly dry conditions cause shrinkage and surface checking. Wood is strongest in the narrow range between these two extremes.
📊 Below the fiber saturation point (about 28% moisture content), wood strength increases roughly 5% for every 1% drop in moisture content it loses. — Source: USDA Forest Service, Forest Products Laboratory — Wood Handbook, Chapter 4 (FPL-GTR-282)
Methods to Control Moisture Content
- Run a dehumidifier in humid basements, sheds, or garages.
- Apply wood sealants to create a protective moisture barrier.
- Store lumber in a dry, well-ventilated area, stacked with stickers for airflow.
- Check levels regularly with a pin or pinless moisture meter.
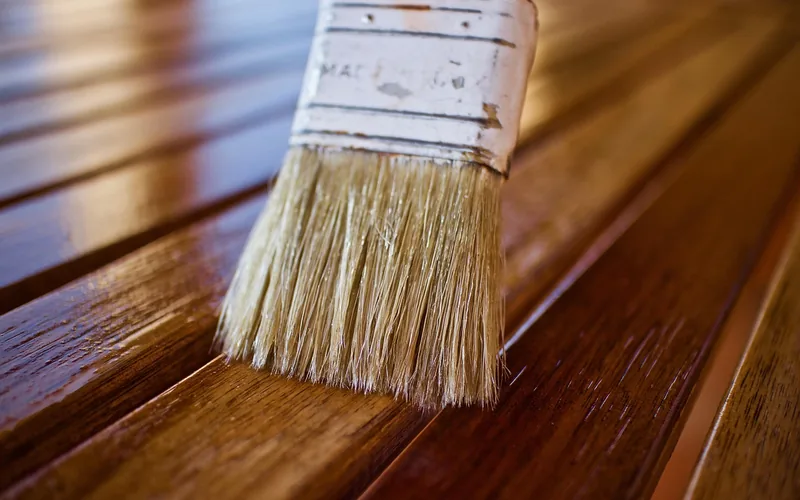
Improving Wood Strength Through Treatment
Treatment products fortify wood fibers directly rather than just protecting the surface, which is why they matter for wood that’s already soft, weathered, or load-bearing.
Effective Treatment Methods
Three treatment methods cover most at-home situations. Pressure treatment forces chemical preservatives into the wood using high-pressure tanks — it’s factory-applied to lumber sold for decks and fences and isn’t something you replicate at home, but it’s worth knowing that pressure-treated stock is already reinforced against rot. Heat treatment raises wood to high temperatures to drive out moisture and tighten the fiber structure, improving resistance to moisture and pests, which suits indoor furniture and flooring. Fire hardening is the low-tech version of heat treatment: hold the wood about 3 inches above an open flame and keep turning it every few seconds until the surface darkens slightly — the heat pulls moisture out of the outer fibers and tightens the grain, a technique used for centuries on tool handles and stakes.
For wood that’s already soft or starting to rot, a liquid wood hardener soaks into the punky fibers and cures hard within 2 to 4 hours, giving you a solid base to fill, sand, and paint over — far faster than cutting out and replacing the section.
Enhancing Structural Support
Once wood is dry and properly treated, structural strength comes down to how well the pieces are joined and braced.
Reinforcement Techniques
- Apply wood glue and clamping pressure to create a bond stronger than the wood itself.
- Insert metal or wooden dowels across a joint to add shear strength.
- Add angle brackets or metal plates where a mechanical fastener needs backup.
Bracing and Joinery
- Add diagonal braces to stop lateral racking in a frame or shed wall.
- Use mortise and tenon joints for connections that need to carry real load, not just hold shape.
- Check alignment before the glue sets — a joint clamped out of square is permanently weaker.
How Do You Stop a Wood Floor Board From Flexing?
A floor board that flexes underfoot almost always means the joist beneath it is undersized or has weakened, not that the board itself is bad. Fix it by sistering — bolting or screwing a new piece of lumber directly alongside the existing joist along its full length. Drive pairs of 3-inch wood screws every 8 inches to secure the sister to the original joist, which roughly doubles that joist’s load capacity. For a shorter, localized soft spot, install blocking between the joists on either side instead of sistering the whole run.
How Do You Fix a Loose Screw Hold in Wood?
A screw that spins without biting — common on cabinet doors and hinges opened hundreds of times — means the hole is stripped, not that the wood failed. Back the screw out, pack the hole with wood glue and toothpicks or wooden matchsticks (trimmed flush), let it cure fully, and re-drive the original screw into the now-solid plug. For a permanent fix on a hinge that will keep working hard, drill out the stripped hole, glue in a hardwood dowel, and re-drill a pilot hole through the dowel — this gives the screw fresh, solid wood to grip instead of splintered fibers.
What Is a Butterfly Key and How Do You Use One to Reinforce Split Wood?
A butterfly key (also called a bowtie or Dutchman inlay) is a small, hourglass-shaped piece of contrasting hardwood — usually walnut — let into a shallow recess cut across a crack. Its wide “wings” mechanically lock into the surrounding wood on both sides of the split, so the key stops the crack from spreading instead of just gluing the surface together. It’s the standard fix for a split running through a slab tabletop, cutting board, or bench top.
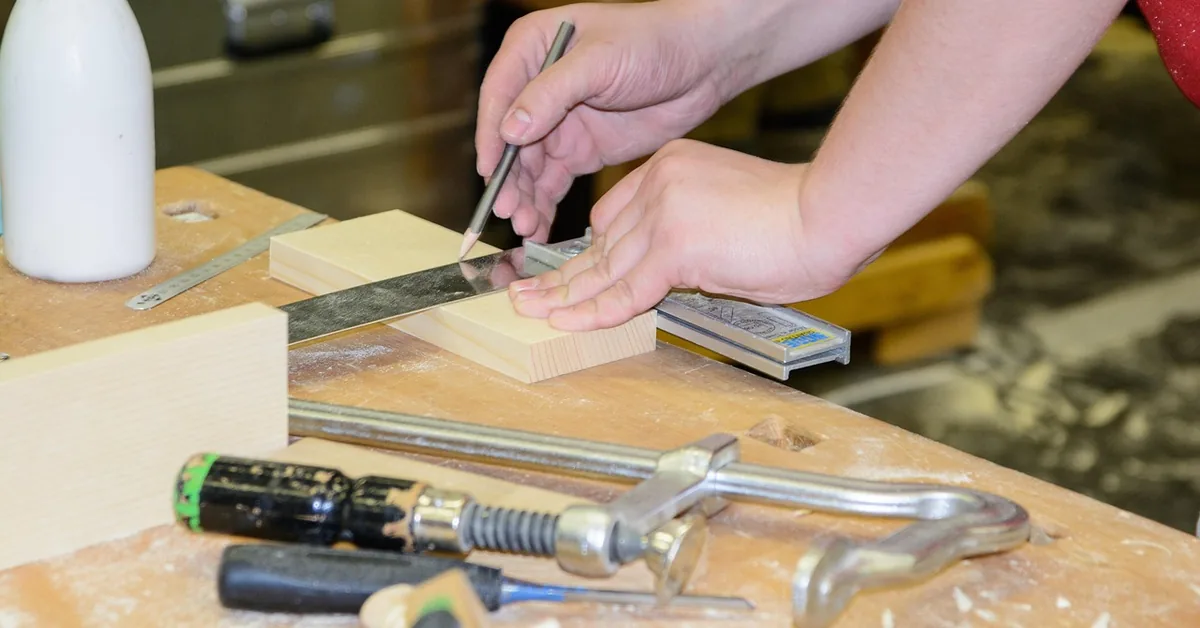
- Position the key: Lay the butterfly key across the crack, perpendicular to the grain, and trace around it with a marking knife or pencil.
- Rout the mortise: Use a router or sharp chisel to remove wood inside the traced outline, matching the recess depth to the key’s thickness exactly.
- Glue and clamp: Apply wood glue to the mortise, press the key in, and clamp it for a few hours until the glue fully cures.
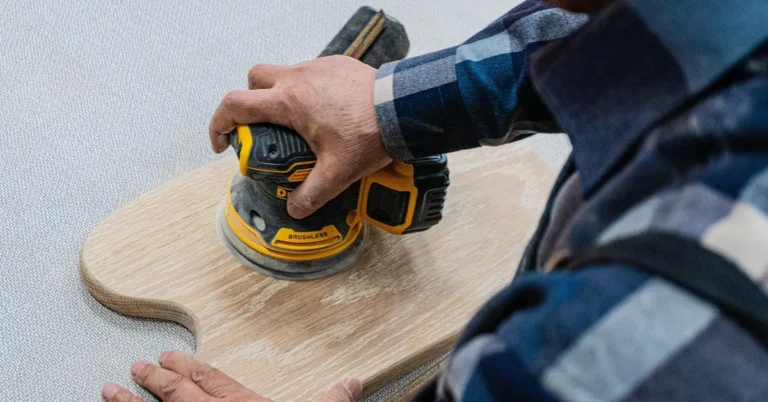
- Sand flush: Once cured, sand the key level with the surrounding surface so it sits flush.
“A butterfly key doesn’t hide a crack — it stops it. I’ve seen woodworkers glue a split shut and call it fixed, only to watch it reopen within a season because nothing was actually resisting the wood’s movement across the grain. The key does that job mechanically, which is why it’s still the go-to fix for a slab top a hundred years after it was first used.”
Comparing Reinforcement Methods
Which reinforcement method to reach for depends entirely on what’s actually failing — a loose joint, a spreading crack, or a flexing floor each need a different fix.
| Method | Difficulty | Best For |
|---|---|---|
| Wood glue + dowels | Easy | Loose furniture joints |
| Metal angle brackets | Easy | Shelves, frames, quick fixes |
| Butterfly key inlay | Moderate | Stopping a crack in a slab tabletop |
| Two-part epoxy resin | Moderate | Filling voids in a wider split |
| Sistering (paired board) | Advanced | Flexing floor joists or deck boards |
Avoiding Common Mistakes
Overlooking Weaknesses
Identify and address weaknesses before attempting any strengthening method. Inspect thoroughly and address any cracks, decay, or damage first — if you suspect rot, see our guide on repairing rotted wood without replacing it before reinforcing over the top of it.
Improper Handling
Avoid exposing wood to prolonged moisture and direct sunlight, both of which cause warping, fading, and premature deterioration — even on wood you’ve already reinforced.
Maintaining Wood Strength
Regular inspection and preventive maintenance keep wood sturdy for years instead of needing to be re-reinforced every season — browse our full wood maintenance library for more upkeep guides.
Regular Inspection
- Cracks or splits: Weaken overall structure and compromise strength if left unaddressed.
- Rot or decay: Check areas exposed to moisture, such as decks and window frames.
- Insect damage: Look for termite tunnels or fine wood dust, both signs insects are feeding on the wood.
Preventive Maintenance
- Seal and waterproof: A sealant coat prevents the rot, decay, and swelling that weaken wood over time.
- Clean regularly: Removing dirt and debris prevents moisture buildup and mold growth.
- Limit sun exposure: UV-resistant coatings prevent wood from drying out and becoming brittle.
Testing Wood Strength
Before you trust a repair or a piece of reclaimed lumber for a load-bearing job, it’s worth confirming the wood is actually as strong as it looks.
DIY Strength Tests
- Nail bend test: Drive a nail partially in and bend it. If it bends easily or pulls loose, the wood is weaker.
- Screw test: Drive a screw in and check if it holds firmly; slipping indicates weaker wood.
- Splitting test: Tap with a hammer or mallet. Splitting with minimal force suggests weaker wood.
- Compression test: Apply steady pressure with a clamp and watch how much it takes before the wood bends or breaks.
Consulting Professionals
For anything load-bearing — a beam, a deck, a wall — a carpenter or structural engineer can run static bending, tension, or compression tests with equipment a DIY test can’t match, and confirm the wood and reinforcement method actually meet code for the job.
Frequently Asked Questions About Making Wood Stronger
How Can I Strengthen Wood at Home?
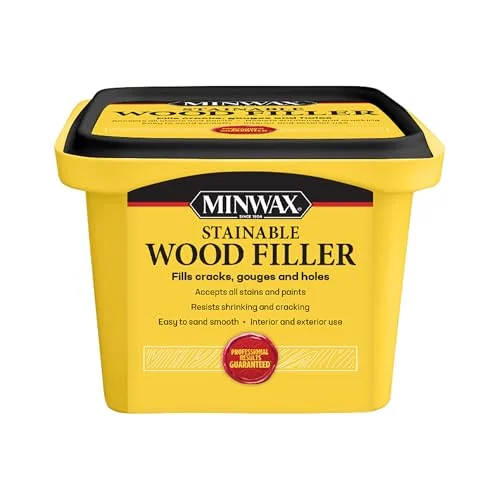
Use wood hardeners, epoxy resins, or wood fillers on soft or damaged spots, and mechanical reinforcement — dowels, brackets, or sistering — on structural weak points. Match the fix to the failure: hardener for punky wood, brackets or dowels for loose joints, sistering for a flexing floor board.
What Are Some Natural Ways to Strengthen Wood?
Steam bending reshapes wood without weakening the fibers, sandwiching thin stock with a stronger material adds stiffness, and natural oils like linseed or tung oil penetrate the surface to reduce moisture uptake without a synthetic hardener.
Can I Improve the Strength of Existing Furniture?
Yes. Add support brackets, reinforce joints with wood glue and screws, or replace a weak component with hardwood or metal. A wobbly chair or table is almost always a loose joint problem, not a wood problem.
Why Does My Floor Board Flex When I Walk On It?
Flex almost always means the joist underneath is undersized, cracked, or spanning too far, not that the board itself is bad. Sistering a new joist alongside the weak one, or adding blocking between joists, fixes it without tearing up the floor.
What Is a Butterfly Key Used For?
A butterfly key is an hourglass-shaped hardwood inlay set across a crack to mechanically stop it from spreading further. It’s the standard repair for a split slab tabletop, cutting board, or bench, and doubles as a decorative accent when cut from contrasting wood like walnut.
Conclusion
Making wood stronger at home comes down to matching the fix to the actual failure — moisture control for warping, hardener or epoxy for soft and split wood, and mechanical reinforcement like dowels, butterfly keys, or sistering for structural weak points. Diagnose what’s actually wrong before reaching for a product, and the repair will hold for years instead of one season.
Sponsored / affiliate links. As an Amazon Associate I earn from qualifying purchases. I may earn additional commission from eligible campaigns.