How to Prevent Wood Slabs From Cracking (7 Steps + Crack Fixes)
Wood slabs crack when they lose surface moisture faster than their core can release it — sealing the end grain, drying slowly (about 1 year per inch for oak), and holding steady indoor humidity stops most checking before it starts. Skip end-sealing and a slab can split within days of milling. This guide covers the 7 prevention steps, the mounting mistake that cracks slabs years later, and how to fix a crack that already started.
What You’ll Need
Best Slab End-Sealer Pick
ANCHORSEAL 2 Log & Lumber End Grain Sealer, 1 Gallon
The wax-emulsion sealer sawmills use on slabs and log rounds to slow end-grain moisture loss and stop checking before it starts.
- Best for: sealing cut ends on freshly milled slabs and rounds
- Why we picked it: it’s the product named across sawmill and drying guides for this exact job
- Main drawback: needs to go on within hours of cutting to be effective — not a fix for wood that’s already checked
Compare more slab-protection options
 Option 1 Klein Tools ET140 Pinless Moisture Meter
|
 Option 2 Bowtie Buddy Router Inlay Kit + Walnut Keys
|
 Option 3 PC-Woody Two-Part Wood Repair Epoxy
|
As an Amazon Associate we earn from qualifying purchases.
- End-grain sealer or wax — a commercial product like Anchorseal, applied to cut ends within hours of milling
- Moisture meter — pinless meters read moisture content without marking the wood
- Wood stickers (spacers) — thin strips used to separate stacked slabs for airflow while drying
- Bowtie/butterfly key blanks or a router inlay kit — for repairing a crack that has already opened
- Two-part wood epoxy — for filling hairline surface checks
- Humidifier or dehumidifier — to hold steady indoor relative humidity
Why Do Wood Slabs Crack In The First Place?
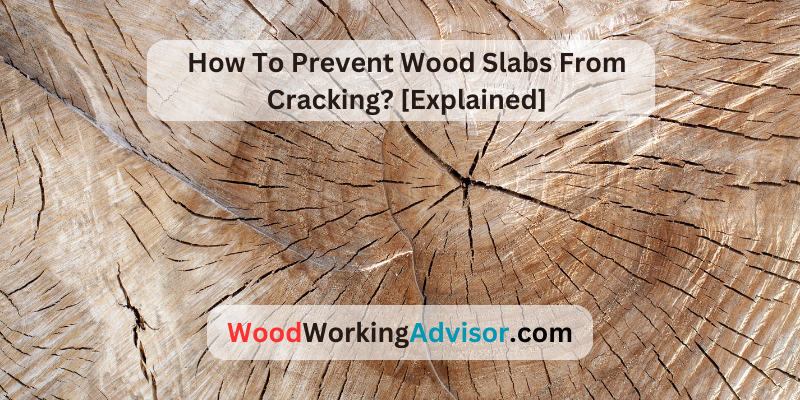
Checking is the woodworking term for the surface cracks that radiate outward from a slab’s pith as it dries. It happens because the outer wood loses moisture and shrinks faster than the still-wet core — the resulting internal stress splits the wood along the grain, usually starting at the ends or at the pith itself.
Slabs are more prone to this than regular lumber for one simple reason: most slabs include the pith (the tree’s original center), and wood shrinks roughly twice as much along the growth rings (tangentially) as it does across them (radially). A slab that includes the pith has both directions of shrinkage fighting each other in one board, which is exactly why checking concentrates around the center. Choosing a wood species known for dimensional stability — oak, walnut, and cedar hold up better than fast-growing softwoods — reduces how much stress the slab has to absorb in the first place.
How Long Should You Dry A Slab Before Working It?
The rule of thumb passed around every sawmill is 1 year of air-drying per inch of thickness — but that number only holds for slow-drying species. Oak, hickory, and mesquite genuinely take close to a year per inch. Cedar, pine, and poplar dry much faster and can reach usable moisture content in as little as 60–90 days in warm weather. Species is the biggest variable in the timeline, not a fixed calendar date.
Time is a guideline — moisture content is the actual finish line. Air-drying typically brings a slab down to 12–14% moisture content (MC). For indoor furniture and tabletops, keep drying (often with a kiln finish) until the slab reads 6–9% MC, matching the equilibrium moisture content of a heated home. According to Wagner Meters, wood should be dried to within about two percentage points of the room’s equilibrium moisture content before it’s sealed or finished — guessing from the calendar instead of a meter is how slabs get finished too early and check afterward. See our full breakdown on how to dry wood slabs without cracking for stacking and airflow specifics.
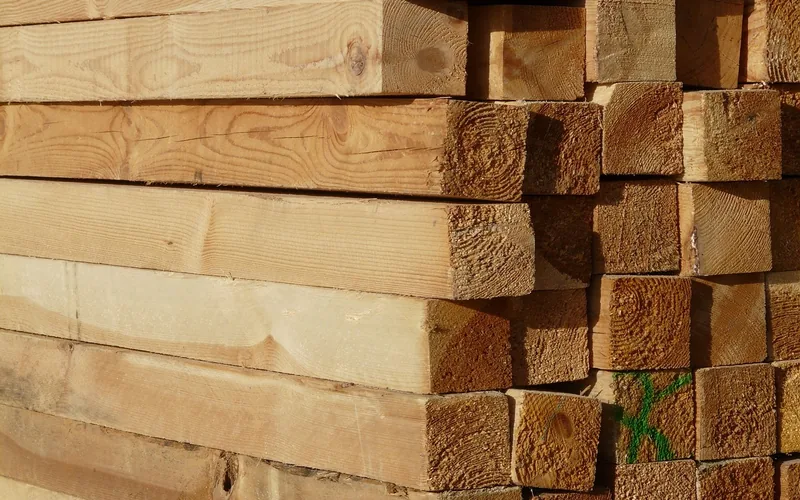
| Species | Crack Tendency | Approx. Air-Dry Time |
|---|---|---|
| Oak, hickory, mesquite | Low once dry, but slow to get there | ~12 months per inch |
| Walnut | Low | ~6–12 months per inch |
| Cedar | Low (moves very little) | ~2–3 months per inch |
| Pine, poplar | Higher (fast-drying, more movement) | ~2–3 months per inch |
📊 The “1 year per inch” rule is species-dependent, not universal — a 2-inch pine slab can be ready in one summer, while a 2-inch oak slab genuinely needs about 2 years. — Source: commercial air-drying guidelines used by sawyers and kiln operators.
7 Steps To Prevent Wood Slabs From Cracking
- Choose a stable species: oak, walnut, and cedar shrink less and resist checking better than soft, fast-growing woods.
- Seal the end grain immediately: apply a wax-based end sealer (Anchorseal is the industry standard) to every cut end within hours of milling — end grain loses moisture up to 10–15 times faster than face grain, and that mismatch is where most cracks start.
- Dry slowly and check with a meter: air-dry on stickers in a shaded, covered spot — a garage works well if you follow the same general wood storage practices — rather than forcing the process, and confirm moisture content with a moisture meter instead of guessing by the calendar.
- Keep it out of direct sun and heat: rapid, uneven drying from sunlight or a heat vent shrinks the exposed face faster than the rest of the slab.
- Acclimate before you build: once dry, let the slab sit in the room where it will live for 1–2 weeks before cutting, joining, or finishing it.
- Hold steady indoor humidity: aim for 40–50% relative humidity year-round with a humidifier or dehumidifier — the same range recommended in our wood care and protection guide.
- Finish both faces, not just the top: sealing only the show face lets the underside keep exchanging moisture with the air, which pulls the slab into a cup or a crack over time — the finishing approach popularized by Sam Maloof treats every surface the same for exactly this reason.
The Mounting Mistake That Cracks Slabs After They’re Finished
A slab that survived drying without a single check can still crack years later — and the cause is usually how it was mounted, not the wood itself. A finished tabletop keeps expanding and contracting across the grain with the seasons (figure roughly 3/16″ of movement per foot of width between a dry winter and a humid summer). If the top is screwed down flat to an apron or base with no room to move, that seasonal swelling has nowhere to go, and the slab checks or splits along the grain instead.
The fix is hardware that lets the top move: figure-8 fasteners or Z-clips mounted in slots (not fixed holes) under the tabletop, tightened just snug rather than cranked down. Figure-8s work fine on tops up to about 18″ wide; wider slabs hold up better on Z-clips or a slotted-hole mounting plate. This is also why wood expands and contracts with temperature and humidity throughout the year, and why our wood shrinkage calculator is worth running before you finalize a base design for a wide slab.
How To Fix A Crack That’s Already Started
Prevention doesn’t always win, and a hairline check in an otherwise sound slab isn’t a reason to scrap it. Three repair methods cover most cases:
- Bowtie (butterfly) keys: a wood or metal inlay shaped like a bowtie, set into a mortise straddling the crack, anchors both sides together so the crack can’t spread further. Keys should be at least 1/4″ thick (3/8″ for a wide split) and cut with the grain running end to end for strength.
- Epoxy fill: for a thin surface check, a two-part wood epoxy fills and stabilizes the crack; it can be tinted or left clear for a river-style look, then sanded flush once cured.
- Relief kerf (for a round or new slab before it fully dries): cutting one saw kerf from the outer edge to the pith gives the slab a place to concentrate its shrinkage stress in a single controlled line instead of cracking randomly. The kerf gap is filled with epoxy or a spline after drying finishes.
For a genuinely green (undried) slab that has to be worked before it fully seasons, some woodworkers also stabilize it with PEG (polyethylene glycol), a wax-like chemical that soaks into the cell structure and replaces the water as it leaves, greatly reducing shrinkage. It works, but it needs long soak times and large volumes of solution for anything bigger than a small round, so it’s a specialty option rather than a routine step for most slab projects.
Common Mistakes To Avoid
- Sealing only the outer ends, not a fresh cut: if you cut a slab shorter or square up an end grain edge later, that new surface needs its own coat of sealer — it’s exposed raw wood again.
- Rushing a kiln cycle: pushing kiln temperature up to shorten drying time on a thick slab is one of the more common ways to introduce case-hardening and internal checks that don’t show up until the slab is cut or planed later.
- Over-tightening mounting screws: even with the right fastener, cranking screws down tight defeats the purpose — the top needs to be able to slide slightly.
- Ignoring a slab that includes the pith: pith-through slabs (common in live-edge rounds) are the most crack-prone cut possible; budget for a bowtie key or two as part of the plan, not an emergency repair.
“Wood should be dried to within about two percentage points of the equilibrium moisture content of the room where it will live — for most heated homes, that means 6% to 9%.”
FAQ: Wood Slab Cracking
Can A Finish Or Sealant Alone Stop Wood Slabs From Cracking?
No. A finish or sealant slows moisture exchange and helps, but it cannot fully prevent cracking on its own if the slab wasn’t properly dried and stored first. Finish is the last step in crack prevention, not a substitute for the drying and end-sealing steps that come before it.
Why Do Wood Slabs Crack Even After They’re Fully Dry?
A fully dry slab can still crack if it’s mounted with no room for seasonal wood movement, or if one face gets a different finish or moisture exposure than the other. Both cases pull the slab in two directions at once, which reopens or starts a crack even years after the wood itself finished drying.
How Can You Tell If A Wood Slab Is Fully Dry And Ready To Use?
Check it with a moisture meter rather than guessing. Indoor furniture and tabletops should read about 6–9% moisture content, matching a heated home’s equilibrium moisture content. A slab that’s noticeably heavier than a comparable dry piece, or feels cool and damp to the touch, isn’t ready yet.
Does The 1-Inch-Per-Year Drying Rule Apply To Every Wood Species?
No. It’s reasonably accurate for slow-drying species like oak, hickory, and mesquite. Cedar, pine, and poplar dry much faster — often 60–90 days per inch in warm weather — so treat the rule as a starting estimate for dense hardwoods, not a fixed timeline for every species.
Do Bowtie Keys Actually Stop A Crack From Spreading?
Yes, when sized and oriented correctly. A bowtie key at least 1/4″ thick, cut with the grain running end to end and set into a mortise that straddles the full width of the crack, anchors both sides of the split together so it can’t open further. It stabilizes the crack; it doesn’t close one that’s already wide open.
Can You Use Wood Glue Or Epoxy To Fix A Cracked Slab?
Epoxy works well for hairline surface checks and can be sanded flush once cured. Standard wood glue is a weaker option for an open crack under any real stress — for anything wider than a hairline, or anywhere the slab will bear weight, pair epoxy or a glue joint with a bowtie key for real structural support.
Final Thoughts
Preventing cracks in a wood slab comes down to three things happening in the right order: dry it slowly and confirm it with a moisture meter, seal the end grain the same day it’s cut, and mount or finish it in a way that still lets it move with the seasons. Skip any one of the three and a beautiful wood slab can still check, no matter how good the finish looks on day one. When a crack does start, a properly sized bowtie key or epoxy fill stops it from becoming a bigger problem — it doesn’t have to mean starting over.
Sponsored / affiliate links. As an Amazon Associate I earn from qualifying purchases. I may earn additional commission from eligible campaigns.