How to Repair Engineered Hardwood (Check Veneer Thickness First)
Engineered hardwood repair depends on veneer thickness: floors with less than 2mm of real wood on top can only be lightly screened and recoated, never fully sanded, while 4-6mm veneers handle two to four true refinishes. Sanding past that thin layer burns through into the plywood core and ruins the plank for good. This guide covers checking your veneer, fixing scratches, dents, holes, and raised planks, and when to swap a board instead of refinishing.
Quick Answer
Check your veneer thickness before repairing engineered hardwood: under 2mm can only be screened and recoated, 2-3mm allows one refinish, and 4-6mm supports two to four refinishes. Use color-matched filler or a touch-up pen for scratches, an injection adhesive kit for hollow planks, or a plank swap for deep damage.
Understanding Engineered Hardwood Flooring
Best Engineered Hardwood Repair Pick
Fix-A-Floor Squeeze Adhesive for Loose & Hollow Planks
Injects directly through a small drilled hole to re-bond a raised or hollow-sounding plank without pulling up the floor.
- Best for: Raised, lifting, or hollow-sounding engineered hardwood planks
- Why we picked it: Matches the #1 repair issue searched for this floor type — no demolition needed
- Main drawback: Only works on glued-down floors, not floating/click-lock installations
Compare more engineered hardwood repair options
 Option 1 18-Color Wood Filler & Floor Repair Kit
|
 Option 2 Minwax Wood Finish Stain Marker
|
 Option 3 Tapping Block for Click-Lock Plank Replacement
|
As an Amazon Associate we earn from qualifying purchases.
Engineered hardwood flooring is a versatile, durable option that pairs a real hardwood surface with a stable plywood or HDF core — see our hardwood flooring hub for the full range of installation and care guides. Understanding its layered construction is the key to repairing it correctly instead of over-sanding it.
What Is Engineered Hardwood?
Engineered hardwood consists of multiple layers of wood topped with a thin veneer (also called a wear layer) of real hardwood. This construction, which makes it a strong choice for many homes, enhances stability and reduces the risk of warping and buckling compared to solid wood — but it also caps how many times the surface can be refinished.
How Thick Is Your Veneer? (Check This Before Any Repair)
Veneer thickness is the depth of real hardwood sitting on top of an engineered plank’s plywood or HDF core, typically ranging from 1mm to 6mm. It determines how many times — if any — the floor can be sanded and refinished, since each sanding pass removes roughly 0.5 to 1mm of wood. Check it by measuring the exposed edge at a seam, a doorway transition, or a loose plank with a ruler or digital caliper; manufacturer spec sheets also list the wear-layer thickness for your specific product.
📊 Veneer under 2mm supports one light screen-and-recoat at most; 2-3mm allows about one true refinish; 4-6mm veneers can typically handle two to four refinishes, close to solid hardwood’s lifespan. — Source: flooring manufacturer wear-layer specifications compiled across major engineered hardwood brands
“When damage is widespread rather than isolated, sanding and refinishing the whole floor is usually the fix — but the veneer on an engineered floor is comparatively thin, so this option is limited compared with solid hardwood.”
Benefits Of Engineered Hardwood
- Enhanced durability from its layered core
- Resists moisture and temperature swings better than solid wood
- Wide range of styles and finishes
- Can be installed as floating, glued, or nailed depending on the subfloor
Common Engineered Hardwood Flooring Issues
Engineered hardwood flooring is a popular choice for many homeowners, but like any flooring material it can develop problems over time. Below are the issues homeowners run into most, based on real search data for this topic.
Scratches And Dents
Scratches and dents are the most common issues that detract from the appearance of engineered hardwood flooring.
- Remove furniture carefully to prevent scratches
- Use felt pads on furniture legs to prevent dents
- Apply a protective coating to reduce future damage
Warping And Cupping
Warping and cupping happen when engineered hardwood is exposed to excessive moisture or humidity.
- Control room temperature and humidity levels
- Fix any water leaks or spills promptly
- Consider using a dehumidifier in high-humidity areas
Raised, Lifting, or Hollow-Sounding Planks
A plank that sounds hollow when tapped, or has visibly lifted at a seam, usually means the bond has failed — not that the board itself is damaged. On glued-down floors, drill a small hole near the center of the affected board, inject flooring adhesive underneath with a repair kit, then weight the area down until it cures. On floating/click-lock floors, the plank typically needs to be unlocked and reseated, or replaced with the cut-and-swap method below.
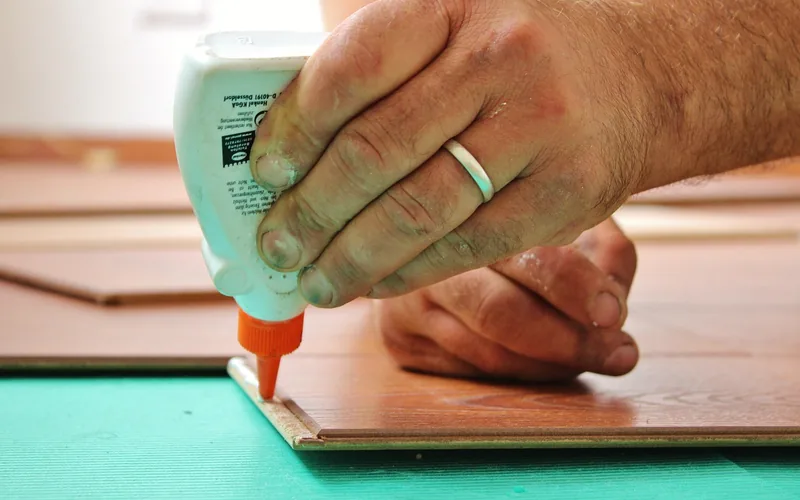
Repair Method By Damage Type And Installation
The right fix depends on both what’s wrong with the board and how your floor was installed. Use this table to match your damage to the correct method before you touch sandpaper.
| Damage Type | Floating / Click-Lock Floor | Glued or Nailed Floor | Best For |
|---|---|---|---|
| Light scratches | Color-matched touch-up pen | Color-matched touch-up pen | Surface-only marks |
| Deep scratches / small gouges | Wood filler, light buff if veneer is 2mm+ | Wood filler, light buff if veneer is 2mm+ | Damage that catches a fingernail |
| Dents | Damp cloth + steam, or filler if fibers are crushed | Damp cloth + steam, or filler if fibers are crushed | Furniture or dropped-object dents |
| Small holes | Epoxy or wood putty, color-matched | Epoxy or wood putty, color-matched | Nail holes, small gouges |
| Raised / hollow / lifting plank | Unlock, reseat, or cut-and-swap | Injection adhesive kit through a drilled hole | Squeaky or hollow-sounding spots |
| Cracked or split board | Cut-and-swap plank replacement | Remove and replace the board | Isolated single-board damage |
| Water-damaged / cupped board | Full plank replacement | Replace board; fix the moisture source first | Warped or cupped boards |
| Widespread surface wear | Screen + recoat only if veneer <3mm; full sand only if 4mm+ | Screen + recoat only if veneer <3mm; full sand only if 4mm+ | Whole-room dulling, not isolated damage |
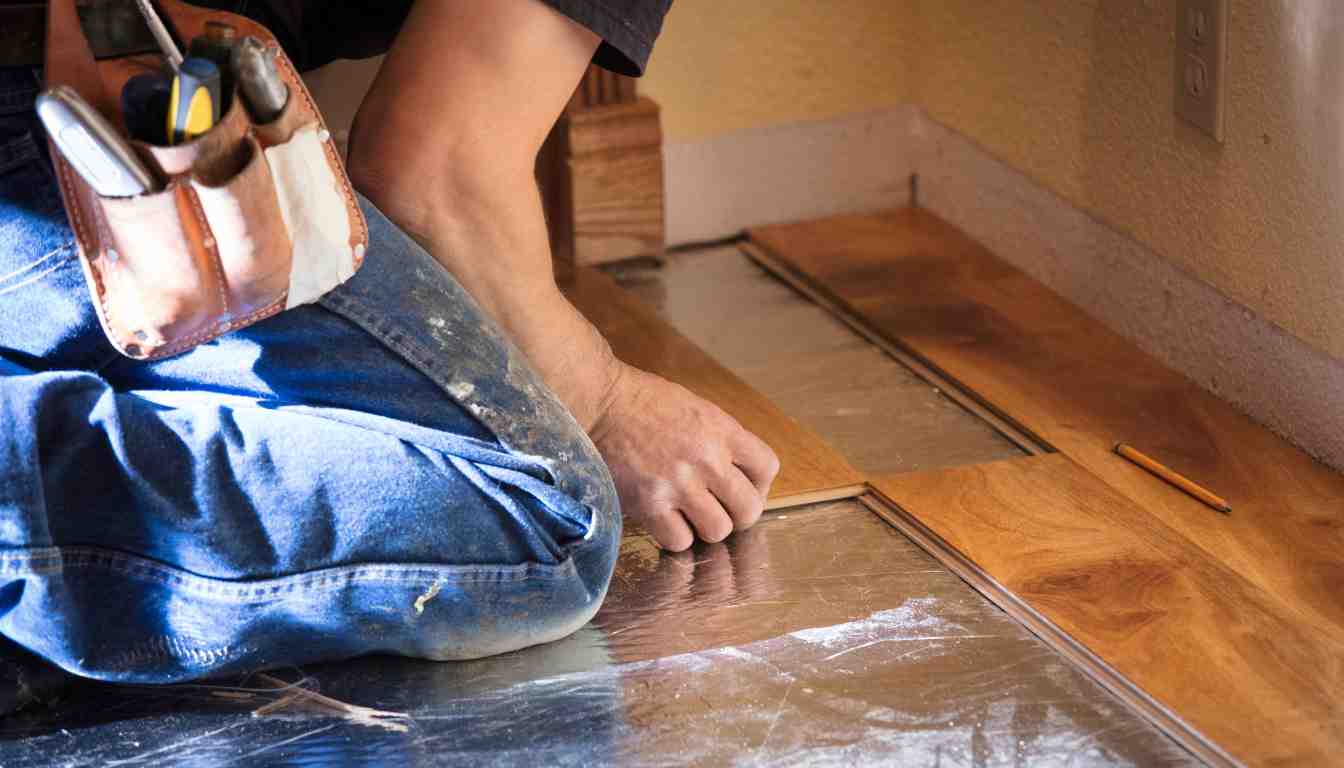
How To Replace A Single Plank On A Floating (Click-Lock) Floor
- Score and cut: Mark a rectangle roughly 1 inch inside the damaged plank’s edges, then cut diagonals from that opening out to the four corners.
- Remove the center: Pry out the triangular pieces, then carefully pull the remaining edge strips out from under the neighboring planks.
- Prep the replacement: Trim the bottom locking lip off all four edges of the new plank so it can drop straight into the opening.
- Glue and set: Apply flooring adhesive to the modified edges, drop the replacement plank into place, and weight it down until the adhesive cures.
Quick Fixes For Engineered Hardwood Problems
Quick, correct fixes prevent small problems from becoming reasons to replace the whole floor. Whether you’re dealing with scratches, dents, warping, or cupping, taking action promptly — with the right method for your veneer thickness — keeps repairs small and invisible.
Filling Scratches And Dents
For light surface scratches, a color-matched wood stain touch-up marker conceals the mark in seconds — clean the area first, then apply along the grain. For deeper scratches and small gouges that catch a fingernail, press color-matched wood filler into the damage with a putty knife, let it cure, then buff lightly if your veneer is thick enough to handle it. Minor dents often pop back out on their own: lay a damp cloth over the dent and run a hot iron or steamer over it, checking every 20 to 30 seconds. If the wood fiber has been crushed rather than just compressed, filler is the more reliable fix.
Dealing With Warping And Cupping
Warping and cupping are caused by excessive moisture or humidity. Start by identifying and resolving the source of the excess moisture, then use a dehumidifier to bring the room back to a normal humidity range. Allow the floor to acclimate over several days — mild cupping often relaxes on its own once the moisture source is gone. Boards that stay cupped, cracked, or visibly warped after drying out usually need to be replaced rather than repaired.
Expert Tips For Engineered Hardwood Repair
Choosing The Right Repair Products
Selecting the right repair product matters more than the repair technique itself. Match the product to both your plank’s color and your veneer thickness:
- Identify the type of hardwood veneer used in your flooring — different species take stain and filler differently.
- Consult the flooring manufacturer’s spec sheet for your product’s exact veneer thickness before choosing between filler and sanding.
- Use wood filler rather than spackle for flooring repairs — spackle isn’t built to handle foot traffic.
- For whole-surface dulling rather than isolated damage, confirm your veneer supports a refinish before booking one — see how many times wood floors can be refinished for the general limits.
Proper Maintenance Practices
Proper maintenance reduces how often you’ll need any of the repairs above:
- Regularly sweep or vacuum to remove abrasive grit that scratches the veneer.
- Use rugs or mats in high-traffic areas and near entryways.
- Wipe up spills immediately to prevent water damage and staining.
- Avoid excessive direct sunlight, which causes fading and discoloration over time.
- Apply a manufacturer-recommended protective coating to extend time between repairs.
Preventive Measures For Engineered Hardwood Maintenance
Protective Coatings
A protective coating acts as a barrier, shielding the veneer from spills, scratches, and daily wear. Common options include polyurethane, acrylic, and oil-based finishes — check which one matches your existing finish before reapplying.
Regular Cleaning And Care
- Sweep or vacuum regularly to remove dirt and grit that can scratch the surface.
- Use a damp mop or cloth with a cleaner formulated for engineered wood.
- Avoid excessive water, which can seep into seams and damage the core.
- Wipe up spills immediately to prevent staining or warping.
- Place doormats or rugs at entrances to trap grit before it reaches the floor.
Maintaining stable humidity is also important for engineered hardwood. Extreme swings cause the wood to expand or contract, leading to gaps or cupping. Use a humidifier or dehumidifier to keep humidity in the range recommended for your specific product.
Frequently Asked Questions
Can you spot repair engineered hardwood floors?
Yes — spot repairs work well for scratches, small holes, and isolated board damage. Use color-matched filler or a touch-up pen for surface damage, or replace the individual plank for deeper damage. Avoid sanding the whole floor for a spot repair; that only makes sense when the entire surface has worn evenly and your veneer is thick enough to handle it.
Can you replace one plank of engineered hardwood?
Yes. Floating click-lock floors use a cut-and-swap technique that removes just the damaged board’s center section, while glued or nailed floors require prying up the board and gluing or nailing in a matching replacement. Both methods leave the rest of the floor undisturbed.
How many times can you refinish engineered hardwood?
It depends on veneer thickness. Under 2mm, the floor can only be screened and recoated, never sanded. A 2-3mm veneer typically allows one true refinish, and 4-6mm veneers can handle two to four refinishes — close to what solid hardwood allows. Check your veneer at an exposed seam before scheduling any sanding job.
How do you fix a raised or hollow-sounding engineered hardwood plank?
Drill a small hole near the center of the affected plank and inject flooring adhesive underneath using a repair kit, then weight the area down until it cures. This re-bonds the plank to the subfloor without replacing it. If the plank is on a floating floor, unlock and reseat it instead, or use the cut-and-swap replacement method.
How do you repair water damaged engineered wood flooring?
First, dry the area with fans and a dehumidifier and fix the moisture source immediately. Light discoloration can sometimes be sanded out if your veneer is thick enough, but cupping, crowning, or large gaps usually mean the plank needs to be replaced rather than repaired.
How do you fix a hole in an engineered hardwood floor?
Clean the hole, then press color-matched wood filler or epoxy wood putty into it with a putty knife, slightly overfilling to allow for shrinkage. Once cured, sand it level with fine-grit paper and blend the finish with a matching touch-up marker.
Plank Ends Curling Up, Or The Finish Looks Pitted And Flaking? Two Different Problems
Plank Ends Curling Up (“Endlifting”)
When just the short ends of a plank lift while the rest of the board stays flat, that’s a specific problem called endlifting — it’s not the same as broad cupping across the width of the board. It happens when moisture reaches the plank’s core, which swells faster and in a different direction than the surface layers, pushing the ends up. Wet mopping, steam mops, and inconsistent indoor humidity are the usual triggers; most engineered floors want relative humidity kept between 35% and 55% year-round.
Because the veneer wear layer is thin, sanding an end-lifted plank flat isn’t a safe fix the way it can be on solid hardwood — you risk sanding straight through the veneer. If the lift doesn’t settle back down once the humidity source is corrected, the realistic fix is replacing the affected plank using the floating-floor swap method covered above, not trying to sand or force it flat.
Finish Looking Pitted, Flaking, Or Rough To The Touch
Pitted or flaking patches are a finish problem, not a wood problem — the topcoat is lifting or bubbling, usually from wax or silicone-based cleaning products contaminating the surface, or from moisture getting under a finish that didn’t fully cure. On solid hardwood the standard fix is sanding down and refinishing the whole area. On engineered hardwood, check your veneer thickness first (see above): thin veneers may not tolerate a full sand-and-refinish, so a light scuff-sand of just the affected patch followed by a compatible touch-up coat is the safer approach, and full refinishing should be treated as a last resort or a job for a flooring pro.
Why Are The Ends Of My Engineered Hardwood Planks Curling Up?
This is called endlifting, caused by moisture reaching the plank’s core, which swells differently than the surface layers and pushes the ends up. Wet mopping, steam mops, and inconsistent humidity are the usual triggers; keep relative humidity between 35% and 55% and avoid steam mops on engineered floors.
Why Does My Engineered Hardwood Finish Look Pitted Or Flaking?
Pitted or flaking patches are a finish problem, not a wood problem, usually from wax or silicone-based cleaning products contaminating the surface or moisture under an incompletely cured finish. Because engineered veneers are thin, a full sand-and-refinish carries more risk than on solid hardwood – check veneer thickness first and consider a light scuff-sand with a compatible touch-up coat instead.
Conclusion
Match the repair to the damage and to your floor’s veneer thickness, and most engineered hardwood problems are a weekend fix rather than a reason to replace the whole floor. Check the veneer at a seam first — it decides whether sanding, filler, or a plank swap is the right call.
Sponsored / affiliate links. As an Amazon Associate I earn from qualifying purchases. I may earn additional commission from eligible campaigns.