How to Repair Split Wood: Matching the Fix to the Split Size
To repair split wood, match the fix to the gap: thin CA glue for hairline cracks, wood glue and clamps for tight splits, epoxy for gaps over 1/8 inch, and a butterfly key when the split is wide or keeps moving. Glue alone fails on a split that opens and closes with the seasons, because a 12 inch flatsawn red oak board can shift about 0.14 inch with a 4 point swing in moisture content. This guide shows how to read your split, fix it, and fix what caused it.
Best Glue for Repairing a Tight Split in Wood
|
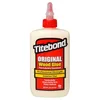
Best Tight-Split Glue Pick Titebond Original Wood Glue, 8 oz, $3.33 The yellow glue used in the clamp-and-glue steps below. Its label lists a short clamp time and easy sanding, which is what a split in furniture or trim needs.
|
As an Amazon Associate we earn from qualifying purchases.
Most splits people ask about are tight ones: a hairline-to-1/8 inch separation along the grain of a tabletop, chair seat, door panel or shelf. If the two sides pull together under light finger pressure, plain yellow wood glue plus clamps is the right repair, and it is cheaper than anything else on this page. If the sides will not meet, or the split reopens after you fix it, read the table below before you spend a dollar on glue.
Which Repair Fits Your Split
Gap width, not how bad the split looks, decides the repair. These cut-offs are practical working limits, not hard standards, and they assume the split is not holding up weight (see the safety section further down).
| Split width | Best repair | Why it works | Clamping |
|---|---|---|---|
| Hairline, under 1/32 inch | Thin CA (super) glue | Wicks into the crack by capillary action and sets in seconds | None needed |
| Tight, 1/32 to 1/8 inch | Yellow wood glue plus clamps | Bonds best when both faces touch, so the clamps close the gap | Clamp until set, then leave 24 hours before heavy use |
| Gapped, 1/8 to 1/4 inch | 2-part epoxy, thickened with fine sanding dust if needed | Fills a gap that yellow glue cannot bridge | Light pressure only; follow the cure time on the package |
| Wider than 1/4 inch, or reopens | Butterfly key set across the crack, plus epoxy | Locks the two sides together mechanically instead of trusting a glue line | Clamp while the epoxy cures |
| Load-bearing or structural | Replace the part or get a professional opinion | A glued split can fail without warning | Not a clamp-and-glue job |
Two things the table cannot show. First, a split that looks stable can still be moving. Measure it, pencil a small tick across the crack, and re-measure after a humid week and again after a dry, heated week. If the gap changes, the board is still being pulled apart and glue by itself will not hold. Second, for cracks you want to fill rather than close, our guide to filling cracks in wood covers epoxy, filler and glue by crack width, and gluing a hairline crack goes deeper on the thinnest cases.
Why Wood Splits and Why Repairs Reopen
A split, which woodworkers call a check when it runs along the grain, opens because wood shrinks far more across its width than along its length. Shrinkage across the growth rings (tangential) is roughly double shrinkage along them (radial), and shrinkage along the length of the board is a small fraction of either. When a surface dries faster than the core, or a board is held rigidly while it shrinks, the fibers tear apart at the weakest line.
That is also why a repair can reopen. The table below uses published shrinkage values for three common species and turns them into something you can picture: how much a 12 inch wide flatsawn board moves when its moisture content changes by 4 points, a normal swing between a humid summer and a heated winter.
| Species | Radial shrinkage (green to dry) | Tangential shrinkage (green to dry) | Estimated movement, 12 in flatsawn board, 4 point swing |
|---|---|---|---|
| Red oak | 4.0% | 8.6% | about 0.14 in |
| White oak | 5.6% | 10.5% | about 0.17 in |
| Black walnut | 5.5% | 7.8% | about 0.13 in |
Shrinkage figures: USDA Forest Products Laboratory, Wood Handbook (FPL-GTR-282), Table 4-3. The last column is our own estimate: tangential shrinkage divided by 30 (the approximate moisture content where shrinking starts), times the 4 point swing, times 12 inches. Treat it as a ballpark, not a measurement.
Compare 0.14 inch with the 1/8 inch gap limit in the repair table. A tight glue line has no chance of staying closed through that much movement if the board is clamped at both ends by cleats or screws. Fixing the cause matters as much as fixing the crack, and our wood shrinkage calculator lets you check the numbers for your own species and board width.
Check, Shake or Impact Crack?
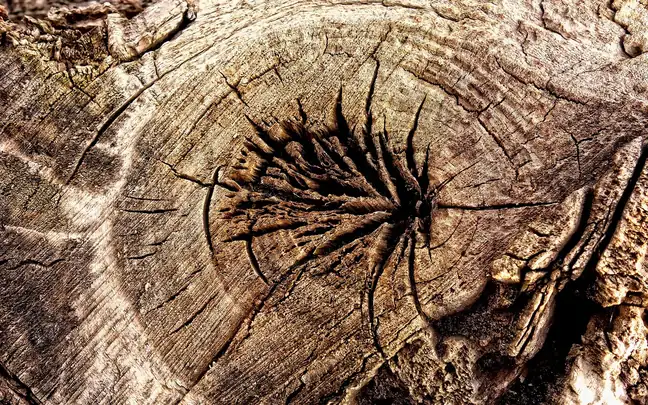
Not every split is a drying check. A check runs along the grain and comes from drying stress. A shake follows a growth ring and starts in the living tree, so it can run deep and never close, which is why shakes are often better stabilized than glued. An impact crack from a drop or a clamp slip is usually short and clean and often repairs best. Look at the end grain: a crack that follows a ring is a shake, and one that cuts across rings is a check.
Where Wood Movement Gets Trapped
Many repeat splits are self-inflicted. A solid tabletop screwed down through the apron with no slotted holes, a glued-on cleat running across the grain, or a breadboard end glued the full width all prevent the top from moving, so it splits instead. If your split is in a wide solid panel, check for any hardware that fixes the board in place across the grain. Our guide to preventing cracks in wood slabs and how to keep wood from splitting cover prevention in more detail.
When Not to Glue: Structural Splits
If the split runs through a part that carries your weight or a load, a glue repair is a gamble. Replace the part, or ask a qualified woodworker or carpenter to look at it, if the split is in:
- a chair leg, stretcher or rung, especially near a joint
- a ladder rail or rung, a stair tread or stringer, or a railing post
- a deck joist, beam or post, or any framing that holds a floor or roof
- a bed rail, bunk bed part or other furniture a child climbs on
- a workbench top or shelf that carries heavy tools
Safety notes for the repairs themselves: thin CA glue bonds skin in seconds and can irritate eyes, so wear safety glasses and nitrile gloves, work with ventilation, and keep acetone nearby for stuck fingers. Epoxy resin and hardener can irritate skin, so wear gloves and read the package. If you are stabilizing a cracked turning blank on a lathe, make sure the crack is fully bonded before you spin it, because a loose piece can be thrown.
Tools and Materials for a Split Repair
- Adhesive: thin CA glue, yellow wood glue, or 2-part epoxy, matched to the table above
- Clamps: bar or spring clamps, with scrap blocks (cauls) to spread pressure
- Wax paper or packing tape: keeps squeeze-out from gluing clamps and cauls to the work
- Feeler gauge or calipers: to measure the gap before and after
- Sanding supplies: 120, 180 and 220 grit sandpaper and a sanding block
How to Fix Splits in Wood Step by Step
- Measure and mark: Measure the gap at its widest and narrowest points and pencil a tick across the split. Pick the repair from the table above.
- Stop a growing split: If the split ends inside the board, drill a 1/8 inch hole through the tip so the crack cannot keep running.
- Clean the split: Pick out dirt, old glue and loose finish, then vacuum or blow the crack clear. Glue only bonds well to clean, dry wood.
- Dry-fit and apply glue: Close the split with the clamps to confirm it meets, then open it slightly and work glue deep into both faces with a thin brush, an old playing card or a syringe.
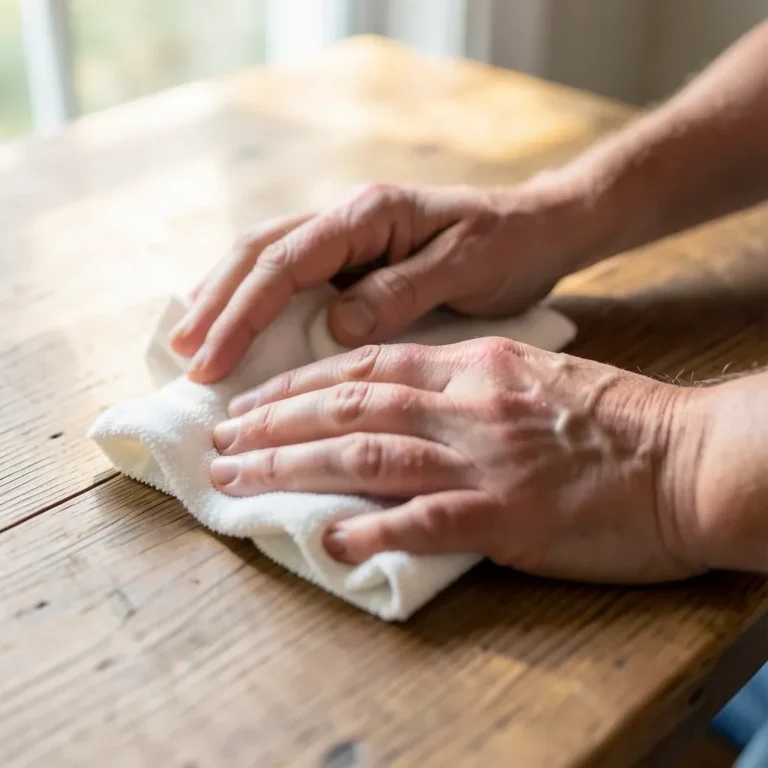
- Clamp across the split: Put wax paper under the cauls, tighten the clamps snugly across the split, and wipe squeeze-out with a damp rag before it dries. Do not crush the wood.
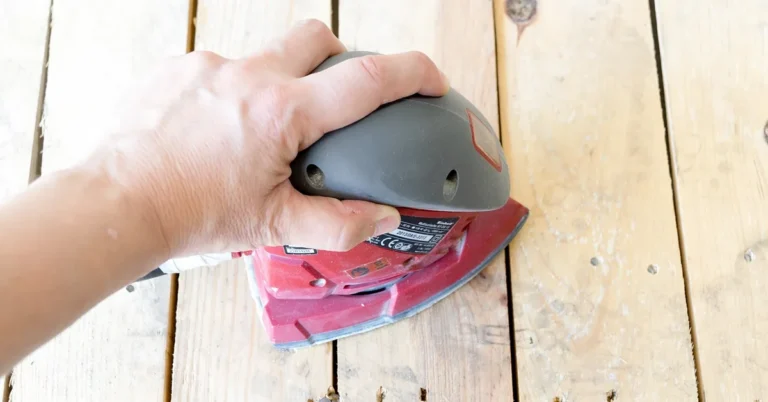
- Cure, sand and finish: Leave the repair at least 24 hours before sanding, then sand through 120, 180 and 220 grit and test your stain or finish on scrap, because glue lines resist stain.
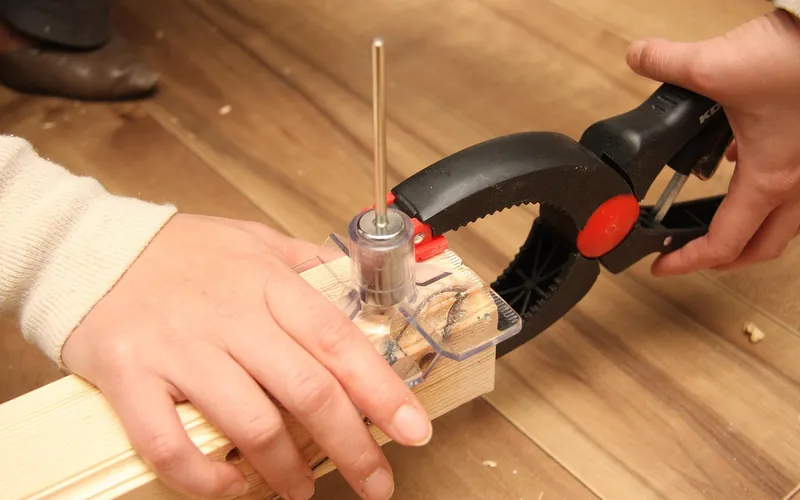
Clamp pressure should be even along the full length of the split, not only at the ends. If the middle stays open, add a clamp there or use a longer caul. For more on glue types, see our comparison of the best glue for wooden furniture repair by damage type.
Repairing a Wide or Moving Split With a Butterfly Key
A butterfly key, also called a bowtie or dovetail key, is a bowtie-shaped piece of hardwood set into a matching recess across the crack. It does the job the glue cannot: it holds the two sides together mechanically while the board keeps moving a little. Makers commonly cut the wings at about 8 to 10 degrees, set the recess roughly 1/4 to 3/8 inch deep, and run the grain along the key’s long axis so it spans the crack with its strength.
- Make the key: cut a bowtie from a hardwood that contrasts or matches the board, with the grain running along its long axis.
- Trace and cut the recess: trace the key across the crack, then rout or chisel to a consistent depth.
- Glue it in: fill the crack and the recess with epoxy, tap the key home, and clamp or weight it while it cures.
- Level and finish: plane or sand the key flush after the epoxy cures, then finish.
For large slab tops, our guide to joining large wood slabs compares keys with other methods, and gluing a wooden bowl crack shows the same idea on a smaller scale. If the damage is a rough lifted section rather than a clean split, see how to repair splintered wood on a deck.
Fix the Cause So the Split Stays Closed
| Cause | How to spot it | Fix |
|---|---|---|
| Top held rigidly across the grain | Screws or glued cleats through a wide solid panel | Use slotted holes or figure-8 fasteners so the board can move |
| Unsealed end grain | Radial checks at a board or log end | Coat the ends with end-grain sealer or wax right after cutting |
| Fast drying | Splits after sun, a heat vent or a woodstove | Move the piece, use a humidifier and let wood adjust gradually |
| Impact or overload | Short, clean crack near a joint or drop point | Glue and clamp, add a key or screws for strength if the part carries load |
After any repair, check the wood against the room: most heated homes keep wood at roughly 6 to 9 percent moisture content. Our wood movement calculator for joint clearance helps you leave enough room for the movement that caused the split. If the split is still growing, see how to stop a crack in wood from spreading.
Frequently Asked Questions
Can You Repair a Large Split With Just Glue?
Not reliably. Glue alone, even epoxy, tends to fail on a wide or structural split because the wood keeps moving with humidity and a rigid glue line cannot follow it. For a gap wider than about 1/4 inch, or any load-bearing piece, add a butterfly key and fill the remaining gap with epoxy.
How Do You Fix a Split in a Log or Timber?
You cannot undo a check in a log or timber end, but you can slow more of them. Seal the cut ends with an end-grain sealer before the wood dries, and leave natural checks alone on rustic pieces since they are cosmetic. If a check weakens a structural timber, have it assessed rather than just filled.
Can a Split Wood Turning Blank Be Saved?
Often yes. Woodturners stabilize a cracked blank with thin CA glue or epoxy, and many fill the crack with a contrasting color or a metal or wood bowtie on purpose. Make sure the crack is fully bonded before mounting the blank, because a loose piece can be thrown at speed.
How Do You Fix a Split Wood Post?
Clean the split, then glue it with a water-resistant epoxy or an exterior-rated wood glue, because standard yellow glue is labeled for interior use. Clamp or wrap the post until the glue cures. If the post supports a deck, fence gate or railing, replace it instead of gluing.
Can You Glue Broken Wood Back Together?
Yes, if the break is clean and the faces still match. Clean both surfaces, apply wood glue to each, clamp until set, and let it cure for 24 hours. A break that follows the grain of a thin piece may need a spline or dowel for extra strength.
How Long Should You Clamp Split Wood?
Follow the label on your adhesive. As a rule, yellow wood glue needs roughly 30 minutes to an hour of clamping and a full day to reach full strength, while epoxy times vary from minutes to hours depending on the type. Do not remove clamps early just because the squeeze-out looks dry.
How Do You Repair a Split in a Wood Door or Floorboard?
For a door panel, glue and clamp the split if it closes, otherwise fill it with epoxy and refinish. For a floorboard, work glue into the crack with a syringe, then weight it or fasten it through pre-drilled holes and fill the holes. If the board keeps cracking, find out whether it is trapped or moving too much.
Conclusion
Measure the split, match the repair to the gap, and check whether the board is still moving before you glue. Thin CA glue handles hairlines, wood glue and clamps handle tight splits, epoxy handles gaps, and a butterfly key handles anything wide or moving. Then fix the cause, whether that is a trapped top, bare end grain or fast drying, so the repair does not reopen.
Sponsored / affiliate links. As an Amazon Associate I earn from qualifying purchases. I may earn additional commission from eligible campaigns.