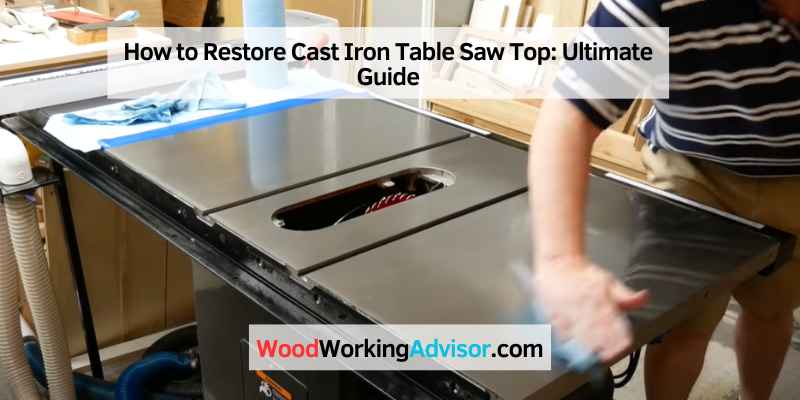
How to Restore a Cast Iron Table Saw Top
To restore a cast iron table saw top, start by removing any rust using a wire brush and scrubbing gently. Then, apply a layer of rust converter and let it sit for the suggested time.
Finally, apply a coat of protective wax or oil to prevent future rusting.
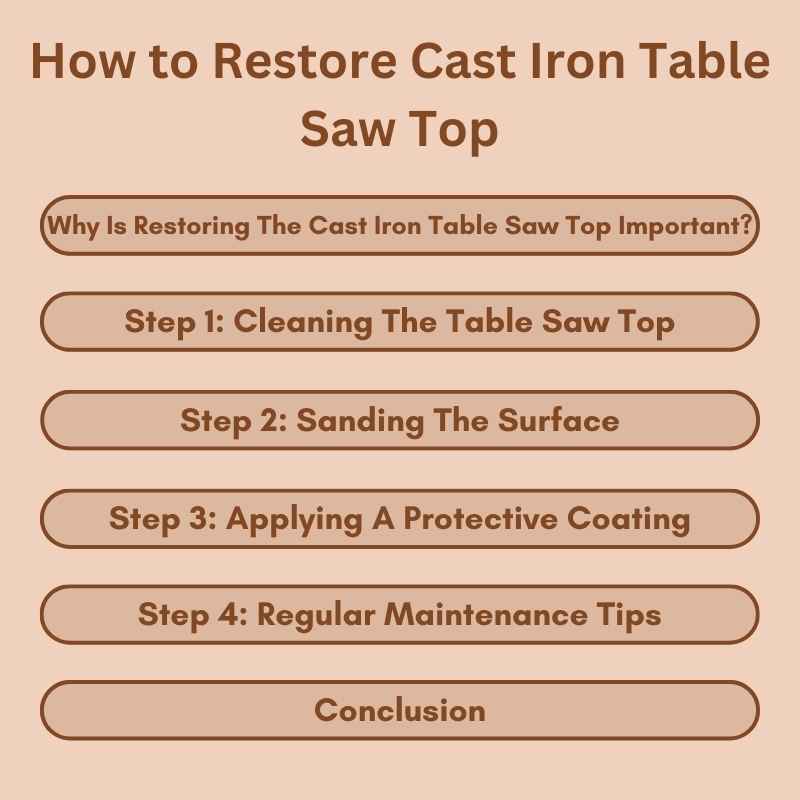
Why Is Restoring The Cast Iron Table Saw Top Important?
Restoring the cast iron table saw top is crucial for maintaining the performance and longevity of your equipment. Whether you are a woodworking enthusiast or a professional carpenter, understanding the importance of preserving your table saw can significantly impact the quality of your work and the lifespan of your equipment.
Maintains Accuracy And Precision
Restoring the cast iron table saw top ensures that the surface remains smooth and even, which is essential for maintaining accuracy and precision in your cuts. Over time, the table saw top can develop nicks, scratches, and other imperfections that compromise the flatness of the surface. By restoring the table top, you can eliminate these irregularities and guarantee that your cuts are consistently accurate.
Prevents Rust And Corrosion
Without proper maintenance, the cast iron table saw top is susceptible to rust and corrosion, which can negatively impact its performance. Restoring the table saw top involves removing any existing rust and applying protective coatings to prevent future corrosion. This not only extends the lifespan of your equipment but also ensures smooth operation when working with various wood materials.
Enhances Workpiece Maneuverability
Restoring the table saw top allows for improved maneuverability of your workpieces. A well-maintained and smooth table surface reduces friction, making it easier to guide the wood through cuts and other woodworking processes. Whether you are working on intricate designs or large-scale projects, an enhanced workpiece maneuverability contributes to the overall efficiency and precision of your work.
Step 1: Cleaning The Table Saw Top
To restore the cast iron table saw top, start by cleaning it thoroughly. Remove any dirt, debris, or rust using a wire brush and a mixture of warm water and dish soap.
Before you begin restoring your cast iron table saw top, it is crucial to thoroughly clean it. Follow these steps to ensure a clean surface free from dirt, debris, grease, and rust:
Using A Wire Brush Or Scraper
Start by removing any loose particles or grime from the table saw top using a wire brush or scraper. Carefully scrape along the entire surface, making sure to reach all corners and edges. This process will help eliminate any stubborn residue and prepare the table saw top for the next cleaning step.
Applying A Degreaser
Next, apply a suitable degreaser to the table saw top. A degreaser helps to break down and remove any oils or grease buildup that may have accumulated over time. Follow the product instructions for the specific degreaser you choose, and use a clean cloth or sponge to distribute the solution evenly over the surface. Leave the degreaser on the table saw top for a few minutes to allow it to penetrate and dissolve the grease.
Removing Rust With Vinegar Or Baking Soda
Rust can be a common issue with cast iron surfaces, but it can be effectively treated using vinegar or baking soda. For this step, you have two options:
- Vinegar: Soak a clean cloth or paper towel with vinegar and lay it on the rusted areas. Leave it in place for several hours or overnight, allowing the vinegar’s acidity to break down the rust. Afterward, scrub the rusted areas gently with a wire brush until the rust is removed.
- Baking Soda: Alternatively, create a paste by mixing baking soda with water. Apply the paste to the rusted areas and let it sit for a while. Then, use a sponge or cloth to scrub the rust away. Repeat the process if necessary until all rust is gone.
By applying these methods, you can effectively clean your cast iron table saw top, ensuring it is free from grime, grease, and rust. Now that your table saw top is clean, you can move on to the next steps of the restoration process.
Step 2: Sanding The Surface
Once you have thoroughly cleaned the cast iron table saw top, the next step in restoring its smoothness and shine is sanding the surface. This process helps to remove any lingering rust, scratches, or discoloration, giving your table saw top a fresh new look. Here’s what you need to do:
Choosing The Right Sandpaper Grit
To start the sanding process, it’s important to choose the right sandpaper grit. This will depend on the condition of your cast iron table saw top. Here are some guidelines to follow:
- If your table saw top has deep scratches, rust, or stubborn stains, start with a coarser grit, such as 80 or 120. This will help in removing the imperfections effectively.
- If your table saw top is in relatively good condition but requires some polishing and smoothing, you can begin with a finer grit, such as 180 or 220.
- For the final touch, you can use an even finer grit, such as 320 or 400, to achieve a smooth and shiny surface.
Sanding In A Circular Motion
Now that you have chosen the appropriate sandpaper grit, it’s time to start sanding the surface of your cast iron table saw top. Remember to always sand in a circular motion. This helps to evenly distribute the pressure and prevent creating any uneven grooves or lines on the table saw top.
Apply gentle but firm pressure as you work your way across the entire surface of the table saw top. Take your time and ensure that you cover every inch of the surface for consistent results. If you encounter any stubborn rust spots or scratches, you can focus a little more on those areas while maintaining the circular motion.
Removing Sanding Dust
Once you have completed the sanding process, it’s crucial to remove any sanding dust that may have accumulated on the table saw top. This ensures a clean and smooth surface before moving on to the next step.
You can use a vacuum cleaner with a brush attachment or a soft cloth to gently wipe away the sanding dust. Make sure to go over the entire surface, paying extra attention to any crevices or hard-to-reach areas.
By following these steps and paying attention to detail, you will be able to effectively sand the surface of your cast iron table saw top, bringing it one step closer to its former glory.
Step 3: Applying A Protective Coating
When it comes to restoring a cast iron table saw top, applying a protective coating is a crucial step in ensuring its longevity and performance. In this stage, you will learn about choosing the right coating, applying it effectively, and understanding the curing and drying time.
Choosing The Right Coating
Before applying a protective coating to your cast iron table saw top, it’s important to choose the right one. Look for a coating specifically designed for metal surfaces, as it will provide the necessary durability and resistance to wear. Opt for a high-quality epoxy or polyurethane-based coating that can withstand the heavy-duty tasks that a table saw is subjected to.
Applying The Coating
When applying the protective coating, make sure to thoroughly clean the surface of the table saw top to remove any rust, debris, or previous coatings. Using a lint-free cloth, apply a thin and even layer of the chosen coating, ensuring complete coverage. Be mindful of any drips or pooling, as they can lead to uneven results. Follow the manufacturer’s instructions for the specific application method and drying time.
Curing And Drying Time
After applying the protective coating, allow sufficient time for it to cure and dry completely. The curing and drying time can vary depending on the type of coating used and environmental conditions. Typically, it may take 24-48 hours for the coating to cure to its full strength. During this time, keep the table saw top in a clean and dust-free environment to prevent any imperfections in the finish.
Step 4: Regular Maintenance Tips
Proper maintenance is essential to keep your cast iron table saw top in optimal condition. By following these regular maintenance tips, you can extend the lifespan of your tool and ensure accurate and smooth cuts every time.
Cleaning After Each Use
After each use, it’s important to clean the cast iron table saw top to remove any debris, dust, or sawdust that may have accumulated. This simple step will prevent these particles from scratching or damaging the surface of your table saw top.
Checking For Rust Spots
Rust can be the enemy of your table saw top. To prevent rust from forming, regularly inspect the surface for any signs of rust spots. If you notice any, use a fine-grit sandpaper to gently remove the rust. Remember to clean the area thoroughly and apply a coat of protective oil afterward to prevent further rusting.
Applying A Light Coat Of Oil
To protect the cast iron table saw top from rust and keep it in pristine condition, applying a light coat of oil is crucial. After cleaning the surface, use a rag or brush to evenly distribute a thin layer of rust preventive oil such as WD-40 or Boeshield T-9 over the entire table saw top. This oil barrier will prevent moisture from reaching the metal and safeguard against rust.
Maintaining your cast iron table saw top doesn’t have to be complicated. By cleaning it after each use, checking for rust spots, and applying a light coat of oil regularly, you can ensure your table saw top stays in top-notch condition, making your woodworking projects a breeze!
Conclusion
To sum up, restoring a cast iron table saw top requires patience and dedication. Following the outlined steps and maintenance tips will help you preserve the table saw’s top condition and ensure its longevity. By regularly cleaning, protecting, and applying wax, you can keep your table saw top in optimal shape, ready for your woodworking projects.
Keep these practices in mind to maintain your cast iron table saw top for years to come.