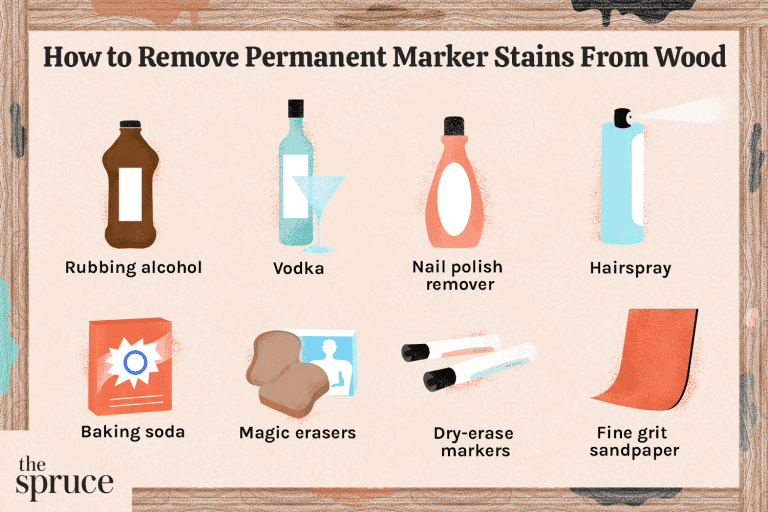
How to Sand Wood Properly: Expert Tips for Flawless Results
To sand wood properly, start by using coarse sandpaper to remove any imperfections or rough surfaces. Gradually move to finer grit sandpaper to achieve a smooth finish.
Now, I will delve into the details of how to sand wood properly. When it comes to working with wood, achieving a smooth and polished finish is essential for any project. One of the most important steps in this process is sanding.
Whether you are refinishing furniture, preparing a wooden surface for painting, or just enhancing the natural beauty of the wood, sanding is a crucial step. However, sanding wood properly requires specific techniques to ensure the best results. We will explore the step-by-step process of sanding wood to achieve a smooth and professional finish. So, let’s begin and discover how to sand wood properly.
Selecting The Right Sandpaper Grit
Sanding wood is a crucial step in achieving a smooth and professional finish for all your woodworking projects. One of the most crucial aspects of sanding is selecting the right sandpaper grit. The sandpaper grit determines how rough or fine the sandpaper is, which directly impacts the effectiveness of the sanding process. Depending on the task at hand, you will need different grit sizes to achieve the desired results.
Understanding Grit Sizes
Grit sizes refer to the coarseness or fineness of the sandpaper. The grit number indicates the number of abrasive particles per square inch of the sandpaper. Lower numbers indicate rougher grits, while higher numbers signify finer grits. To better understand the different grit sizes available, here’s a breakdown:
| Grit Size | Description |
|---|---|
| Coarse (40-80 grit) | Used for heavy-duty sanding and removing stubborn imperfections, such as old finishes, paint, or deep scratches. Ideal for initial sanding or shaping wood surfaces. |
| Medium (100-150 grit) | Perfect for smoothing out rough surfaces and removing minor scratches. It’s an excellent choice for preparing wood for staining or applying a new finish. |
| Fine (180-220 grit) | Used for sanding bare wood to a smooth finish, removing small imperfections, and preparing surfaces for staining or painting. Provides a suitable base for further finishing. |
| Very Fine (240-400 grit) | Offers a smooth finish, ready for applying a final coat of paint or finish. Ideal for sanding between coats of paint or varnish and creating a polished surface. |
| Extra Fine (500-600 grit) | Exceptionally smooth sandpaper is used for final sanding before applying a topcoat. Primarily used for achieving a high-gloss finish on wood surfaces. |
Different Grits For Different Wood Types
It is essential to consider the type of wood you are working with when selecting the appropriate grit size. Hardwoods such as oak or maple may require a more coarse grit (40-80) for initial sanding to tackle their density. Softwoods like pine or cedar, on the other hand, are more susceptible to damage and may require a finer grit (120-180) to prevent excessive sanding.
- For a well-balanced approach, start with medium-grit sandpaper (100-150) to remove noticeable imperfections and then progress to finer grit (180-220) for a smoother finish.
- If you are applying a stain or a varnish, remember to sand with a finer grit (180-220) between coats to achieve a flawless end result.
- When working with an already smooth surface, you can start with a relatively fine grit (180-220) to save time and effort.
The key is to be aware of the wood’s characteristics and adjust your choice of grit size accordingly. Remember to always move through the grit sizes progressively for the best results. Understanding the different grit sizes and their applications will help you achieve professional-looking results and ensure a smooth and polished finish for your woodworking projects.
Preparing The Wood Surface
Before starting any woodworking project, one of the crucial steps is
preparing the wood surface. This ensures a smooth and polished finish
while also promoting the longevity of the final product. The preparation
process involves cleaning the surface and repairing any imperfections.
Cleaning The Surface
To achieve a pristine wood surface, it is essential to begin by cleaning
it thoroughly. This helps to remove dust, grime, and any other
contaminants that might interfere with the sanding process. Here’s a
simple step-by-step guide for cleaning the wood surface:
- Start by using a soft brush or vacuum cleaner to remove loose dust and
debris from the surface. This will prevent any particles from getting
trapped in the sandpaper and causing scratches. - Next, dampen a lint-free cloth with a mild wood cleaner. Gently wipe
the entire surface of the wood, ensuring you reach all the corners and
crevices. - If you encounter stubborn stains or sticky residues, use a gentle
solution of warm water and dish soap. Apply the mixture to a cloth and
scrub the affected areas gently until the stains are removed. - After cleaning, wipe the surface again with a clean, damp cloth to
remove any remaining residue. - Finally, let the wood surface dry completely before proceeding to the
next step. This will prevent moisture from interfering with the sanding
process and ensure a smooth finish.
Repairing Imperfections
Wood surfaces often have imperfections such as scratches, dents, or
holes. These need to be addressed before sanding to ensure a flawless
final result. Here are some steps to follow when repairing imperfections
in the wood:
- Inspect the surface for scratches, dents, or any other blemishes. Use a
good light source to help you identify these imperfections. - If there are minor scratches or dents, you can use wood filler to
repair them. Apply a small amount of wood filler to a putty knife and
spread it evenly over the imperfection. Allow it to dry according to
the manufacturer’s instructions before sanding. - For more substantial damage or deeper holes, consider using a wood
patch or epoxy filler. Follow the manufacturer’s instructions for
application and drying time. - Once the repairs are dry and hardened, sand the surface using fine-grit sandpaper. This will help to smooth out the repaired areas and
blend them seamlessly with the rest of the wood surface. - After sanding, wipe away any dust or debris using a clean cloth or
vacuum cleaner. Your wood surface is now ready for the final sanding
process.
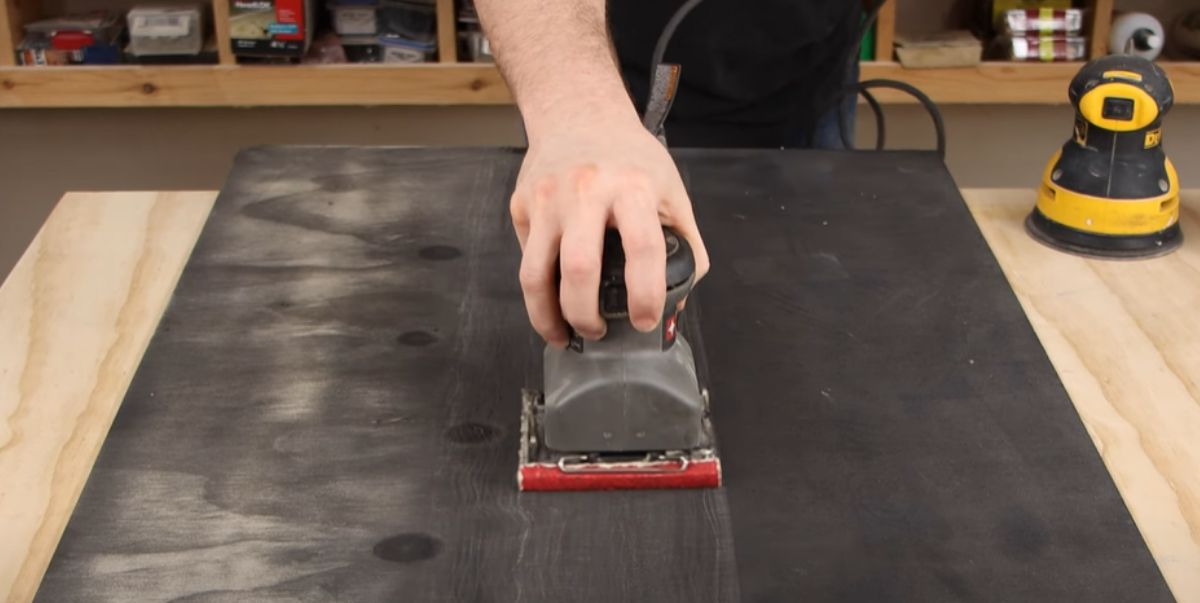
Using The Correct Sanding Technique
Using the correct sanding technique is crucial for achieving a smooth and professional finish on your woodworking projects. By following the right methods, you can ensure that the wood is properly prepared for staining, painting, or polishing, and avoid common sanding errors that can compromise the final result.
Avoiding Sanding Errors
When sanding wood, it’s essential to avoid common errors that can lead to an uneven or rough finish. Ensure that the sandpaper is smooth and free from any grit or debris that could scratch the wood surface. Be mindful of the pressure you apply, and avoid exerting too much force, which can result in uneven sanding and cause damage to the wood. Additionally, take care to sand the entire surface evenly to prevent patches of over-sanded or under-sanded areas.
Sanding With The Grain
Sanding with the grain of the wood is a fundamental technique that helps to maintain the natural pattern of the wood and prevents the formation of unsightly scratches. Always sand in the direction of the grain, using long and even strokes to maintain consistency. This method will help you achieve a smooth and uniform finish while minimizing the risk of causing damage to the wood surface.
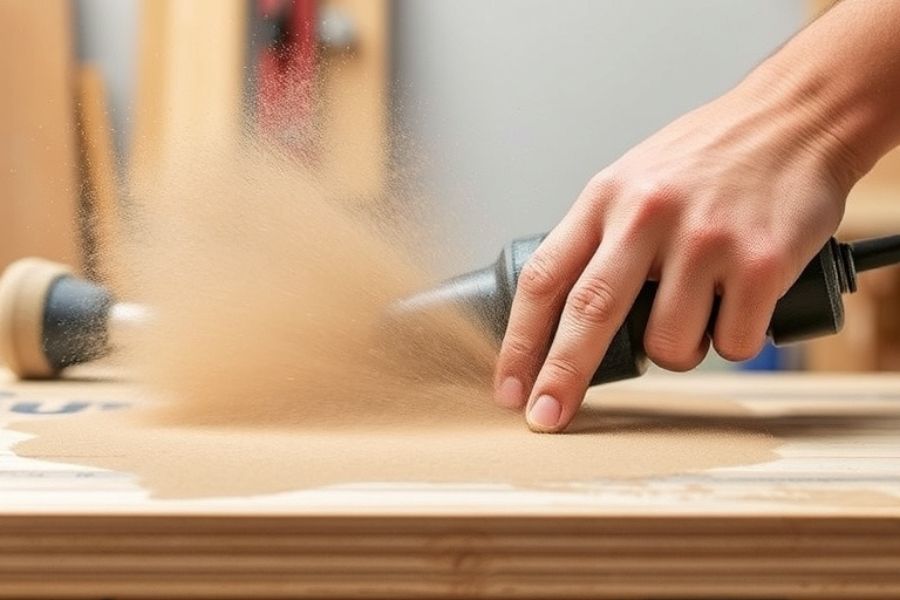
Dust Management And Safety
When it comes to sanding wood, dust management and safety should be given top priority. Proper dust extraction and wearing protective gear are essential to ensure a safe environment while sanding. In this section, we will discuss the importance of dust extraction and the protective gear required for safe sanding.
Importance Of Dust Extraction
The importance of dust extraction cannot be stressed enough when it comes to sanding wood. Sanding produces a significant amount of fine dust particles that can be harmful when inhaled. These dust particles not only pose a risk to your respiratory system but can also cause eye irritation and allergic reactions.
To effectively manage dust during the sanding process, it is recommended to use a vacuum or dust extractor that is specifically designed for woodworking. This ensures that the dust is captured at the source and does not disperse into the air, keeping the work area clean and free from floating particles.
Moreover, efficient dust extraction also improves the quality of the sanded surface. The removal of dust prevents it from settling back onto the wood, allowing for a smoother finish and better adhesion when applying finishes or coatings.
Protective Gear For Safe Sanding
Protective gear is essential to ensure safe sanding and minimize any risks associated with the process. When sanding wood, it is crucial to protect yourself from inhaling dust and avoid any physical injuries. Here are some essential protective gear items to consider:
- Dust mask or respirator: Wear a properly fitted dust mask or respirator to protect yourself from inhaling harmful dust particles. Choose a mask with a high filtration capacity to ensure maximum protection.
- Protective goggles or safety glasses: Shield your eyes from flying dust particles by wearing protective goggles or safety glasses. This prevents any potential eye irritation or injuries.
- Ear protection: Sanding can be a noisy process, so wearing ear protection such as earplugs or earmuffs is crucial to prevent hearing damage.
- Gloves: Use gloves that provide good grip and protection to avoid splinters and injuries caused by sanding abrasive surfaces.
- Long-sleeved clothing: Wear long-sleeved clothing to protect your skin from dust and potential scratches.
By wearing the necessary protective gear, you can ensure your safety and minimize any health risks when sanding wood.
Finishing Touches For Professional Results
For professional woodworking results, it’s essential to sand wood properly. Begin with coarse-grit sandpaper and gradually move to finer grits. Pay attention to the direction of the wood grains and ensure a smooth finish. Proper sanding is key to achieving professional-quality results.
Smoothing The Wood
Once you have sanded the wood to your desired level, it’s time to focus on the final touches that will bring out that professional finish. Smoothing the wood is essential to ensure a flawless surface before applying any finishes.
To smooth the wood effectively, start by lightly sanding the surface with a fine-grit sandpaper. You want to remove any remaining roughness or imperfections that could be visible once the finish is applied. Use long, even strokes, following the grain of the wood for the best results.
If there are any deep scratches or gouges on the wood, consider using wood filler to fill them in. Apply the filler according to the manufacturer’s instructions, and once it dries, sand it down until it’s flush with the rest of the surface. This will help create a smooth and consistent look.
Applying The Perfect Finish
Now that you have achieved a smooth surface, it’s time to apply the perfect finish to your wood. Choosing the right finish depends on the type of wood you are working with and the desired outcome. Whether you prefer a natural look or a more vibrant finish, there are several options to consider.
One popular choice is applying a clear coat varnish or polyurethane. These finishes not only protect the wood but also enhance its natural beauty. They come in various shades, such as gloss, satin, or matte, allowing you to achieve the desired look for your project.
If you prefer a more traditional approach, using a wood stain can add color while still allowing the wood grain to show through. Apply the stain evenly and wipe off any excess to avoid uneven coloration. Once the stain has dried, you can follow up with a clear coat finish for added protection and shine.
Remember, always test your chosen finish on a small, inconspicuous area of the wood before applying it to the entire surface. This way, you can ensure the color and finish are as expected.
By taking the time to smooth the wood and applying the perfect finish, you will elevate your woodworking projects to a professional level. These finishing touches will not only enhance the appearance of the wood but also protect it for years to come.
Mastering the Art of Sanding: A Comprehensive Guide to Achieving Flawless Finishes

Sanding’s Significance in DIY Projects
Have you ever run your hand across a beautifully finished piece of furniture and marveled at its smoothness? Or admired the sleek, polished look of a freshly refinished hardwood floor? The secret to these impressive results often lies in a step that many overlook: sanding. While it might not be the most glamorous aspect of woodworking, sanding is the foundation upon which beautiful and durable finishes are built. It’s the process of smoothing and preparing wood surfaces for paints, stains, or simply showcasing the wood’s natural beauty.
This comprehensive guide will empower you to master the art of sanding. We’ll explore the different types of sandpaper, the techniques for both hand and power sanding, and expert tips to ensure you achieve professional-quality results in all your DIY projects.
Understanding Sandpaper Grit: The Key to a Smooth Finish
Sandpaper Grit Explained
Sandpaper isn’t made of sand; it’s a material with abrasive particles attached to its surface. These particles do the work of smoothing and shaping the wood. Sandpaper comes in a wide range of coarseness levels, measured by a number known as the grit. This grit number indicates how many abrasive particles are packed into a square inch of the sandpaper.
Here’s a breakdown:
- Lower Grit (Coarse): 40-80 grit. These sandpapers are rough and designed for aggressive material removal. They’re used for tasks like removing old finishes, leveling uneven surfaces, and shaping wood.
- Medium Grit: 100-150 grit. This range is the workhorse of sanding, suitable for smoothing surfaces before painting, refining edges, and general-purpose sanding.
- Fine Grit: 180-220 grit. Fine grits are used for the final sanding stages before applying a finish. They create a smooth, polished surface that’s ready for paint, stain, or a clear coat.
- Ultra-Fine Grit: 320 grit and above. These grits are for achieving an exceptionally smooth, almost glass-like finish, often used after fine-grit sanding.
Matching Grit to Your Project
Choosing the right sandpaper grit is crucial for success. Using too coarse a grit can leave deep scratches that are hard to remove. Starting with too fine a grit will take forever to achieve the desired result.
Here’s a simple guide:
- Heavy-Duty Removal: For removing old finishes, leveling uneven surfaces, or initial shaping, start with a coarse grit (40-80).
- General Smoothing: For smoothing before painting, refining edges, and most DIY woodworking projects, begin with a medium grit (100-150).
- Final Preparation: Before applying a finish, use fine grit sandpaper (180-220) to create a smooth, polished surface.
- Ultra-Smooth Finish: For that extra level of refinement, use ultra-fine grits (320 and above) after fine-grit sanding.
Progressive Grit Progression: The Key to Avoiding Scratches
One of the most important principles in sanding is to work your way up through the grits progressively. Never jump more than 60 grits at a time. For example, if you start with 80 grit, your next step would be 120 grit, followed by 180, and so on. This gradual progression removes the scratches left by the previous grit, resulting in a beautifully smooth surface.
Sanding Techniques: Mastering the Methods
Hand Sanding: Control and Precision
Hand sanding is the traditional method, and it remains an essential technique for any woodworking project. It provides maximum control, especially when working on intricate details or areas that power sanders can’t reach. Even if you’re using power tools for the majority of your sanding, you’ll likely need to do some hand sanding to refine corners, edges, and intricate profiles.
Here’s how to hand sand effectively:
- Choose the Right Tools:
- Sanding Block: Using a sanding block, either purchased or made from scrap wood, ensures you apply even pressure and prevents the sandpaper from bunching up or slipping.
- Sandpaper Grit: Select the appropriate grit based on the task at hand. Remember to progress through grits systematically.
- Sand with the Grain: Always sand in the direction of the wood grain, not against it. Sanding against the grain will create scratches that are difficult to remove.
- Apply Even Pressure: Use consistent pressure to ensure an even surface. Too much pressure in one spot can create dips or uneven areas.
- Progress Through Grits: After sanding the entire surface with one grit, wipe down the wood to remove dust and switch to the next finer grit. Repeat until you achieve the desired smoothness.
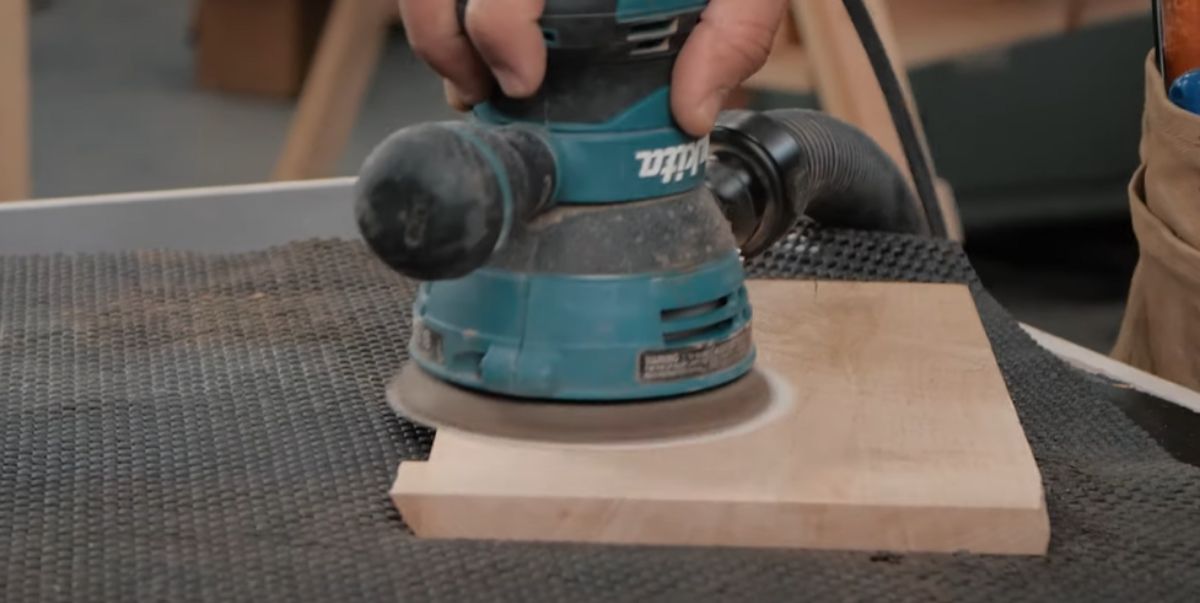
Power Sanding: Speed and Efficiency for Larger Projects
Power sanders are invaluable for larger projects, offering speed and efficiency that hand sanding simply can’t match. They’re particularly useful for tasks like sanding floors, large panels, and furniture refinishing.
Types of Power Sanders
- Drum Sander: This powerful tool is primarily used for sanding wood floors. It uses a rotating drum covered with sandpaper to quickly remove material and level uneven surfaces.
- Belt Sander: Belt sanders are also known for their aggressive material removal capabilities. They’re excellent for leveling surfaces and smoothing rough edges but can be too aggressive for final sanding.
- Orbital Sander: Orbital sanders use a rectangular sanding pad that moves in a small, elliptical pattern. They’re versatile tools suitable for various sanding stages, from rough to fine.
- Random Orbital Sander: This type of sander is similar to an orbital sander but with a random, swirling motion that helps prevent swirl marks. Random orbital sanders are considered the most versatile and are suitable for most sanding tasks, from rough to fine.
- Finish Sander: Finish sanders are designed specifically for fine-grit sanding. They have a small, rectangular pad and are excellent for achieving a smooth, polished finish after using a coarser sander.
Key Points for Power Sanding:
- Choose the Right Sander: Select the appropriate sander based on the project and the stage of sanding. For example, a drum sander is ideal for floors, while a random orbital sander is versatile for most other tasks.
- Use Proper Sandpaper: Use the right grit of sandpaper and systematically progress through the grits. For example, you might start with 80 grit, then move to 120, 180, and 220.
- Sand with the Grain: Generally, sand parallel to the wood grain. With random orbital sanders, you can sometimes sand against the grain or in small circular motions, but always check for swirl marks and adjust your technique if necessary.
- Maintain Even Pressure: Avoid pressing down too hard, as this can create dips or uneven areas. Let the sander do the work, and move it slowly and steadily.
- Dust Management and Safety: Wear safety glasses and a dust mask, especially when using power tools. Use dust collection systems whenever possible to minimize airborne dust.
Sanding Specific Surfaces and Projects: Tips for Success
Wood Floors:
- Use a drum sander for the main areas, starting with coarse grit to remove old finishes or level unevenness, then progress through finer grits.
- An edge sander is essential for sanding along walls and in corners, following the same grit progression as the drum sander.
Concrete:
- Diamond sanding pads are designed for hard surfaces like concrete.
- Use a walk-behind sander for large areas like driveways and an orbital sander for smaller projects like countertops.
- Start with a coarse grit (60-grit) for a rough sanding, followed by medium (120-grit) and fine (200-grit) for a smooth finish.
Furniture Refinishing:
- Assess the existing finish and any damage to determine the starting grit. If there’s a thick layer of old finish, you’ll need to start with a coarser grit.
- Choose sanding techniques and tools based on the furniture’s shape and details. For example, a random orbital sander might be best for flat surfaces, while hand sanding is better for intricate carvings.
- Sand carefully to avoid damaging the wood, especially if it’s an antique or valuable piece.
Advanced Techniques and Problem-Solving:
- Sanding Curved Surfaces: Use flexible sanding pads, contour sanding grips, or hand-sanding techniques to follow the contours of curved surfaces.
- Removing Swirl Marks: If swirl marks are left by a power sander, use progressively finer grits and very light pressure to blend them out.
- Dealing with Burn Marks: Light sanding with fine grit can sometimes improve minor burn marks, but deeper burns might require wood filler or more extensive repairs.
Sanding for Finishing: Essential Steps for a Polished Result
Sanding and Wood Grain
Sanding can raise the wood grain, making it feel rough after applying a finish. To prevent this, dampen the wood surface with a wet cloth or sponge after sanding. This will cause the grain to raise. Once it dries, lightly sand it again with fine-grit sandpaper.
Sanding Between Coats
For a truly smooth and even finish, especially with paint or varnish, sanding between coats is essential. This helps eliminate brush strokes, bumps, or any imperfections that might have been left behind. Use fine-grit sandpaper for a light sanding between coats.
Matching Sanding Techniques to Finishes
- Oil Finishes: When using an oil finish like Danish oil or teak oil, sanding with the oil can be beneficial. This creates a slurry of oil and sawdust that fills pores, resulting in a smooth and lustrous finish.
- Water-Based Finishes: Water-based finishes can raise the grain more than oil-based finishes, so be especially careful to raise the grain before applying the first coat and sand lightly between coats.
Safety and Sustainability: Sanding with Care
Dust Management
Sanding creates fine dust particles that can be harmful if inhaled. Take the following precautions:
- Dust Collection System: Whenever possible, use a dust collection system. This could be a shop vac connected to your sander or a dedicated dust extractor.
- Dust Mask: Wear a dust mask, even when using dust collection, to minimize the risk of inhaling dust.
Personal Protection
- Safety Glasses: Always wear safety glasses to protect your eyes from flying wood chips and dust.
- Hearing Protection: When using power sanders for extended periods, wear hearing protection.
Eco-Friendly Sanding
- Sustainable Materials: Look for sandpaper made from recycled materials or consider brands that offer biodegradable options. [Note: This information about eco-friendly sanding is not from the provided sources and may require independent verification.]
- Proper Disposal: Dispose of used sandpaper properly, following local regulations for waste management.
- Natural Finishes: Consider using natural oils and finishes as more environmentally friendly alternatives to synthetic products.
Conclusion: Elevating Your Craftsmanship Through Sanding
Mastering the art of sanding is an investment in your DIY skills and a gateway to achieving professional-quality results. While it might seem like a tedious step, the time and effort you dedicate to proper sanding will be reflected in the beauty and durability of your finished projects.
Remember to:
- Choose the right sandpaper grit for each task, progressing systematically through the grits to avoid scratches.
- Master both hand sanding and power sanding techniques, selecting the appropriate tools for each project.
- Sand with the grain, apply even pressure, and manage dust effectively for safe and efficient sanding.
- Practice your sanding skills and don’t be afraid to experiment to find the techniques that work best for you.
By understanding the nuances of sandpaper, tools, and techniques, you can transform raw wood into polished masterpieces that will be admired for years to come.
Frequently Asked Questions For How To Sand Wood Properly
What Is The Most Efficient Way To Sand Wood?
To sand wood efficiently, follow these steps:
1. Begin with coarse sandpaper to remove imperfections.
2. Gradually switch to finer grit sandpaper for a smoother finish.
3. Sand along the grain in smooth, even strokes.
4. Use a sanding block or power sander for consistent pressure.
5. Dust off the surface before applying a finish.
What Is The Golden Rule Of Sanding?
The golden rule of sanding is to start with coarse grit sandpaper and gradually move to finer grits. This helps to smooth the surface and remove imperfections. It’s important to sand in the direction of the wood grain and not press too hard to avoid uneven results.
Is There A Wrong Way To Sand Wood?
Yes, there is a wrong way to sand wood. Using incorrect grit sandpaper, applying too much pressure, and neglecting to remove dust between layers can result in a poor finish. It’s crucial to follow proper techniques to achieve a smooth and flawless result.
What Is The Rule Of Sanding?
The rule of sanding involves following these guidelines to achieve optimal results: keep sentences brief (max 20 words), write SEO-friendly and plagiarism-free content in active voice, avoid specific sentence structures and phrases, and ensure the writing sounds human-like while passing AI writing detection.
Conclusion
To sum it up, sanding wood properly is crucial for achieving a smooth finish and maximizing the wood’s beauty. By following the right techniques and using the appropriate sandpaper grits, you can ensure an excellent result. Remember to take your time and be thorough in your sanding process for the best outcomes.
Keep these tips in mind, and you’ll be on your way to mastering the art of sanding wood.