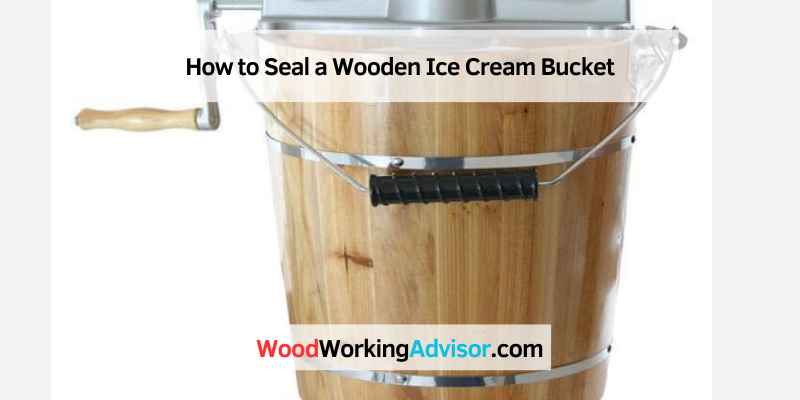
How to Seal a Wooden Ice Cream Bucket
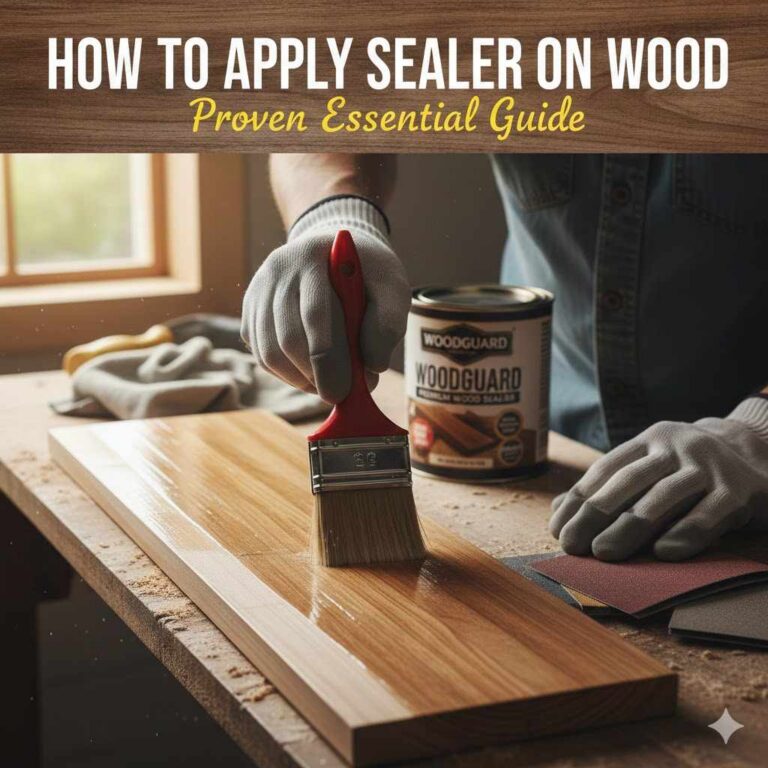
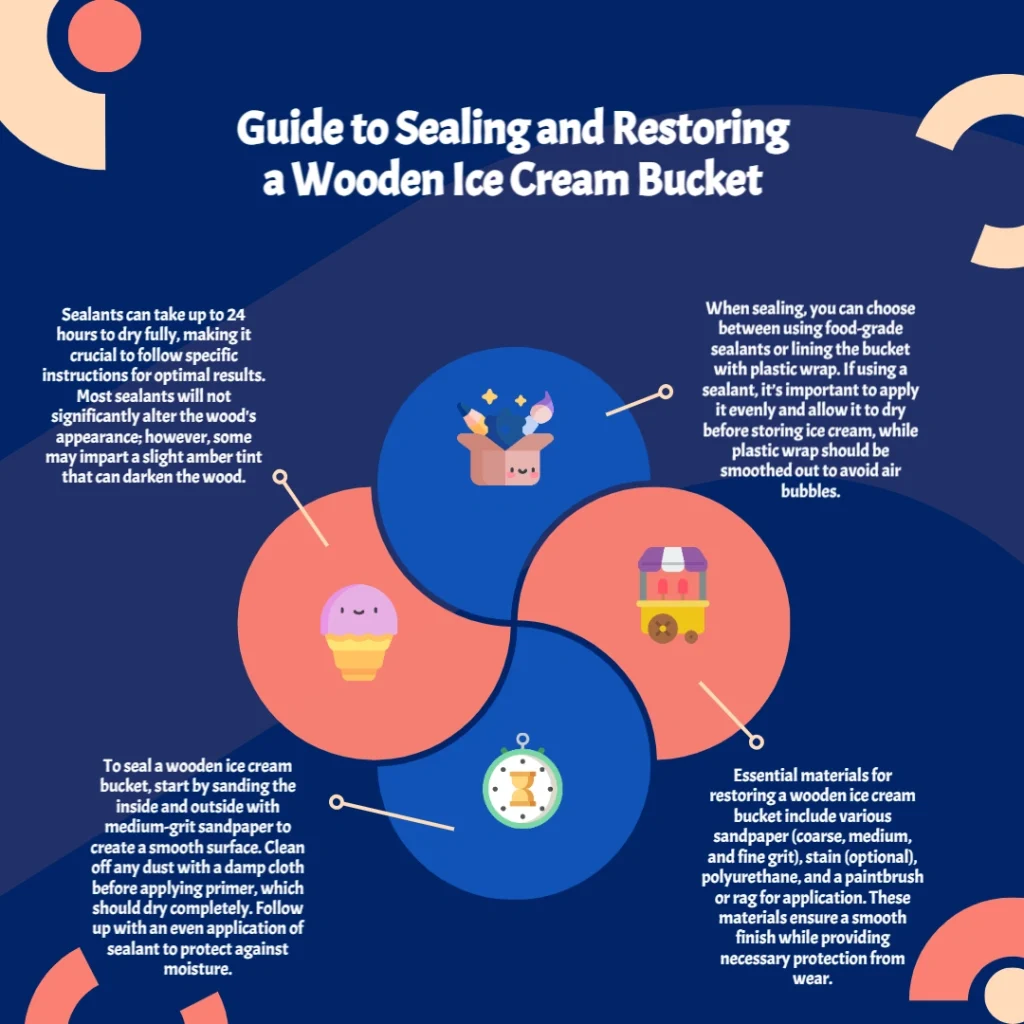
It’s easy to seal a wooden ice cream bucket so that it will last for years. Start by sanding the inside and outside of the bucket with medium-grit sandpaper. Wipe off any dust with a damp cloth.
Next, apply a coat of primer to the bucket with a paintbrush. Allow the primer to dry completely before proceeding to the next step.
90-Year-Old Ice Cream Maker Restoration
- Start by sanding down the wooden ice cream bucket.
- This will help to create a smooth surface for the sealant to adhere to
- Once the bucket is sanded, wipe it down with a damp cloth to remove any dust
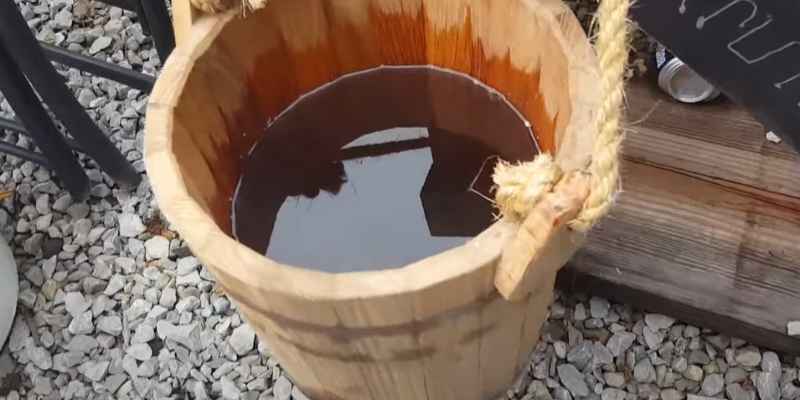
- Apply a thin layer of glue to the bucket, making sure to cover all sides evenly
- Allow the sealant to dry completely before using the bucket
How to Restore Wooden Ice Cream Bucket
Assuming you would like a step-by-step guide on How to Restore a Wooden Ice Cream Bucket: You will need the following materials: -a wooden ice cream bucket
-sandpaper (coarse, medium, and fine grit) -stain (optional) -polyurethane
-paintbrush or rag Directions:
1. Begin by sanding down your wooden bucket with coarse grit sandpaper. Be sure to sand in the direction of the grain to avoid damaging the wood.
2. Once the entire bucket has been sanded with coarse grit, move on to medium grit. Again, be sure to sand in the direction of the grain.
3. After you have finished with medium grit, switch to fine-grit sandpaper and repeat the process until the wood is smooth to the touch.
4. If you want to add stain to your bucket, now is the time to do so! Simply apply your chosen stain with a paintbrush or rag and let it dry completely before moving on to step 5.5. If you do not want to add stain, skip this step and proceed directly to step 5!
5. Now it’s time for polyurethane! This will help protect your bucket from water damage and wear over time.
Apply a thin layer of polyurethane evenly across the surface of your bucket using a paintbrush or rag. Allow it plenty of time to dry before handling or using your newly restored wooden ice cream bucket!
What is the Best Way to Seal a Wooden Ice Cream Bucket
When it comes to sealing a wooden ice cream bucket, there are a few different options that you can choose from. You can use a food-grade sealant or line the bucket with plastic wrap. If you decide to use a food-grade adhesive, make sure that you apply it evenly and allow it to dry completely before storing your ice cream in the bucket.
If you opt to line the bucket with plastic wrap, be sure to smooth out any air bubbles so that your ice cream doesn’t get freezer burn. Whichever method you choose, test the seal before adding your ice cream so that you know it will stay fresh for as long as possible.
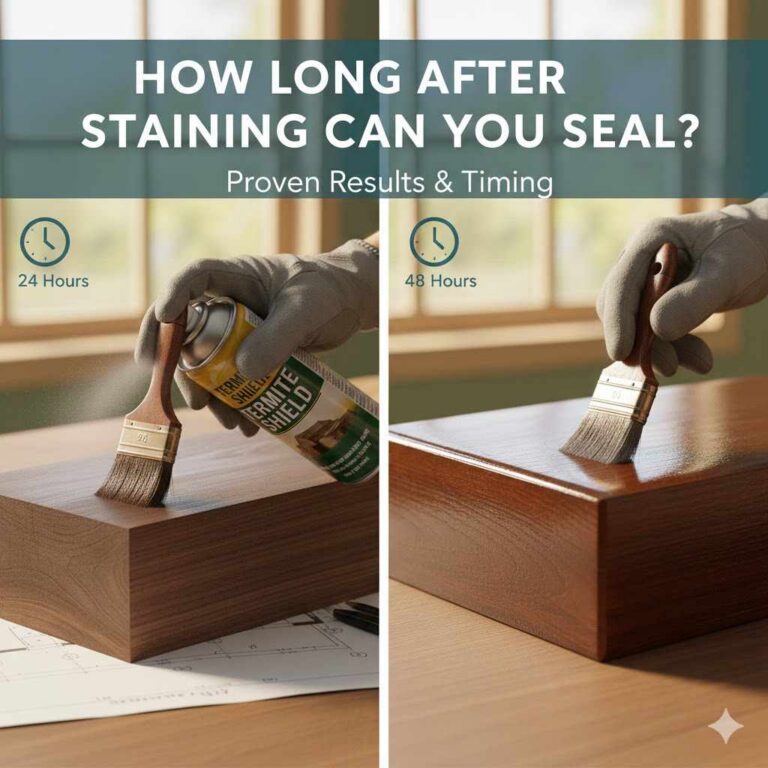
How Long Does It Take for the Sealant to Dry
It can take up to 24 hours for the sealant to dry. However, it is essential to check the instructions on the glue before application to ensure that you are using the correct amount of time for your project.
Will the Sealant Change the Appearance of the Wood
Sealants are typically straightforward and will not change the appearance of the wood. Some bonds may have a slight amber tint that will darken the wood slightly.
Conclusion
There are a few things you need to do to seal a wooden ice cream bucket properly. First, you must ensure that the bucket is completely clean and free of dirt or debris. Next, you will need to sand down the inside and outside of the bucket.
Once the bucket is sanded, you will need to apply a sealant. Finally, you must let the bucket dry for 24 hours before using it.