How to Sharpen an Auger Bit: Spurs and Cutting Lips Explained
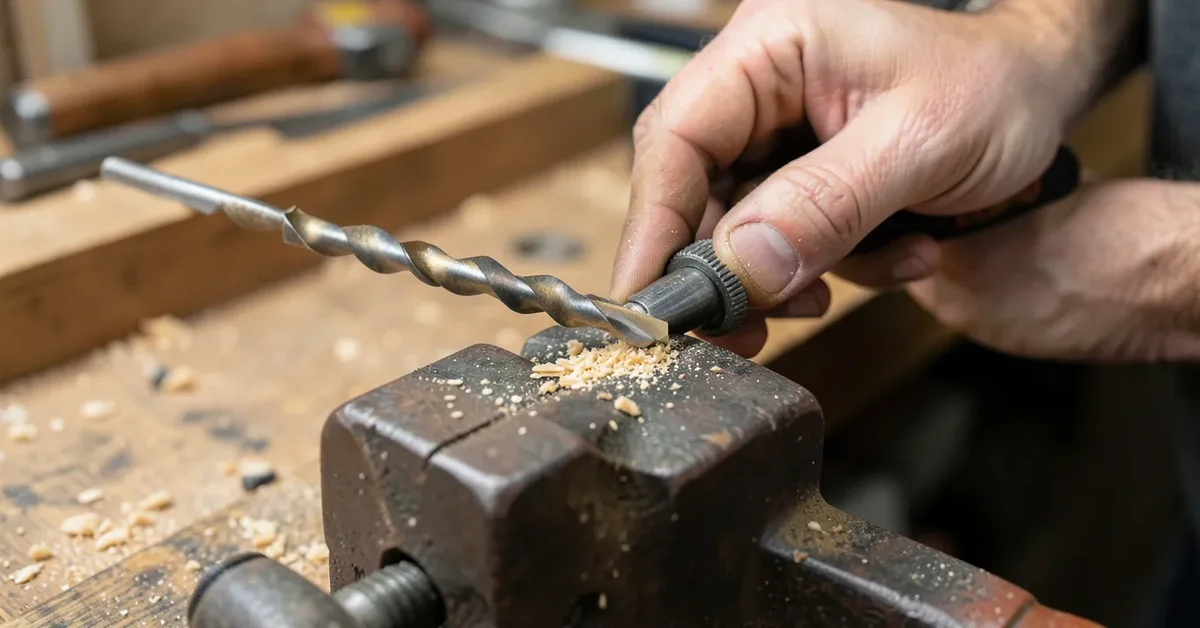
An auger bit has two cutting surfaces that both need attention — the spurs (the sharp outer points that score the wood’s circumference) and the cutting lips (the angled edges that shave out the waste) — and sharpening only one is the most common reason a “sharpened” bit still drills rough, splintered holes. A standard triangular file handles both, but they need different filing angles and directions to work correctly.
Know the Two Edges Before You Start
Best File for Sharpening Auger Bits
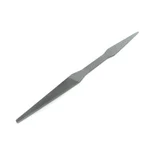 |
Narex Auger Bit File – $33.67 A proper triangular auger bit file reaches both the spurs and cutting lips without damaging the bit’s spiral flutes.
|
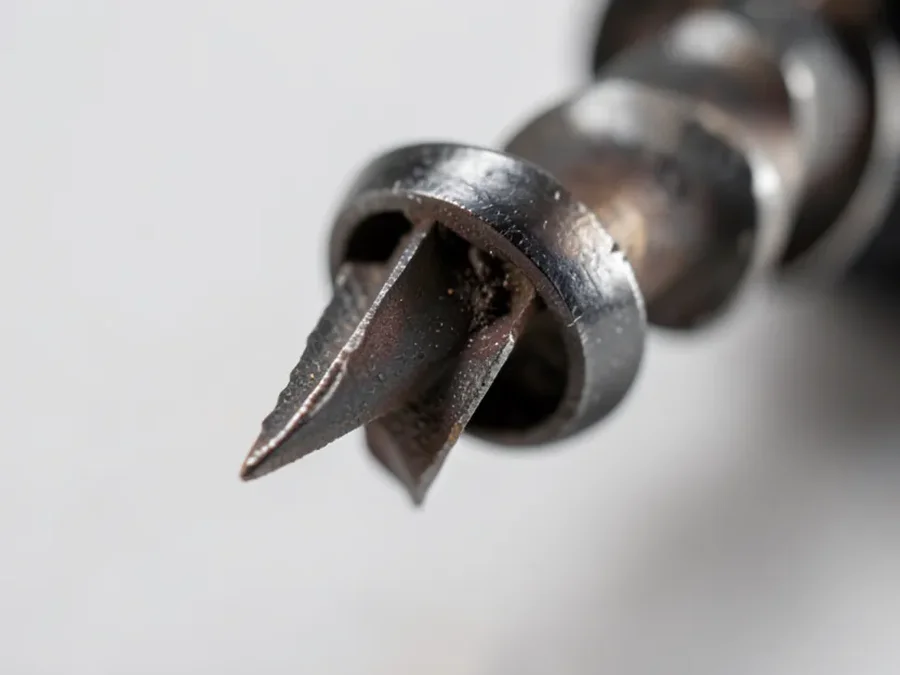
The spurs are the two sharp points at the outer edge of the bit’s tip; they score a clean circular outline in the wood before the rest of the bit removes material, which is what keeps auger-bored holes free of the splintered, torn edges you’d get from a twist bit in end grain. The cutting lips sit just behind the spurs and angle inward toward the center screw; they shave out the wood inside that scored circle as the bit advances. File the spurs from the inside face only, preserving their outward-pointing angle — filing the outside of a spur rounds off the very point that scores clean holes. File the cutting lips on their top (leading) face, matching the bit’s original bevel angle, never the underside.
Tools You Need
- A triangular auger bit file (a standard triangular saw file works, but a dedicated auger bit file has safe, non-cutting edges on the back to protect the bit’s spiral flutes while you work)
- A vise or clamp to hold the bit steady
- Safety glasses and gloves
- A scrap piece of wood for test drilling
Step-by-Step Sharpening
1. Inspect Before You File
Check for chips, cracks, or a spur that’s broken off entirely — a damaged bit needs more than routine sharpening, and filing around a chip won’t fix the underlying problem. If the bit is sound but simply dull (rounded spur points, a shiny rather than crisp cutting lip edge), it’s ready for filing.
2. Secure the Bit
Clamp the bit in a vise by its shank, leaving the cutting end fully exposed and stable. A bit that shifts while you’re filing makes it nearly impossible to hold a consistent angle.
3. File the Spurs
Working one spur at a time, file the inside face only, following the spur’s existing angle rather than inventing a new one. A few light strokes are usually enough for routine touch-ups; stop as soon as the point feels sharp to a careful touch, since removing more metal than needed just shortens the bit’s working life.
4. File the Cutting Lips
File the top face of each cutting lip, matching the original bevel angle, working from the center screw outward toward the spur. Count your strokes and apply the same number to both lips — an auger bit with unevenly sharpened lips will drill an off-center, wobbling hole even if each edge is individually sharp.
5. Test on Scrap
Drill a test hole in scrap wood matching what you’ll actually be working with. A properly sharpened bit produces two clean spiral shavings and a crisp-edged hole with minimal resistance. If it still tears or binds, check that both spurs and both lips are filed evenly before assuming the bit needs more aggressive sharpening.
Storage and Maintenance
Clean sawdust and resin buildup from the flutes after every use with a stiff brush — built-up resin, especially from softwoods, hardens and interferes with chip clearance on the next use. Store bits vertically in a dedicated case or bit roll rather than loose in a drawer, where the cutting edges knock against other tools and dull faster than actual use would cause. A very light coat of machine oil before long-term storage prevents rust on the steel.
Frequently Asked Questions
Can You Sharpen Auger Drill Bits?
Yes. A triangular auger bit file restores both the spurs and cutting lips, and routine sharpening every few uses keeps a bit performing like new for years.
What Tool Is Used for Sharpening Auger Bits?
A triangular auger bit file is the standard tool. It’s shaped to reach both the spurs and the cutting lips without damaging the bit’s spiral flutes.
How Do You Sharpen Post-Hole Auger Bits?
The same two-edge approach applies at larger scale: secure the bit, file the spurs from the inside face to preserve their point, file the cutting lips on their top face matching the original angle, and test in scrap material before returning it to use.
Why Does My Bit Still Drill Rough Holes After Sharpening?
This almost always means only one edge was sharpened. A crisp spur with a dull cutting lip (or vice versa) still produces a torn or uneven hole — both edges need attention in the same session.
Bottom Line
Auger bit sharpening comes down to two distinct edges done correctly: the spurs (filed on the inside face to preserve their point) and the cutting lips (filed on top, matching the original angle, evenly on both sides). Skip either step and the bit will keep drilling rough holes no matter how sharp it feels to the touch.
Sponsored / affiliate links. As an Amazon Associate I earn from qualifying purchases. I may earn additional commission from eligible campaigns.