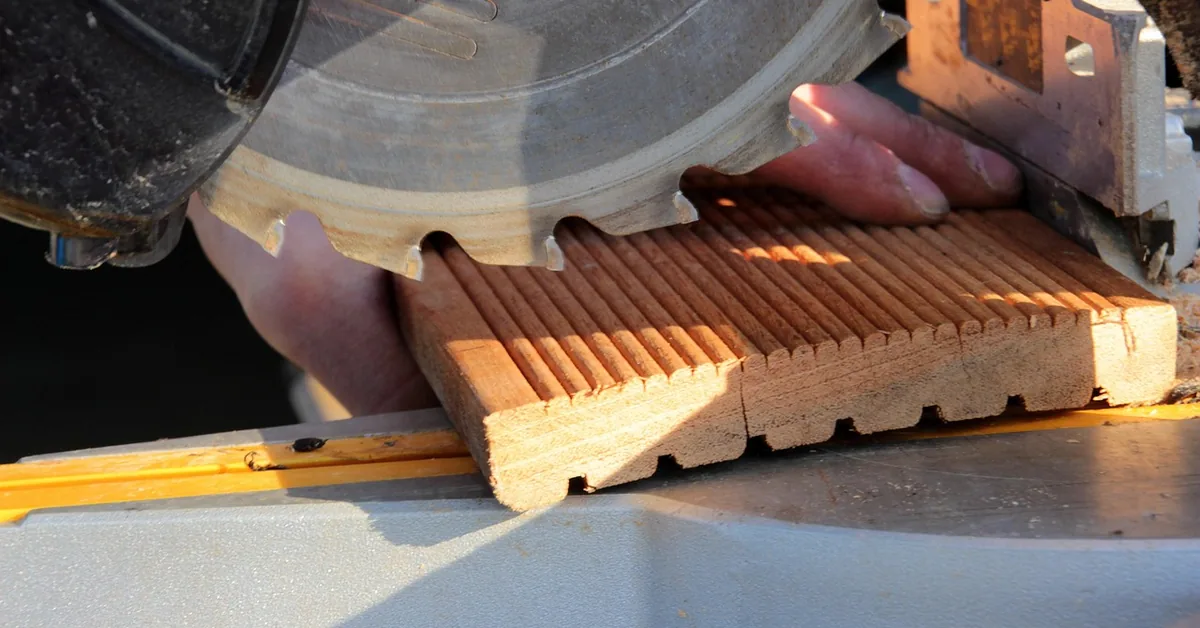
How to Sharpen a Miter Saw Blade (Carbide vs Steel Explained)
Steel miter saw blades sharpen fine with a diamond file at roughly a 15-degree angle, but carbide-tipped blades — what most miter saws ship with today — need a diamond or CBN wheel, not a hand file, or the teeth chip. Filing carbide at home is how blades get ruined instead of restored. This guide covers how to tell steel from carbide, the correct method for each, and what professional sharpening actually costs per tooth.
Quick Answer
Most miter saw blades are carbide-tipped and should go to a professional sharpening service (roughly $0.25–$1.00 per tooth, or $15–$50 flat depending on size) that uses a diamond wheel — hand-filing carbide at home usually chips the teeth instead of sharpening them. Older solid-steel (HSS) blades can be hand-filed at about a 15-degree angle with a diamond file and a vise.
What You’ll Need
Best Miter Saw Blade Pick
DEWALT 12-Inch 60-Tooth Finish Saw Blade (DWA11260)
A carbide-tipped 60-tooth blade sized for most 12-inch miter saws — often the simpler call than paying to sharpen a worn budget blade.
- Best for: Replacing a blade that’s cheaper to swap than to send out for sharpening
- Why we picked it: 60-tooth count matches the fine-finish crosscuts most home shops want from a miter saw
- Main drawback: Costs more than a diamond file, so it only makes sense once a blade is genuinely worn out
Compare more sharpening & blade options
 Option 1 SHARPAL 121N Diamond Sharpening File
|
 Option 2 WEN BL1280 80-Tooth Blade
|
 Option 3 Diablo 60-Tooth Combination Blade
|
As an Amazon Associate we earn from qualifying purchases.
What you need depends on which blade type you have — see the next section to check. For a steel blade you’re filing yourself:
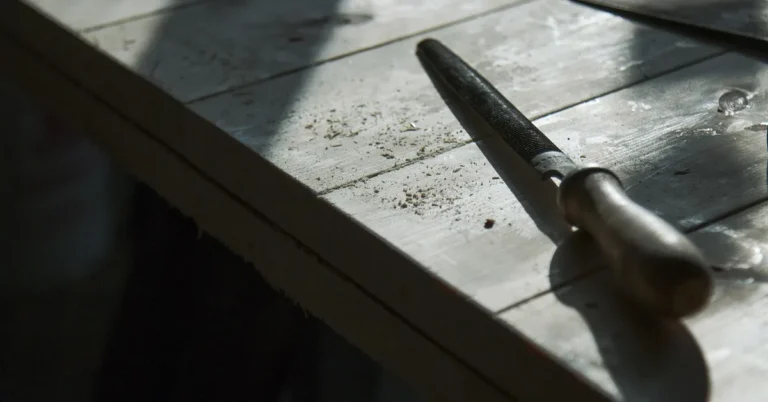
- Diamond file or diamond hone (for steel/HSS blades only — not carbide)
- Bench vise or a blade-holding clamp
- Stiff-bristle brush and a degreasing cleaner
- Safety goggles, cut-resistant gloves, and a dust mask
- A bright work light or loupe to inspect individual teeth for chips
- For carbide blades: a shipping box for a sharpening service, or a replacement blade
Carbide vs. Steel: Which Blade Do You Have?
A carbide-tipped blade is a steel disc with small tungsten-carbide tips brazed onto each tooth — it’s the standard on nearly every miter saw blade sold since the 1990s, including the blade that shipped with your saw. A solid steel (HSS) blade is one uniform piece of metal all the way through the tooth, common on older saws and cheap starter blades.
Look closely at a tooth with a bright light: if you can see a distinct, slightly different-colored wedge brazed onto the tip — usually a duller gray-gold against the brighter steel body — that’s carbide. If the tooth is one continuous piece of metal with no visible seam, it’s steel. Manufacturer packaging and the blade’s own imprint (look for “C” or “carbide” stamped near the arbor hole) will also confirm it. For more on how tooth count and TPI affect cut quality, see our saw blade guide.
This distinction decides everything else in this guide. A diamond file works on steel because the whole tooth is soft enough to abrade evenly. Carbide is roughly four times harder than hardened steel — a hand file skates across it, and uneven hand pressure chips the brazed tip instead of sharpening it.
Signs Your Miter Saw Blade Needs Sharpening
Recognizing a dulling saw blade early keeps cuts clean and avoids forcing a blade that’s already struggling. Watch for these signs during normal use:
- Burn marks on the wood — the blade is rubbing and generating friction instead of slicing cleanly.
- Tear-out along the edges of the cut — the teeth are chipping the wood fibers rather than shearing them.
- Excessive noise or bogging down — a dull blade needs more force, and the motor strains to push it through.
- Kickback or the workpiece jumping — a serious safety issue caused by teeth that can no longer bite in cleanly.
- Visibly rounded or chipped tooth tips under a bright light or magnifier.
Any one of these on its own is worth a closer look; two or more together mean it’s time to sharpen or replace the blade before your next cut.
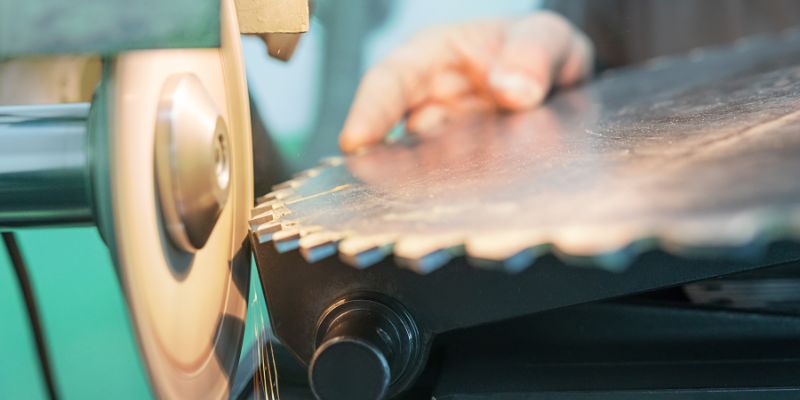
How to Sharpen a Steel Miter Saw Blade at Home (Step-by-Step)
This process is for solid-steel (HSS) blades only — if you confirmed carbide teeth in the section above, skip to the next section instead of filing.
Safety Precautions and Equipment
Unplug the miter saw before touching the blade. Wear safety goggles, cut-resistant gloves, and a dust mask, and clear the work area of obstructions. You’ll need a cleaning brush, degreasing cleaner, a diamond file, and a vise or clamp to hold the blade steady.
Step-by-Step Filing Process
- Remove and clean the blade: Take the blade off the saw and scrub off pitch, resin, and dust with a stiff brush and degreasing cleaner.
- Inspect every tooth: Check under bright light for chips, cracks, or missing teeth — a cracked tooth means the blade should be replaced, not filed.
- Secure the blade in a vise: Clamp it firmly so it can’t shift while you’re filing.
- File each tooth at a consistent angle: Hold the diamond file at roughly 15 degrees to the tooth face and use even, light strokes — count strokes per tooth so every tooth gets the same amount of material removed.
- Work all the way around, then flip: Sharpen every tooth on one side of the blade before rotating to the opposite face, keeping the same angle and stroke count.
- Clean off metal filings: Brush away all filing debris before reinstalling.
- Reinstall and test cut: Mount the blade back on the saw and make a test cut on scrap wood to confirm the edge is even and clean.
Why You Shouldn’t File a Carbide Blade Yourself
Carbide is sharpened by grinding, not filing — it takes a diamond or CBN (cubic boron nitride) abrasive wheel spinning at controlled speed and a consistent grinding angle across every tooth. A standard file or bench grinder either skates off the carbide entirely or overheats the tip, which can fracture the braze joint and pop the carbide tip off the tooth completely.
A rotary tool with a diamond wheel attachment can touch up one or two chipped teeth in a pinch, but evenly resharpening an entire carbide blade — every tooth at the same angle, the same amount of material removed — needs a jig or machine most home shops don’t have. That’s the job a sharpening service is set up to do.

How Much Does Professional Miter Saw Blade Sharpening Cost?
Sharpening services typically charge per tooth, so the total scales with your blade’s tooth count and diameter:
| Blade Type | Sharpening Method | Typical Cost |
|---|---|---|
| Steel (HSS) | DIY diamond file | Just the file cost, roughly $15–$30 one-time |
| Carbide, 40–60 tooth | Professional diamond-wheel grind | $15–$30 per blade |
| Carbide, 80–100 tooth (fine-finish) | Professional diamond-wheel grind | $25–$50 per blade |
Per-tooth pricing generally runs $0.25 to $1.00 a tooth depending on the shop and blade diameter. A carbide blade typically tolerates 2 to 3 professional resharpenings before the remaining carbide is too thin to regrind safely — after that, replacement is the only option regardless of cost.
Sharpen or Replace? Is It Worth It
For a premium blade you paid $40 or more for, sharpening almost always wins — a $15–$30 professional sharpen restores most of what a $50+ blade cost new, and a good carbide blade can go through several rounds of it. For a budget blade that cost $25–$35 new, run the math first: if sharpening costs more than half of what a fresh replacement costs, buying new gets you a full-life blade for close to the same money instead of a partially-worn one.
Two other factors tip the decision toward replacing: a blade with a cracked or missing tooth (unsafe to run regardless of cost), and a blade that’s already been sharpened two or three times and is visibly thinner at the tips than a fresh one.
Maintaining Blade Sharpness Over Time
After sharpening your miter saw blade, a few habits keep it cutting cleanly for longer between sharpenings.
Best Practices for Blade Storage
- Store the blade in a cool, dry place to prevent rust and corrosion.
- Use a protective cover or blade sleeve to keep the teeth from knocking against other tools in storage.
- Keep the storage area free of humidity and direct sunlight.
Routine Maintenance to Extend Blade Life
- Clean the blade after heavy use with a blade-cleaning solution and a soft brush to remove resin and pitch buildup — pitch buildup alone makes a blade cut worse and can be mistaken for dullness.
- Check the arbor and blade flanges for damage or debris, and make sure the arbor nut is torqued to the saw manufacturer’s spec — too loose causes vibration, too tight can stress the blade.
- Sharpen (or send out) on a schedule based on symptoms rather than a fixed hour count, so the blade never runs long enough to burn the wood on every cut.

Common Mistakes to Avoid
- Filing a carbide blade like a steel one. This is the single most common mistake — it chips the tips instead of sharpening them, and there’s no fixing a fractured carbide tip at home.
- Inconsistent filing angle. Switching angles tooth to tooth on a steel blade creates an uneven edge that cuts worse than before you started.
- Skipping the cleaning step. Filing or grinding over caked-on pitch and resin wastes abrasive and gives a false read on how sharp the tooth actually is underneath.
- Waiting too long to sharpen. A blade run well past the burn-mark stage needs more material removed to restore the edge, which shortens its usable life faster than sharpening it earlier would have.
- Over- or under-tightening the arbor nut. Both cause vibration and premature wear, and a too-loose blade is a genuine safety hazard.
Frequently Asked Questions
How often should I sharpen my miter saw blade?
There’s no fixed hour count that applies to every blade — sharpen based on symptoms (burning, splintering, excess noise) rather than a calendar. Occasional weekend use might go a year or more between sharpenings; daily jobsite use on hardwood can dull a blade in a few months.
What are the signs that my miter saw blade needs sharpening?
Look for burn marks on the wood, tear-out or splintering along the cut edge, excessive noise, the saw bogging down, or kickback. Any one of these means the blade needs attention; two or more together mean it’s overdue.
Can I sharpen a carbide miter saw blade myself?
Not with a hand file, no. Carbide needs a diamond or CBN grinding wheel at a controlled angle, which is why full carbide resharpening is a professional service rather than a DIY job. A rotary tool with a diamond attachment can touch up one or two chipped teeth, but not resharpen the whole blade evenly.
How much does it cost to sharpen a miter saw blade?
Professional sharpening runs about $0.25 to $1.00 per tooth, or roughly $15 to $50 for a full 12-inch blade depending on tooth count. DIY filing a steel (HSS) blade costs only the price of the diamond file, typically $15 to $30 one-time.
Is it cheaper to sharpen a blade or just buy a new one?
For a premium blade over $40, sharpening usually wins since a $15–$30 sharpen restores most of the original edge. For a budget blade under $35, compare the sharpening quote to a new blade’s price first — if sharpening costs more than half of a replacement, a new blade is often the better value.
Can I sharpen a saw blade without removing it from the miter saw?
No. The blade needs to come off the saw so you can access every tooth safely, secure it in a vise for even filing, and inspect both faces under good light. Sharpening it while still mounted risks an uneven edge and is unsafe with the saw anywhere near a power source.
Conclusion
Check whether your blade is carbide or steel before you pick up a file — that one distinction decides whether sharpening it yourself is a good weekend project or a good way to ruin a $50 blade. Steel blades file at home for the cost of a diamond hone; carbide blades go to a sharpening service for $15–$50, or get replaced outright once they’ve been resharpened a couple of times. Either way, catching dullness early — burn marks, tear-out, extra noise — keeps the job cheaper and the cuts cleaner.
Happy cutting!
Sponsored / affiliate links. As an Amazon Associate I earn from qualifying purchases. I may earn additional commission from eligible campaigns.