How to Stain a Hardwood Floor Dark: Colors, Prep & Dry Times
Staining a hardwood floor dark means sanding it to bare wood, then applying an oil-based stain such as ebony or espresso with the grain — skipping the sanding step is the most common reason a DIY dark stain turns blotchy. Oak, ash, and hickory accept dark stain evenly, but maple, birch, and pine resist it and need a conditioner first. This guide covers stain selection by wood species, the full sand-to-seal process, and real dry and cure times for oil, water-based, and gel stains — part of our full hardwood flooring guide.
Note: Insert your Affiliate Disclosure reusable block here.
Quick Answer
Sand the floor to bare wood (down to 80–100 grit), vacuum thoroughly, then apply an oil-based dark stain — ebony, espresso, or a 50/50 ebony-and-Jacobean blend — with a lambswool applicator, working with the grain in 3–4 board sections. Let it dry 24–72 hours depending on the stain type, then seal with two coats of oil-based or water-based polyurethane.
What Stain Color and Wood Species Actually Go Dark Well?
Best Dark Floor Stain Pick
Varathane Premium Fast Dry Ebony Oil-Based Wood Stain, Quart
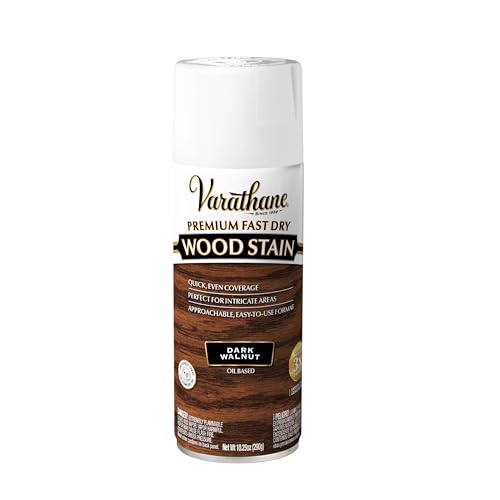
Oil-based ebony stain with one-coat coverage and a fast-dry formula — the standard pick for a true deep-dark oak floor.
- Best for: Full-room floor staining on open-grain species like oak or ash
- Why we picked it: Oil-based formula gives the longest open time for blending large sections without lap marks
- Main drawback: Stronger odor and longer cure time than water-based options — ventilate the room well
Compare more dark floor stain options
 Option 1 Minwax Wood Finish Ebony Oil-Based Stain, 1 Gallon
|
 Option 2 Minwax Gel Stain, Walnut, 1 Quart
|
 Option 3 Varathane Water Based Wood Stain, Ebony, Quart
|
As an Amazon Associate we earn from qualifying purchases.
Not every hardwood floor takes a dark stain the same way. Open-grained species like red oak, white oak, ash, and hickory have large wood pores that pull pigment in deep and even, which is why almost every dark-stained floor you see in a home is oak. Tight-grained species — maple, birch, fir, and most pine — resist stain penetration and blotch unless you apply a pre-stain wood conditioner first. Naturally dark exotic woods like ipe, jatoba, and teak already carry natural oils that repel stain almost entirely; don’t try to stain these darker, they need an oil finish instead.
| Wood Species | Takes Dark Stain | Best For |
|---|---|---|
| Red & White Oak | Excellent — even, no conditioner needed | Ebony, espresso, walnut |
| Ash / Hickory | Very good — open grain like oak | Dark walnut, coffee brown |
| Maple / Birch | Poor — blotches without conditioner | Gel stain over pre-stain conditioner |
| Pine / Fir | Poor — very blotchy, soft grain | Water-popped + conditioner only |
| Ipe / Jatoba / Teak | Not recommended — natural oils repel stain | Penetrating oil finish instead |
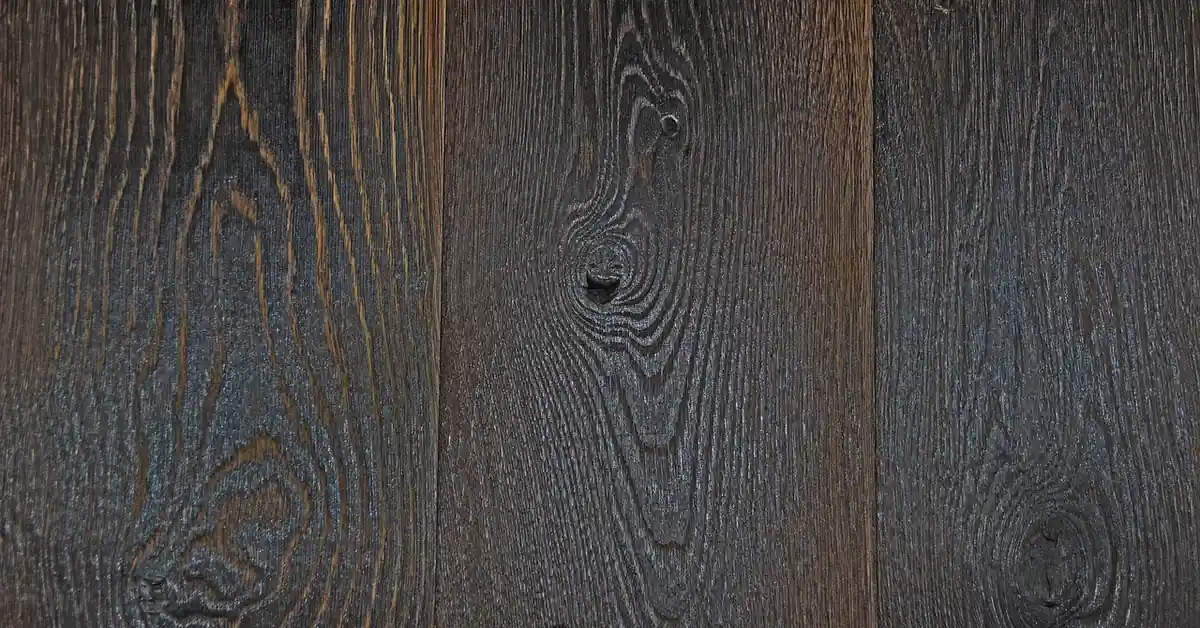
For the color itself, straight ebony or espresso gives the deepest black-brown look, but most flooring pros lean on a blend for more depth: a 50/50 mix of Ebony and Jacobean reads richer and less flat than ebony alone, and a 50/50 Ebony-and-Neutral mix softens the black slightly while keeping the wood grain visible. Test any blend on an offcut or a hidden closet board first — the same stain looks noticeably different on oak than it does on ash. If you’re combining two cans to build a custom blend, see our guide on mixing stain colors before you commit a whole floor to it.
Do You Have to Sand Before Staining a Floor Dark?
Sanding to bare wood is the process that removes the old finish and opens the grain so stain can absorb — it’s required any time you’re changing a floor’s color, especially going darker. You can skip full sanding only if the floor already has zero finish on it (raw, unfinished wood) or you’re using a screen-and-recoat approach with a gel stain made for going over an existing finish — but gel stain over an old finish will always look more like a tinted topcoat than a true deep stain, and it won’t hide scratches or unevenness the way a full sand does.
How Do You Darken Hardwood Floors Yourself Without a Full Refinish?
If you don’t want to sand, your only real options are a gel stain applied directly over the cleaned, deglossed existing finish, or a tinted oil/hardwax finish. Both only shift the color a shade or two darker and won’t produce the deep, true dark-stain look this guide covers. For that lighter-touch approach, see our full guide on how to darken hardwood floors without sanding.
How to Prep and Sand a Hardwood Floor Before Staining Dark
- Clear and clean the room: Remove furniture, base shoe molding if needed, and vacuum the floor thoroughly — any leftover grit will scratch the floor during sanding.
- Repair damage first: Fill gouges, gaps, and old nail holes with a color-matched wood filler and let it cure fully before sanding — unfilled damage telegraphs through dark stain worse than through light stain.
- Sand in three passes: Run a drum or orbital floor sander with 36–40 grit to strip the old finish, 60 grit to level, then 80–100 grit to finish. Stop at 100 grit — sanding finer than 120 grit closes the pores and makes dark stain absorb unevenly.
- Edge and buff: Use an edging sander for the perimeter the drum sander can’t reach, then a buffer with a fine screen to blend the edges into the field.
- Vacuum and tack: Vacuum the entire floor, then wipe with a tack cloth or a barely-damp microfiber cloth to pull remaining dust out of the grain — dust left in the pores is the single biggest cause of blotchy dark stain.
Should You Water-Pop the Grain Before a Dark Stain?
Water popping is a technique that opens the wood’s pores with plain water before staining, so the stain penetrates deeper and reads darker and more even — it’s the step most DIY guides skip and most professional dark-stain jobs don’t. Wipe the sanded floor with a lint-free rag dampened with distilled water (tap water can leave mineral spotting), let it dry for 1–4 hours depending on humidity, then lightly re-sand any raised grain with a fine screen before staining. Skip this step on maple or birch — it won’t fix their blotching, only conditioner will.
How to Apply Dark Stain Evenly Across a Whole Floor
- Test first: Apply your chosen stain to a hidden closet board or an offcut of the same wood and let it dry completely — color on the can lid is never the true color on your species of wood.
- Work in 3–4 board sections: Apply stain with a lambswool applicator or a natural-bristle brush, moving with the grain, and keep a wet edge so you never let one section dry before blending into the next.
- Wipe off excess: After 5–15 minutes of penetration time (longer dwell time = darker result), wipe the excess stain off with a clean rag in the direction of the grain. Leaving pooled stain on the surface causes tacky, uneven patches.
- Add a second coat if needed: If the color isn’t dark enough after the first coat dries, apply a second thin coat — this darkens the result more predictably than trying to load on extra stain in one pass.
- Let it dry fully before sealing: Don’t seal early. See the cure-time table below for how long each stain type actually needs.
📊 Working in small sections and keeping a wet edge is the single most-cited fix for blotchy floor stain across professional flooring forums and manufacturer application guides.
Best Dark Stain Products for Hardwood Floors
Oil-based stain gives the deepest, most traditional dark-floor color and the longest open working time, which matters when you’re blending sections on a large room. Water-based stain dries faster and has lower odor, and gel stain is the easiest to control without drips on stairs or vertical trim. Here’s what to buy for each approach.
How Long Does Dark Floor Stain Take to Dry and Cure?
Dry-to-the-touch and fully cured are two different timelines — walking on a floor too soon after staining, before it’s cured, is what causes dull patches and footprint marks under the finish coat.
| Stain Type | Dry to Touch | Ready to Seal / Fully Cure |
|---|---|---|
| Oil-based | 6–8 hours | 48–72 hours |
| Water-based | 2–3 hours | 24 hours |
| Gel stain | 8–10 hours | 24–48 hours |
High humidity or a cool room stretches every one of these times — if your workspace is under 65°F or above 60% humidity, add several extra hours before you seal, and always test a corner with a fingernail press instead of guessing by the clock.
Sealing and Protecting a Dark Stained Hardwood Floor
Once the stain has fully cured, apply two to three coats of finish, sanding lightly with a fine screen between coats for adhesion. Oil-based polyurethane adds a slight amber warmth that deepens a dark stain further; water-based polyurethane stays crystal clear and keeps the stain’s true color, which matters more on a near-black ebony floor where amber tint can look muddy. Satin and matte sheens also hide scratches and footprints better than gloss on a dark floor — see our hardwood floor sheen comparison before picking a finish. For the full application walkthrough, see how to spray polyurethane clear coat on wood and whether you should sand the final coat of polyurethane.
Common Mistakes That Ruin a Dark Stain Job
- Skipping the wood conditioner on maple, birch, or pine — this is the #1 cause of splotchy dark floors on anything other than oak or ash.
- Sanding past 100 grit before staining — it burnishes the wood and closes the pores, so dark stain sits on top instead of soaking in.
- Letting the stain dry before wiping off the excess — creates a tacky, uneven film instead of a clean penetrating color.
- Sealing before the stain has fully cured — traps solvent under the finish and causes cloudy or soft spots later.
- Skipping the test board — the same stain can look two shades different on oak versus ash, or even board to board on the same floor.
Maintaining a Dark Stained Hardwood Floor
Dark floors show dust, pet hair, and scuffs far more visibly than light floors, simply because there’s more contrast — plan on sweeping or dry-mopping every other day in high-traffic homes. Use furniture pads under every leg, keep entry mats at exterior doors to cut down on grit, and reapply a fresh coat of finish every few years rather than waiting for the stain itself to wear through, which is much harder to spot-repair. For routine cleaning products that won’t dull the finish, see how to use Bona hardwood floor cleaner, and if dark spots or pet stains show up later, our guide on removing dark stains from hardwood floors covers the fix.
Frequently Asked Questions
Can you stain wood floors to be dark?
Yes. Sanding the floor to bare wood and applying an oil-based dark stain such as ebony or espresso will darken any open-grain species like oak, ash, or hickory evenly. Tighter-grain woods such as maple or pine need a pre-stain conditioner first or they’ll blotch.
How do you darken hardwood floors yourself?
Sand the floor down to bare wood in three grit stages (36–40, 60, then 80–100), vacuum and tack the dust, then apply an oil-based or water-based dark stain with the grain in small sections. Wipe off excess after 5–15 minutes, let it cure fully, then seal with two to three coats of polyurethane.
What is the best way to apply stain to a hardwood floor?
Use a lambswool applicator or natural-bristle brush, work in 3–4 board-wide sections, and always move with the grain while keeping a wet edge so sections blend without lap marks. Wipe excess stain off with a clean rag before it dries tacky on the surface.
Is it better to stain hardwood floors light or dark?
Neither is objectively better — dark stain hides fewer imperfections and shows dust and scratches more, but adds a richer, more formal look and pairs well with bright wall colors. Light stain hides dust better and makes small rooms feel larger. The right choice depends on your wood species, room size, and how much maintenance you’re willing to keep up.
How long does dark stain take to fully cure before you can walk on it?
Oil-based dark stain needs 48–72 hours to fully cure before sealing, water-based needs about 24 hours, and gel stain typically needs 24–48 hours. Walking on the floor in socks is usually fine after the dry-to-touch stage, but wait for full cure before sealing or moving furniture back.
A dark stained hardwood floor comes down to three things done in order: full sanding to bare, open-grained wood; an oil- or water-based stain applied evenly with the grain and wiped clean; and a full cure before sealing. Skip any one of those three and the result is blotchy instead of rich. Get all three right and a dark stain will outlast most other flooring updates in the house.
Sponsored / affiliate links. As an Amazon Associate I earn from qualifying purchases. I may earn additional commission from eligible campaigns.