How to Stain Mahogany Wood Like a Pro: Tips and Tricks
To stain Mahogany wood, sand the surface, apply wood conditioner, stain with a brush, and finish with sealer. Enhancing the natural beauty of Mahogany wood through staining is a straightforward process that can elevate the look of your furniture or home decor.
By following simple steps like sanding the wood to a smooth finish, applying a wood conditioner to ensure even color absorption, and carefully staining with a brush in the direction of the grain, you can achieve a rich and deep hue on your Mahogany wood.
Finishing off with a quality sealer will protect the stain and bring out the luster of the wood for a stunning final result. Let’s delve into the steps required to stain Mahogany wood effectively while bringing out its unique characteristics.
Choosing The Right Stain
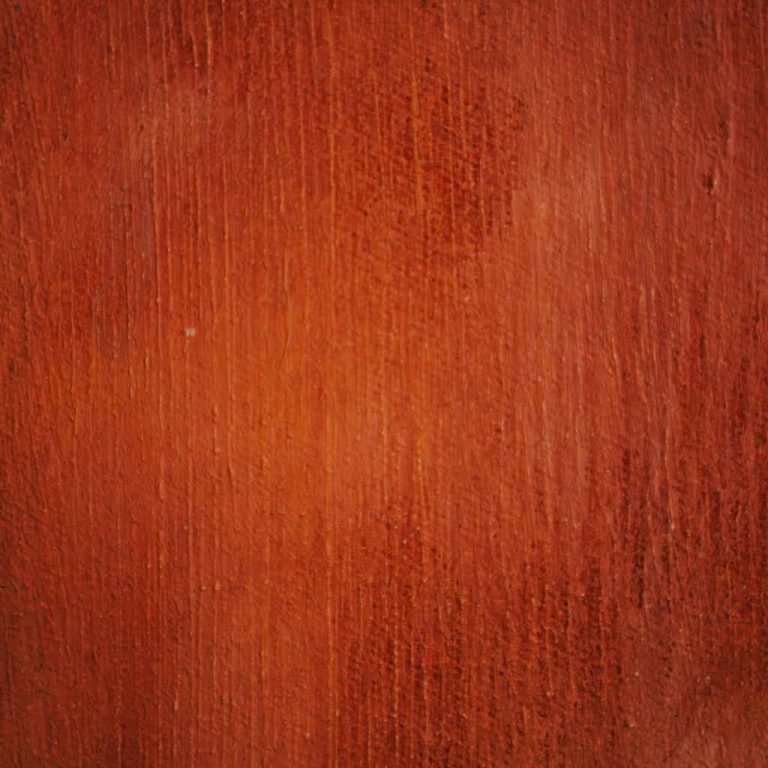
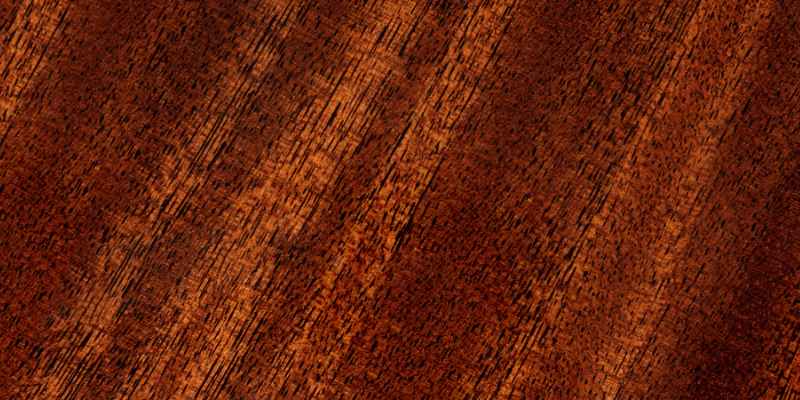
Staining mahogany wood requires choosing the right stain that complements its rich hues and unique grain. Opt for a darker stain to highlight the wood’s natural elegance, or a lighter one to showcase its warmth. Ensure thorough sanding and testing to achieve the perfect finish.
Considering The Wood’s Natural Color
Start by evaluating the existing hue of the mahogany wood.
Lighter woods may turn reddish or orange with certain stain colors.
Dark mahogany wood can intensify with a rich, deep stain.
Exploring Different Stain Options
Oil-based stains penetrate deeply, enhancing the wood’s natural beauty.
Water-based stains offer eco-friendly options with faster drying times.
Gel stains are thicker and provide better control during application.
Preparing The Wood Surface
Before you begin the staining process, it is essential to properly prepare the mahogany wood surface. This ensures that the stain adheres evenly and creates a beautiful finish. There are two main steps involved in preparing the wood surface: sanding the wood and using wood conditioner.
Sanding The Wood
Sanding the mahogany wood is the first step in preparing the surface for staining. It helps to smooth out any roughness or imperfections, creating a clean and even canvas for the stain to penetrate.
To sand the wood, follow these steps:
- Start with a medium-grit sandpaper (around 120 to 150 grit) and gently sand the entire surface of the wood in the direction of the grain. Sanding against the grain can cause scratches and ruin the natural beauty of the mahogany.
- After sanding, use a vacuum or a soft cloth to remove the dust from the wood surface. Make sure to remove all the dust particles, as they can interfere with the staining process.
- To achieve a smoother finish, switch to a finer-grit sandpaper (around 220 to 320 grit) and repeat the sanding process. This will further enhance the smoothness of the wood.
- Once you have finished sanding, use a tack cloth to wipe away any remaining dust. The tack cloth will efficiently remove any loose particles and leave the surface clean and ready for staining.
Using Wood Conditioner
After sanding the wood, the next step is to apply a wood conditioner. The wood conditioner helps the mahogany wood absorb the stain evenly, preventing blotching and ensuring a consistent color throughout the surface.
Follow these steps to apply wood conditioner:
- Using a clean brush or cloth, apply a thin and even coat of wood conditioner to the entire surface of the mahogany. Ensure that the conditioner is applied in the direction of the grain.
- Allow the wood conditioner to penetrate the wood for the recommended time mentioned on the product label. This allows the conditioner to effectively seal the pores of the wood.
- After the recommended time, wipe off any excess conditioner using a clean cloth. Ensure that the wood surface is left slightly damp but not wet.
By sanding the wood and using a wood conditioner, you are now ready to move on to the next step of staining your mahogany wood, which will be covered in the following section.
Applying The Stain
Applying the stain is a crucial step in the process of staining mahogany wood. It not only enhances the natural beauty of the wood but also provides long-lasting protection. To achieve a professional-looking finish, it’s important to use the right tools and apply the stain evenly. In this section, we will discuss the tools you need and the techniques for achieving an even application. Let’s dive in!
Using The Right Tools
Using the right tools is essential for a successful staining project. Here are the tools you’ll need:
- Staining brush or foam applicator pad: A staining brush or foam applicator pad is ideal for applying the stain evenly and reaching into crevices.
- Lint-free cloth: A lint-free cloth is handy for wiping off excess stain and ensuring a smooth finish.
- Painter’s tape: Painter’s tape can be used to mask off areas that you don’t want to stain, such as trim or hardware.
- Dropsheets or plastic sheets: Dropsheets or plastic sheets protect your workspace from any accidental spills or drips.
- Stir stick: A stir stick is necessary to mix the stain before application, ensuring a consistent color.
Techniques For Even Application
Achieving an even application of the stain requires some techniques. Follow these steps for best results:
- Clean the surface: Before applying the stain, make sure the mahogany wood surface is free from dust, dirt, and any previous finishes. Use a gentle wood cleaner or a damp cloth to clean the surface, then let it dry completely.
- Test the stain: It’s always a good idea to test the stain on a small, inconspicuous area before applying it to the entire surface. This will allow you to evaluate the color and adjust if needed.
- Stir the stain: Give the stain can a good stir using a stir stick. This ensures that the pigments are well-mixed and helps achieve a consistent color throughout the application.
- Apply the stain: Start by dipping the staining brush or foam applicator pad into the stain. Wipe off any excess on the side of the container. Apply the stain using long and even strokes, following the grain of the wood. Work in small sections to avoid the stain drying too quickly.
- Wipe off excess stain: After applying the stain, use a lint-free cloth to gently wipe off any excess. This helps prevent blotching and ensures an even tone.
- Allow the stain to dry: Give the stain ample time to dry according to the manufacturer’s instructions. This usually takes several hours or overnight. Avoid touching or placing any objects on the stained surface until it is fully dry.
By using the right tools and following the techniques for even application, you can achieve a beautiful and professional-looking stain on your mahogany wood. Take your time, be patient, and enjoy the process!
Achieving The Desired Color
Achieving the desired color when staining mahogany wood requires careful consideration of various factors. Understanding how multiple coats impact the final result and being able to adjust the stain intensity are crucial steps in achieving the perfect hue.
Understanding The Impact Of Multiple Coats
Applying multiple coats of stain to mahogany wood can deepen the color and enhance the richness of the finish. Each additional coat adds complexity and depth to the hue, allowing you to achieve a custom shade.
Adjusting Stain Intensity
- Start with a lighter stain and gradually build up to your desired intensity by applying additional coats.
- If the color is too light, apply more layers of stain to deepen the hue. For a darker color, use a heavier application or opt for a darker stain.
- Test the stain on a small, inconspicuous area of the mahogany wood before proceeding to ensure the color matches your vision.
Ensuring Proper Drying
Proper drying is crucial when staining mahogany wood to achieve the desired finish. Learn how to ensure your project turns out perfect.
Importance Of Allow Sufficient Time
Allowing sufficient drying time is essential to prevent the stain from becoming blotchy or not adhering properly. Patience in this step is key to a successful mahogany wood staining project.
Factors Affecting Drying
- Humidity levels: High humidity can prolong drying time, while low humidity can speed it up.
- Temperature: Warmer temperatures facilitate faster drying, whereas cooler temperatures slow down the process.
- Air circulation: Proper ventilation helps expedite drying, preventing the wood from staying damp too long.
Sealing The Stained Wood
Once you have successfully stained your mahogany wood, it is crucial to seal it properly to protect the color and enhance its durability. Choosing the right sealer and applying it correctly will ensure a long-lasting and professional finish. In this section, we will guide you through the process of selecting the right sealer and the recommended application method.
Selecting The Right Sealer
When it comes to selecting a sealer for your stained mahogany wood, there are a few factors to consider:
- Type of Sealer: There are various types of sealers available, such as polyurethane, lacquer, shellac, and varnish. Each has its own advantages and disadvantages, so it’s important to choose one that suits your specific needs.
- Finish: Decide on the finish you desire, whether it’s a glossy, satin, or matte finish. Consider the overall look you want to achieve and ensure that the sealer can provide the desired effect.
- Compatibility: Ensure that the sealer is compatible with the stain you have used. Some sealers may react differently with certain stains, affecting the color or finish of the wood.
Application Method
Once you have selected the right sealer, it’s time to apply it to the stained mahogany wood. Follow these steps for a successful application:
- Prepare the Surface: Ensure that the stained wood is clean and free from dust or debris. Lightly sand the surface if needed to remove any imperfections.
- Stir the Sealer: Give the sealer a good stir to mix it thoroughly before application. This ensures an even distribution of the product.
- Apply the Sealer: Use a brush, foam applicator, or cloth to apply the sealer evenly onto the stained wood. Work in the direction of the grain for a smooth and consistent finish.
- Allow Drying Time: Follow the manufacturer’s instructions regarding drying time. It is important to allow the sealer to dry completely before applying additional coats or handling the wood.
- Apply Additional Coats: Depending on the sealer and the desired level of protection, you may need to apply multiple coats. Sand lightly between coats to ensure a smooth finish.
- Clean Up: Once you have finished applying the sealer, clean your brushes or applicators with the appropriate cleaning agent recommended by the sealer manufacturer.
By carefully selecting the right sealer and following the correct application method, you can seal your stained mahogany wood effectively. This will not only protect the wood but also enhance its appearance, making it an excellent long-term investment.
Adding Finishing Touches
When it comes to adding finishing touches to your stained mahogany wood, it’s essential to focus on the final steps of the process. This is where Polishing and Buffing and Protecting the Stained Surface play a crucial role in enhancing the beauty and longevity of your project.
Polishing And Buffing
After staining the mahogany wood, polishing and buffing can elevate the shine and smoothness of the surface. Use a fine-grit sandpaper to gently sand the stained wood in a circular motion. This helps in removing any rough patches and ensuring a sleek finish.
Protecting The Stained Surface
To ensure the longevity of the stained mahogany wood, protecting the stained surface is vital. Apply a layer of clear sealant or varnish over the stained wood to provide a protective barrier against moisture, dirt, and scratches. This will help maintain the integrity of the stain and preserve the beauty of the wood for years to come.
Maintenance And Care
Proper maintenance and care are essential for preserving the beauty and longevity of your mahogany wood furniture. By following these simple steps, you can ensure that your stained mahogany wood remains in pristine condition for years to come.
Cleaning And Maintaining The Stained Wood
To keep your stained mahogany wood looking its best, regular cleaning is necessary. Here are some tips:
- Dust regularly: Use a soft, lint-free cloth or a feather duster to remove any dust from the surface of the wood.
- Gentle cleaning: For general cleaning, mix a few drops of mild dish soap with warm water. Dampen a clean cloth with the solution and gently wipe down the stained wood, being careful not to saturate the surface.
- Drying: After cleaning, ensure that the wood is completely dry to prevent any moisture damage. Use a dry cloth to remove any excess water.
- Polishing: Periodically, apply a high-quality wood polish or wax to the stained wood. This will help to restore its natural luster and provide a protective layer against minor scratches.
Addressing Wear And Tear
Even with proper care, wear and tear can occur over time. Here are some ways to address common issues:
- Minor scratches: For small scratches, use a scratch repair pen or a touch-up marker that matches the color of your stained wood. Apply the product to the affected area and gently buff with a soft cloth.
- Deeper scratches: If the scratches are deeper, you may need to sand and refinish the stained wood. Start by lightly sanding the damaged area, following the direction of the grain. Once the scratches are smooth, apply a matching wood stain and finish with a protective sealant.
- Watermarks: To remove watermarks, apply a mixture of equal parts white vinegar and olive oil to a soft cloth. Gently rub the affected area until the watermark disappears, then wipe away any excess oil with a clean cloth.
By incorporating these maintenance and care practices into your routine, you can ensure that your stained mahogany wood stays beautiful and pristine for years to come.
Frequently Asked Questions On How To Stain Mahogany Wood
What Kind Of Stain To Use On Mahogany Wood?
For mahogany wood, use an oil-based or gel stain. Water-based stains can also work well. Ensure the stain is compatible with the wood’s natural color and apply in thin, even coats for best results. Consider testing a small area first for color accuracy.
Is Mahogany Wood Hard To Stain?
Staining mahogany wood can be challenging due to its dense nature, but it is not excessively difficult. Proper preparation and techniques can help achieve desired results effectively.
Can You Change The Color Of Mahogany Wood?
Yes, the color of mahogany wood can be changed. It can be stained or dyed to achieve a different color.
Does Mahogany Need To Be Sealed Before Staining?
Yes, mahogany should be sealed before staining. Sealing helps prevent uneven absorption of stain and ensures a smooth finish.
Conclusion
Staining mahogany wood is a simple process that can enhance its beauty. By following the steps outlined in this guide, you can achieve professional-looking results at home. Experiment with different stains to find the perfect shade for your project. Enjoy the transformation of your mahogany wood!