How to Use E6000: Master the Art of Crafting with Power
To use E6000, apply it directly to the desired surface and let it dry for at least 24 hours. E6000 is a versatile adhesive known for its strength and durability, making it suitable for a variety of projects.
Whether you’re working with fabric, metal, wood, or plastic, E6000 can bond them together effectively. It is often used in crafts, DIY projects, and repairs for its ability to create a strong and long-lasting bond. By following the instructions and allowing sufficient drying time, you can ensure the best results with E6000.
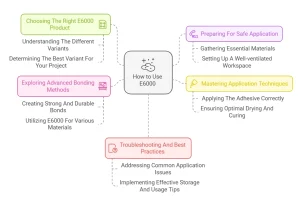
Choosing The Right E6000 Product
When it comes to choosing the right adhesive for your craft or DIY project, E6000 is a popular and reliable option. However, with different variants available, it can be overwhelming to determine which one is best suited for your needs. In this guide, we will walk you through understanding the different variants of E6000 and help you determine the best one for your project.
Understanding The Different Variants
E6000 offers several variants, each formulated to cater to specific materials and applications. By understanding the differences between these variants, you can make an informed choice.
| Variant | Suitable Materials and Applications |
|---|---|
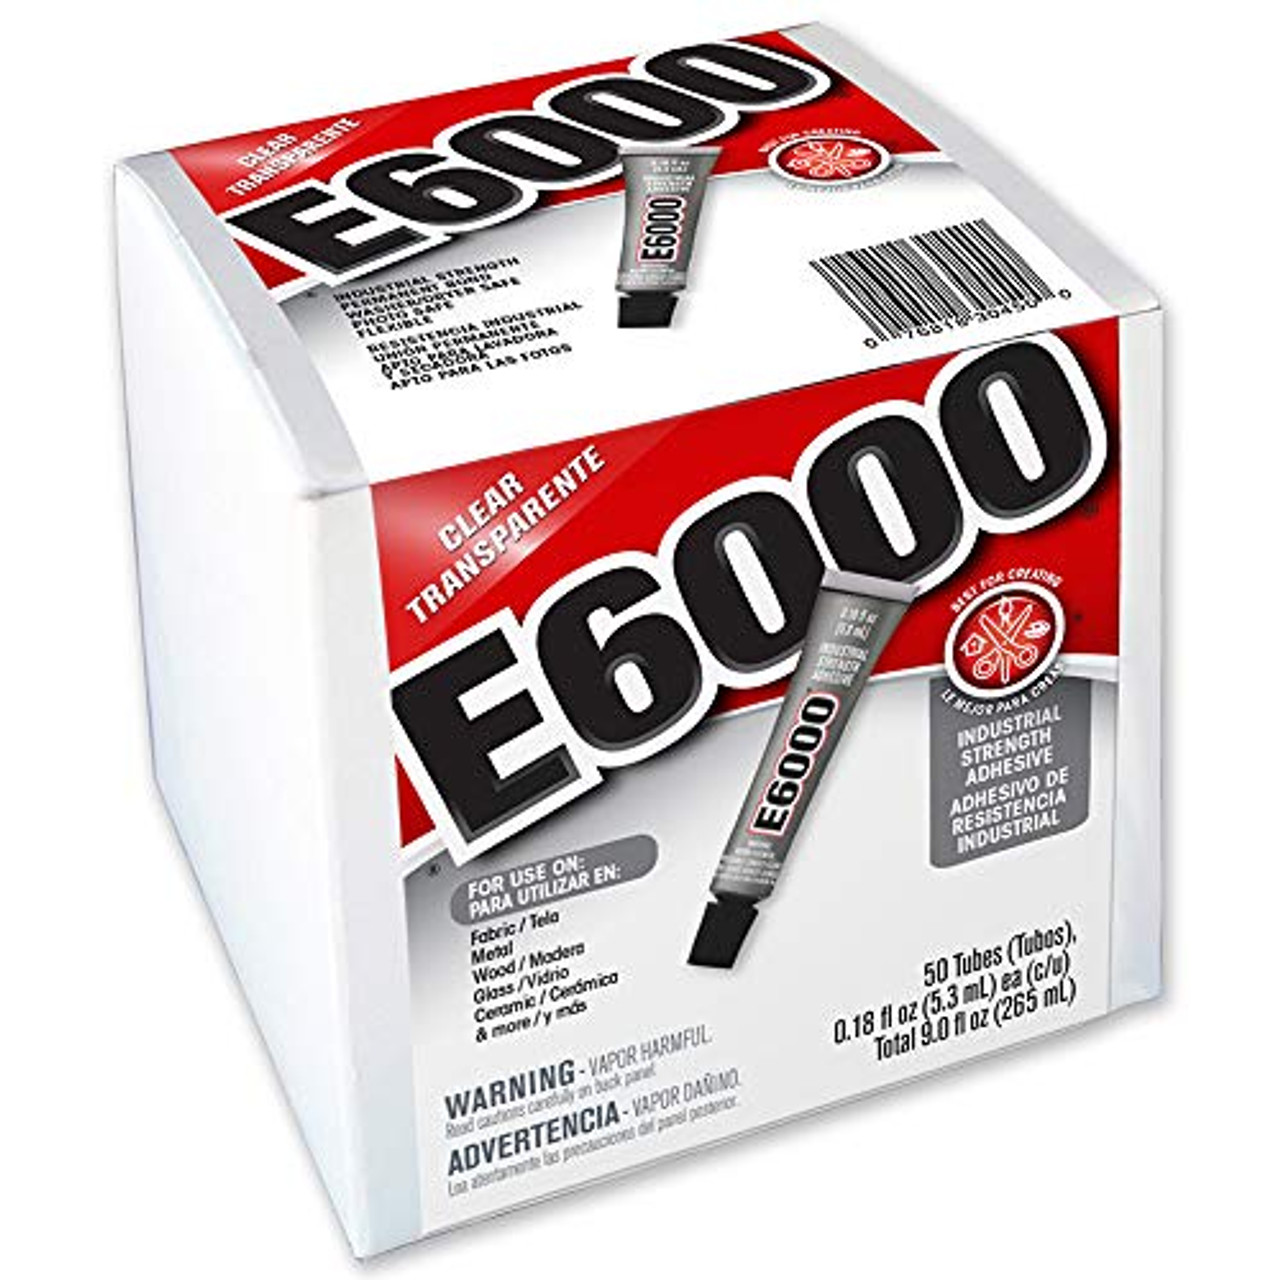
| E6000 Craft Adhesive | Perfect for bonding different types of materials commonly used in craft projects, such as fabric, wood, plastic, glass, and metal. |
| E6000 Jewelry and Bead Adhesive | Designed for jewelry-making applications, this variant offers a strong bond specifically for metal, glass, plastic, and beads. |
| E6000 PLUS | A versatile adhesive that provides an even stronger bond than the other variants. It is suitable for most materials, including fabric, leather, metal, glass, and more. |
Determining The Best Variant For Your Project
When choosing the right variant of E6000 for your project, consider the specific materials you will be working with and the desired outcome. Here are some factors to take into account:
- Material Compatibility: Ensure the adhesive you choose is compatible with the materials you intend to bond together.
- Strength: Consider the level of strength required for your project. If you need an extra-strong bond, E6000 PLUS may be the best choice.
- Application: Think about how you will be using the adhesive. If you are working on jewelry or bead projects, the Jewelry and Bead Adhesive variant may be the most suitable.
- Drying Time: Different variants may have varying drying times. Take into account the project timeline and choose accordingly.
By carefully considering these factors, you can select the right E6000 variant that will provide the best results for your specific project. Whether you are working on crafts, jewelry, or other creative endeavors, E6000 has a variant that will meet your needs.
Preparing For Safe Application
When using E6000, ensure a safe application by working in a well-ventilated area and wearing disposable gloves. Read the product instructions thoroughly before use, and store the adhesive in a dry and cool place. Avoid contact with skin and eyes, and keep out of reach of children.
Before you start using E6000, it is crucial to prepare for a safe application to ensure your well-being. This involves gathering essential materials and setting up a well-ventilated workspace. By following these steps, you can prevent any potential accidents or health hazards while using E6000.
Gathering Essential Materials
To fully utilize the power of E6000, you first need to gather a few essential materials. Thankfully, these items are easily accessible and inexpensive. Here’s what you’ll need:
- Protective gloves: Always wear gloves to shield your hands from any potential contact with the adhesive.
- Safety glasses: Protect your eyes from any accidental drips or splashes of E6000 by wearing safety glasses.
- Clean cloth or rag: Keep a clean cloth or rag nearby to quickly wipe away any excess adhesive or spills.
- Applicator: Choose a suitable applicator, such as a brush or wooden stick, depending on the application’s needs.
- Painter’s tape: Use painter’s tape to secure the items you’re working with, preventing any movement during the drying process.
- Disposable container: Have a disposable container or mixing cup for pouring and mixing the adhesive, making clean-up a breeze.
Setting Up A Well-ventilated Workspace
Once you’ve gathered all the necessary materials, it’s time to set up a well-ventilated workspace. Proper ventilation is crucial due to the strong odor emitted by E6000. Here’s how to ensure a safe workspace:
- Select a well-ventilated area: Choose a location with good airflow, preferably outdoors or in a well-ventilated room with open windows or fans.
- Clear the area: Remove any flammable or hazardous materials from the workspace to prevent accidental fires or spills.
- Cover the surfaces: Lay down a protective covering, such as a plastic sheet or newspaper, to catch any potential drips or spills.
- Use a respiratory mask: Wear a respiratory mask to avoid inhaling the fumes released by E6000 during the curing process.
By taking these necessary precautions and setting up a safe workspace, you can confidently begin using E6000 for your various projects. Remember to maintain a clean, organized workspace at all times and dispose of any waste properly. With the right preparation, you’ll be well on your way to using E6000 safely and effectively for all your adhesive needs.
Mastering Application Techniques
When it comes to using E6000, mastering the application techniques is essential for achieving optimal and durable results. Proper application ensures that the adhesive bonds effectively and withstands various environmental factors. Here’s how you can master the application techniques of E6000 adhesive by Applying the Adhesive Correctly and Ensuring Optimal Drying and Curing:
Applying The Adhesive Correctly
Proper application of E6000 adhesive is crucial for a strong and reliable bond. Take the following steps to ensure you apply the adhesive correctly:
- Ensure the surfaces to be bonded are clean, dry, and free from any contaminants or debris.
- Apply the E6000 adhesive to one surface in a well-ventilated area, using a steady hand to control the flow of the adhesive.
- For best results, apply a thin, even layer of the adhesive to the surface, avoiding excessive build-up.
- Immediately join the two surfaces together, applying firm and even pressure to ensure proper contact and adhesion.
Ensuring Optimal Drying And Curing
After applying the E6000 adhesive, it’s important to ensure optimal drying and curing for a strong and durable bond. Follow these steps to ensure the adhesive dries and cures effectively:
- Allow the bonded surfaces to be undisturbed for at least 24 hours to achieve maximum strength and stability.
- Ensure the temperature and humidity are within the recommended ranges for the adhesive to cure properly.
- Avoid exposing the bonded surfaces to extreme temperatures or moisture during the drying and curing process.
- Once the adhesive has dried and cured according to the product’s specifications, the bond will be strong and long-lasting.
Exploring Advanced Bonding Methods
When it comes to creating strong and durable bonds, E6000 is a go-to adhesive that delivers exceptional results. This versatile adhesive is perfect for various materials, making it a favorite among DIY enthusiasts and professionals alike. In this section, we will delve into the advanced bonding methods that can be achieved with E6000, enabling you to tackle a wide range of projects with confidence.
Creating Strong And Durable Bonds
E6000 is renowned for its ability to create incredibly strong and durable bonds. Whether you’re working with metal, glass, wood, plastic, or fabric, this adhesive can securely join the most challenging materials together. The secret lies in its unique formula, which ensures a strong and flexible bond that can withstand both indoor and outdoor conditions.
To maximize the strength of your bonds, follow these tips:
- Clean and Prepare Surfaces: Before applying E6000, ensure that the surfaces to be bonded are clean, dry, and free from any debris or grease. This provides the optimal foundation for a strong bond.
- Apply in a Well-Ventilated Area: E6000 has a strong odor, so it’s important to work in a well-ventilated area to minimize exposure and promote proper curing.
- Apply Adequate Amount: Apply the adhesive evenly and in an adequate amount. Using too little can result in a weak bond, while using too much may cause excessive spreading and oozing.
- Allow Sufficient Curing Time: Give the adhesive enough time to cure fully. It is recommended to let it cure for at least 24 hours for optimal bonding strength.
Utilizing E6000 For Various Materials
E6000 is compatible with a wide range of materials, making it a versatile adhesive choice. Here are some examples of how you can utilize E6000 for different materials:
1. Metal: Whether you’re working with brass, steel, or aluminum, E6000 provides a secure bond ideal for metal jewelry, decorative items, and repairs.
2. Glass: E6000 excels at bonding glass, making it perfect for creating or repairing glassware, mirrors, and stained glass projects.
3. Wood: When working with wood, E6000 ensures a strong bond that can withstand stress. It is ideal for wood crafts, furniture repairs, and even outdoor applications.
4. Plastic: From PVC to acrylic, E6000 securely bonds various types of plastic, making it a reliable choice for plastic repairs, model building, and DIY projects.
5. Fabric: When working with fabric, E6000 provides a durable bond that remains flexible, making it perfect for fabric crafts, shoe repairs, and embellishments.
With the E6000, the possibilities are endless. Its versatility and strength allow you to explore advanced bonding methods, confidently bringing your creative ideas to life.
Troubleshooting And Best Practices
Using E6000 can sometimes come with its own set of challenges, but with the right approach, you can overcome any application issues and ensure effective storage and usage. In this section, we will address common issues that users encounter and provide helpful tips to implement best practices for using E6000 adhesive.
Addressing Common Application Issues
When using E6000, it is essential to be aware of common application issues that may arise. By understanding these challenges and their solutions, you can ensure a successful bond every time:
- Slow Drying Time: If you find that E6000 is taking longer to dry than expected, ensure that you are applying the adhesive in a thin, even layer. Avoid using excessive amounts as this can prolong the drying process.
- Uneven Bond: In some instances, you may encounter an uneven bond when using E6000. This can be remedied by applying pressure to the bonded surfaces for at least 24 hours. Consider using clamps or weights to maintain consistent pressure.
- Cloudy Residue: Occasionally, E6000 may leave a cloudy residue on certain surfaces. To prevent this issue, make sure to clean the surfaces thoroughly before applying the adhesive. Using a clean, lint-free cloth can help remove any debris or oils that may interfere with the bond.
- Difficulty in Dispensing: If you find it challenging to dispense E6000 from the tube, try using a pin to unclog the nozzle. Ensure the adhesive is at room temperature for easier application.
- Extreme Temperatures: While E6000 is known for its versatility, extreme temperatures can affect the adhesive’s performance. Avoid using it in temperatures below 50°F or above 90°F for best results.
Implementing Effective Storage And Usage Tips
To get the most out of your E6000 adhesive and extend its shelf life, it is vital to follow these storage and usage tips:
- Store in a Cool, Dry Place: Ensure your E6000 adhesive is stored in a cool, dry area away from direct sunlight. Extreme temperatures and moisture can affect the adhesive’s effectiveness.
- Seal the Tube Properly: After each use, make sure to tightly seal the tube to prevent air exposure and drying out of the adhesive.
- Avoid Contact with Skin: E6000 adhesive is strong and may cause irritation or bonding to your skin. Always use gloves and handle with care.
- Read and Follow Instructions: Before using E6000, take the time to read the instructions carefully. Following the manufacturer’s guidelines will help you achieve the desired results.
- Test on a Small Area: If you are unsure about using E6000 on a particular material, it is recommended to test it on a small, inconspicuous area first to ensure compatibility.
By addressing common application issues and implementing effective storage and usage tips, you can confidently use E6000 adhesive for a wide variety of projects. Remember to always prioritize safety, follow the instructions, and enjoy the reliability and versatility of this popular adhesive.
Credit: gb.jbtools.com
Frequently Asked Questions On How To Use E6000
How Long Does It Take E6000 To Dry?
E6000 typically takes around 24 hours to dry completely.
What Should You Not Use E6000 On?
Avoid using E6000 adhesive on surfaces that are exposed to prolonged exposure to water, food contact, or high temperatures. Additionally, it should not be used on flexible materials or items that require frequent bending or movement.
How Do I Use E6000 Glue?
To use E6000 glue, clean and dry the surface, apply the glue, press the items together, then let it dry for 24-72 hours for a strong bond. Follow safety instructions and store in a cool, dry place. Avoid touching eyes and skin, and use in a well-ventilated area.
Does E6000 Need To Be Clamped?
Yes, clamping is recommended when using E6000 adhesive. Clamping ensures a strong bond between the surfaces being glued together, allowing the adhesive to fully cure. For best results, follow the manufacturer’s instructions on clamping time and pressure.
Conclusion
E6000 is a versatile and durable adhesive for a variety of projects. Whether you are crafting, repairing, or creating DIY projects, E6000 offers a strong and reliable bond. With its waterproof and heat-resistant properties, it is a go-to adhesive for many.
Use E6000 with confidence for all your bonding needs.