How to Waterproof Wood: Real Methods, Reapplication & What Works
To waterproof wood, clean and sand the surface, then apply a penetrating sealer, spar urethane, or exterior paint/stain — but no wood finish is permanently waterproof. Even a high-quality sealer needs reapplication every 1-3 years outdoors as UV exposure and foot traffic break it down, while an unsealed board can start absorbing water and warping within weeks. This guide covers the real waterproofing methods, how to tell when it’s time to reseal, and which coating actually fits your project — indoor furniture, a deck, or bare outdoor lumber.
Understanding Wood Waterproofing
Wood is a versatile and beautiful material that adds warmth and character to any space. However, it is also susceptible to damage from moisture, which can lead to rot, warping, and overall deterioration. That’s where wood waterproofing comes in. By applying a protective sealant or coating, you can safeguard your wood against the damaging effects of water. In this article, we will explore the different types of wood waterproofing, as well as the benefits it offers.
Types Of Waterproofing
When it comes to wood waterproofing, various methods and products are available to suit different needs. This site has dedicated guides for specific surfaces — waterproofing wood floors and waterproofing wood for a bathroom or shower both need different products than an outdoor deck. Here are the common categories:
| Method | How It Works | Typical Reapplication | Best For |
|---|---|---|---|
| Exterior Paint | Forms an opaque surface film that blocks water; hides the grain. | 3-5 years | Siding, trim, fences you don’t need to see the grain on |
| Penetrating Sealer (silicone/oil-based) | Soaks into the wood fibers and repels water from within rather than sitting on top. | 1-2 years | Decks, fences, raw outdoor lumber |
| Spar Urethane / Marine Varnish | A flexible, UV-resistant film-forming coating built for outdoor movement and sun exposure. | 1-3 years | Outdoor furniture, boat trim, doors |
| Polyurethane (interior-grade) | Hard film-forming finish; not UV-stable enough for direct sun long-term. | 5-10 years indoors | Indoor furniture, cabinets, tabletops |
See our full breakdown of spar urethane vs. polyurethane and what makes the best wood sealer if you’re still deciding between these.
Benefits Of Waterproofing
Waterproofing wood offers several advantages, making it a worthwhile investment for any wooden structure or furniture. Here are some key benefits:
- Protection Against Rot: Wood that is unprotected can easily rot when exposed to moisture, but waterproofing prevents water penetration and preserves the wood’s integrity.
- Prevents Warping: When wood absorbs water, it swells and warps. Waterproofing prevents this by minimizing water absorption, ensuring the wood maintains its shape and strength over time.
- Increases Longevity: By fortifying the wood against moisture damage, waterproofing extends its lifespan, reducing the need for costly repairs or replacements.
- Enhances Appearance: Waterproofing often enhances the natural beauty of wood, highlighting its grain and color while also providing a glossy or matte finish.
- Easy Maintenance: Waterproofed wood is easier to clean and maintain. The protective coating makes it resistant to stains, mildew, and dirt buildup.
Understanding the available types of wood waterproofing and the benefits it offers can help you choose the right method for your specific needs. Whether you are protecting outdoor furniture, wooden decks, or interior woodwork, waterproofing is a vital step in preserving and enhancing the beauty of your wood.
Can You Waterproof Wood Permanently?
No — there is no permanent wood waterproofing. Every sealer, stain, and varnish breaks down under UV light, foot traffic, and weather, so outdoor wood needs resealing every 1-3 years and indoor finishes typically last 5-10 years before they need attention. Any product marketed as a one-time, lifetime waterproofing treatment for wood exposed to real weather should be treated with skepticism.
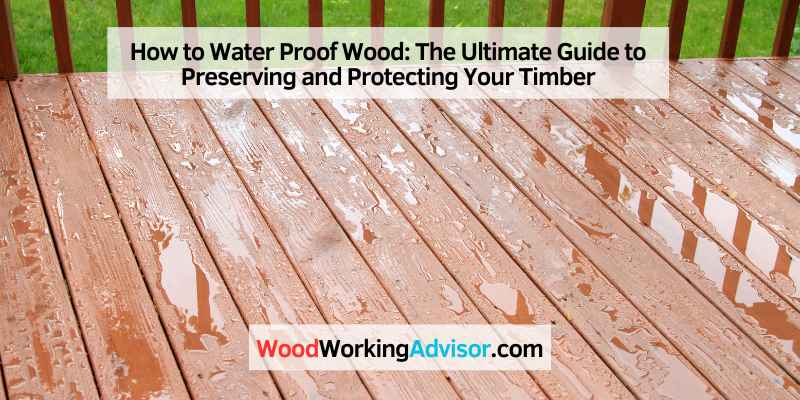
📊 Test it yourself: splash water on the wood. If it beads up, the finish is still working. If it soaks in and darkens the wood, it’s time to reapply — regardless of how long it’s been.
Preparation And Cleaning
Before waterproofing wood, it’s crucial to adequately prepare and clean the surface. By following these essential steps, you can ensure the best results and maximize the durability of your wood:
Surface Preparation
In order to achieve effective waterproofing, the wood surface needs to be properly prepared. This involves:
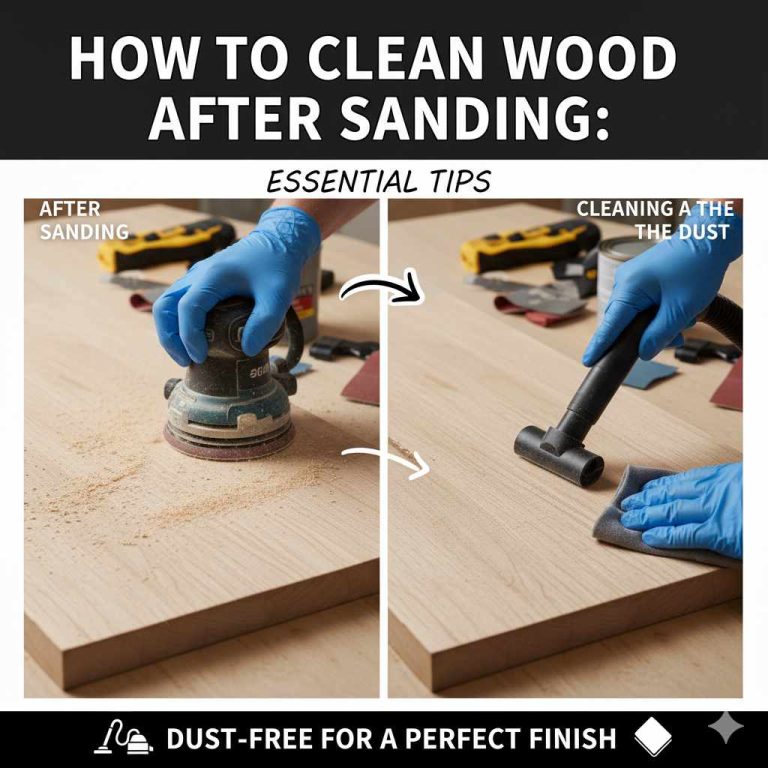
- Removing any existing coatings or finishes. This can be done using sandpaper or a paint stripper.
- Smoothing the surface by sanding it. Use a medium-grit sandpaper to eliminate rough spots and achieve a more even surface.
- Checking for any cracks, gaps, or imperfections in the wood. Fill them with wood filler and sand again for a smooth finish.
Cleaning Methods
Thorough cleaning is crucial before applying any waterproofing product. By removing dirt, grime, mold, and mildew, you ensure proper adhesion and prevent any future damages. Here are a few effective cleaning methods:
- Pressure washing: If the wood is heavily soiled, pressure washing can be highly effective. However, be careful not to use excessive pressure, which can damage the wood.
- Mild detergent solution: For lighter stains, mix a mild detergent with water and scrub the wood surface gently using a soft brush. Rinse thoroughly afterwards.
- Bleach solution: To remove mold or mildew, prepare a solution of bleach and water. Apply it to the wood using a sponge or brush, then rinse well.
- Vinegar solution: For natural and environmentally-friendly cleaning, a solution of vinegar and water can be used. Scrub the wood with this mixture and rinse thoroughly.
Remember, proper preparation and cleaning are key to achieving a long-lasting waterproofing for your wood. By taking the time to complete these important steps, you can ensure better protection and prolong the life of your wood materials.
Choosing The Right Waterproofing Method
Choosing the right waterproofing method is crucial to protect your wood from the elements and ensure its longevity. There are various options available, but it’s essential to find the most suitable method for your specific needs. Understanding the different waterproofing methods will help you make an informed decision to preserve the beauty and integrity of your wood.
Paints And Stains
Paints and stains are popular choices for waterproofing wood as they provide a protective layer against water and UV damage. Paints create a solid barrier on the wood surface, blocking moisture from penetrating, while stains penetrate the wood to provide both color and protection. They come in a variety of colors and finishes, allowing you to customize the look of your wood while effectively waterproofing it.
Sealers And Varnishes
If you prefer a more natural look for your wood, sealers and varnishes are excellent options for waterproofing. Sealers penetrate the wood fibers to create a barrier against moisture, while varnishes form a protective coating on the surface. They are available in different levels of sheen, from matte to high gloss, and provide long-lasting protection while enhancing the natural beauty of the wood.
Best Wood Waterproofer Pick
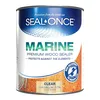
SEAL-ONCE Marine Penetrating Wood Sealer
A water-based penetrating sealer built for marine and outdoor exposure — soaks into the grain instead of forming a surface film that can peel.
- Best for: decks, docks, and outdoor furniture that see constant weather
- Why we picked it: penetrating sealers don’t crack or peel the way film-forming coatings eventually do
- Main drawback: costs more per gallon than basic water-seal products
Compare more wood waterproofing options
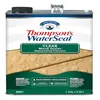 Option 1 Thompson’s WaterSeal, 1 Gal
|
 Option 2 Rain Guard Sealer Spray, 16oz
|
 Option 3 Ready Seal Stain + Sealer
|
As an Amazon Associate we earn from qualifying purchases.
Application Techniques
When it comes to waterproofing wood, the application technique you choose plays a vital role in ensuring long-lasting protection. Two common methods of application are brush application and spray application. Let’s take a closer look at each technique to help you determine the best approach for your project.
Brush Application
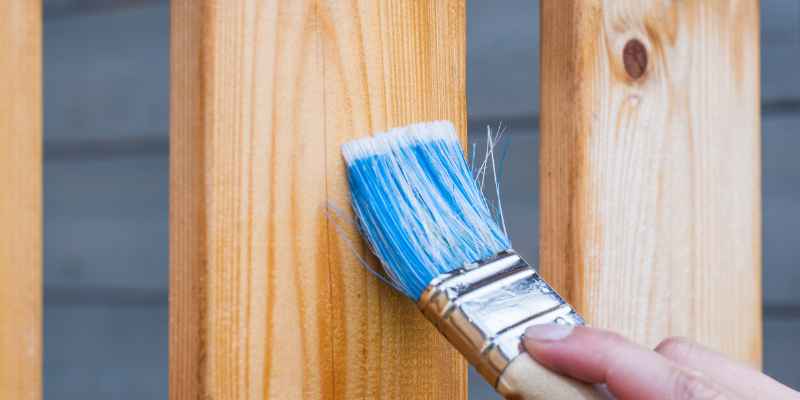
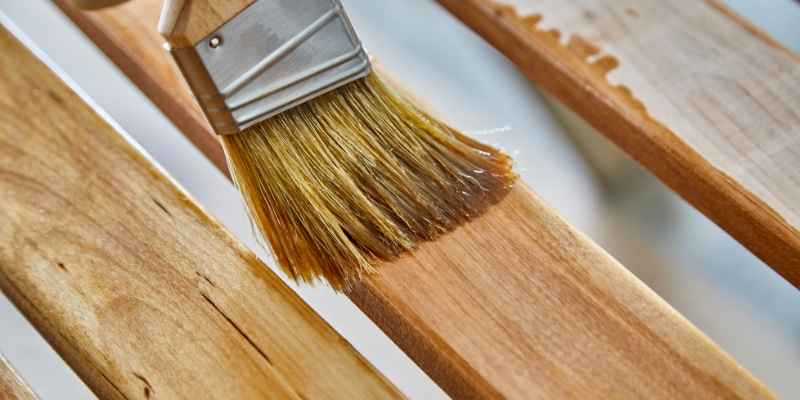
Brush application involves using a brush to apply the waterproofing solution onto the wood surface. This method is ideal for smaller areas or when you want more control over the application process. Here are some steps to follow when using the brush application technique:
- Start by preparing the wood surface. Ensure it is clean, dry, and free of any debris.
- Pour the waterproofing solution into a container wide enough to accommodate the brush.
- Dip the brush into the solution and let excess solution drip off.
- Apply the solution to the wood surface in smooth, even strokes. Make sure to cover the entire surface, including corners and edges.
- Allow the first coat to dry completely, usually overnight, before applying additional coats. Follow the manufacturer’s recommendation for the number of coats needed.
- Clean the brush with warm soapy water after each use to prolong its lifespan.
Spray Application
Spray application offers a convenient and efficient way to waterproof larger areas or intricate wood designs. This technique allows for more uniform coverage and can save you time. Follow these steps for a successful spray application:
- Prepare the wood surface by cleaning and drying it thoroughly.
- Pour the waterproofing solution into a sprayer, following the manufacturer’s instructions.
- Adjust the sprayer nozzle to achieve the desired spray pattern, whether it’s a fine mist or a wider spray.
- Hold the sprayer nozzle approximately 12 inches away from the wood surface.
- Apply an even coat of the solution, moving the sprayer in a steady motion to ensure complete coverage.
- Allow the first coat to dry as recommended by the manufacturer before applying additional coats.
- Clean the sprayer thoroughly after each use to prevent clogs and maintain its functionality.
Whether you opt for brush application or spray application, always follow the waterproofing product’s instructions and take necessary safety precautions. Both techniques have their advantages, so choose the one that best suits your project requirements and personal preference.
Maintenance And Reapplication
Proper maintenance and reapplication are essential to ensure the long-lasting waterproofing of wood. Over time, exposure to weather elements, UV rays, and general wear and tear can cause the protective layer to deteriorate. By being vigilant and proactive, you can keep your wood items in optimal condition and avoid costly repairs or replacements. In this section, we will discuss the signs of wear and tear to look out for and provide helpful tips for reapplication.
Signs Of Wear And Tear
It’s important to regularly inspect the wood for any signs of wear and tear. By identifying these signs early on, you can address the issue promptly and prevent further damage. Here are a few key indications that your wood may need to be re-waterproofed:
- Cracking or peeling of the existing waterproofing layer.
- Discoloration or fading of the wood surface.
- Water absorption or an increase in moisture content.
- Visible damage such as warping, splintering, or rotting.
If you notice any of these signs, it’s time to take action and reapply a waterproofing product to protect the wood.
Reapplication Tips
Reapplying a waterproof coating to your wood is a straightforward process that can greatly extend its lifespan. Here are some tips to follow for a successful reapplication:
- Clean the Surface: Before applying any new coating, make sure the wood surface is clean and free from dust, dirt, and debris. A thorough cleaning with a gentle detergent and water solution followed by rinsing and drying is usually sufficient.
- Choose the Right Product: Select a high-quality waterproofing product that is specifically designed for the type of wood you are treating. Check the manufacturer’s recommendations and follow the application instructions carefully.
- Apply Evenly: Use a brush, roller, or sprayer to apply the waterproofing product evenly across the wood surface. Pay attention to corners, edges, and hard-to-reach areas.
- Allow for Drying Time: Depending on the product, drying time can vary. It’s crucial to allow the recommended drying time before subjecting the wood to any moisture or use. Avoid rushing the process to ensure optimal results.
- Maintain Regularity: Reapplication intervals will depend on factors such as the type of wood, the level of exposure, and the climate. To maintain maximum protection, it’s advisable to reapply the waterproofing product as per the manufacturer’s recommendations.
By regularly inspecting your wood for signs of wear and tear and following these reapplication tips, you can prolong its life and keep it looking its best for years to come.
Frequently Asked Questions On How To Water Proof Wood
Is Wood Naturally Waterproof?
No, wood is not naturally waterproof. Untreated wood is porous and absorbs water readily, which causes swelling, warping, and eventually rot. Some species like teak and cedar have natural oils that resist moisture better than others, but even they benefit from a sealer in wet or outdoor conditions.
Can You Waterproof Untreated Wood?
Yes. Clean and sand the untreated surface first, since raw wood accepts sealer better than a dirty or rough one. A penetrating oil-based sealer works well on untreated wood because it soaks in rather than sitting on top, and you can follow with a film-forming topcoat for extra protection if the piece will be outdoors.
What Is The Best Way To Waterproof Wood?
The best way to waterproof wood is by using sealants or varnishes. Apply multiple coats for better protection. Sanding before application can help for better adhesion. Make sure to follow the manufacturer’s instructions for best results.
How Do You Seal Raw Wood For Outdoor Use?
To seal raw wood for outdoor use, follow these steps:
1. Sand the wood to remove rough surfaces.
2. Clean and dry the wood thoroughly.
3. Apply a wood sealant or primer to protect against moisture and UV damage.
4. Allow the sealant to dry completely.
5. Finally, apply a weather-resistant topcoat for added protection.
How Do You Protect Exposed Wood From Water?
To protect exposed wood from water, follow these steps:
1. Apply a waterproof sealant to the wood surface.
2. Use a primer to prevent water penetration.
3. Apply a high-quality exterior paint or stain for added protection.
4. Regularly inspect and maintain the wood, repairing any damage promptly.
5. Use a cover or shelter to avoid direct water exposure when possible.
How Do You Protect Wood Outside?
To protect wood outside, use a water-repellent sealant, apply UV-resistant finish, keep wood clean and dry, use pressure-treated lumber, and ensure proper ventilation. Regular maintenance is also key to protecting outdoor wood.
Conclusion
Waterproofing wood is vital for its longevity and durability. By following the tips and techniques discussed in this blog post, you can effectively protect your wood from moisture and other elements. Incorporating waterproofing methods into your wood maintenance routine will ensure its resilience and enhance its aesthetic appeal for years to come.