Miter Saw Station Plans Free: Dimensions & Build Guide
A miter saw station works best when its infeed and outfeed supports sit level with the saw’s own table — even a 1/4-inch mismatch makes long workpieces sag mid-cut.
Building the supports shorter than 24 inches on each side, or skipping dust collection entirely, is why most DIY stations get rebuilt within a year. This guide covers real dimensions and materials, dust collection setup, blade calibration, and where to find free plans you can build from this weekend.
Setting Up The Workspace
Having a well-organized, dedicated workspace for your miter saw increases both safety and productivity. In this section, we cover the essential steps to take when setting up your miter saw station.
Choosing The Right Location
One of the first things to consider when setting up your miter saw station is selecting the right location. Ideally, you should have enough space to maneuver comfortably and safely around the saw. Your chosen location should be well-lit, ventilated, and free from any obstructions. Additionally, ensure that there is ample clearance behind the saw to accommodate the length of the wood pieces you will be cutting.
Organizing Your Tools
An organized workspace is essential for efficiency, especially when working with power tools. Before setting up your miter saw station, take the time to sort and arrange your tools in a logical manner. This will help you locate and access the right tools quickly, ultimately saving you time and frustration during your woodworking projects. Consider investing in a tool storage system, such as a pegboard or wall-mounted tool rack, to keep your tools within easy reach.
To further enhance organization, create dedicated storage spaces for your saw blades, measuring tools, safety equipment, and other accessories. Use labeled bins, drawers, or cabinets to keep everything neatly arranged and easily accessible. By having a well-organized tool setup, you can maximize your efficiency and minimize the risk of accidents or lost tools.
Designing Your Miter Saw Station
When it comes to designing a miter saw station, there are several key factors to consider to ensure you create a functional and efficient workspace. From determining the ideal size and layout to incorporating smart storage solutions, thoughtful planning is essential for a successful miter saw station. Let’s dive into each aspect of designing your miter saw station in detail.
Determining Size And Layout
Before delving into the specifics of your miter saw station plans, it’s crucial to determine the ideal size and layout for your workspace. Take into account the available space in your workshop or garage and consider how the miter saw station will fit into the overall workflow.
You should also consider the typical length of the materials you’ll be working with and ensure that the miter saw station can accommodate them comfortably. Whether you’re working on large pieces of lumber or smaller trim, adjustable supports or extensions can be a valuable addition to your station.
Incorporating Storage Solutions
A well-organized miter saw station isn’t just about the cutting tool – it should also provide ample storage for essential accessories, such as blades, measuring tools, and safety equipment. Consider incorporating dedicated storage solutions into your miter saw station plans.
- Utilize the vertical space with shelves or cabinets to keep frequently used items within easy reach.
- Consider incorporating drawers or bins to keep small parts and accessories organized and easily accessible.
- Implementing a dust collection system can also contribute to a clean and organized workspace.
Miter Saw Station Dimensions and Materials
The single most important dimension is height: your work surface and outfeed supports need to sit level with your miter saw’s own table, not just at a comfortable working height. A mismatch of even 1/4 inch causes long boards to sag or tip as they pass through the cut.
Provide at least 24 inches of flat, supported surface on both the infeed and outfeed sides of the saw. If you regularly cut trim or molding, extend that to 36–48 inches per side, since longer, lighter material is more prone to tipping off a short support.
For materials, 3/4-inch plywood is the standard choice for the work surface and cabinet panels, with 2×4 framing lumber for the base and pocket screws for assembly — the same material list used across most published miter station plans, free or paid.
📊 Support surfaces must be level with the saw’s cutting table, not just at a “comfortable” height — this is the most common measurement mistake in DIY miter station builds. — widely-used shop rule of thumb, corroborated across multiple published miter saw station plans
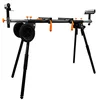
Best Miter Saw Stand Pick
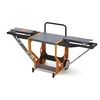
Bora Portamate Miter Saw Stand Work Station
A rolling stand with fold-out wings that gives you level infeed/outfeed support without building anything.
- Best for: anyone who wants station-level support without a DIY build
- Why we picked it: wings extend to give 24+ inches of level support on each side, matching the shop rule above
- Main drawback: takes up floor space when unfolded, needs storage when not in use
Compare more miter saw station gear
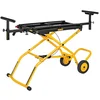 Option 1 DEWALT Miter Saw Stand With Wheels
|
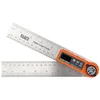 Option 2 Klein Tools Digital Angle Finder
|
 Option 3 WEN Stand with 3 Onboard Outlets
|
As an Amazon Associate we earn from qualifying purchases.
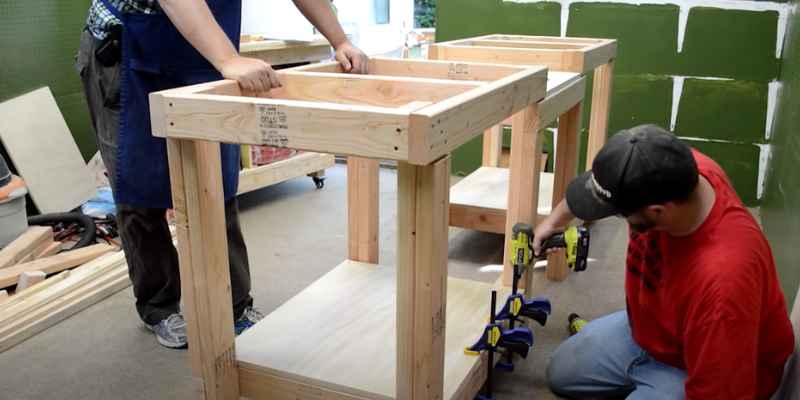
Building The Station
When building a miter saw station, the process of constructing the station itself is a critical aspect that requires careful planning and precise execution. In this section, we will discuss the key steps involved in building the miter saw station, from cutting and preparing materials to assembling the components.
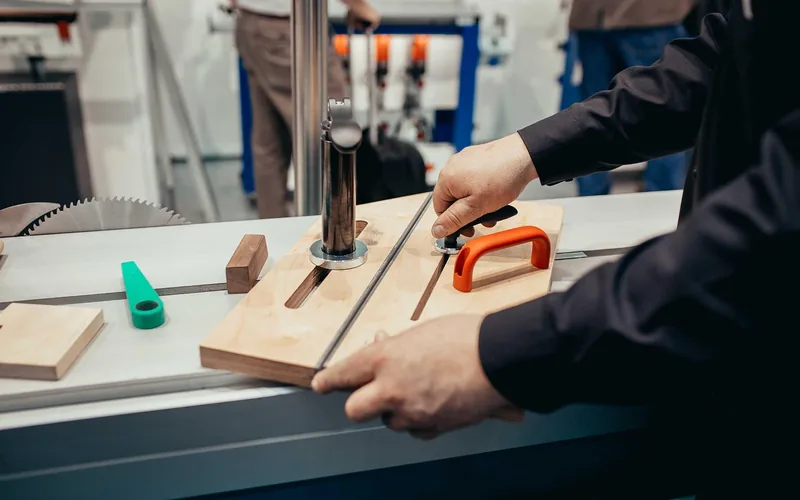
Cutting And Preparing Materials
Before diving into the construction process, it is essential to gather and prepare all the necessary materials. This includes measuring and cutting the wood to the specified dimensions based on the chosen miter saw station plans. Be sure to use a suitable saw for the cutting process to ensure precise and accurate results.
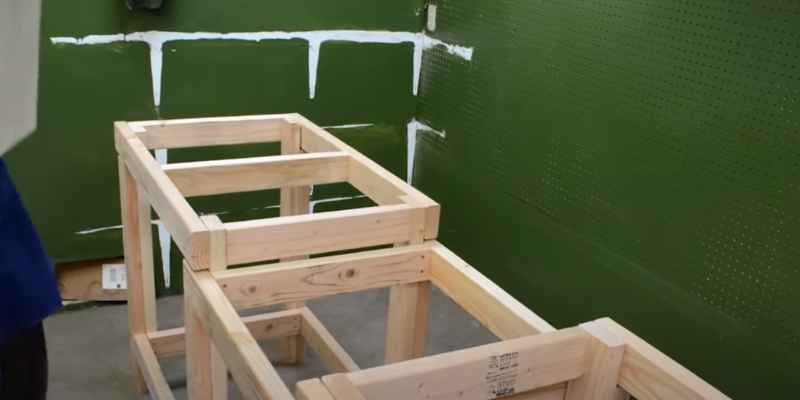
Assembling The Components
Once the materials are cut to size, the assembly process begins. Start by laying out the components according to the provided diagrams or plans. Ensure that all the pieces are properly aligned before fastening them together. Depending on the design, this may involve the use of screws, glue, or other fastening methods to securely join the components together.
Adding Functionality
When it comes to improving your miter saw station, adding functionality is key. By incorporating features that enhance usability and efficiency, you can take your woodworking to the next level. In this article, we will explore two essential aspects of adding functionality to your miter saw station: installing a dust collection system and incorporating workbench space.
Installing Dust Collection System
One of the most crucial elements to consider when setting up your miter saw station is dust collection. Sawdust can quickly accumulate and create a messy and hazardous working environment. By installing a dust collection system, you can effectively capture and remove the majority of sawdust particles, keeping your workspace clean and safe.
Here are some key steps to follow when installing a dust collection system for your miter saw station:
- Choose the right dust collector: Look for a powerful dust collector that matches the size and capacity of your miter saw. Make sure it has adequate filtration to capture fine particles.
- Positioning the dust collector: Place the dust collector in a convenient location near your miter saw. Ensure it is properly grounded and connected to a power source.
- Connect the dust collection hose: Attach the dust collection hose to your miter saw’s dust port. Ensure a secure and airtight connection to prevent dust leakage.
- Routing the hose: Route the dust collection hose along the back of your miter saw station, keeping it out of your way while working. Consider using clips or brackets to secure the hose in place.
- Testing and adjusting: Turn on the dust collector and check for any leaks or weak suction. Make necessary adjustments to optimize the performance of your dust collection system.
Incorporating Workbench Space
Another important aspect of adding functionality to your miter saw station is incorporating ample workbench space. Adequate workbench space allows you to efficiently prepare materials, assemble projects, and store essential tools and accessories within easy reach.
Consider the following tips to incorporate workbench space into your miter saw station:
- Size and height: Determine the ideal dimensions of your workbench based on your needs and available space. Ensure it is at a comfortable height for working.
- Materials and construction: Choose a durable and sturdy material for your workbench, such as plywood or hardwood. Consider adding reinforcements, such as braces or cross supports, to enhance stability.
- Functional features: Add features like drawers, shelves, and pegboards to maximize storage and organization options. This will help keep your tools and accessories easily accessible and reduce clutter.
- Lighting: Install adequate lighting above your workbench to ensure proper visibility during detailed tasks.
Fine-tuning And Adjustments
When setting up your miter saw station, fine-tuning and adjustments are crucial steps to achieve precise cuts.
Calibrating The Miter Saw
Properly calibrating your miter saw ensures it is aligned for accurate cuts without any errors.
- Check the blade for alignment by making test cuts on scrap wood.
- Adjust the blade angle and bevel settings for perfect miter and bevel cuts.
Ensuring Accuracy And Precision
For accuracy and precision, regularly check and adjust the following:
- Ensure the fence and blade are parallel for straight and precise cuts.
- Regularly clean and lubricate the saw mechanism for smooth operation.
- Use a quality blade and replace it when dull for clean and accurate cuts.
Customizing Your Station
Once the core station is built, customizing it to your specific saw and workflow is what makes it actually convenient to use day to day. If you also need to change the blade on a DEWALT miter saw or a similar model, do it now while the saw is off the station and easy to access from all sides.
Personalizing The Design
When creating Miter Saw Station plans free, consider personalizing the design to suit your specific needs and preferences.
Adding Accessories For Efficiency
Enhance your Miter Saw Station by adding accessories that can improve efficiency and streamline your workflow.
Frequently Asked Questions Of Miter Saw Station Plans Free
What Are The Essential Features Of A Miter Saw Station?
A miter saw station should include ample storage, a sturdy work surface, dust collection system, and built-in electrical outlets to support a smooth woodworking operation.
How Can A Miter Saw Station Enhance Woodworking Efficiency?
A well-designed miter saw station provides a dedicated workspace for precise cuts, organizes tools and materials, and promotes a safer and more efficient woodworking environment.
What Are The Advantages Of Using Free Miter Saw Station Plans?
Free miter saw station plans offer cost-effective solutions, customization options, and accessibility for woodworkers to create a tailored, functional, and space-saving working area.
How Much Outfeed Support Does a Miter Saw Station Need?
Provide at least 24 inches of flat, level support on both the infeed and outfeed sides. For trim or molding work, extend that to 36–48 inches per side to keep longer, lighter material from tipping.
What Materials Are Best for a DIY Miter Saw Station?
3/4-inch plywood for the work surface and cabinet panels, paired with 2×4 framing lumber for the base, is the standard material list used across most published miter saw station plans.
Conclusion
Create your dream woodworking space with these free miter saw station plans. Whether you’re a seasoned DIYer or just starting out, these plans will guide you through the process with ease. With a dedicated workstation, you’ll have a safe and efficient setup to tackle any project.
Say goodbye to clutter and hello to a functional and organized space. Get started on your woodworking journey today!