Sanding between Coats of Stain: Expert Tips for Flawless Finishing
Sanding between coats of stain is essential for a smooth and even finish. It helps to remove imperfections and create a better surface for the next coat to adhere to.
Applying stain to wood can enhance its natural beauty, but achieving a professional-looking result requires attention to detail. One crucial aspect for achieving a flawless finish is sanding between coats of stain. By sanding gently between coats, you can remove any rough spots or imperfections, creating a smoother surface for the subsequent coat to adhere to.
This process not only improves the overall appearance of the wood but also ensures that the stain is absorbed evenly, resulting in a more consistent and professional finish. Understanding the proper techniques for sanding between coats of stain is crucial for achieving the desired result and enhancing the aesthetic appeal of the wood surface.
Understanding The Importance Of Sanding
When applying multiple coats of stain, sanding between each layer is essential for a smooth and flawless finish. This process removes imperfections, smooths out the surface, and allows for better adhesion of subsequent coats, resulting in a professional-looking outcome. Sanding between coats of stain ensures a high-quality and durable finish for your woodworking projects.
Why Sanding Between Coats Is Crucial
Sanding between coats of stain is a critical step in achieving a smooth and flawless finish. Sanding helps to create a uniform surface by removing any imperfections, bumps, or raised grain that may have occurred during the application of the previous coat. This process not only enhances the appearance of the wood but also promotes better adhesion of the subsequent coat, resulting in a professional-quality finish.
Preparing The Surface For The Next Coat
When prepping the surface for the next coat, sanding plays a pivotal role. Sanding ensures that the previous coat has an even, roughened surface, promoting superior bonding of the next coat. This leads to a more durable and long-lasting finish, as the subsequent coat adheres securely to the sanded surface, preventing peeling or flaking over time. Additionally, sanding between coats removes any dust particles or debris, creating a clean and impeccable surface for the next application.
Selecting The Right Sandpaper Grit
When it comes to achieving a smooth and flawless finish on wood surfaces, selecting the right sandpaper grit plays a crucial role in the staining process. Using the appropriate grit ensures that the stain adheres evenly and provides a professional-looking result. In this section, we will delve into the importance of choosing the correct grit and how it can fine-tune the smoothness of the stained surface.
Importance Of Choosing The Correct Grit
Choosing the right sandpaper grit is essential to the success of the staining process. The grit selection determines the level of abrasiveness applied to the wood surface, which directly impacts the evenness and smoothness of the stained finish. Using a coarser grit can efficiently remove imperfections and mill marks from the wood, while a finer grit helps in achieving a polished and smooth surface for the stain to adhere to.
Fine-tuning The Smoothness With Different Grits
When sanding between coats of stain, utilizing different grits allows for precise control over the smoothness of the wood surface. Starting with a coarser grit to remove any roughness and imperfections, and progressing to finer grits for polishing and achieving a silky-smooth texture ensures an impeccable foundation for the stain to bond with the wood. Moreover, each successive grit level refines the surface, contributing to a seamless and professional-looking finish.
Proper Sanding Techniques
Proper sanding between coats of stain is essential to achieve a smooth and flawless finish on your woodworking project. By following the right sanding techniques, you can ensure that each coat of stain adheres properly, creating a professional-looking result.
Avoiding Over-sanding
Over-sanding can result in the removal of too much of the stained surface, leading to uneven coloring and a patchy appearance. To avoid over-sanding, it’s crucial to use fine-grit sandpaper and apply gentle pressure. Focus on lightly smoothing the surface rather than aggressively removing the stain.
Using The Right Pressure And Motion
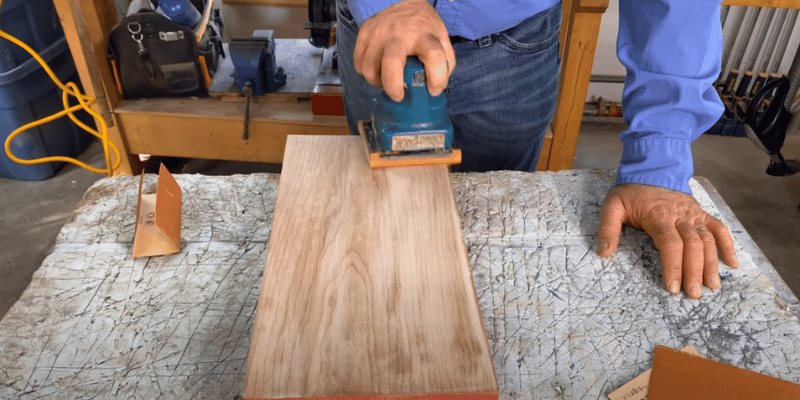
When sanding between coats of stain, it’s important to use the right amount of pressure and motion. Always sand in the direction of the wood grain to prevent any scratches or marks that may appear if sanded against the grain. Applying even pressure across the entire surface ensures consistent results, and using circular or back-and-forth motions aids in achieving a smooth finish without leaving noticeable sanding patterns.
Tips For Achieving A Flawless Finish
When it comes to staining wood, achieving a flawless finish requires attention to detail and proper technique. Sanding between coats of stain is a crucial step in ensuring a smooth and professional-looking result. Here, we’ll explore some essential tips for achieving a flawless finish when sanding between coats of stain.
Inspecting For Imperfections
Before sanding between coats, it’s essential to carefully inspect the surface for any imperfections. Use a bright light source to reveal any inconsistencies in the stain or wood, such as bubbles, streaks, or dust particles. Take note of areas that require special attention and mark them for focused sanding. By identifying imperfections early on, you can address them effectively and achieve a more uniform finish.
Applying The Final Coat For A Perfect Result
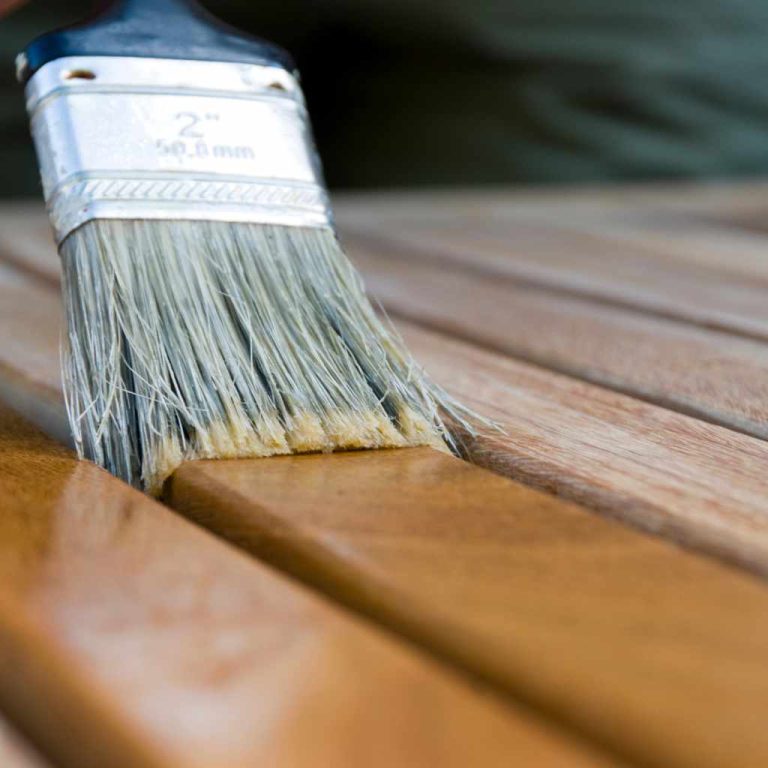
Once you have addressed any imperfections and completed the necessary sanding between coats, applying the final coat is the last crucial step to achieving a flawless finish. Use a quality brush or applicator to ensure an even and smooth application of the stain. Work in the direction of the wood grain to avoid streaks and ensure a natural look. Allow ample drying time between coats and protect the surface from dust and debris to prevent flaws in the final finish.
Frequently Asked Questions Of Sanding Between Coats Of Stain
How Can I Ensure Smooth Stain Application Between Coats?
To ensure a smooth stain application between coats, sand the surface lightly with fine-grit sandpaper, clean the area thoroughly, and use a high-quality brush or applicator to apply subsequent coats evenly.
How Long Should I Wait Between Applying Multiple Coats Of Stain?
Wait for the previous coat of stain to fully dry before applying the next coat. Typically, this can take anywhere from 2 to 24 hours, depending on the type of stain and the environmental conditions.
Can I Re-stain If I Am Not Happy With The Initial Result?
If you’re not satisfied with the initial stain application, you can lightly sand the surface and reapply the stain. However, ensure that the previous coat is fully dry and follow proper cleaning and preparation steps before restaining.
Is It Necessary To Sand Between Coats Of Stain?
Sanding between coats of stain is essential to smooth out any imperfections, remove raised grains, and provide a clean surface for the subsequent coat, ensuring a professional and uniform finish.
Conclusion
Sanding between coats of stain is crucial for achieving a smooth, flawless finish. This process ensures that each layer adheres properly and helps to remove imperfections. By following the right techniques and using quality materials, you can achieve professional-looking results that will last for years to come.
Happy sanding!