
Should You Sand between Coats of Stain? Discover the Proven Techniques!
Yes, it is necessary to sand between coats of stain to achieve a smooth and even finish. Sanding helps remove any imperfections and roughness from the previous coat, allowing the subsequent coat of stain to adhere better and result in a more professional-looking outcome.
Whether you are staining wood furniture, floors, or any other wooden surfaces, sanding between coats is an essential step in the staining process. By removing rough patches and ensuring a smooth surface, sanding enhances the overall appearance and durability of the stained wood.
Why Sanding Between Coats Of Stain Is Important
Sanding between coats of stain is an important step in achieving a professional and long-lasting finish. When you take the time to sand between coats, you enhance the absorption of the stain and create smooth and even surfaces. In this article, we will explore why sanding between coats of stain is important, focusing on two key aspects: enhancing the absorption of the stain and creating smooth and even surfaces.
Enhancing The Absorption Of The Stain
By sanding between coats of stain, you create a surface that is more receptive to absorbing the stain. Sanding removes any raised wood fibers or imperfections that may prevent the stain from penetrating the surface evenly. This allows the stain to be absorbed more effectively, resulting in a richer and more vibrant color.
Creating Smooth And Even Surfaces
Sanding between coats of stain also helps to create smooth and even surfaces. After the first coat of stain, tiny imperfections such as brush or roller marks, dust particles, or uneven application may become apparent. By sanding between coats, you can address these imperfections and create a uniform finish. Sanding smooths out the surface, ensuring that the subsequent coats of stain are applied evenly and without any visible flaws.
Not only does sanding between coats of stain enhance the absorption of the stain and create smooth and even surfaces, but it also allows for better adhesion of subsequent coats. This ensures that the stain adheres properly and provides a durable finish. So, if you want your stained project to look professional and last for years to come, sanding between coats is a step you shouldn’t skip.
When To Sand Between Coats Of Stain
Sanding between coats of stain is crucial for achieving a smooth and even finish. It helps remove imperfections, enhance adhesion, and improve the overall quality of the final result.
Properly applying stain to wood can transform it into a beautiful piece that enhances any space. However, to achieve the desired results, it’s crucial to understand when sanding between coats of stain is necessary. By sanding at the right times, you can ensure a smooth, flawless finish that showcases the natural beauty of the wood.
Before The First Coat
Before applying the first coat of stain, it’s essential to prepare the wood surface properly. This includes sanding the wood to create a smooth and even finish, allowing the stain to penetrate evenly. Start by using coarse-grit sandpaper, such as 80 or 100 grit, to remove any imperfections, rough spots, or old finishes that might interfere with the stain’s absorption.
After sanding with the coarse-grit sandpaper, switch to a finer-grit sandpaper, like 120 or 150 grit, to create a smoother surface. It’s crucial not to rush this step as a well-sanded surface directly impacts the final outcome. Once you’ve achieved a smooth finish, wipe away any dust or debris using a damp cloth or tack cloth before proceeding with the first coat of stain.
After Each Subsequent Coat
After the first coat of stain has dried according to the manufacturer’s instructions, you may need to sand between subsequent coats for optimal results. The purpose of sanding between coats is to remove any raised grain or imperfections that may have occurred during the first application. Sanding between coats also helps to create a bond between the layers of stain, resulting in a more uniform, professional-looking finish.
Lightly sand the surface using a fine-grit sandpaper, such as 220 or 320 grit, to smooth out any rough spots or brush marks left behind by the previous coat. Be careful not to remove too much stain or damage the wood surface in the process. After sanding, wipe away any dust or particles using a soft cloth or a tack cloth before applying the next coat of stain.
Remember, sanding between coats of stain is not always necessary. It depends on the type of wood, the desired finish, and personal preference. If you notice the surface is already smooth and free of imperfections after the first coat, you may choose to skip sanding between subsequent coats. However, it’s essential to keep in mind that sanding can improve the overall appearance of the final result and achieve a more polished look.

Step-by-step Guide On Sanding Between Coats Of Stain
When it comes to staining wood, achieving a smooth and flawless finish is essential. One of the key steps in the staining process is sanding between coats of stain. Sanding between coats helps to remove any imperfections, smooth out the surface, and ensure proper adhesion of subsequent coats. In this step-by-step guide, we will walk you through the process of sanding between coats of stain, including the necessary tools, preparation, sanding techniques, and cleaning the surface.
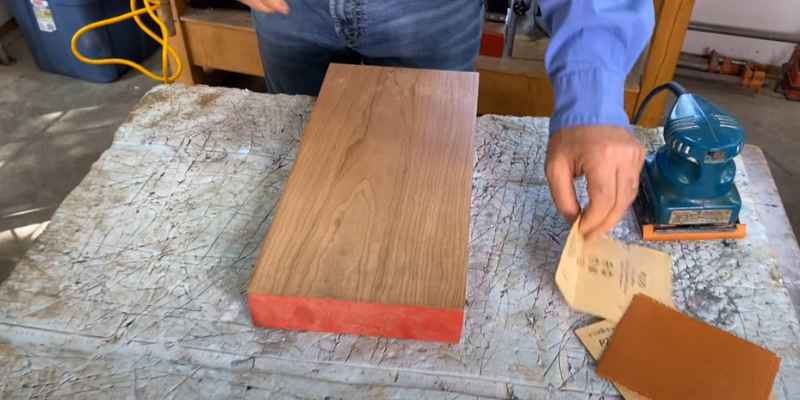
Gather The Necessary Tools And Materials
Before you start sanding between coats of stain, make sure you have all the necessary tools and materials within reach. Here’s a list of what you’ll need:
- Sandpaper of various grits (e.g., 120, 220, 320)
- Sanding block or sanding sponge
- Lint-free cloth or tack cloth
- Dust mask or respirator
- Protective goggles
Having these tools and materials handy will ensure a smooth and efficient sanding process.
Prepare The Surface For Sanding
Before you start sanding between coats of stain, it is crucial to prepare the surface properly. Follow these steps:
- Ensure the previous coat of stain is completely dry. Refer to the manufacturer’s instructions for drying time.
- Remove any dust or debris from the surface using a lint-free cloth or tack cloth.
- Inspect the surface for any rough spots, drips, or unevenness. Use a sanding block or sanding sponge to address these imperfections.
- Clean the surface with a mixture of mild soap and water or a specialized cleaning solution. This will remove any grease, dirt, or oils and ensure proper adhesion for the next coat of stain.
- Allow the surface to dry completely before moving on to the next step.
Properly preparing the surface will help ensure optimal results and a more professional-looking finish.
Sanding Techniques To Use
When sanding between coats of stain, it’s crucial to use the correct sanding techniques to achieve the best results. Here are some techniques to keep in mind:
- Start with a lower grit sandpaper (e.g., 120) to remove any imperfections, drips, or raised grain.
- Sand with the grain of the wood, applying even pressure and using smooth, long strokes.
- Gradually increase the grit of the sandpaper (e.g., 220, 320) to create a smoother surface. Ensure to remove any visible scratches from the previous sanding step.
- Wipe away any dust or debris with a lint-free cloth or tack cloth between sanding passes.
- Pay attention to edges and hard-to-reach areas, using a sanding block or sanding sponge for precision.
Following these sanding techniques will help you achieve a flawless finish and a surface ready for the next coat of stain.
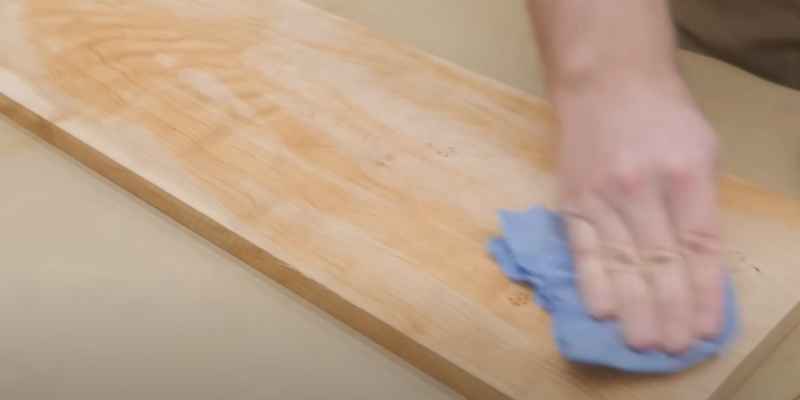
Clean And Inspect The Surface
Once you have completed sanding between coats of stain, it’s crucial to clean and inspect the surface before applying the next coat. Follow these steps:
- Remove any sanding dust by wiping the surface with a lint-free cloth or tack cloth.
- Inspect the surface for any remaining imperfections or rough spots. Address them using a sanding block or sanding sponge as necessary.
- Ensure the surface is free of any dust, debris, or oils that may affect the adhesion of the next coat of stain.
Taking the time to clean and inspect the surface will ensure a smooth and professional-looking finish.
Common Mistakes To Avoid When Sanding Between Coats Of Stain
| Sand Grit Levels | Apply Correct Pressure | Allow Sufficient Drying Time |
|---|---|---|
|
|
|
Sanding between coats of stain is an essential step in achieving a smooth and flawless finish on your woodworking project. However, there are some common mistakes that should be avoided to ensure the best results. In this article, we will discuss three major mistakes that people often make when sanding between coats of stain: skipping grit levels, applying too much pressure, and not allowing sufficient drying time. By understanding and avoiding these mistakes, you can achieve a professional-looking finish that will enhance the beauty of your woodworking piece.
Tips And Tricks For Effective Sanding Between Coats Of Stain
When it comes to staining wood surfaces, achieving a smooth and even finish is essential for a professional-looking result. One key step in the staining process is sanding between coats of stain. Sanding between coats helps to remove any imperfections, smooth out the surface, and create better adhesion for subsequent coats of stain. In this article, we will explore some tips and tricks for effective sanding between coats of stain.
Use The Right Grit Sandpaper
Sanding between coats of stain requires using the right grit sandpaper. The grit refers to the roughness or coarseness of the sandpaper. It is crucial to select the appropriate grit for each sanding stage. Starting with a lower grit, such as 100 or 120, helps remove any unevenness or inconsistencies in the wood surface. As you progress to subsequent coats, gradually increase the grit to a finer one, like 220 or 320, to achieve a smoother finish.
Maintain A Consistent Sanding Motion
Consistency is key when sanding between coats of stain. To ensure an even and uniform result, maintain a consistent sanding motion. Whether you are using a sanding block, sanding sponge, or orbital sander, move it in a steady back-and-forth or circular motion. Applying the same amount of pressure throughout the entire sanding process helps prevent uneven sanding marks and promotes a smooth surface for the next coat of stain.
Ensure Proper Ventilation And Protective Gear
Proper ventilation and protective gear are essential when sanding between coats of stain. Sanding produces fine particles and dust that can be harmful when inhaled. Ensure you work in a well-ventilated area or use a dust extraction system to minimize exposure. Additionally, wearing protective gear such as a dust mask, safety goggles, and gloves will help protect your respiratory system and prevent skin irritation.
Sanding between coats of stain is a crucial step in achieving a professional and flawless finish on wood surfaces. By using the right grit sandpaper, maintaining a consistent sanding motion, and ensuring proper ventilation and protective gear, you can achieve excellent results. Remember to follow these tips and tricks for effective sanding between coats of stain.
Conclusion
Sanding between coats of stain can be a beneficial step in achieving a smooth and professional finish. It helps to remove any imperfections, enhance absorption, and promote better adhesion of subsequent coats. By taking the time to sand between coats, you can ensure a more polished and refined result for your staining project.
Remember to follow proper sanding techniques and consider the guidelines provided by the stain manufacturer for the best outcome.