Can I Sand Pressure Treated Wood? Safety Guide & Technique
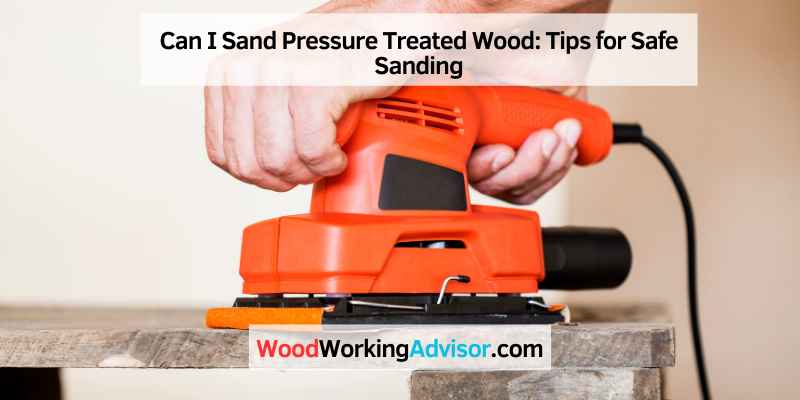
You can sand pressure treated wood, but the dust contains ACQ copper compounds — a genuine respiratory hazard requiring an N95 or P100 respirator, not just a dust mask. Light sanding (80-120 grit) removes splinters and improves stain adhesion, but only after the wood drops below 12% moisture content (typically 2-6 weeks after installation). This guide covers when sanding helps, which PPE is required, the right grit sequence, and when staining without sanding is the smarter move.
Quick Answer
Yes, you can lightly sand pressure treated wood (80-120 grit) to remove splinters or improve stain adhesion — but you must wear an N95 or P100 respirator since the dust contains ACQ copper compounds. Wait until the wood’s moisture drops below 12%. Skip sanding before staining if the wood is already dry and smooth; pressure treated wood absorbs stain well without it.
Why Sanding Pressure Treated Wood Requires Special Caution
Best Orbital Sander for Pressure Treated Wood

DEWALT DWE6423K Orbital Sander Kit – $99.00
Variable speed control (8,000–12,000 OPM) lets you start slow on weathered pressure treated boards then speed up for the 80-120 grit smoothing pass this guide recommends — preventing aggressive removal of the ACQ treatment layer.
- Best for: Full deck boards and large flat pressure treated surfaces
- Why we picked it: Variable speed prevents aggressive removal of treatment layer
- Main drawback: Corded only — need an extension cord for large deck jobs
Compare more orbital sander options
 Option 1 Makita BO5041K Random Orbit Sander – $99.00
|
 Option 2 Bosch ROS20VSC Palm Sander – $64.99
|
 Option 3 Makita BO5041 Random Orbit Sander – $89.00
|
As an Amazon Associate we earn from qualifying purchases.
Sanding pressure treated wood releases fine dust containing the preservative chemicals embedded in the wood fibers. Modern pressure treated lumber uses either Alkaline Copper Quaternary (ACQ) or Copper Azole (CA-B) — both replaced the older CCA (chromated copper arsenate) banned from residential use in 2003. While ACQ and CA-B are safer than CCA, the copper compounds in their dust remain a genuine respiratory irritant requiring proper protection.
Negative Effects Of Sanding
Sanding pressure treated wood can strip away the chemical coating that gives it its protective properties. Even light sanding removes some of the preservative from the wood surface, potentially reducing its effectiveness at the outer layer where insect and moisture exposure happens first. This is especially relevant on cut ends and joints where preservative depth is lowest — always reseal any freshly cut end with a wood preservative.
Risk Of Damaging The Chemical Coating
The preservative treatment in modern lumber penetrates 1/4 inch to 3/4 inch into the wood depending on species and treatment class. Aggressive sanding can expose untreated wood fibers underneath, creating vulnerable spots. This is why the rule is light sanding only — 80-120 grit, just enough to smooth fibers and open the surface for stain adhesion, not enough to sand through the treated layer.
What Makes Pressure Treated Wood Dust Dangerous?
The specific hazard when sanding pressure treated wood is copper particulate inhalation. ACQ-treated lumber contains copper oxide concentrations high enough that fine sanding dust carries elevated copper levels directly into the lungs without proper protection. The danger is not acute poisoning from a few minutes of sanding — it is cumulative exposure that can cause respiratory irritation and, with heavy sustained exposure, symptoms similar to metal fume fever. An N95 respirator filters particles down to 0.3 microns; for high-volume deck sanding projects, upgrade to a P100 half-face respirator for superior copper particulate filtration. Never burn pressure treated wood scraps — copper compounds in the smoke are significantly more concentrated than what sanding produces.
📊 ACQ pressure treated lumber contains approximately 0.10–0.40 lbs of copper compound per cubic foot of wood (varies by treatment class: UC3B for above-ground, UC4A for ground contact). Copper is classified as a respiratory irritant in occupational exposure guidelines. — Source: EPA Pressure Treated Wood Fact Sheet
Wood Will Not Look Like New
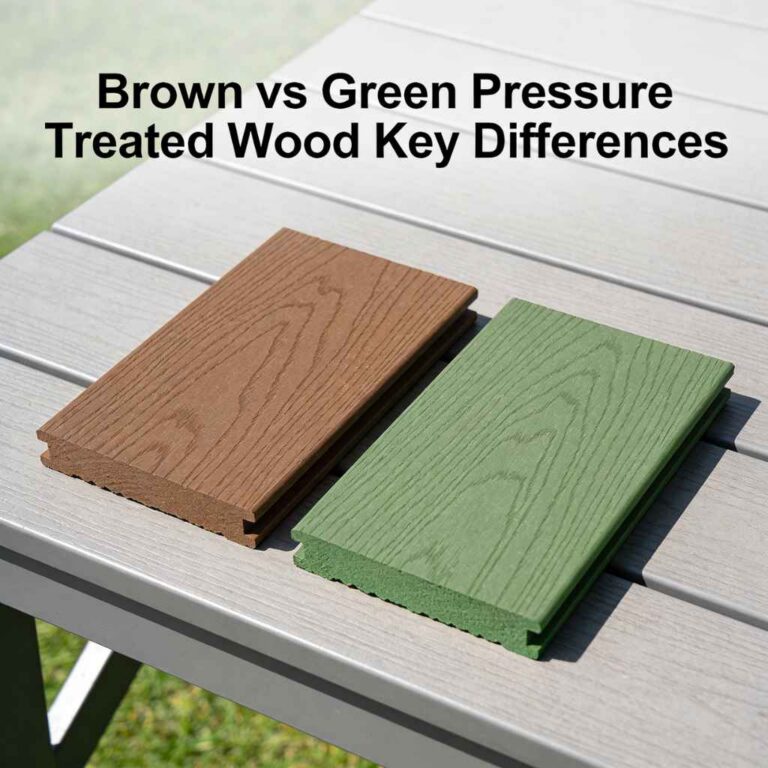
Sanding pressure treated wood removes the mill glaze and some of the surface treatment, permanently changing its appearance. The greenish tint from copper compounds fades in the sanded areas, resulting in a patchy look where sanded and unsanded surfaces meet. Consistent, even sanding across the entire surface produces far better results than spot-sanding — uniformity matters more than aggressiveness.
Federal Guidelines For Using Treated Lumber
- Avoid using treated wood where it may come into contact with drinking water supplies.
- Avoid using treated wood where it may come into contact with human or animal food.
- Do not use treated wood near beehives.
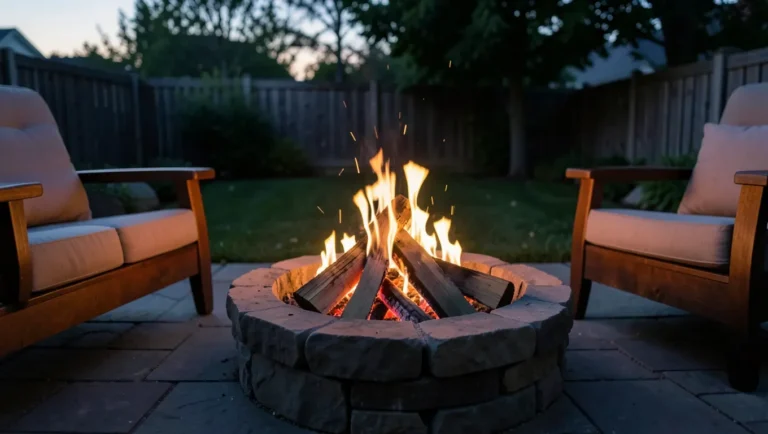
- Never burn pressure treated wood in open fires, fireplaces, or wood stoves — copper-containing smoke is hazardous.
When To Sand Pressure Treated Wood
It is crucial to allow pressure treated wood to fully dry after treatment before considering sanding it. This ensures optimal adhesion and longevity of any finishing applied to the wood.
Waiting For Drying After Treatment
- Ensure the wood is completely dry — moisture content below 12% (use a moisture meter to confirm)
- Expect to wait 2-6 weeks after installation for new pressure treated lumber to reach sanding-ready dryness; longer in humid climates
- Check for any residual moisture — wet wood drags and clogs sandpaper
- Avoid sanding on damp or wet wood — it does not sand evenly and raises fibers when it dries
Ensuring Proper Sanding Technique
- Use appropriate sandpaper grit — start with 60-80 for rough work, finish with 80-120
- Work in the direction of the wood grain to avoid cross-grain scratches that show through stain
- Avoid over-sanding — 2-3 passes is enough; you are smoothing, not reshaping
- Sand the entire surface evenly rather than spot-sanding to maintain uniform appearance
Best Sandpaper Grit for Sanding Pressure Treated Wood
Use 60-80 grit for initial work on rough, splintered, or weathered pressure treated wood. This removes surface imperfections and breaks through mill glaze — the slick surface layer left by the treating process that prevents stain penetration. Follow with 80-120 grit to smooth the raised fibers and prepare the surface for stain or paint. Do not sand finer than 120 grit on pressure treated wood — an overly smooth surface actually reduces stain penetration and can cause premature peeling.
For large deck surfaces, a random orbital sander handles most of the work efficiently with less risk of gouging than a belt sander. For details, edges, and railings, a palm sander gives better control. You can also read our full technique guide for sanding pressure treated surfaces for more step-by-step detail.
Tips For Safe Sanding
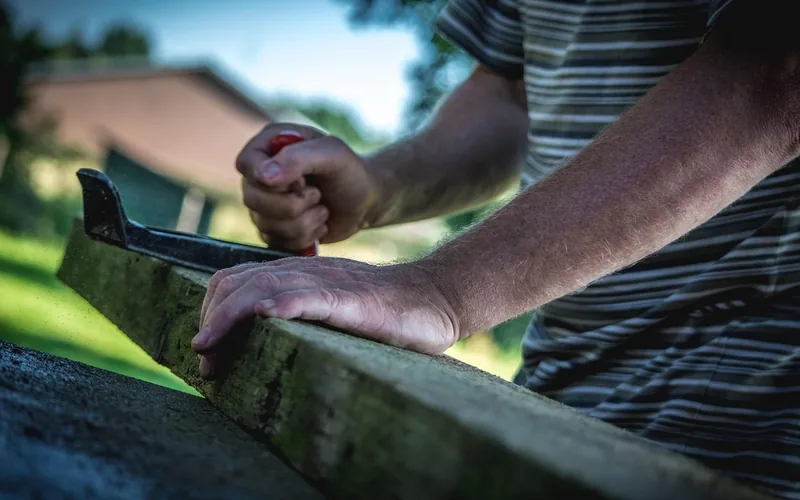
Sanding pressure-treated wood can be tricky due to the chemicals used in the treatment process. However, if the task cannot be avoided, it is important to follow specific guidelines to ensure safe sanding. The following tips will help you perform sanding tasks with the utmost care and precaution.
Light Sanding Only
When sanding pressure-treated wood, it is crucial to remember that only light sanding is recommended to avoid damaging the wood. Excessive sanding may remove the chemical coating, compromising the wood’s integrity and durability. Stick to 80-120 grit and make no more than 2-3 passes over any given area.
Using Protective Gear
Proper protective gear when sanding ACQ or CA-B pressure treated wood is non-negotiable. The copper compounds in the dust are the primary hazard:
- Respirator: Minimum N95 rated mask to filter copper-containing fine particulates. For large deck sanding jobs (more than 30 minutes of continuous sanding), use a P100 half-face respirator for superior filtration. A basic paper dust mask or cloth mask is not sufficient protection against copper particulates.
- Eye protection: Wrap-around safety goggles to prevent copper-dust irritation to eyes and mucous membranes.
- Gloves: Heavy-duty work gloves to prevent prolonged skin contact with sanding dust.
- Clothing: Long sleeves to minimize skin exposure; wash clothes separately after the job.
Proper Handling And Disposal Of Dust
- Use a vacuum with a HEPA filter or damp cloth to collect dust — never blow it with compressed air.
- Dispose of collected sawdust according to your local regulations — many jurisdictions classify treated wood dust as a special or hazardous waste requiring separate disposal.
- Never burn pressure treated wood sawdust or scraps — copper compounds in the smoke are significantly more concentrated and more hazardous than sanding dust.
- Keep children and pets away from the work area until dust has been fully cleaned up.
“When sanding pressure treated deck boards, even outdoors with a breeze, an N95 respirator is necessary — you can taste the copper compounds in unprotected air within minutes of starting. For any sanding session over 15 minutes, upgrading to a P100 half-face respirator eliminates any airborne taste or irritation entirely.”
Benefits Of Staining Pressure Treated Wood
The benefits of staining pressure treated wood are numerous, and one of the most important aspects is the enhanced adhesion of the stain. By staining the wood, you can ensure that the finish adheres better and lasts longer, providing protection against the elements and preserving the natural beauty of the wood.
Enhanced Adhesion Of Stain
Staining pressure treated wood enhances the adhesion of the stain to the surface, ensuring a more durable and long-lasting finish. This helps in preserving the wood and protecting it from weathering, rot, and decay. Additionally, the stain penetrates deeply into the wood, providing enhanced protection and a more uniform appearance.
Improved Overall Finish
With staining, pressure treated wood achieves an improved overall finish, enhancing its aesthetic appeal. The stain brings out the natural beauty of the wood while adding a layer of protection, making it an ideal choice for outdoor structures and furniture. It also helps to maintain the appearance of the wood for an extended period, reducing the need for frequent maintenance.
Options For Staining Pressure Treated Wood
When it comes to staining pressure treated wood, there are various options to consider. From semi-transparent deck stains that allow the wood’s natural grain to show through to solid color stains that provide a uniform finish, you can choose the best option based on your preferences and the desired look for your project. Select a high-quality stain specifically formulated for use with pressure treated wood for optimal results. For timing, see our guide on how long to wait before staining pressure treated wood.
Alternatives To Sanding
Sanding pressure-treated wood can potentially compromise its chemical coating, altering its appearance. It is generally not the default approach — staining works better for adhesion compared to painting to prevent peeling. Waiting for the wood to dry fully before any finishing treatment is crucial for better results.
If you’re wondering whether you can sand pressure-treated wood, the answer is yes, but it’s not always necessary. Stain penetrates and adheres well to the rough surface of dry pressure treated wood without sanding. So, what can you do instead of sanding? Let’s explore two alternatives that can help you achieve a beautiful finish without the risks associated with sanding.
Applying a Semi-transparent Deck Stain
One alternative to sanding pressure-treated wood is to apply a semi-transparent deck stain. This type of stain allows some of the wood’s natural grain to show through, giving it a more natural and visually appealing look. The semi-transparent stain will help protect the wood from weathering, as well as enhance its appearance. You can also learn about sanding different types of treated wood to understand when sanding applies to your specific situation.
Considerations for Painting Pressure Treated Wood
Another option is to paint pressure-treated wood. However, it’s important to consider a few factors before painting. First, stain tends to grab onto pressure-treated wood better than paint, which can result in peeling if the wood is not fully dry or ready for painting.
Make sure the wood has had enough time to dry thoroughly before applying paint. It’s crucial to choose a high-quality paint and primer specifically designed for exterior use and suitable for pressure-treated wood.
Common Questions And Concerns
Sanding pressure-treated wood is possible but requires specific conditions: moisture below 12%, proper PPE (N95+ respirator), light sanding only (80-120 grit), and careful dust disposal. Staining works better than painting for adhesion, and waiting for the wood to fully dry before any finishing treatment is essential.
Can You Sit On Pressure Treated Wood Without Harm?
Yes, sitting on pressure treated wood is safe for normal use. Modern ACQ and CA-B treatments are not absorbed through skin contact under typical conditions — the preservatives are locked into the wood fiber structure. The main precautions apply to activities that release the chemicals as dust or smoke (sanding and burning), not to normal physical contact with finished surfaces.
Why Does Sanding Pressure Treated Wood Look Terrible?
Sanding pressure treated wood produces an uneven appearance when done incorrectly. The ACQ copper compounds can react with sandpaper abrasives, leaving darker streaks on the sanded surface. Additionally, sanding removes the outer treated layer unevenly if you use too coarse a grit or sand only in spots rather than the full surface. Consistent 80-120 grit sanding across the entire board minimizes this patchiness significantly.
Is Sanding Pressure Treated Wood Normal?
Sanding pressure treated wood is not the default approach but is a legitimate preparation step in specific situations: before painting (to provide tooth for paint adhesion) and to smooth splintered or rough boards before staining. Most deck finishing guides recommend skipping sanding if the wood surface is already clean and moderately rough — pressure treated wood absorbs stain well through its natural texture without sanding.
Should You Sand Pressure Treated Wood Deck Before Staining?
When it comes to staining a pressure treated wood deck, sanding is generally not necessary if the wood is dry and has natural surface texture. Stain actually adheres better to the rough surface of pressure treated wood, providing better penetration and longer-lasting results. However, if the boards are very smooth (from heavy mill glaze) or have visible splinters, a light pass with 80-grit paper improves stain uptake. Ensure the wood is clean and free from dust or debris before applying stain for optimal results.
Frequently Asked Questions Of Can I Sand Pressure Treated Wood
Does Sanding Ruin Pressure Treated Wood?
Light sanding (80-120 grit) does not ruin pressure treated wood — it removes the outermost surface layer but the preservative penetrates much deeper (1/4 to 3/4 inch into the wood). Aggressive sanding with coarse grit (40-60) applied in multiple passes can damage the treatment near the surface layer. The key rule: sand only enough to smooth fibers or break up mill glaze, then stop.
Should You Sand Pressure Treated Wood Before Painting?
Light sanding (80-120 grit) before painting pressure treated wood is recommended — it roughens the surface for better paint adhesion and removes mill glaze that prevents paint from bonding. Make sure the wood is fully dry first (moisture below 12%). Prime with an exterior primer designed for pressure treated wood before applying your topcoat, as paint without primer peels quickly on treated lumber.
What Should Never Be Done With Pressure Treated Wood?
Never burn pressure treated wood — the ACQ copper compounds produce hazardous smoke when burned. Never sand it without respiratory protection (N95+ minimum). Avoid using it where it contacts drinking water, food, or beehives. Do not use it in indoor applications without adequate ventilation. Never dispose of pressure treated sawdust as regular household waste — check your local regulations for treated wood waste disposal requirements.
How Do You Make Pressure Treated Wood Look Good?
To make pressure-treated wood look good, allow it to dry completely (6-8 weeks minimum for new lumber), then clean it thoroughly with a deck wash. Apply a semi-transparent deck stain formulated for pressure treated wood — this enhances the grain while protecting against UV and moisture. Light sanding (80-grit) is only needed if the surface is very smooth or splintered. Avoid solid paint finishes on horizontal deck surfaces as they trap moisture and peel.
What Grit Sandpaper Should I Use for Pressure Treated Wood?
Use 60-80 grit for initial rough work on splintered, weathered, or mill-glazed pressure treated wood. Follow with 80-120 grit to smooth and prepare for stain. Do not go finer than 120 grit — overly smooth surfaces reduce stain penetration. For deck boards specifically, 80 grit alone often handles both steps in one pass. Always sand with the wood grain to avoid cross-grain scratches that show through stain.
Is Pressure Treated Wood Dust Toxic to Breathe?
Yes, pressure treated wood dust is hazardous to breathe without protection. The dust from ACQ and CA-B treated lumber contains copper particulates classified as respiratory irritants. Sustained exposure without a proper respirator can cause irritation, and heavy exposure is linked to metal fume fever-like symptoms. Always wear an N95 respirator at minimum when sanding pressure treated wood. Never burn pressure treated wood — the smoke contains significantly more concentrated copper compounds than sanding dust produces.
Conclusion
Sanding pressure treated wood is possible and sometimes beneficial — particularly for removing splinters, breaking up mill glaze before staining, or improving paint adhesion. The keys are: wait for the wood to reach 12% moisture content, use 80-120 grit sandpaper, and always wear an N95 or P100 respirator to protect against ACQ copper compounds in the dust. When in doubt, pressure treated wood accepts stain well without sanding, making it a safe default to skip sanding unless you have a specific reason to do so.
Sponsored / affiliate links. As an Amazon Associate I earn from qualifying purchases. I may earn additional commission from eligible campaigns.