Table Saw 10 Blade: How to Pick the Right One for the Cut
A 10-inch blade is the standard size for most contractor and hybrid table saws, and picking the right one matters more than most people expect – the wrong tooth count or grind for the cut you’re making shows up as burn marks, splintering, or a rough edge that needs extra sanding. Tooth count, grind pattern, and plate material each play a specific role, and matching them to the cut you actually do most often makes a bigger difference than buying the most expensive blade on the shelf.
Choosing The Right 10-inch Blade
Best For Clean, Splinter-Free Cuts
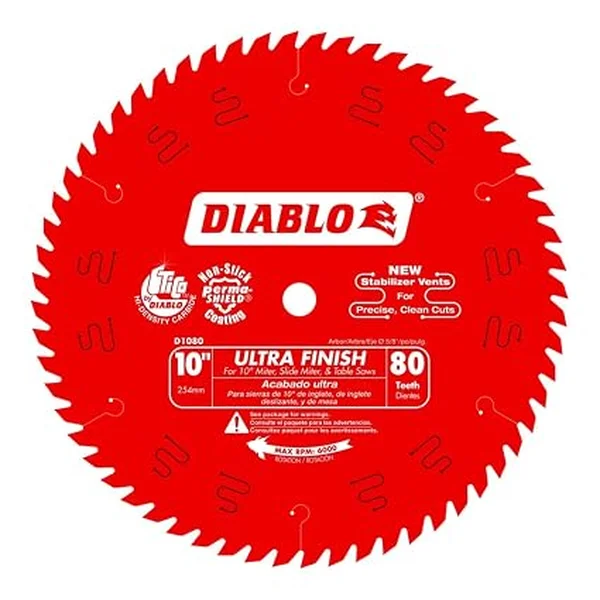 |
Diablo D1080X 10″ 80-Tooth ATB Blade – $60.02 A high tooth count blade like this trades a slower feed rate for a noticeably cleaner edge on crosscuts and plywood.
|
Picking the right 10-inch blade comes down to three real variables: blade type, tooth count and configuration, and plate material. Get these three right for the cuts you actually make and the blade choice mostly takes care of itself.
Understanding Blade Types
Rip blades use fewer, larger teeth ground flat across the top (FTG) to clear material fast when cutting with the grain. Crosscut blades use more, smaller teeth with an alternating bevel (ATB) grind to shear wood fibers cleanly across the grain. Combination blades split the difference with a tooth pattern designed to handle both reasonably well, which is the practical choice if you only want to own one blade. Dado blades are a different animal entirely – a stacked set that cuts a flat-bottomed groove rather than a through-cut, used for joinery like dado and rabbet joints.
Considering Tooth Count And Configuration
Tooth count is the single biggest factor in how clean versus how fast a blade cuts. A 24-32 tooth blade rips fast through thick hardwood but leaves a rougher edge. A 60-80 tooth blade cuts noticeably slower but leaves a smoother, nearly splinter-free edge – the right choice for plywood, veneer, and any cut where the edge will show. Tooth grind matters too: ATB (alternating top bevel) shears fibers cleanly for crosscuts, while flat-top grind (FTG) clears material efficiently for rip cuts.
Looking At Blade Materials
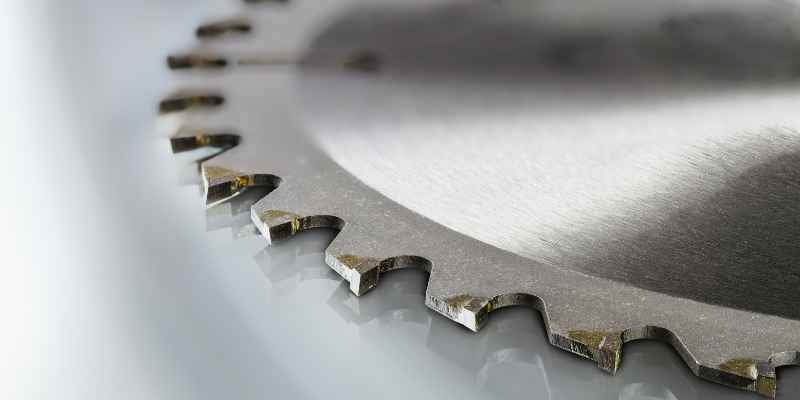
Carbide-tipped teeth brazed onto a steel plate are the standard for good reason – carbide holds an edge many times longer than plain steel and handles the heat of continuous cutting without dulling quickly. A thin-kerf blade removes less material per cut and puts less strain on a smaller benchtop saw’s motor, while a full-kerf blade runs steadier on a larger cabinet saw with more available power. A non-stick coating (like the PermaShield finish above) reduces pitch buildup and heat, which keeps the blade cutting cleanly for longer between cleanings.
Setting Up Your Table Saw
A correctly set up saw matters as much as the blade itself – even the best blade cuts poorly and unsafely on a saw that’s out of alignment.
Aligning The Blade And Fence
The blade needs to run exactly parallel to the miter slot, and the fence needs to run exactly parallel to the blade – check both with a dial indicator or a reliable combination square rather than eyeballing it. Even a small amount of misalignment here (often called “heel”) causes binding, burning, and kickback risk that no blade upgrade will fix.
Adjusting The Blade Height And Angle
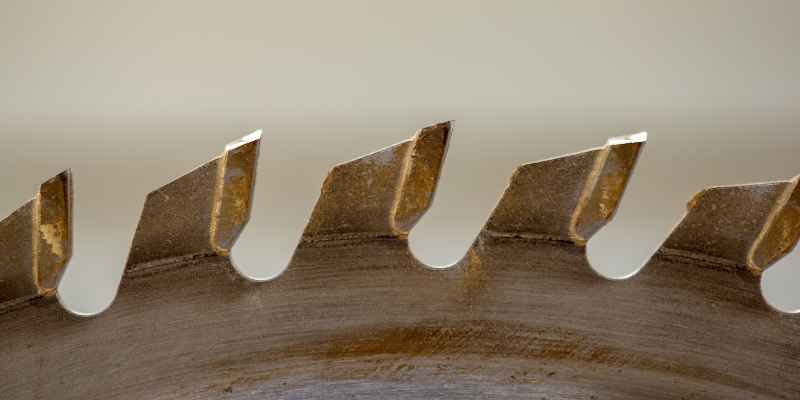
Set blade height so the gullets (the curved base of each tooth) clear the top of the material by roughly a quarter inch – high enough to cut efficiently, low enough to minimize the amount of exposed blade and reduce kickback force if something goes wrong. Confirm the bevel angle reads exactly 90 degrees at the 0-degree stop with a square before trusting the saw’s own angle scale, since factory stops can drift out of calibration over time.
Mastering Precision Cuts
The same 10-inch blade handles four distinct cut types, each with its own technique for getting a clean, accurate result.
Making Rip Cuts
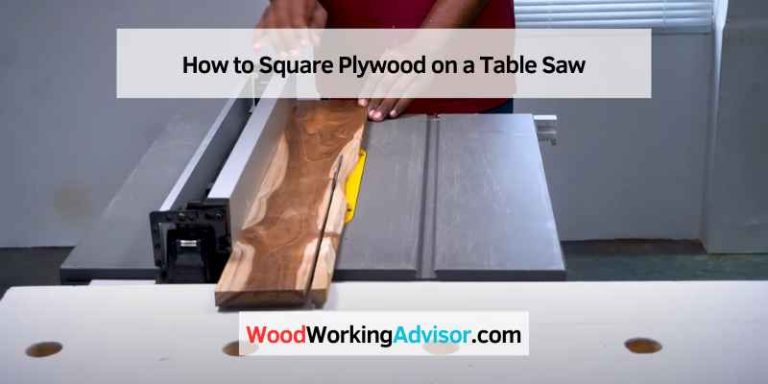
A rip cut runs parallel to the wood grain, typically to reduce a board’s width. Set the fence to your target width, keep the material firmly against the fence and table throughout the pass, and use a push stick for the last several inches so your hand never gets close to the blade. A featherboard clamped to the table helps keep consistent pressure against the fence on longer rips.
Creating Cross Cuts
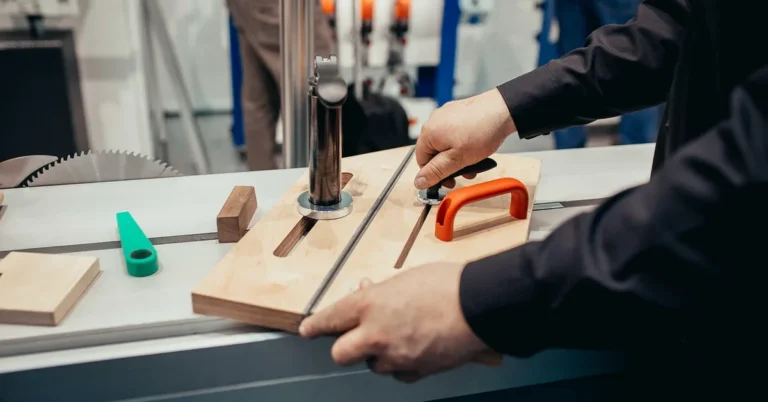
A cross cut runs perpendicular to the grain, typically to cut a board to length. Use a miter gauge or a crosscut sled rather than the rip fence for this – pushing a board across the blade using the miter gauge, with the workpiece held firmly against it, gives you the control a rip fence alone can’t for a cut across the grain. Feed at a steady pace; stopping mid-cut or feeding too fast both increase the risk of a rough or burned edge.
Achieving Miter Cuts
A miter cut angles across the board’s width, commonly used for picture-frame corners and molding joints. Set the desired angle on a miter gauge or miter sled, hold the workpiece firmly against the gauge’s fence, and feed smoothly through the blade – rushing an angled cut is one of the most common ways to end up with a corner that doesn’t close cleanly.
Doing Bevel Cuts
A bevel cut tilts the blade to cut an angle through the material’s thickness, used for angled edges and certain joinery. Set the tilt on the saw’s bevel scale, verify it with a protractor or digital angle gauge rather than trusting the scale alone, and secure the workpiece firmly before feeding it through – a tilted blade changes how the material can shift during the cut, so extra attention to hold-down here pays off.
Common Issues And Troubleshooting
A handful of problems account for most table saw complaints, and nearly all of them trace back to blade condition or setup rather than the saw itself.
Preventing Kickback
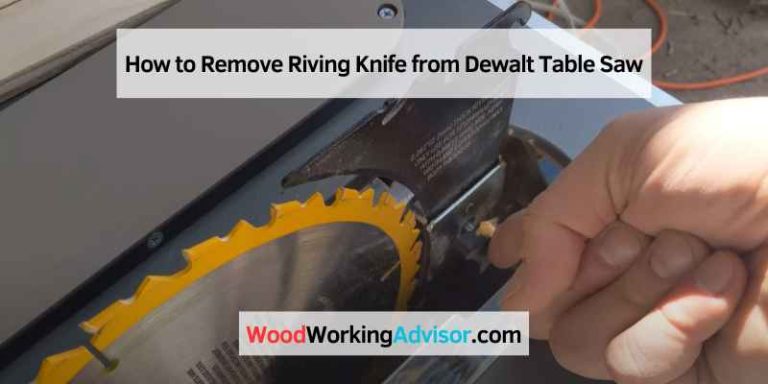
Kickback happens when the workpiece binds against the blade and gets thrown back toward the operator, and it’s genuinely dangerous. Reduce the risk by keeping the blade sharp and clean, confirming the rip fence runs exactly parallel to the blade, and always using a riving knife or splitter, which keeps the kerf from pinching shut on the back of the blade. Stand to one side of the blade’s cutting line rather than directly behind the workpiece, so a kickback event doesn’t send material straight at you.
Dealing With Wood Burns
Burn marks show up when the blade spends too long in contact with the same spot – usually from feeding too slowly, a dull blade, or a misaligned fence causing the material to rub against the blade’s side rather than passing cleanly through. Keep the blade sharp, confirm alignment, and feed at a steady, confident pace rather than hesitating partway through the cut.
Fixing Blade Wobble
Wobble usually traces back to a loose arbor nut, a warped or damaged blade, or debris built up between the blade and its mounting flanges. Tighten the arbor nut to spec, inspect the blade for visible warping or missing carbide tips, and clean the flanges and arbor shaft before reinstalling. A blade that still wobbles after all three checks should be replaced – a warped plate won’t run true no matter how well it’s mounted.
Frequently Asked Questions For Table Saw 10 Blade
What Are The Different Types Of Blades For A Table Saw?
There are various types of blades for table saws including rip blades, crosscut blades, combination blades, and dado blades. Each type is designed for specific cutting tasks, so it’s important to choose the right blade for the job at hand.
How Do I Choose The Right Blade For My Table Saw?
Consider the type of cuts you need to make, the material you’re working with, and the desired finish. If you’re ripping hardwood, a lower tooth count rip blade cuts faster; if you’re crosscutting plywood or veneer where the edge shows, a higher tooth count blade leaves a cleaner cut.
What Are The Safety Precautions For Using A Table Saw Blade?
Always wear eye protection and use the blade guard and riving knife. Avoid loose clothing or jewelry, keep hands a safe distance from the blade using push sticks for narrow cuts, and confirm the blade is properly aligned and securely fastened before every session.
How Do I Maintain And Sharpen A Table Saw Blade?
Clean off pitch and resin buildup regularly with a blade-cleaning solution, since a dirty blade cuts and dissipates heat poorly even when the carbide edge itself is still sharp. For actual sharpening, send carbide-tipped blades to a professional sharpening service rather than attempting it by hand – the tooth geometry is precise enough that a DIY sharpening job usually does more harm than good.
Conclusion
The right 10-inch blade comes down to matching tooth count and grind to the cut you make most often – a lower tooth count for fast ripping, a higher tooth count for clean crosscuts and plywood, or a combination blade if you’d rather not swap blades between tasks. Pair that choice with a properly aligned saw and the riving knife or splitter always installed, and most of the common table saw complaints – burning, kickback, rough edges – stop being a problem at all.
Sponsored / affiliate links. As an Amazon Associate I earn from qualifying purchases. I may earn additional commission from eligible campaigns.