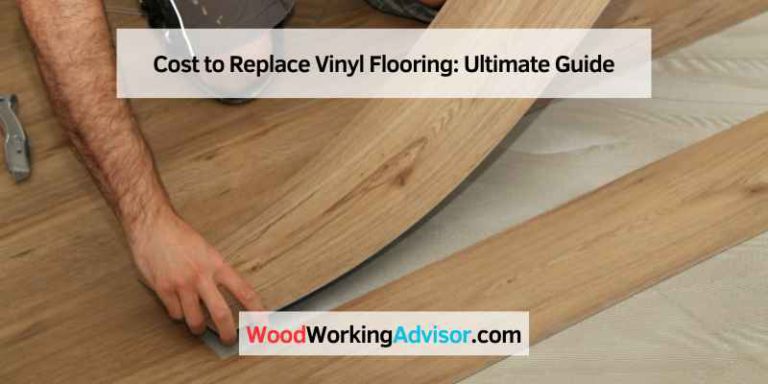
What Are Transition Pieces for Vinyl Flooring?
Picture this: you’ve just laid down gorgeous vinyl planks in your living room, but now you’re staring at an awkward gap where the vinyl meets your kitchen tile. That’s where transition pieces come in. These strips bridge the gap between different flooring types or heights, creating a smooth, safe, and good-looking connection. I remember helping a buddy install vinyl in his home, and we nearly skipped the transition strip—big mistake! Without it, the edge looked sloppy, and it was a tripping hazard.
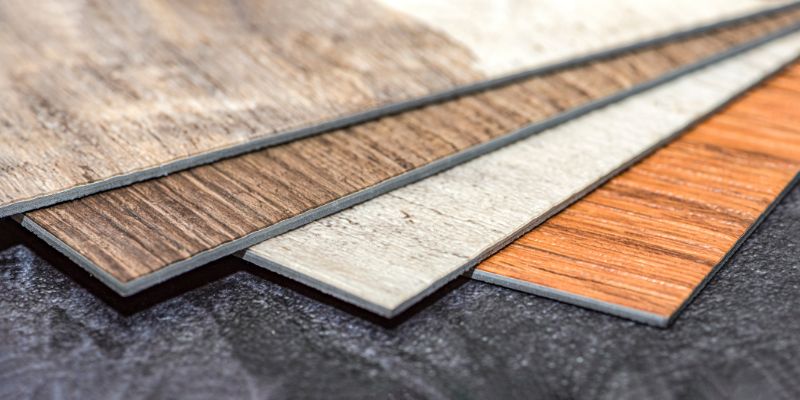
Transition pieces are usually made from vinyl, metal, wood, or rubber and come in various shapes and finishes to match your flooring. They cover expansion gaps (which vinyl needs to expand and contract), protect edges from damage, and make your floors flow seamlessly from room to room.
Why Do You Need Transition Pieces?
When I first started learning about flooring, I thought transition strips were just for looks. But they’re way more than that. Here’s why they’re a must for vinyl flooring:
- Safety First: Gaps or height differences between floors can make you trip. I’ve stubbed my toe on uneven floors before, and it’s no fun. Transition pieces create a smooth surface to walk on.
- Protecting Your Floors: Exposed edges of vinyl can chip or peel over time. A transition piece shields them, keeping your floors last longer.
- Covering Gaps: Vinyl flooring needs a small gap around edges for expansion, especially in humid places like Florida. Transition strips hide these gaps for a clean look.
- Style Points: A well-chosen transition piece ties your rooms together. I’ve seen sleek black metal strips make a modern vinyl floor look high-end.
Types of Transition Pieces for Vinyl Flooring
Not all transition pieces are the same, and picking the right one depends on your flooring setup. Here’s what I’ve come across projects and research from sites like Home Depot and Lowe’s:
- T-Molding: This is my go-to when two floors are the same height, like vinyl to vinyl or vinyl to hardwood. It’s shaped like a T, with the top sitting flush between the floors. I used a T-mold when I helped a friend transition between his living room and hallway, and it blended perfectly with his ash-gray vinyl.
- Reducer Strips: These are for floors of different heights, like vinyl to tile. The strip slopes down to bridge the gap. I saw one in a kitchen where vinyl met a raised ceramic tile floor, and it looked super clean.
- End Caps or Square Nose: Perfect for edges where vinyl stops, like a doorway to a patio or carpet. They cover the edge and give a finished look. My neighbor used an end cap where his vinyl met his sliding door, and it kept dirt from sneaking under.
- Carpet-to-Vinyl Transitions: These tuck carpet edges under a strip that connects to vinyl, often with a metal or vinyl piece. I’ve seen these in homes with carpeted bedrooms and vinyl hallways, and they’re super sturdy.
- 4-in-1 Transition Strips: These versatile strips can act as T-molding, reducers, end caps, or even carpet transitions. They’re great if you’re unsure about your project needs or want flexibility. I found these handy when working on a rental property with mixed flooring types.
- Overlap Reducers: These lip over one floor (like tile) and slope down to the vinyl. A Reddit user mentioned flipping an overlap reducer for a tile-to-vinyl transition, which I thought was a clever hack.
Here’s a quick table to break it down:
| Type | Use Case | Material Options |
|---|---|---|
| T-Molding | Same-height floors (vinyl to vinyl) | Vinyl, metal, wood |
| Reducer Strip | Different-height floors (vinyl to tile) | Vinyl, metal, aluminum |
| End Cap/Square Nose | Edges to doors or carpet | Vinyl, rubber, metal |
| Carpet-to-Vinyl | Vinyl to carpeted areas | Metal, vinyl |
| 4-in-1 Transition | Multiple scenarios | Vinyl, metal |
| Overlap Reducer | Tile or thicker floors to vinyl | Metal, aluminum |
How to Choose the Right Transition Piece
Picking the perfect transition piece can feel tricky, but I’ve learned a few tips to make it easier:
- Measure the Height Difference: Grab a ruler and check the height gap between your vinyl and the other floor. For same-height floors, go with T-molding; for differences up to ¼ inch, a reducer works. I once guessed the height and ended up with a strip that didn’t sit right—measure twice!
- Match the Style: Transition pieces come in finishes like matte black, satin gold, or wood grain to match your vinyl. I love the sleek look of satin nickel for modern homes, as seen in Home Depot’s selection. Pick something that blends or complements your floor’s color.
- Consider the Material: Vinyl strips are flexible and easy to install, while metal (like aluminum) is durable for high-traffic areas. Rubber is great for moisture-prone spots. I used a vinyl strip in a bathroom transition, and it’s held up great against splashes.
- Check Installation Method: Some strips are self-adhesive, like the Art3d strip I found on Walmart, which is a breeze for DIYers. Others need screws or glue. I prefer adhesive for quick jobs, but screws are sturdier for heavy use.
- Think About Durability: High-traffic areas like hallways need tough materials like metal. For a quiet bedroom, a vinyl strip does the job. My friend’s dog scratched a cheap vinyl strip in his entryway, so we swapped it for metal.
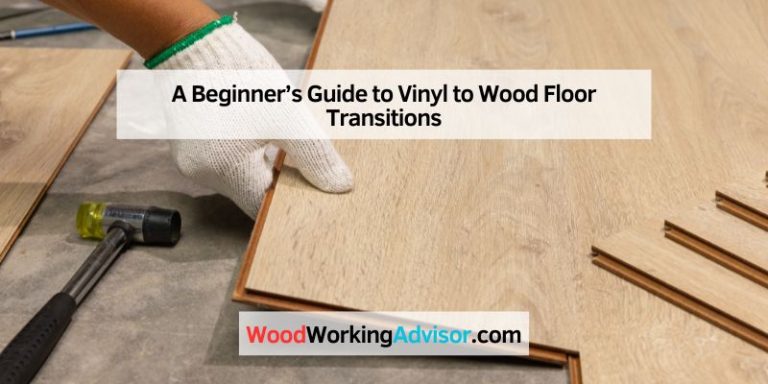
Installing Transition Pieces for Vinyl Flooring
Installing these strips is usually straightforward, but it depends on the type. Here’s how I’ve done it:
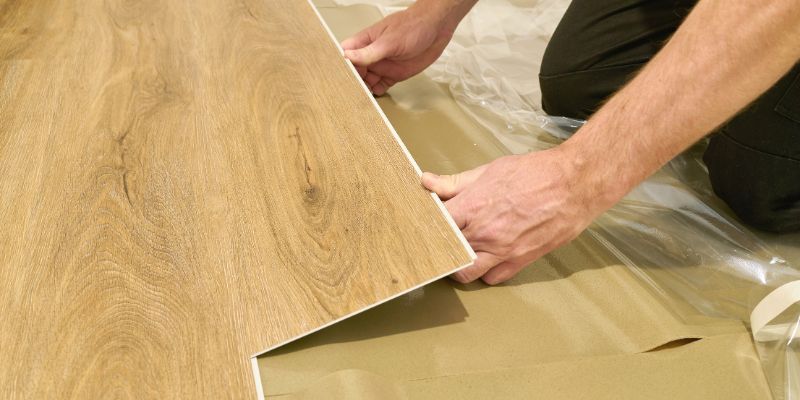
- Measure and Cut: Measure the gap or doorway where the strip goes. Use a hacksaw for metal or a utility knife for vinyl to cut the strip to size. I always double-check the length to avoid waste.
- Prep the Area: Clean the floor edges to remove dust or debris. I use a damp cloth and let it dry completely.
- Install the Base (if needed): Some strips, like T-molding, come with a track you screw or glue to the subfloor. I used a track for a living room transition, and it kept the strip secure.
- Attach the Strip: For adhesive strips, peel and stick carefully, pressing firmly. For others, snap the strip into the track or screw it down. I messed up an adhesive strip once by not aligning it first—take your time!
- Test It: Walk over the strip to ensure it’s secure and flush. If it wobbles, check the adhesive or screws.
If you’re not handy, a pro can install these in no time. I helped a neighbor with a tricky tile-to-vinyl transition, and we had it done in under an hour.
Where to Buy Transition Pieces
You’ve got plenty of options for buying these strips. I’ve checked out a few places:
- Home Depot: Offers premium finishes like matte black or satin gold, great for luxury vinyl floors.
- Lowe’s: Has a variety of T-molding and reducers, often with budget-friendly options.
- Amazon: Stocks self-adhesive strips like Bnell’s 2-inch flat divider in wood grain, perfect for quick fixes.
- Specialty Stores: Sites like Tools4Flooring.com or ShagTools carry durable vinyl transitions from brands like ROPPE.
- eBay: Good for deals on rubber or silicone strips in colors like black or gray.
Prices range from $10 for basic vinyl strips to $40 for high-end metal ones, depending on length and material.
My Personal Take
I’ve seen transition pieces save a flooring project more than once. When I helped my sister install vinyl in her condo, we used a 4-in-1 strip to connect her living room vinyl to the bathroom tile. It was easy to cut, matched her gray planks, and made the whole space look professional. The key is picking a strip that fits your floor’s height and style, then installing it carefully. Trust me, it’s worth the effort to avoid a wonky edge or a stubbed toe.
Conclusion
Transition pieces for vinyl flooring are small but mighty. They keep your floors safe, protected, and stylish, whether you’re bridging vinyl to tile, carpet, or another vinyl section. By choosing the right type—T-molding, reducer, or end cap—and matching it to your floor’s look, you’ll get a seamless finish that ties your home together. I’ve seen firsthand how these strips transform a room, and with a little planning, you can nail this part of your flooring project. So, measure carefully, pick a durable material, and enjoy your beautiful, polished floors!
Frequently Asked Questions
What is a transition piece for vinyl flooring?
It’s a strip that bridges gaps or height differences between vinyl flooring and another surface, like tile or carpet, for a smooth, safe transition.
Do I need a transition piece for vinyl flooring?
Yes, if your vinyl meets another flooring type, has a height difference, or needs an expansion gap covered, a transition piece prevents tripping and protects edges.
What type of transition piece should I use for vinyl to tile?
A reducer strip or overlap reducer works best for vinyl to tile, especially if there’s a height difference. T-molding is good if they’re the same height.
Can I install a transition piece myself?
Absolutely! Most strips are DIY-friendly, especially self-adhesive ones. Just measure, cut, and secure them with adhesive, screws, or a track.
Where can I buy transition pieces for vinyl flooring?
Check Home Depot, Lowe’s, Amazon, or specialty sites like Tools4Flooring.com. They offer various materials and finishes to match your vinyl.
If you want a longer article (like the 2500-word mold piece) or specific details about vinyl transitions in relation to mold, let me know, and I’ll craft it for your Woodworking Advisor blog!