Where to Start LVP Flooring: First Row & Real Gap Sizes
Start LVP flooring against the longest, straightest wall facing the room’s main entrance, with each plank’s tongue edge facing out into the room — never from the middle of the floor. Starting on an out-of-square or interrupted wall throws off every row that follows and forces ugly slivers at the far side. This guide covers which wall to pick, the real expansion-gap sizes (1/4 inch under 2,500 sq ft, 1/2 inch above — per COREtec’s own installation spec), and why most modern LVP skips the 48-hour acclimation step older guides still repeat.
What You Need Before You Start
Best LVP Installation Kit Pick
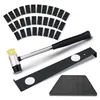
NATGAI 33-Piece LVP Installation Kit – $15.99
A tapping block, pull bar, rubber mallet, and 30 spacers in one box – everything the first-row steps above call for, without buying each tool separately.
- Best for: First-time installers who don’t already own a tapping block or pull bar
- Why we picked it: Covers every tool this guide’s first-row steps use, at the lowest price of the four options
- Main drawback: Spacers are 1/4 inch only – buy separate 1/2-inch spacers if your room is over 2,500 sq ft
Compare more LVP installation tool options
 Option 1 REXBETI Laminate & LVP Installation Kit – $19.99
|
 Option 2 WORKPRO Flooring Tool Kit – $23.39
|
 Option 3 Goldblatt Pro LVP Installation Kit – $34.99
|
As an Amazon Associate we earn from qualifying purchases.
Gather everything below before cutting the first plank — stopping mid-row to hunt for a tool is the easiest way to lose the straight line you just set. For how LVP compares to other flooring types on cost and durability, see our full wood flooring guide.
Tools
- Utility knife
- Tape measure
- T-square
- Pry bar
- Rubber mallet
- Pull bar and tapping block
Materials
- LVP planks (add 10% overage)
- Underlayment, if the planks don’t already have it attached
- Adhesive, only for glue-down installs
- Transition strips
- Spacers (1/4 inch or 1/2 inch, see below)
Do You Need to Acclimate LVP Flooring Before Installing It?
Acclimation is the practice of letting flooring material sit in the installation room for a set period so it adjusts to the room’s temperature and humidity before it goes down. It matters for solid hardwood and some laminate, which move noticeably with moisture — it matters far less for LVP.
Most current SPC-core LVP lines don’t require a waiting period at all. COREtec’s own installation guidance states it directly: “Acclimation of COREtec planks and tiles prior to installation is not required; however, the floor covering should be installed in a climate-controlled environment” between 55–85°F. Older articles that repeat a blanket “acclimate 24–48 hours” rule are usually working from laminate or WPC-specific guidance — check the installation sheet that came with your specific box, since it overrides any general rule here.
“Acclimation of COREtec planks and tiles prior to installation is not required, but your floors should be installed in a climate-controlled environment.”
COREtec (USFloors) installation guidance
Which Wall Should You Start From?
Pick the longest, straightest wall in the room, ideally the one facing the main doorway, and work away from it. A handful of factors decide which wall that actually is:
- Room shape: run planks parallel to the longest wall in a narrow room to make the space feel wider; run them perpendicular to it in a wide room to make it feel longer.
- Natural light: running planks perpendicular to the main window wall hides seams better than running parallel to it.
- Sightline from the entrance: planks running the same direction as someone’s first view into the room read as more intentional than planks running across it.
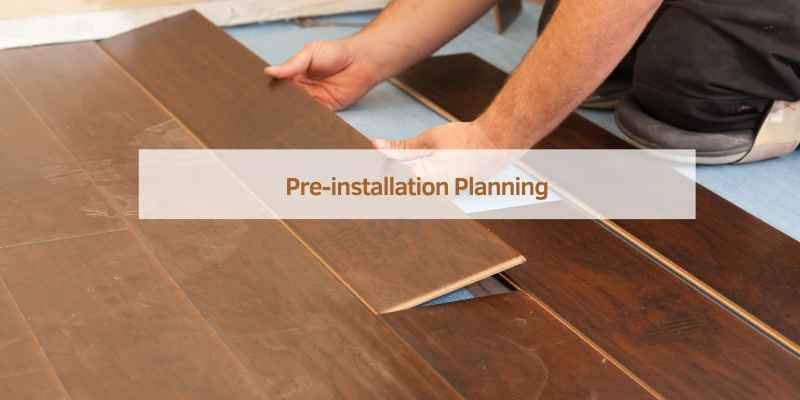
Should you start in the middle of the room instead? Only for one specific reason: if the room is irregular enough that starting flush against a wall would leave a sliver narrower than 2 inches on the opposite side. In that case, snap a center layout line, dry-lay a row without adhesive to check both edge widths, then shift the line until both sides get a full-width or near-full-width plank. For a normal rectangular room, starting at the wall is simpler and has fewer places to go wrong.
How Much LVP Flooring Do You Need?
Measure the room’s length and width with a tape measure, working wall to wall and noting alcoves, closets, or other irregularities separately. Multiply length by width for square footage, then add 10% for cutting waste and future repairs.
| Room Length | Room Width | Base Sq Ft | +10% Overage |
|---|---|---|---|
| 10 ft | 12 ft | 120 sq ft | 132 sq ft |
Preparing the Subfloor
Remove any existing flooring, then sweep and vacuum the subfloor thoroughly — a single piece of grit under a plank telegraphs through as a bump you’ll feel for years. Wipe stubborn residue with a damp cloth.
Check flatness before you commit to a starting line. COREtec’s own installation spec calls for the subfloor to be flat within 3/16 inch over a 10-foot span (or 1/8 inch over 6 feet) — fill low spots with a self-leveling compound and sand or grind high spots that exceed that tolerance. Repair cracks or holes with a suitable filler first.
How to Start Your First Row of LVP Flooring
Once the wall is picked and the subfloor is flat, the first row sets the reference line for the entire floor. Take it slowly here — every later row copies whatever angle this one is off by.
- Cut the tongue off the first plank: score it with a utility knife along a straightedge, then snap it off by hand or with pliers so the cut edge can sit flush against the wall.
- Set your expansion gap with spacers: use 1/4-inch spacers for rooms under 2,500 sq ft, or 1/2-inch spacers for larger open areas, per COREtec’s own perimeter-spacing spec.
- Place the first plank: set it with the cut (tongue-removed) side against the wall and spacers between the plank and the wall on both sides.
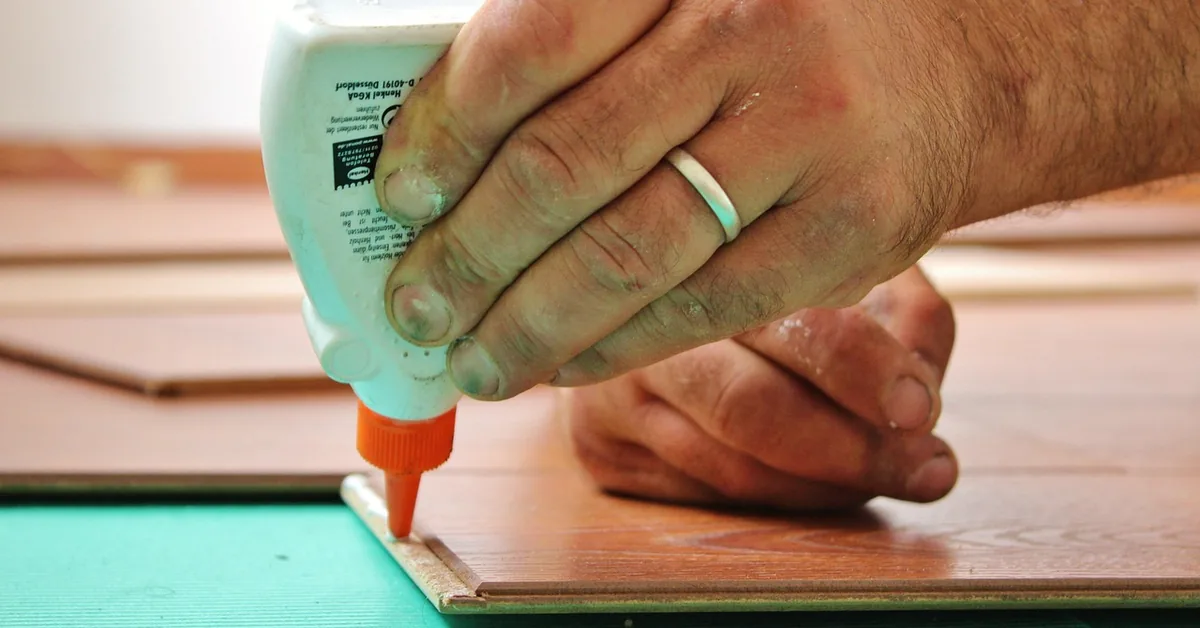
- Secure the plank: attach it to the subfloor with adhesive (glue-down systems) or simply let it float and click (click-lock systems).
- Continue the row: lock each new plank’s groove into the previous plank’s tongue with a tapping block and mallet, then measure and cut the last plank in the row to fit, keeping the same wall-side gap.
- Start the second row: use a plank cut to a different length than the first row’s starting plank, so the end joints stagger rather than lining up.
📊 Expansion gap: 1/4 inch for areas under 2,500 sq ft, 1/2 inch for areas larger than that. — Source: COREtec Originals Installation Guide
Cutting and Fitting Planks Around the Room
Measure and mark each plank at the point it meets a wall, doorway, or fixture before cutting, accounting for the expansion gap on every edge, not just the starting wall. If you haven’t scored or snapped LVP before, our guide to cutting vinyl plank flooring covers the technique in more depth than fits here.
A utility knife with a straightedge handles most straight cuts on click-lock LVP. For thicker rigid-core planks or a large volume of cuts, a table saw with a fine-tooth blade or a dedicated vinyl plank cutter gives cleaner, faster edges — see our vinyl plank flooring cutter picks if you’re doing a whole-house job. For notches around pipes or door casings, a jigsaw or hole saw works better than a knife.
Staggering Seams for a Stronger Floor
Stagger end joints at least 6 inches from the end joints in the row before it. This spreads foot traffic load across more of the floor and keeps a line of weak points from lining up down the room.
Avoid an H-joint pattern (two seams lining up with a third seam directly between them, forming an H shape) and avoid a repeating stair-step where every row’s seam shifts the same fixed distance — both read as obviously patterned rather than natural. Pulling planks from 3–4 open boxes at once, instead of finishing one box before opening the next, also avoids visible color-lot banding across the floor.
Working Around Obstacles and Complex Room Shapes
Door frames, cabinets, and pipes all need planning before you reach them, not improvising in the moment:
- Door frames: undercut the casing with a jamb saw so the plank slides underneath instead of being notched around it — see our door frame repair guide if the casing itself needs fixing first.
- Cabinets: remove the toe kick, run flooring underneath it, and leave the same expansion gap you’re using elsewhere before reinstalling the toe kick.
- Pipes: drill a hole roughly 1/2 inch larger than the pipe’s diameter with a hole saw, cut a matching notch from the plank’s edge to the hole, and fit the two pieces back together around the pipe.
For an L-shaped or irregular room, treat each rectangular section as its own layout problem: run a chalk line square to your starting wall, dry-lay a row into the offshoot section, and adjust the layout line before committing adhesive or snapping planks into place, rather than trying to carry one straight line through a turn.
Finishing Touches: Transition Strips and Baseboards
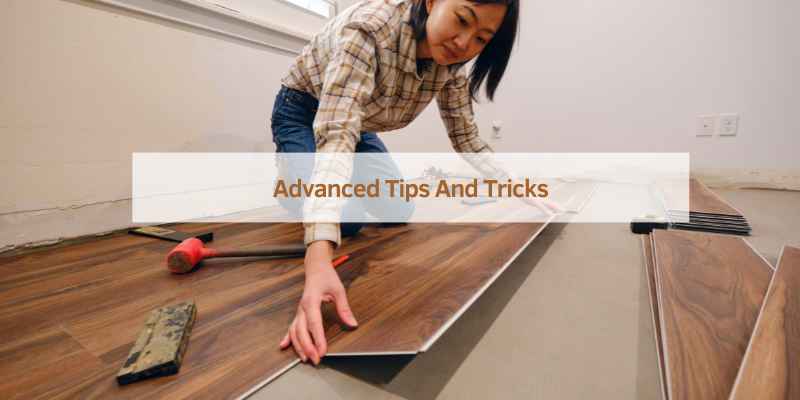
Install transition strips wherever LVP meets another flooring type (tile, carpet, hardwood) or crosses a doorway threshold. Measure the opening, cut the strip to length, and set it level with both adjoining floor surfaces.
Once the field is done, pull the spacers and cover the expansion gap around the room’s perimeter with baseboards or quarter-round trim — nailed to the wall or baseboard, never through the flooring itself, so the floor can still move underneath.
Common Mistakes to Avoid When Starting LVP Flooring
Skipping the dry layout. Laying planks straight from the box without checking pattern repeats first is the single most common mistake — it’s how installers end up with two identical wood-grain planks sitting side by side, which is far more noticeable once the floor is glued or clicked down than it looked in the box.
Ignoring subfloor moisture. Installing over a damp concrete slab without a moisture barrier can trap humidity under the planks, leading to peaking (planks pushing up at the seams) or adhesive failure on glue-down installs months later. Test slab moisture before you start, not after planks start lifting.
Leaving no expansion gap, or losing it during installation. If planks are pushed tight to the wall with no gap, seasonal expansion has nowhere to go and the floor buckles at the weakest seam. Keep spacers in place until trim goes on, not just for the first row.
Maintenance and Care After Installation
Sweep or vacuum regularly to keep grit from scratching the wear layer, and mop with a damp cloth and a cleaner made for vinyl or LVP flooring — ammonia-based and abrasive cleaners can dull the finish over time. Dry the floor after mopping instead of letting water sit, and add felt pads under furniture legs to prevent dents and scratches from daily movement.
Frequently Asked Questions
Should you start laying LVP flooring from the middle of the room?
No, not for a typical rectangular room. Start against the longest, straightest wall instead. Middle-of-room starts are only worth the extra layout work in an irregular room where a wall start would leave a sliver of flooring narrower than 2 inches on the far side.
Do you cut the tongue off the plank at the wall?
Yes. Cut or score off the tongue edge on the first plank of the first row so the flat, cut side sits against the wall, with the remaining tongue facing into the room for the next plank to lock into. Every other plank in the field keeps its factory tongue and groove intact.
Which edge should go against the wall on vinyl plank flooring?
The cut (tongue-removed) edge goes against the wall on the first row. On every wall the flooring meets going forward, the factory or cut edge sits toward the wall with a spacer maintaining the expansion gap, while the working tongue or groove edge stays exposed for the next plank.
Do you really need to acclimate LVP flooring before installing it?
Usually not. Manufacturer guidance for SPC-core lines like COREtec states acclimation isn’t required, only a climate-controlled room (55–85°F) during installation. Some WPC-core or laminate-hybrid products still specify a wait period, so check the sheet in your specific box before skipping it.
What size expansion gap does LVP flooring need?
At least 1/4 inch around the room’s perimeter for areas under 2,500 square feet. For larger open-concept spaces, increase that to 1/2 inch, per COREtec’s installation spec — always defer to your specific product’s printed instructions if they differ.
Start against the right wall, keep an accurate expansion gap, and stagger your seams properly, and the rest of an LVP installation is mostly repetition. Getting the first row square is the one step that’s genuinely hard to fix later — everything after it just follows the line you already set.
Sponsored / affiliate links. As an Amazon Associate I earn from qualifying purchases. I may earn additional commission from eligible campaigns.