What Angle to Sharpen a Wood Chisel? 25-30° (Plus the Micro-Bevel Trick)
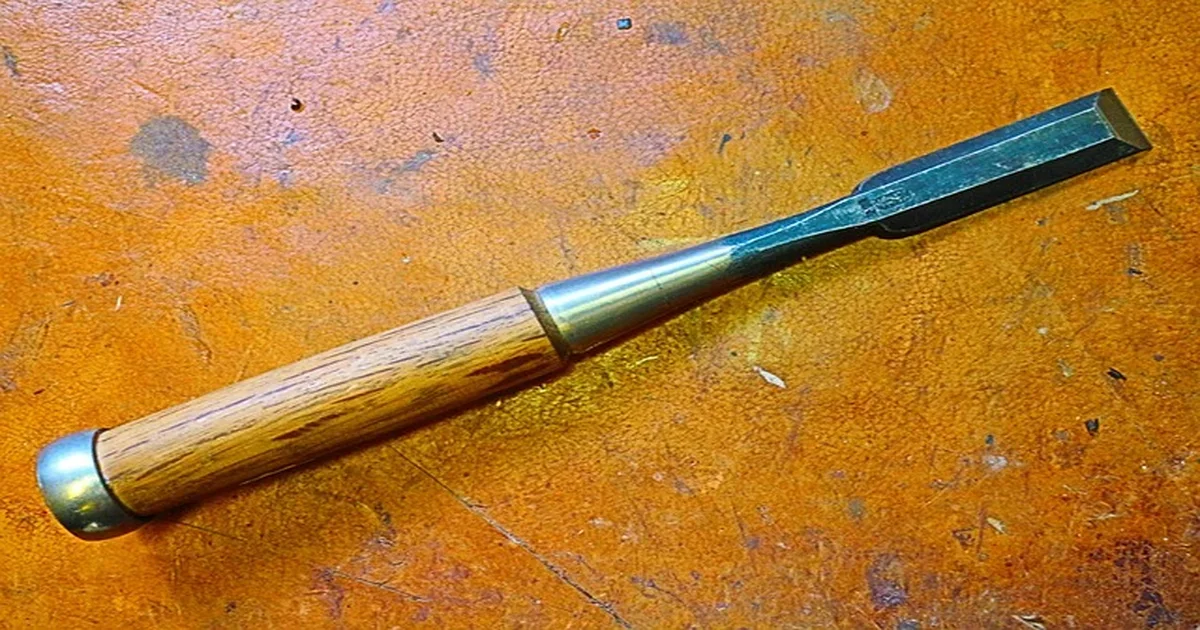
Most bench chisels sharpen best at a 25° to 30° primary bevel — 25° if you want a keener edge for paring, 30° if you want more durability for chopping. Paring chisels can go as shallow as 20°, and mortise chisels need a steeper 30° to 40° edge to survive repeated mallet strikes.
Getting the number right is only half the job, though. Most beginner guides stop at “sharpen it around 25 to 30 degrees” and never mention the trick that actually makes a chisel practical to maintain: a secondary micro-bevel, honed a few degrees steeper than the primary bevel, so you are touching up a sliver of steel instead of re-grinding the whole face every time the edge goes dull. That is the part this guide covers that most others skip.
The Right Angle: 25° to 30° for Most Bench Chisels
For a standard bevel-edge bench chisel — the type in nearly every starter set — a 25° to 30° primary bevel is the accepted range among woodworkers, and for good reason: it is the sweet spot between an edge sharp enough to slice cleanly through wood fiber and one durable enough not to chip the first time it meets a knot. A 25° edge is keener and pares more easily, but it is thinner and more fragile. A 30° edge sacrifices a little bite for an edge that holds up to more force before it rolls or chips.
Best For Consistent Bevel Angles
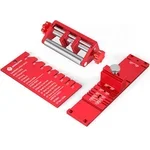 |
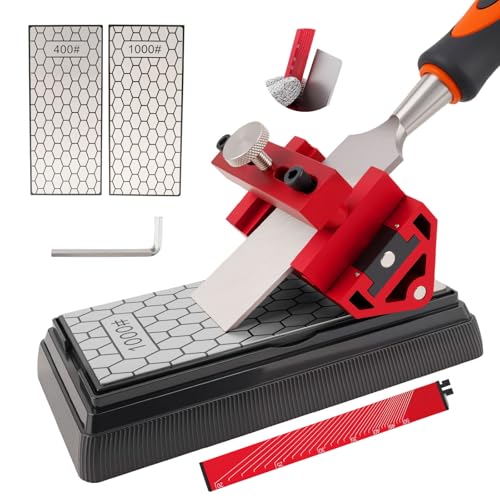
GONGELPER Chisel Sharpening Jig & Honing Guide – $39.99 This jig pairs a roller guide with a 10°-45° angle gauge, so instead of eyeballing 25° or 30° freehand you lock the chisel at the exact bevel angle and hold it there for every stroke.
|
If you only sharpen one chisel and do not want to think about the range, 25° is the safer default for general bench work — dovetails, paring, cleaning up joints — and you can push it to 30° for any chisel that regularly gets hit with a mallet.
Primary Bevel vs. Micro-Bevel (The Trick Most Guides Skip)
The primary bevel is the full angled face ground onto the chisel when it is first sharpened or reground from badly damaged — the 25° to 30° surface described above. A micro-bevel (also called a secondary bevel) is a much narrower band honed at the very tip of that primary bevel, typically 3° to 5° steeper. So if your primary bevel is ground at 25°, a common micro-bevel sits around 30° to 35°.
The reason this matters day to day: once a chisel starts to dull, you do not need to re-hone the entire primary bevel again — that removes far more steel than necessary and takes noticeably longer on the stones. Instead, you touch up just the micro-bevel, a strip so narrow it might take ten strokes instead of a hundred. The steeper micro-bevel also adds a bit of extra durability right at the cutting edge, where it matters most, without making the whole bevel thicker and harder to push through wood. Most woodworkers only need to redo the full primary bevel occasionally — the micro-bevel is what gets touched up between those full sharpenings.
Bevel Angle by Chisel Type
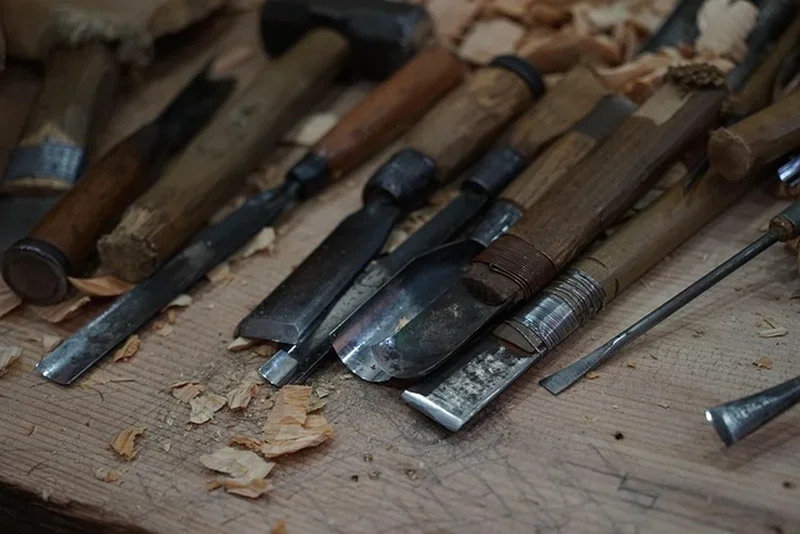
Not every chisel in your roll needs the same angle. The right bevel depends on what the chisel is actually built to do:
- Paring chisels: 20° to 25°. These are pushed by hand, not struck with a mallet, so they are ground shallow for a keen, controlled edge that slices cleanly — durability matters less than a clean cut here.
- Bevel-edge bench chisels: 25° to 30°. The all-purpose angle for dovetails, joinery cleanup, and general chopping and paring work.
- Mortise chisels: 30° to 40°. Built to take repeated mallet blows while levering out waste from a mortise, so they need a much stouter edge that will not chip or roll under impact.
Steel Type Changes the Ideal Angle Too
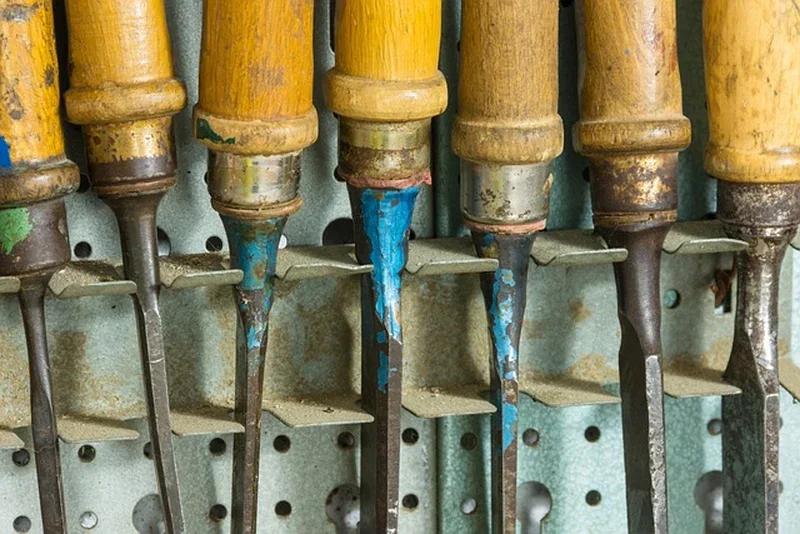
The ranges above assume a typical chisel, but the steel alloy itself also affects how acute you can safely grind an edge without it chipping. O1 (oil-hardening) tool steel has a simple, fine carbide structure that takes an extremely keen edge and is the easiest of the common chisel steels to sharpen freehand — the tradeoff is that it wears fastest and needs the most frequent touch-ups. A2 (air-hardening) steel holds an edge noticeably longer than O1 because of larger chromium-carbide particles in its structure, but those same carbides make A2 more prone to micro-chipping if it is ground too acute, which is why most A2 chisels are kept closer to 30° rather than pushed down toward 25°. PM-V11, a powder-metallurgy steel used in Lee Valley’s Veritas chisels, gets around that tradeoff — its very fine, evenly dispersed carbide structure lets it hold an edge roughly twice as long as A2 between sharpenings while still tolerating bevel angles as low as 20° in heavy chopping without chipping, something A2 typically cannot do at that angle.
In practice: check what steel a chisel is made from before assuming it needs the steepest angle in its range just to be safe. An A2 chisel benefits from staying closer to 30° for chopping work, while an O1 or PM-V11 chisel can often be pushed toward the shallower, keener end of the same range without chipping.
How to Find and Hold the Angle
Estimating an angle by eye is the hardest part for most beginners, and it is the step where inconsistency creeps in — one pass at 22°, the next at 28°, and the edge ends up rounded instead of flat. A few low-effort ways to keep it consistent:
- Honing guide with an angle gauge: Clamps the chisel and holds it at a fixed, repeatable angle against the stone — the most reliable option if you sharpen often.
- Angle reference block or gauge: A simple printed or cut reference you set the bevel against before you start, useful for a quick visual check even without a jig.
- Feel and consistency: Once the bevel is established, keeping the same hand position and wrist angle stroke after stroke matters more than nailing an exact number — a consistent 27° beats an inconsistent wander between 24° and 32°.
If you also maintain plane blades or lathe tools and want one system that covers more than just chisels, our guide to the best sharpening systems covers options built for a wider range of edge tools. And if you want the full step-by-step sharpening process — not just the angle — see our complete walkthrough on how to sharpen wood chisels.
Grit Progression: Which Stone Does What
The angle only matters if the edge behind it is actually sharp, and that comes down to working through the right stones in order rather than jumping straight to a fine grit. A coarse stone, roughly 220 to 400 grit, is for reshaping a damaged or badly rounded bevel back to a flat 25°-30° surface — it removes steel quickly but leaves a rough finish. A medium stone, around 1000 grit, is the workhorse for routine resharpening once the bevel shape is already correct. A fine stone, 4000 grit and up, is what actually polishes the edge to the point where it will slice end grain cleanly instead of tearing it. Skipping straight to the fine stone on a chisel that needs reshaping just wastes time, since a fine grit cannot correct the angle, only polish whatever angle is already there.
For the micro-bevel specifically, you usually only need the medium and fine stones — a few strokes at the steeper angle on each is enough to bring the edge back, which is exactly why it is faster than reworking the full primary bevel from the coarse stone up.
Common Mistakes That Ruin the Edge
A few habits will undo a good angle faster than anything else:
- Overheating on a power grinder. A dry bench grinder run too fast or held too long in one spot can draw the temper out of the steel, leaving a soft edge that dulls almost immediately. Dip the blade in water often, or use a slow-speed wet grinder instead.
- Rounding the bevel over time. Freehand sharpening without a guide tends to drift toward a slightly convex, rounded bevel instead of a flat one, which makes the actual cutting angle harder to predict from one sharpening to the next.
- Ignoring the flat back. The back of the chisel needs to stay dead flat and polished right behind the edge. A back that is convex or scratched up will keep the edge from ever getting truly sharp, no matter how well the bevel is honed.
Frequently Asked Questions
What is the best angle to sharpen a wood chisel?
For most bevel-edge bench chisels, 25° to 30° is the accepted range. Go with 25° if you want a keener edge for paring and fine work, or 30° if the chisel takes regular mallet blows and needs a more durable edge.
What is the difference between a primary bevel and a micro-bevel?
The primary bevel is the full ground angle on the chisel (25°-30° for most bench chisels). A micro-bevel is a narrow secondary bevel honed 3° to 5° steeper at just the tip — for example 30°-35° on top of a 25° primary bevel. It speeds up routine honing since you are only removing a small amount of steel at the edge instead of reworking the entire bevel.
What angle should I use for paring chisels vs. mortise chisels?
Paring chisels, which are hand-pushed rather than struck, are typically ground shallower at 20° to 25° for a keener, more controlled edge. Mortise chisels, which absorb repeated mallet blows while levering out waste, need a steeper 30° to 40° edge to resist chipping.
How often should I hone versus fully resharpen a chisel?
Hone the micro-bevel any time the edge starts to feel less crisp — it only takes a few strokes and can be done often. A full primary-bevel resharpening is only needed occasionally, usually after the edge has chipped, rolled, or after many rounds of honing have widened the micro-bevel enough that it needs to be reset.
Once you have the angle dialed in and a repeatable way to hold it, sharpening stops being a chore and turns into a two-minute touch-up between projects.
Sponsored / affiliate links. As an Amazon Associate I earn from qualifying purchases. I may earn additional commission from eligible campaigns.