What Size Nails for 1/2-Inch Plywood Sheathing? 8d, 6 Inches on Center
Use 6d or 8d nails for 1/2 plywood sheathing. Plywood sheathing is a common material used in construction projects for flooring, roofs, and walls.
It provides strength, stability, and durability to the structure. When it comes to fastening plywood sheathing, it is important to choose the right size nails to ensure proper installation. 6d or 8d nails are recommended for 1/2 plywood sheathing. These nails have the appropriate length and thickness to securely attach the sheathing to the underlying frame.
Proper nail selection is essential to maintain the structural integrity of the sheathing and prevent any potential issues in the future. By using the correct nail size, you can ensure a strong and secure installation for your plywood sheathing.
Why Nail Size Matters
Understanding the importance of nail size when it comes to securing 1/2 plywood sheathing is crucial for ensuring a strong and durable installation. Using the right size nails can greatly impact the overall stability and longevity of the sheathing, preventing issues such as warping, splitting, and nail pops. Let’s explore why nail size matters when working with 1/2 plywood sheathing.
Importance Of Proper Nail Size
Choosing the correct nail size is essential for effectively joining 1/2 plywood sheathing to the underlying structure. Using nails that are either too short or too long can lead to several problems:
- Poor holding strength: When nails are too short, they may not penetrate deep enough into the sheathing or framing members, resulting in a weak connection. This can compromise the structural integrity of the entire assembly, making it susceptible to failure under load or stress.
- Splitting and damage: Driving nails that are too long can cause the plywood to split, especially at the edges or near the ends. This not only weakens the sheathing but also makes it more susceptible to moisture infiltration and decay, leading to further damage over time.
- Reduced efficiency: Using nails that are too short or too long can make the installation process more difficult and time-consuming. Ill-fitting nails may require excessive force to drive or could require additional steps to correct, such as adding supplementary fasteners or fillers.
For a successful plywood sheathing installation, it’s important to select the right nail size that adequately secures the sheathing to the framing without causing any damage or compromising the overall strength.
Impact On Plywood Sheathing
The size of the nails used to secure 1/2 plywood sheathing directly affects its performance and durability. Here’s how nail size impacts plywood sheathing:
| Nail Size | Impact on Sheathing |
|---|---|
| Too short | Become loose over time, leading to warping, squeaks, and reduced load-bearing capacity. |
| Too long | Increase the risk of splitting the plywood, compromising its structural integrity and resistance to moisture. |
| Correct size | Provide optimal holding strength and stability, ensuring a secure and long-lasting sheathing installation. |
By using the appropriate nail size when installing 1/2 plywood sheathing, you can ensure that the sheathing performs as intended, providing a stable and durable substrate for various applications, such as roofing, siding, or subflooring.
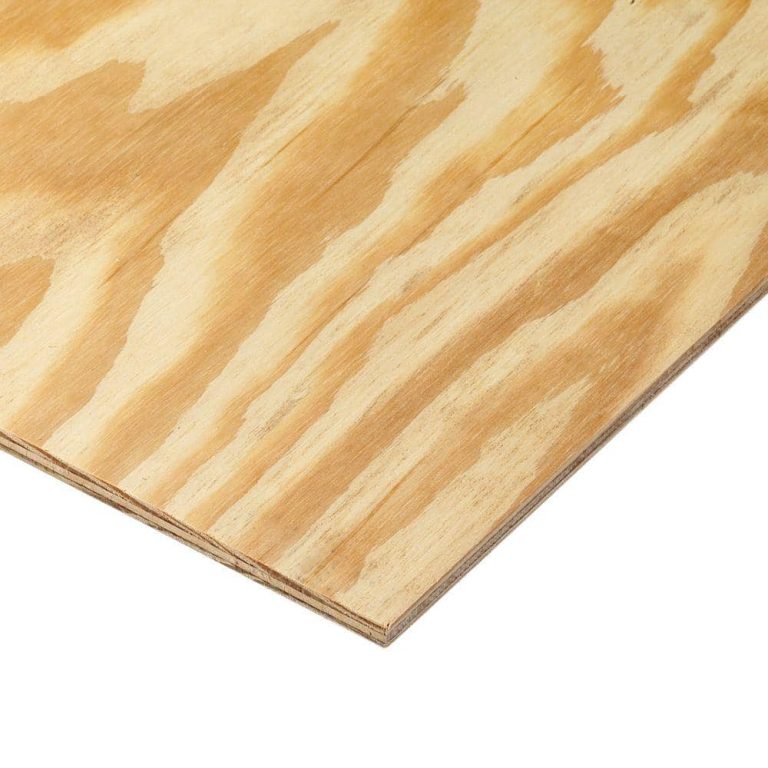
Understanding Plywood Sheathing
Plywood sheathing is a versatile and commonly used material in construction and woodworking projects. It is a type of engineered wood made by bonding several thin layers of wood veneers together, resulting in a strong and durable product. Plywood sheathing is known for its excellent strength-to-weight ratio, making it ideal for providing structural support, protection, and stability to buildings.
Composition And Usage
Plywood sheathing is typically made from softwood species such as pine, fir, or spruce. These wood species are chosen for their affordability, availability, and their natural resistance to decay and insect damage. The thin layers of wood veneer are stacked and glued together with each layer’s grain direction alternating, which enhances the strength and stability of the plywood.
Plywood sheathing is primarily used as a covering and support material for roofs, walls, and flooring in residential and commercial construction projects. It serves as a base or substrate for other materials to be attached, such as roofing shingles, siding, or tiles. Plywood sheathing also provides a level surface for the installation of finishes, such as paint or wallpaper.
Factors Affecting Nail Size
When it comes to securing plywood sheathing, choosing the right size nails is crucial for ensuring a secure and durable installation. Several factors determine the appropriate nail size for 1/2 plywood sheathing:
- Plywood Thickness: The thickness of the plywood sheathing is an important factor in determining the nail size. Thicker plywood may require longer or thicker nails to penetrate and securely hold the material in place.
- Fastening Method: The method of fastening the plywood sheathing also influences the nail size. If the plywood is being attached to framing members like studs or joists, longer nails may be needed to penetrate both the sheathing and the support structure.
- Environmental Conditions: The environmental conditions in which the plywood sheathing will be installed can affect the nail size. In areas with high moisture or prone to strong winds, longer or corrosion-resistant nails may be necessary to ensure the sheathing remains securely in place.
- Building Code Requirements: Local building codes may specify the minimum and maximum nail sizes for plywood sheathing installations. It is important to adhere to these requirements to ensure compliance and maintain the structural integrity of the building.
Considering these factors, it is recommended to consult with a professional or refer to local building codes to determine the appropriate nail size for your specific plywood sheathing installation.
Choosing The Right Nail Size
When it comes to securing 1/2 plywood sheathing, choosing the right nail size is crucial for ensuring a strong and durable installation. The nail size not only affects the holding power but also reduces the risk of splitting the plywood. Understanding the factors to consider and the recommended nail sizes for different plywood thicknesses is essential for a successful sheathing project.
Factors To Consider
- Plywood Thickness: Thinner plywood requires shorter nails to prevent penetration through the material, while thicker plywood may need longer nails for better anchoring.
- Material of the Sheathing: It’s important to consider the material of the sheathing as different materials may require specific nail types for optimal performance.
- Environmental Conditions: If the sheathing will be exposed to moisture or corrosive elements, using stainless steel or galvanized nails is advisable to prevent rust and corrosion.
- Building Code Requirements: It’s crucial to adhere to building code regulations regarding nail size and type for sheathing installations to ensure structural integrity.
Recommendations For Different Plywood Thicknesses
| Plywood Thickness | Recommended Nail Size |
|---|---|
| 1/2 inch | 8d common nails or 6d ring shank nails |
| 5/8 inch | 8d ring shank nails or 10d common nails |
| 3/4 inch | 10d ring shank nails or 12d common nails |
Nailing Techniques For Plywood Sheathing
Nailing plywood sheathing is a critical step in ensuring the structural stability and durability of a building. To ensure a successful installation, it’s crucial to use appropriate nailing techniques. In this section, we will discuss the right methods for nailing plywood sheathing, common mistakes to avoid, and how to achieve the best results.
Appropriate Nailing Methods
Using the right nailing methods is essential to secure plywood sheathing effectively. The following techniques should be followed:
- Use Ring Shank Nails: When it comes to nailing plywood sheathing, opting for ring shank nails is crucial. These nails have ridges around the shank that provide better-holding power, preventing the nails from pulling out over time. For 1/2 inch plywood sheathing, use 8d (2 1/2 inch) ring shank nails.
- Spacing: Proper nail spacing is also vital to ensure the sheathing stays securely in place. For 1/2-inch plywood, use nails that are spaced 6 inches on the edges and 12 inches in the field, following the APA (Engineered Wood Association) recommendations.
- Angle of Nails: It’s important to drive the nails at the correct angle to maximize their holding power. For plywood sheathing, aim for a 45-degree angle to the framing member. This helps to prevent the nails from popping out and improves the overall strength of the installation.
Avoiding Common Mistakes
To ensure a successful plywood sheathing installation, it’s important to be aware of and avoid these common mistakes:
- Inadequate Nailing: Insufficient nailing can lead to loose sheathing, compromising the structural integrity of the building. Make sure to follow the recommended nail spacing and use enough nails to secure the plywood properly.
- Using Smooth Shank Nails: Smooth shank nails don’t provide the same level of holding power as ring shank nails. Avoid using smooth shank nails for plywood sheathing, as they may not hold as securely over time.
- Incorrect Nail Placement: Placing nails too close to the edges of the plywood can weaken the sheathing. It’s important to follow the recommended nail spacing and ensure the nails are driven into the framing members.
By following these appropriate nailing methods and avoiding common mistakes, you can ensure a secure and long-lasting installation of your 1/2-inch plywood sheathing. Taking the time to do it right will result in a solid and reliable structure for your project.
Conclusion And Best Practices
The right selection of nails is crucial when it comes to 1/2 plywood sheathing installation. In this article, we have discussed the recommended nail sizes for 1/2 plywood sheathing, as well as some key points and tips for successful sheathing.
Summary Of Key Points
Here is a quick summary of the key points discussed:
- Use 8d common nails or 6d ring-shank nails for 1/2 plywood sheathing.
- 8d nails provide a stronghold and are suitable for most sheathing applications.
- 6d ring-shank nails offer enhanced holding power and are ideal for structural sheathing.
- Bonding the sheathing panels with construction adhesive in addition to nails can provide greater strength and stability.
- Proper installation techniques, including spacing the nails correctly and ensuring they penetrate the studs, are essential for a secure sheathing assembly.
Tips For Successful Sheathing
To ensure a successful plywood sheathing installation, consider the following tips:
- Always refer to the manufacturer’s recommendations for specific nail sizes and spacing requirements.
- Ensure the plywood sheets are properly aligned and level before starting the installation.
- Use a chalk line to mark the stud positions on the top edge of the sheathing to guide nail placement.
- Space the nails appropriately (around 6 inches apart along the edges and 12 inches apart in the field) to ensure a secure attachment.
- Make sure the nails penetrate the studs by at least 1 inch to provide a stronghold.
- Consider using a nail gun for faster and more efficient installation, but ensure the nails are the correct size and meet the required standards.
- Apply construction adhesive on the back of the sheathing panels for added strength and rigidity.
- Inspect the sheathing assembly for any loose nails or gaps and secure or fill them promptly to maintain the structural integrity.
By following these tips and using the right nail sizes, you can achieve a successful and long-lasting 1/2 plywood sheathing installation that provides the necessary support and protection for your project.
Frequently Asked Questions For What Size Nails For 1/2 Plywood Sheathing
What Size Nails For Plywood Wall Sheathing?
For plywood wall sheathing, use nails that are at least 8d (2 1/2 inches long) to ensure a secure attachment. It’s also important to space the nails 6 inches apart along the edges and 12 inches apart in the field of the plywood to provide adequate support.
What Nails To Use For Half-Inch Plywood?
For half-inch plywood, use nails that are at least 1 1/4 inches long to ensure proper anchoring. Choose galvanized or stainless steel nails for outdoor use to prevent rusting. Use finishing nails with a smaller diameter to avoid splitting the plywood.
What Nails To Use For 7 16 Osb Sheathing?
Use 8d nails for attaching 7/16 OSB sheathing. They provide adequate strength.
What Size Nail Is Used To Install Plywood?
The recommended nail size for installing plywood is 8d or 10d, depending on the thickness of the plywood. Use 8d nails for ¼-inch plywood, and 10d nails for ½-inch or ¾-inch plywood. This ensures proper fastening and structural support.
Conclusion
Choosing the right size nails for 1/2 plywood sheathing is crucial for a strong and durable construction project. By understanding the recommended nail sizes and types, you can ensure proper installation and long-lasting performance. Remember to consider the thickness of the plywood and any specific building codes or guidelines in your area.
With the right knowledge and tools, you can confidently tackle your sheathing project.