Which Direction to Lay Vinyl Plank Flooring in a Small Bathroom
In most small bathrooms, the best direction to lay vinyl plank flooring is lengthwise, running parallel to the longest wall or the direction you walk in from the door. That single choice does more to make a cramped bathroom look bigger than almost any other layout decision, and it also happens to line up with where seams are easiest to hide around a toilet, vanity, and tub. Below is the reasoning behind that rule, when it’s worth breaking, and the water-protection details that matter more in a bathroom than anywhere else in the house.
Quick Answer: Run Planks the Long Way
Bathroom Seam-Sealing Pick
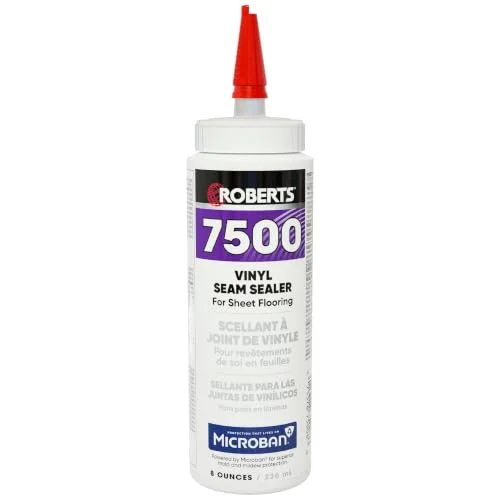 |
Roberts 7500 Vinyl Seam Sealer – $20.97 Whichever direction you lay the planks, the seams that end up closest to the tub and toilet base are the ones most exposed to standing water – this is what actually keeps them sealed.
|
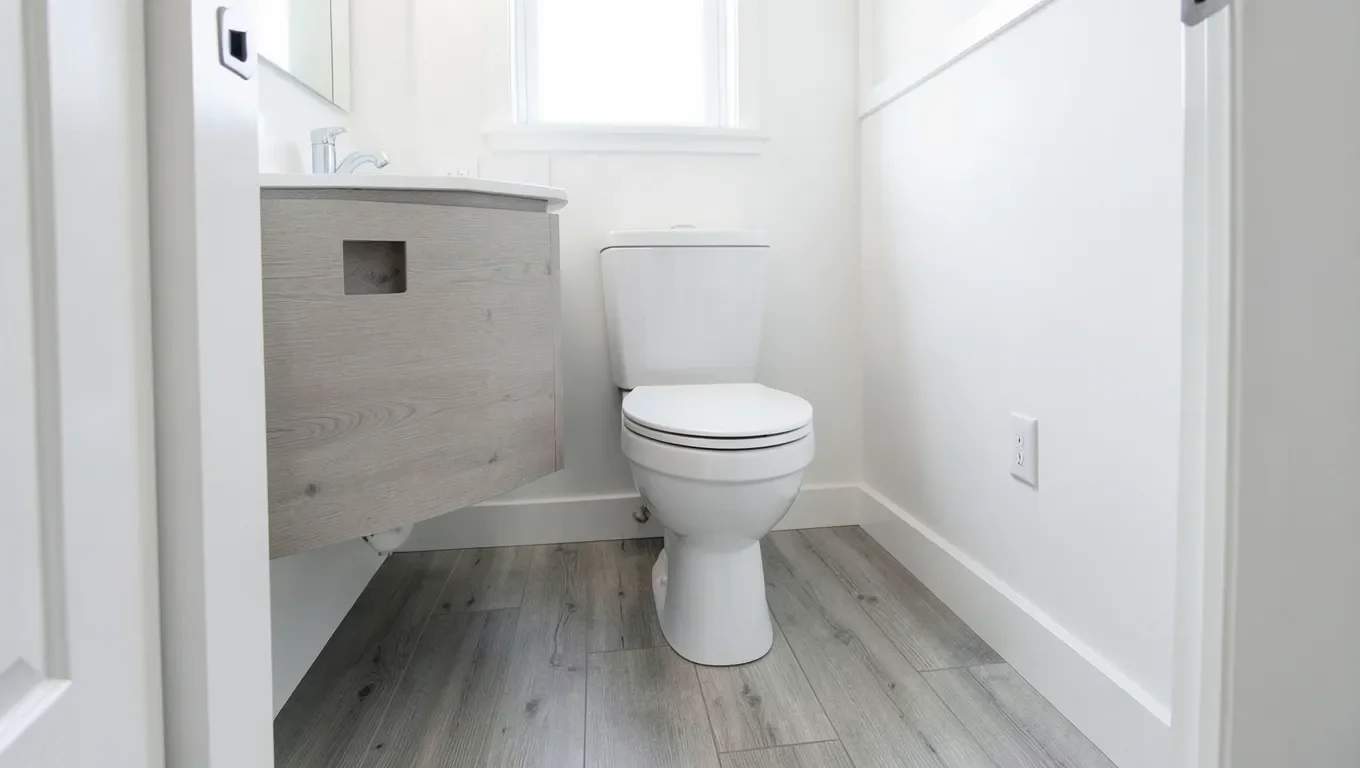
Lay the planks running the long way through the room – parallel to the longest wall, or in the direction you walk in from the doorway. In a narrow bathroom this is almost always the same direction, and it’s the one that reads as “longer” to the eye rather than “wider,” which matters more in a small room than actual square footage does.
Why Plank Direction Changes How Big a Bathroom Looks
This isn’t a vinyl-specific trick – it’s the same rule that applies to solid hardwood and engineered wood flooring, and it comes from a simple fact about how the eye tracks lines. A long, unbroken run of plank seams pulls your gaze down its length, so a room reads as longer in whichever direction the planks run. In a small bathroom that’s usually longer than it is wide, running the planks the long way exaggerates that length instead of the width, and the room feels bigger walking in.
Run the same planks across the short dimension instead, and you get the opposite effect: more seam lines packed into your immediate field of view, which reads as choppier and smaller, even though the actual floor area hasn’t changed. Some designers deliberately use that shortening effect in an oddly long, narrow space to make it feel more proportional – but in a typical 5-by-8 or smaller bathroom, lengthwise is almost always the better call.
The Window-Light Rule (And Why It Sometimes Loses)
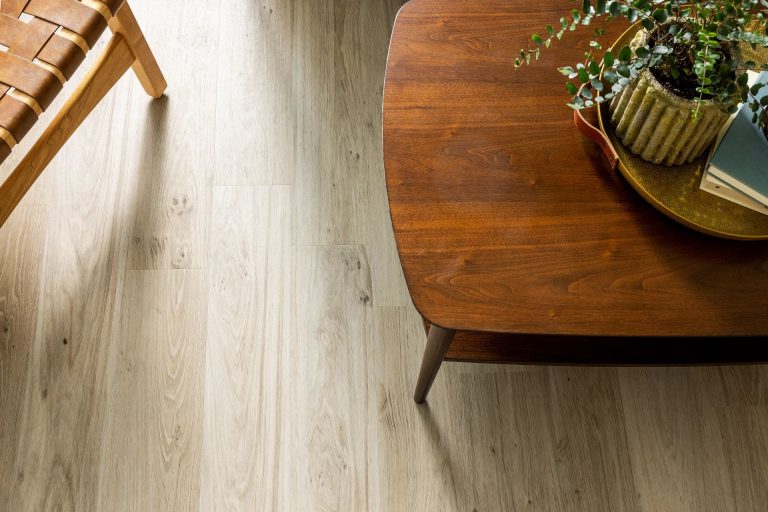
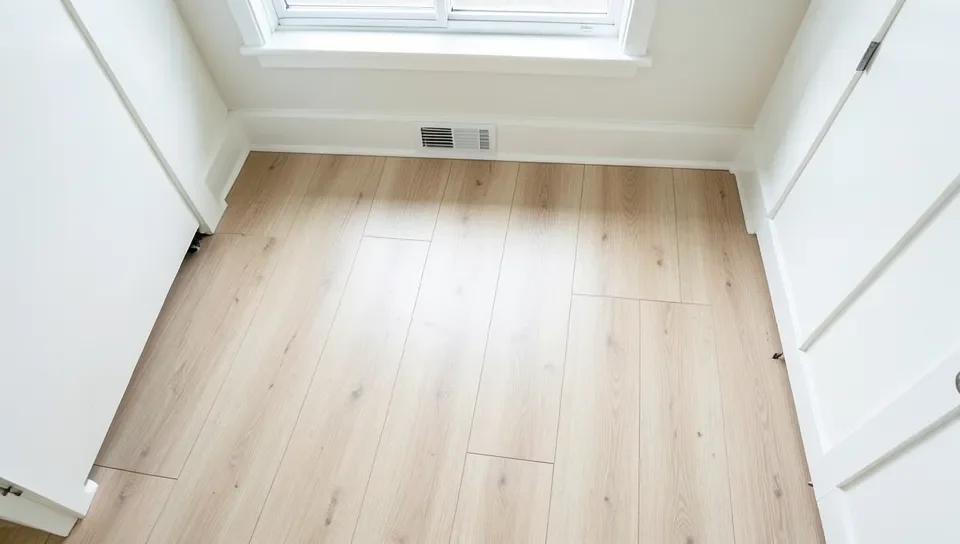
The other real consideration is where the light comes from. Low, raking light from a window hits any seam that runs perpendicular to it and throws a visible shadow line down each one – you notice every plank edge instead of a smooth floor. Running the planks parallel to the main light source avoids that effect almost entirely, because the light grazes along the seam instead of across it.
Most of the time the length-of-room rule and the window-light rule point the same direction, so you don’t have to choose. When they genuinely conflict – a wide bathroom with a window on the short wall, for example – the length rule usually wins for a small space, because the size illusion has a bigger visual impact day-to-day than shadow lines from a small bathroom window that isn’t getting direct raking sun most of the day anyway.
Hiding Seams Around the Toilet, Vanity, and Tub
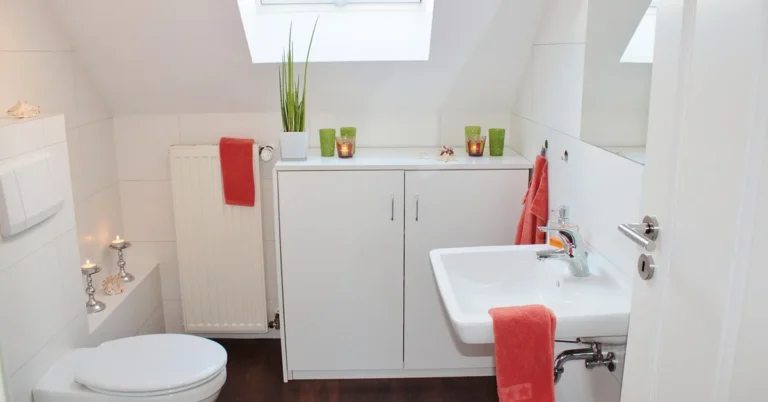
A small bathroom has more fixtures per square foot than any other room, which means more places where a plank has to be notched, coped, or cut short. This is a genuinely practical reason to plan the direction before you cut a single plank, not just an afterthought: whichever direction you choose, work out where the row seams will fall relative to the toilet flange, the vanity cabinet, and the tub or shower curb, and try to land a full plank edge (not a seam) at the places people actually look – standing at the sink, sitting on the toilet, stepping out of the shower.
Dry-lay a row or two before committing. It costs you twenty minutes and it’s the only way to actually see whether a seam lands awkwardly at the front edge of the vanity toe-kick or right where you’ll be standing at the sink. Shifting the starting point half a plank width one way or the other, without changing the overall direction, is usually enough to move an ugly seam somewhere it won’t be noticed.
Waterproofing Still Matters, Even With “Waterproof” LVP
Most vinyl plank sold today is marketed as waterproof, and the plank material itself genuinely is – a WPC or SPC core won’t swell or rot from standing water the way laminate or engineered wood will. But “waterproof plank” and “waterproof floor” are not the same claim. The vulnerable points are the same ones on any click-lock floor: the seams between planks, and the transitions at the tub, the doorway threshold, and the toilet flange. Water that sits in those gaps can still work its way down to the subfloor over time, and once it’s under the floor, the plank being waterproof doesn’t help.
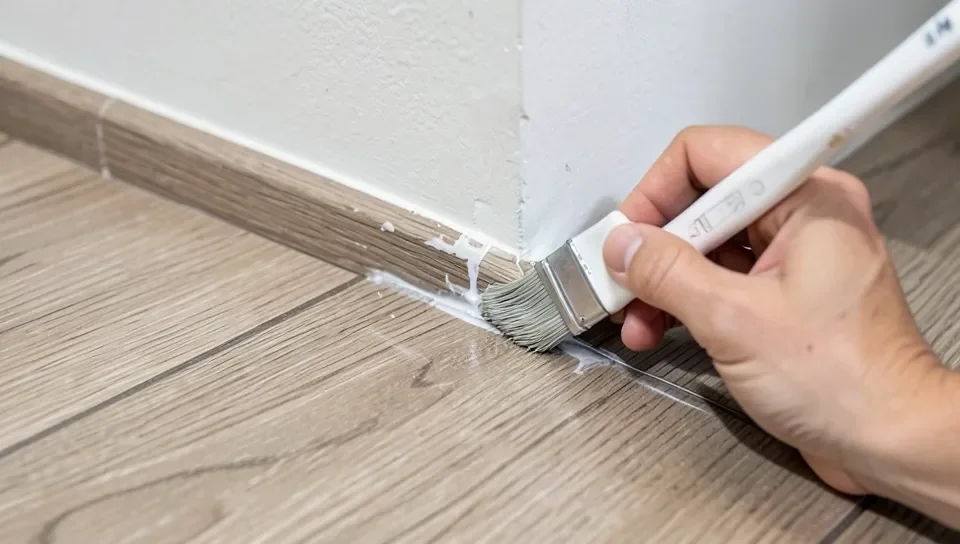
That’s the real reason a seam sealer belongs on the materials list for a bathroom installation specifically, even on a floor where you’d skip it in a bedroom or hallway. Run a bead along the seams in the highest-splash zones – directly in front of the tub, around the toilet base, and at the door threshold – after the floor is fully installed and locked together. It’s a slow, manual step, but it’s the difference between a floor that’s waterproof on paper and one that’s actually sealed against the water it will regularly see.
Installation Order for a Small Bathroom
Once you’ve picked a direction, the sequence that avoids the most rework in a tight bathroom looks like this:
- Confirm the subfloor is flat, clean, and dry – check with a level or straightedge and a moisture meter before anything goes down. A bathroom subfloor with old adhesive residue or a slight hump under the vanity is the single most common cause of a floor that clicks or flexes later.
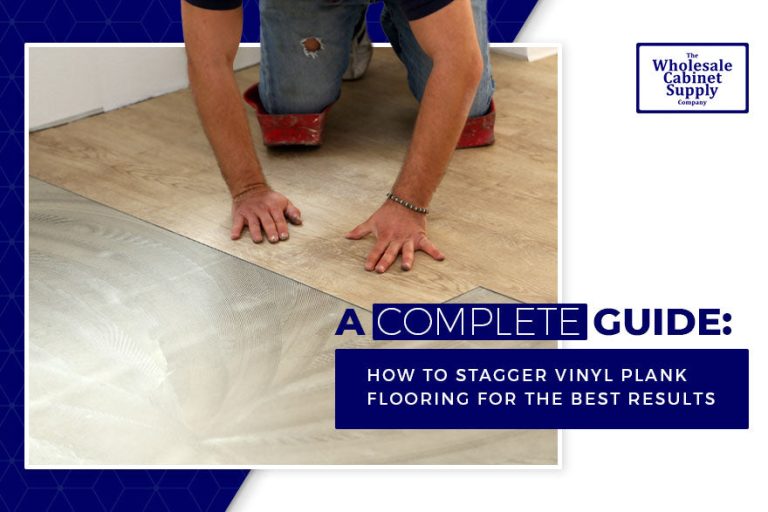
- Dry-lay the first two rows in your chosen direction to see where seams fall relative to the toilet and vanity, and adjust your starting point if a seam lands somewhere visible.
- Remove the toilet rather than cutting planks tight around the base – it takes 20-30 minutes and gives you a clean edge that’s far easier to seal than a fussy scribed cut.
- Leave the manufacturer’s recommended expansion gap at every wall, and cover it with quarter-round or a matching transition strip – a gap that’s too tight is a common reason a “waterproof” click-lock floor still buckles after a humid summer.
- Seal the seams in the splash zones once the floor is fully locked and settled, then reset the toilet with a new wax ring so you’re not sealing around an already-leaking flange.
If you’re comparing specific plank products before you buy, our COREtec vs. NuCore comparison covers how two popular waterproof lines actually differ on core construction and warranty, and our guide to 6-mil vs. 12-mil wear layers explains why thickness matters more in a bathroom than most other rooms. For layout rules in every other room of the house, not just the bathroom, see the full room-by-room vinyl plank direction guide.
Frequently Asked Questions
Which direction should you lay vinyl plank flooring in a small bathroom?
Run the planks lengthwise, parallel to the longest wall or the direction you enter the room. That makes the space read as longer rather than wider, which does more to make a small bathroom feel bigger than any other layout choice.
Should vinyl plank flooring follow the light from the window?
When possible, yes – running planks parallel to the main light source keeps raking light from catching every seam and casting shadow lines. In most small bathrooms this lines up with the length-of-room rule anyway, so you rarely have to pick one over the other.
Do you still need to seal seams on “waterproof” vinyl plank in a bathroom?
Yes. The plank material itself resists water, but the seams and edge transitions around the tub, toilet, and doorway are still gaps water can work into over time. Sealing the seams in splash zones with a vinyl seam sealer protects the subfloor underneath, which the plank’s own waterproof rating doesn’t cover.
Should vinyl plank flooring go under or around the toilet?
Remove the toilet and run the flooring under where its base sits, then reset the toilet with a new wax ring on top. Cutting planks tightly around a toilet base left in place is harder to fit well and much harder to seal against water than a clean edge under a removed fixture.
Bottom Line
For most small bathrooms, lay the planks lengthwise along the longest wall or entry direction, let the window-light rule settle any tie, plan your seams around the toilet and vanity before you start cutting, and seal the seams in the splash zones even though the plank itself is rated waterproof. Get those four things right and the direction decision stops being a guess.
Sponsored / affiliate links. As an Amazon Associate I earn from qualifying purchases. I may earn additional commission from eligible campaigns.