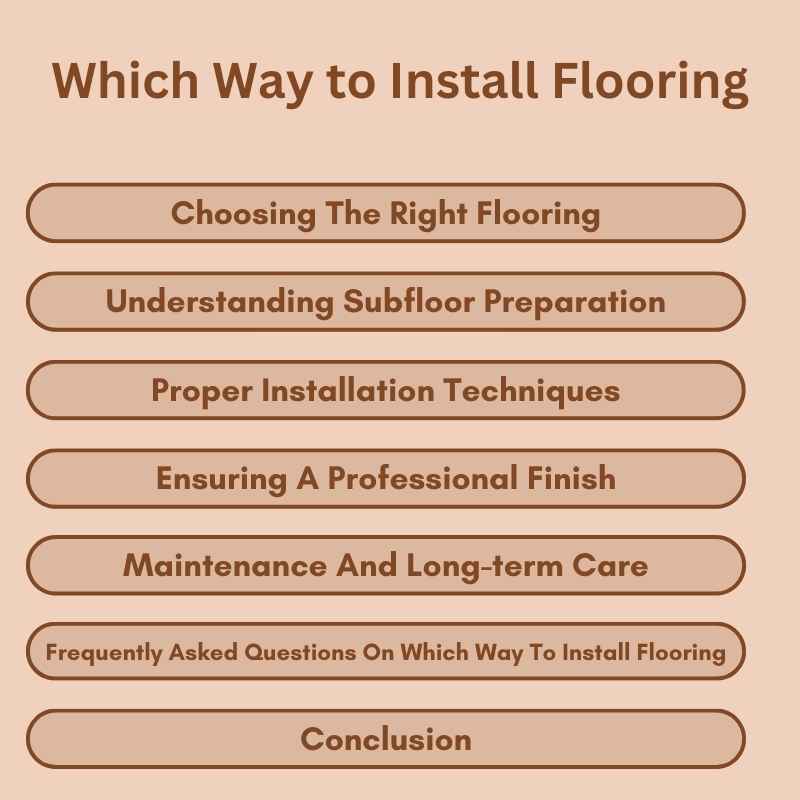
Which Way to Install Flooring: Expert Tips for Flawless Results
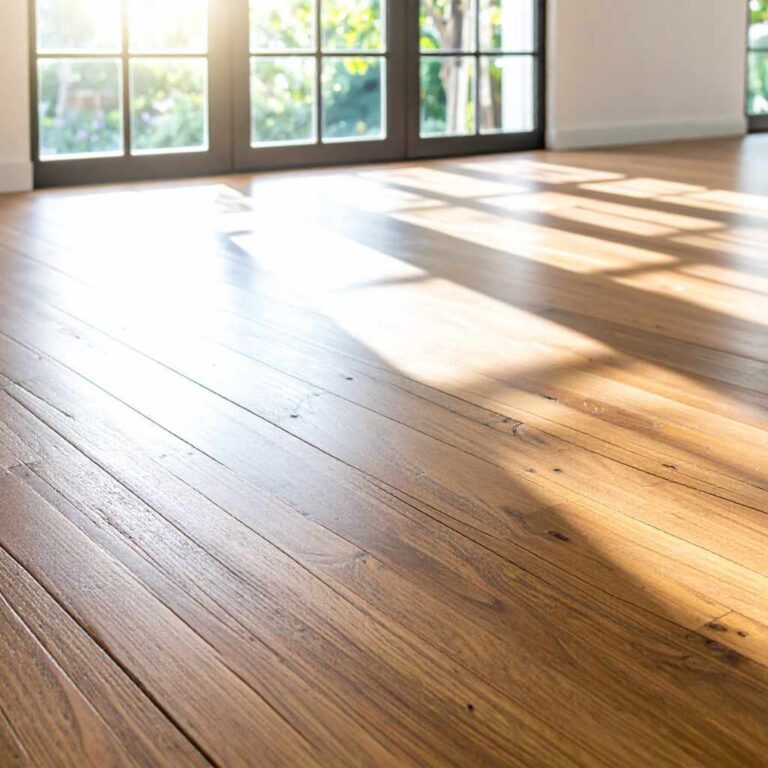
To install flooring, always start laying the planks parallel to the longest wall in the room. This will create a more visually appealing and cohesive look.
In addition, ensure that the planks are staggered to prevent noticeable seams and maintain structural integrity. Proper installation is crucial for a durable and aesthetically pleasing floor that will enhance the overall appeal of your space. Follow these guidelines to achieve a professional-looking finish and enjoy your new flooring for years to come.
Choosing the right method for laying your flooring can make a significant difference in the final result, so take your time and ensure a precise installation process.
Choosing The Right Flooring
A cozy carpet might be suited for a family room.
Stain-resistant flooring is crucial for high-traffic areas.
Consult with your family to understand their preferences.
Think about high durability in kitchens and hallways.
Laminate and vinyl flooring are low maintenance options.
Choose flooring that requires minimal upkeep for busy households.
Understanding Subfloor Preparation
Subfloor preparation is crucial for the proper installation of flooring. When considering which direction to install flooring, it’s important to assess the subfloor condition and the layout of the room. Understanding the underlying structure will help ensure a smooth and durable flooring installation.
Understanding Subfloor Preparation
Subfloor preparation is crucial for a successful flooring installation.
Assessing Subfloor Condition
Check for uneven spots, cracks, or damage in the subfloor.
Moisture Testing And Mitigation
Perform moisture tests to prevent future issues with the flooring.
Assess the subfloor for cracks, unevenness, and any existing damage.
Conduct moisture tests to address potential problems before installation.
Proper Installation Techniques
Proper installation techniques are crucial for ensuring the longevity and aesthetics of your flooring. By following the correct procedures, you can prevent issues such as buckling, gaps, and uneven surfaces, ensuring that your investment stands the test of time.
Acclimating The Flooring Materials
Acclimating the flooring materials is a critical step to avoid potential problems. Ensure that the materials are stored in the room where they’ll be installed for at least 48 hours. This allows the flooring to adjust to the room’s temperature and humidity, minimizing the risk of warping or cupping after installation.
Precision Cutting And Fitting
Precision cutting and fitting are essential for a seamless and professional-looking floor. Measure the space accurately and use high-quality tools to achieve precise cuts. This will guarantee a snug fit and minimize the need for excessive filler or trim pieces, resulting in a polished and professional finish.
Ensuring A Professional Finish
When it comes to installing flooring, one of the crucial aspects to consider is ensuring a professional finish. This not only enhances the overall appearance of your space but also adds value to your property. Two key elements to pay attention to are achieving a seamless transition between rooms and dedicating meticulous effort to the finishing touches. By focusing on these aspects, you can create a polished and expertly installed flooring solution that will impress both residents and guests alike.
Seamless Transition Between Rooms
A seamless transition between rooms is vital for creating a harmonious flow throughout your living space. It involves ensuring that the flooring materials smoothly merge from one area to another, without any noticeable gaps or awkward transitions. This attention to detail helps to establish a cohesive and visually appealing look, where transitions are subtle and imperceptible.
Here are some tips to achieve a seamless transition:
- Choose flooring materials that complement each other in color, style, and texture.
- Pre-plan the layout and design, considering how different flooring types will meet and blend.
- Use transition strips or moldings to bridge gaps and create a seamless transition.
- Ensure that the subfloor is level in all areas to avoid uneven flooring height.
Attention To Detail In Finishing Touches
The finishing touches are what truly give your flooring installation a professional and refined look. This involves paying careful attention to every small detail, ensuring that everything is impeccably executed. By doing so, you can achieve a polished and sophisticated end result. Here are some essential finishing touches to consider:
- Trim and molding installation: Install baseboards, quarter rounds, and crown moldings to cover the gaps between the floor and walls, creating a clean and polished appearance.
- Sealing and caulking: Seal any gaps or joints in the flooring to prevent moisture penetration and prolong the lifespan of your flooring.
- Proper transitions: Use T-moldings or threshold strips to create a smooth transition between different flooring materials, ensuring a visually appealing and professional finish.
- Cleaning and polishing: Clean the flooring thoroughly after installation, removing any excess adhesive or debris. Polish the surface, enhancing its shine and overall aesthetics.
By devoting attention to these finishing touches, you can achieve a flawless and professional finish that adds sophistication and value to your space.
| Aspect | Tips |
|---|---|
| Seamless Transition |
|
| Attention to Detail |
|
Maintenance And Long-term Care
Proper maintenance and care are crucial for ensuring the longevity and appearance of your flooring. By taking the necessary steps to protect and clean your floors regularly, you can extend their life and keep them looking pristine. In this section, we will discuss the different protective measures for various types of flooring and the importance of regular cleaning and inspection.
Protective Measures For Different Flooring Types
Each type of flooring requires specific protective measures to prevent damage and preserve its beauty. Here are some tips for preserving common flooring types:
Hardwood Flooring:
- Place doormats at entryways to trap dirt and moisture.
- Use furniture pads or coasters to prevent scratches and dents.
- Avoid wearing high heels or shoes with cleats that can damage the wood surface.
Laminate Flooring:
- Place rugs or mats in high-traffic areas to minimize wear and tear.
- Wipe up spills immediately to prevent moisture penetration.
- Avoid dragging heavy furniture across the floor to prevent scratches.
Tile Flooring:
- Use mats or rugs in front of sinks and areas prone to water splashes to prevent slipping and water damage.
- Regularly seal grout lines to protect against stains and discoloration.
- Avoid using harsh cleaning chemicals that can damage the tile surface.
Regular Cleaning And Inspection
In addition to protective measures, regular cleaning and inspection are essential to keep your floors in good condition. Here are some guidelines to follow:
Hardwood and Laminate Flooring:
- Sweep or vacuum regularly to remove dirt and debris.
- Use a damp mop with a hardwood or laminate floor cleaner to remove stains and spills.
- Inspect for any signs of damage or wear, such as scratches or warping, and address them promptly.
Tile Flooring:
- Sweep or vacuum to remove loose dirt and dust.
- Mop with a tile cleaner or a mixture of mild soap and water for a deeper clean.
- Regularly inspect grout lines for signs of damage or discoloration.
By following these maintenance and care tips, you can ensure that your flooring remains in excellent condition for years to come.
Frequently Asked Questions On Which Way To Install Flooring
What Are The Different Types Of Flooring Options Available?
There are several types of flooring options available including hardwood, laminate, vinyl, carpet, tile, and concrete. Each option has its own unique features and benefits, so it’s important to consider factors such as durability, maintenance, and style when choosing the right flooring for your home.
Is It Better To Hire A Professional Or Install Flooring Yourself?
The decision to hire a professional or install flooring yourself depends on your level of experience and the complexity of the project. Hiring a professional ensures proper installation and can save you time and effort. However, if you have the necessary skills and knowledge, installing flooring yourself can be a cost-effective option.
How Long Does It Take To Install Flooring?
The time it takes to install flooring varies depending on the type of flooring and the size of the area. Generally, it can take anywhere from a few hours to several days. Factors such as preparation, acclimatization, and the installation method can also affect the installation time.
It’s best to consult with a professional for a more accurate estimate.
Conclusion
The choice of flooring installation method has a significant impact on the overall look and durability of your floors. Carefully considering your options and understanding the pros and cons of each approach will ensure a successful and long-lasting outcome. Whether you opt for floating, nail-down, or glue-down installation, make sure to follow the manufacturer’s recommendations to achieve the best results for your space.
By making an informed decision, you can enjoy your new flooring for years to come.