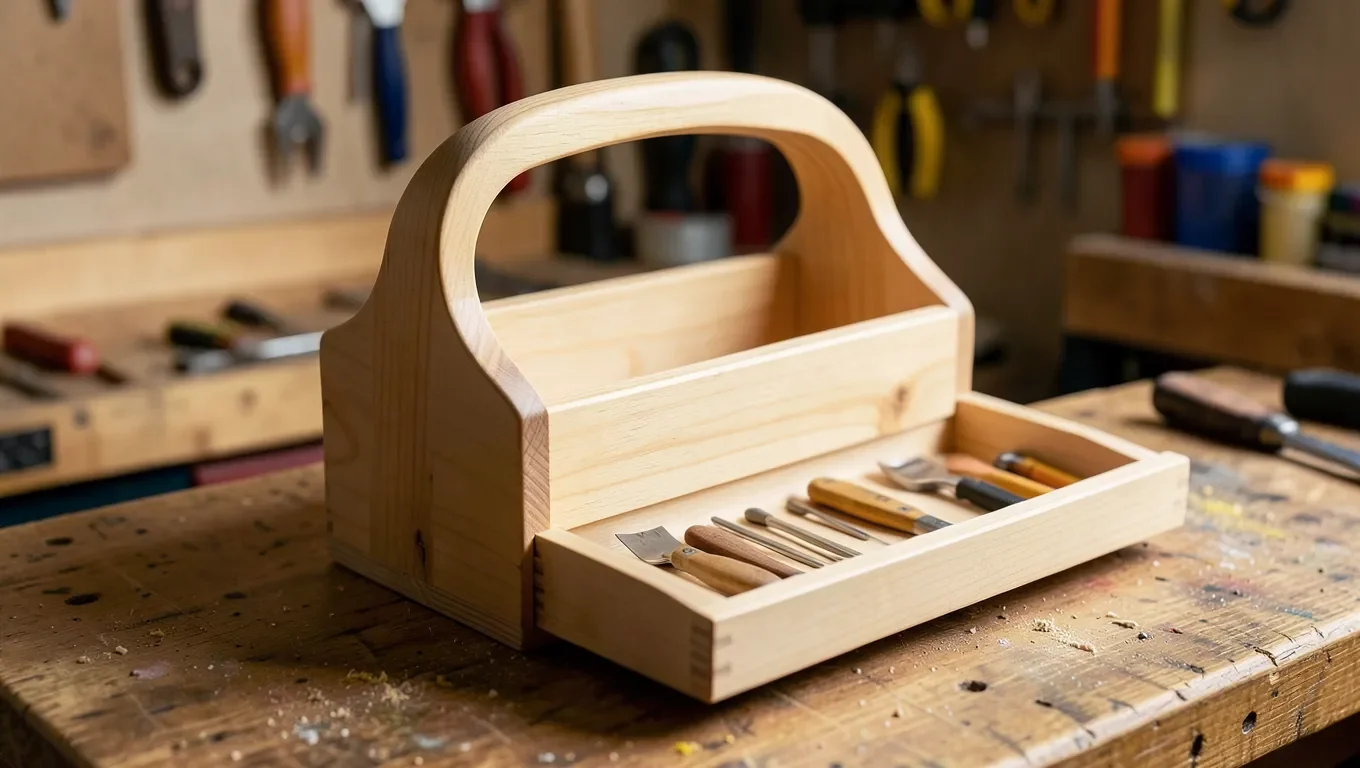
Wood Toolbox Top: Build a Tool Tote With a Lift-Out Tray
A wood toolbox top usually means one specific classic project: a hand-carried tool tote with a carrying handle across the middle and a lift-out tray riding just under the rim. The tray keeps small parts (screws, pencils, a tape measure) within reach while the deeper well below holds hand saws, a level, or a drill. It is a one-weekend build with hand tools or a table saw, and the two things that actually decide whether it lasts are the wood you pick and the joints you cut at the corners – not the finish, and not the exact dimensions.
Picking Wood That Will Actually Hold Up
Best Glue For This Build
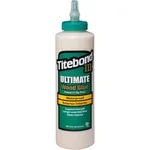 |
Titebond III Ultimate Wood Glue, 16 oz – $9.58 Rabbet and dado joints on a toolbox depend on glue coverage, not just fasteners – this is the glue to use on every corner and the tray cleats.
|
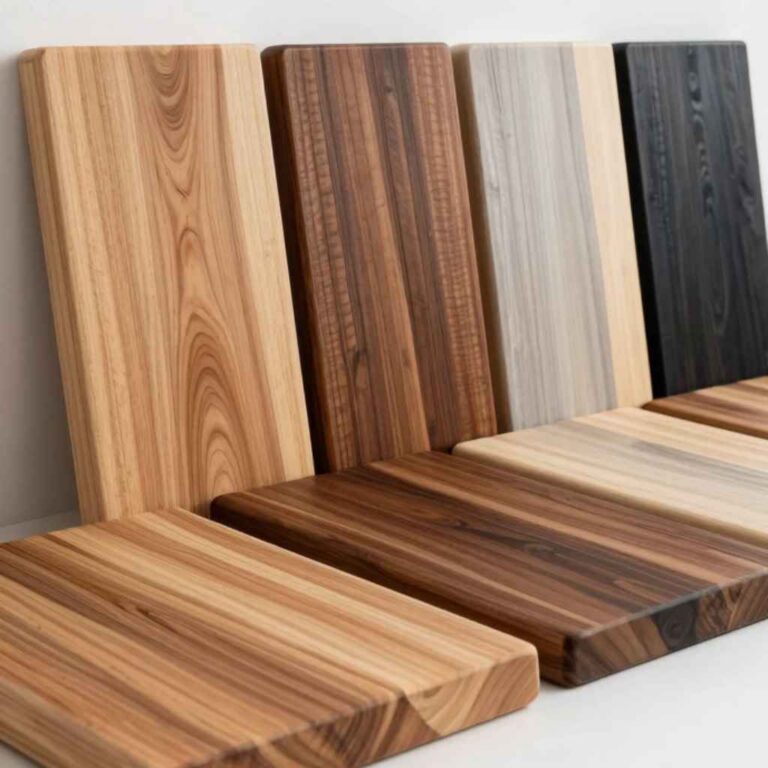
Two woods do the job on a tote: 3/4-inch solid pine (or poplar if you want something that takes paint better) for the two end pieces that carry the handle, and 1/2-inch plywood for the long sides and bottom. Birch or Baltic birch plywood is worth the extra cost over cheap sanded plywood – it has more veneer plies per inch, so it holds screws near an edge without splitting the way 3- or 5-ply construction-grade plywood does. Skip particleboard and MDF entirely: both swell if the shop ever gets damp, and neither holds a screw thread once it’s been driven and removed once.
A tote sized around 20 to 24 inches long, 9 inches wide, and 10 inches tall to the top of the handle uses roughly 6 to 8 board feet of stock total, including the tray. Buy the end-piece stock a little oversized and let it sit in the shop for a few days before cutting – pine picked up straight off a big-box store rack is often still shedding moisture and can cup slightly as it acclimates.
Joinery: Why Rabbets Beat Butt Joints
The old version of this page told readers to just glue and screw square-cut boards together at the corners. That’s a butt joint, and it’s the weakest way to build a box that’s going to get picked up, set down, and occasionally dropped. A butt joint relies entirely on the fastener and a thin ring of end-grain glue contact, and end grain barely holds glue at all.
Cut a rabbet instead: a 3/8-inch deep, 3/4-inch wide step let into the inside face of each end piece, sized to accept the full thickness of the side panel. The side panel drops into that step, so the joint has long-grain-to-long-grain glue contact on two faces instead of one weak end-grain-to-face joint. Glue the rabbet, clamp it, and add a few 1-inch brads or screws mostly to hold things in place while the glue cures – the joint’s real strength comes from the glue line, not the fasteners.
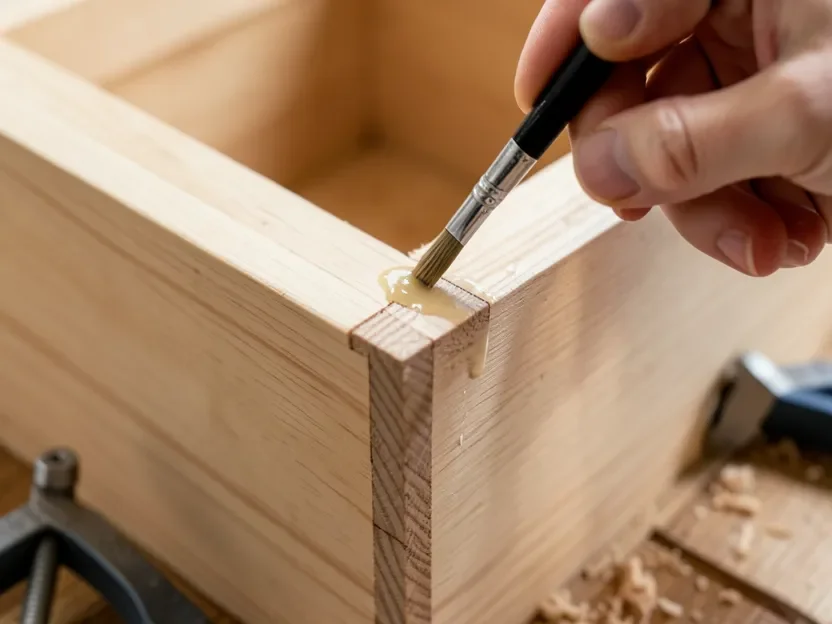
Do the same thing for the bottom panel: instead of just nailing it to the bottom edges of the sides and ends, cut a 1/4-inch deep dado a half-inch up from the bottom edge on the inside face of every side piece, and let the bottom panel float in that groove. This takes the entire weight of whatever you load into the tote off the corner joints and puts it on four long glue-and-groove seams instead.
Building the Lift-Out Tray Top
The tray is what makes this a “toolbox top” rather than just an open crate. It sits on two cleats – strips of 3/8 by 3/4-inch scrap glued and screwed to the inside faces of the end pieces, about 2.5 to 3 inches down from the top edge. That height matters: too high and the tray blocks the handle opening; too low and you lose room for anything taller than a pencil in the well underneath. Test-fit a hand saw or a cordless drill in the lower compartment before you commit to a cleat height.
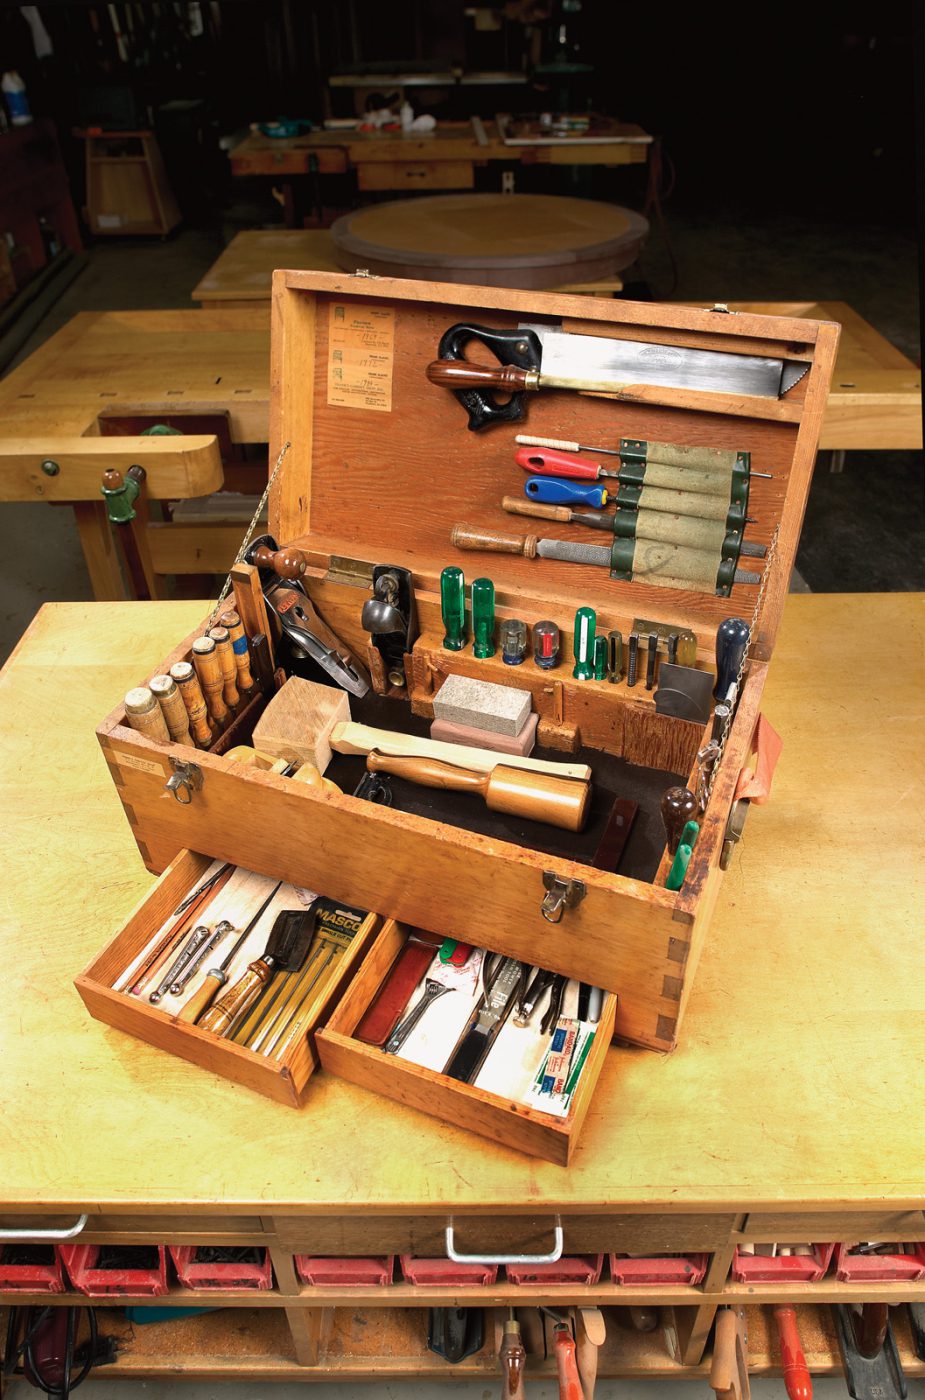
Build the tray itself from thinner stock than the box – 1/4 or 3/8-inch plywood works well – with a shallow perimeter frame about an inch and a half tall so small parts don’t roll out. Size the tray with about 1/8 inch of clearance on each side so it lifts straight out without binding, but doesn’t rattle side to side when the tote is carried. If you want dividers for screws, pencils, or chisels, cut thin plywood strips and let them into shallow dado slots in the tray’s end pieces rather than just gluing them in loose – a divider that isn’t captured in a slot works itself free within a few months of use.
Cutting the Handle and Assembling the Box
The handle takes more abuse than any other part of the tote, so it’s worth using a tougher species than the pine sides – ash or hickory are the traditional choices because both resist splitting under a shock load, which matters when a loaded tote gets picked up quickly or bumps a doorframe. Shape it from a single piece of 3/4-inch stock, round or chamfer the edges where your hand grips it, and mount it through the end panels above the tray line, either with a through-tenon or simply bolted through with a washer on each side.
Assembly order matters more than most builders expect. Glue and clamp the four rabbet corners first and let that cure fully – rushing this step is the most common reason a tote ends up slightly out of square. Once the box is square and dry, slide the bottom panel into its dado grooves (no glue needed there if the fit is snug, since the panel needs room to move slightly with humidity). Add the tray cleats next, then cut and fit the tray last, and mount the handle only after everything else is assembled and square.
Finishing
Sand through the grits up to 220 before finishing – anything coarser will telegraph through a wipe-on finish. Skip glossy varnish or polyurethane; a working tote gets handled with dirty or slightly oily hands constantly, and a gloss finish gets slick and shows every scuff. Two coats of boiled linseed oil, wiped on and buffed off after 15 minutes, or a matte wipe-on poly, both hold up better in daily shop use and are easy to renew with another coat years later instead of needing to be stripped.
Safety Measures
The rabbets and dado grooves on this build are usually cut on a table saw with a dado stack or a router table, and both operations put your hands closer to a spinning blade or bit than a straight crosscut does. Use a push block for any pass narrower than about 6 inches, keep the stock flat against the fence through the entire cut, and unplug the router before changing bits rather than reaching around a bit that’s still spinning down. Once the tote is built, inspect the handle joint and the tray cleats after the first few weeks of use – that’s when a glue joint that wasn’t fully clamped tends to show up as slight movement, and it’s a five-minute fix if you catch it early instead of a repair job later.
Frequently Asked Questions About Wood Toolbox Tops
What Wood Should You Use for a Toolbox Top?
Use 3/4-inch solid pine or poplar for the two end pieces that carry the handle, and 1/2-inch birch or Baltic birch plywood for the sides and bottom. Avoid particleboard and MDF – both swell with shop humidity and won’t hold a screw thread reliably.
What Joint Is Strongest for the Corners?
A rabbet joint – a 3/8-inch deep step cut into the end pieces that the side panels drop into – is stronger than a plain butt joint because it puts long-grain glue surface on two faces instead of relying on end grain and fasteners alone. Use a dado groove for the bottom panel for the same reason.
How Deep Should the Lift-Out Tray Sit?
Set the tray cleats about 2.5 to 3 inches down from the top edge. That leaves the handle opening clear and still leaves enough room in the well below for a hand saw, a level, or a cordless drill. Test-fit your largest tool before fixing the cleat height.
What Wood Works Best for the Handle?
Ash or hickory. Both resist splitting under the kind of shock load a handle takes when a loaded tote is picked up quickly or bumps against something, which pine and most plywoods don’t handle as well over years of use.
Conclusion
A wood toolbox top is a small build, but the details that make it last – rabbet joints instead of butt joints, a dadoed bottom panel, and a tray sized with real clearance for the tools you’ll actually carry – are the same principles that show up in bigger casework. Get the joinery right on this one and the same techniques carry straight over to a blanket chest or a set of shop drawers.
Sponsored / affiliate links. As an Amazon Associate I earn from qualifying purchases. I may earn additional commission from eligible campaigns.