How to Make a Wooden Box: Exact Cuts, Joints & Glue Times
A wooden box comes together in eight steps – measure, cut, dry-fit the joint, glue, clamp, and finish – using wood between 3/8″ and 1/2″ thick for the sides. Skip the minimum clamp time and the joint can fail under load. This guide gives exact cut dimensions, compares four joint options for strength versus ease, and covers how long to actually wait before handling the box.
Insert your Affiliate Disclosure reusable block here.
Materials and Tools You’ll Need
Best Box Glue-Up Clamp Pick
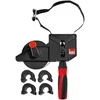
BESSEY 23 ft Variable Angle Strap Clamp – $25.16
Wraps all four corners of a box at once, which is exactly the “clamp the box square” step above – the angle clips hold each corner at 90° while you check the diagonals.
- Best for: gluing up a full box in one clamping pass
- Why we picked it: one strap replaces four separate corner clamps and keeps even pressure on all sides
- Main drawback: takes a minute longer to set up than a simple corner clamp
Compare more box-clamping options
 Option 1 SEDY 13 ft Band Clamp – $9.99
|
 Option 2 DIYLOG 90° Corner Clamp 4-Pack – $39.97
|
 Option 3 Pony Jorgensen Adjustable Band Clamp – $14.39
|
As an Amazon Associate we earn from qualifying purchases.
Gather everything before you start cutting – stopping mid-project to find a clamp or the right grit sandpaper is how square cuts turn into rushed, sloppy ones.
- Wood boards, 3/8″–1/2″ thick, for the sides (pine or poplar for a first box; hardwood or void-free plywood for a nicer one)
- 1/4″ plywood for the bottom panel
- wood glue
- 18-gauge brad nails or 1″ wood screws
- Sandpaper – 120 grit and 220 grit
- A saw for cutting the wood
- Measuring tape and a combination square
- Pencil
- Clamps – a band/strap clamp or corner clamps (see picks below)
- Finish of choice: varnish, paint, or wipe-on oil
- Safety gear: goggles, hearing protection, and a dust mask
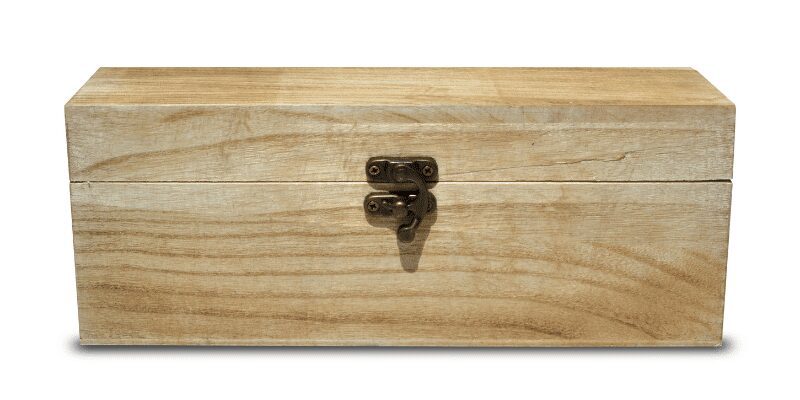
How Big Should You Make Your Box? (Sizing & Cutting Guide)
Decide the box’s inside dimensions first, then add material thickness for the outside cuts. The two side panels need to be cut shorter than the front and back by twice your wood’s thickness, so the box closes square instead of proud on the ends.
For example, a 12″ x 8″ x 4″ box built from 1/2″ stock needs two 12″-long front/back pieces and two 11″-long side pieces (12″ minus two 1/2″ thicknesses). Cut the bottom panel to the box’s full outside footprint, then either set it into a shallow rabbet or glue it flush to the bottom edge.
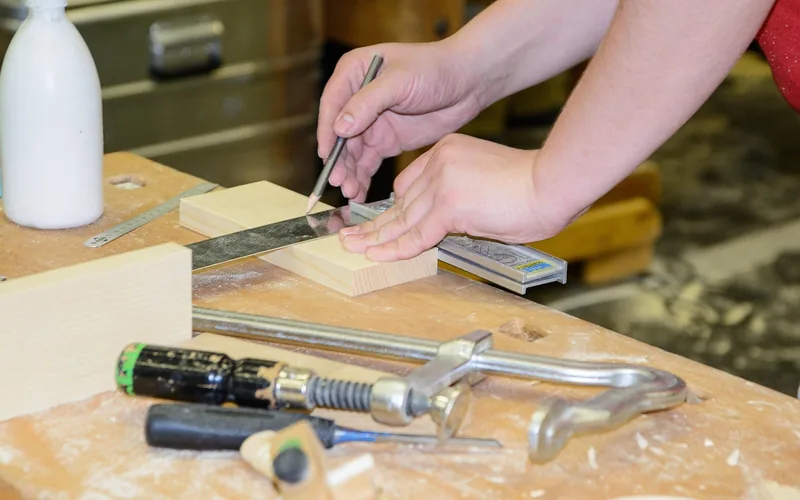
8 Steps to Build a Wooden Box
- Cut your pieces to size: Using the dimensions from the sizing guide above, mark every cut with a combination square before you touch the saw – a line that’s off by 1/16″ on four pieces compounds into a box that won’t sit flat.
- Choose and dry-fit your joint: Butt joints are fastest, but a rabbet joint – a shallow notch cut into the end of the front/back pieces – keeps the side panels registered in place while the glue sets. Dry-fit all four corners before adding any glue.
- Sand the interior faces first: Sand the inside faces and corners with 120-grit, then 220-grit sandpaper now – you can’t reach those surfaces once the box is glued shut.
- Glue the joints: Apply a thin, even layer of wood glue to both mating surfaces of each joint, not just one side. A starved joint, with too little glue, fails just as often as one with excess squeeze-out.
- Clamp the box square: Wrap a band or strap clamp around all four corners at once, or use a corner clamp on each joint, and check that the diagonals measure equal before the glue skins over – that confirms the box is square, not just closed. Leave clamps on for at least 30 to 60 minutes on an unstressed joint, and wait a full 24 hours before handling the box under any load.
- Reinforce with nails or screws (optional): 18-gauge brad nails or 1″ screws driven through the joint add mechanical strength while the glue cures, and let you handle the box sooner than the full 24-hour glue cure alone.
- Add hardware: Attach hinges for a lid, or a hasp and clasp for a lockable box — see our full guide on how to put a lock on a wooden box for the drilling and fitting steps. Center hardware and mark pilot holes before drilling to avoid splitting the wood.
- Sand and finish: Once the glue has fully cured, sand the whole box with 220-grit, then apply your chosen finish – paint, stain, or a wipe-on oil – following the recoat time on the product label.
Which Joint Should You Use? (Butt vs Rabbet vs Miter vs Dovetail)
The right joint depends on how much strength versus how much tooling and skill you want to trade for it:
| Joint | Difficulty | Strength | Best For |
|---|---|---|---|
| Butt joint | Easiest | Weakest – relies on glue and fasteners alone | Quick storage boxes, first builds |
| Rabbet joint | Easy | Good – the notch resists racking | Best all-around beginner joint |
| Miter joint | Moderate | Weak alone – needs splines or nails | Hiding end grain on a clean-looking box |
| Dovetail joint | Hard | Strongest – mechanically locks without glue | Heirloom boxes, fine furniture-grade work |
“Rabbet joints are the easiest upgrade from a plain butt joint – you’re only cutting a shallow notch, but it keeps the two mating faces registered against each other while the glue sets, which stops the racking that ruins most beginners’ first box.”
If you want to skip fasteners entirely, see our guide to building a box without nails, which compares dovetails, box joints, rabbets, miter splines, and glued butt joints by strength and difficulty.
What Thickness of Wood Should You Use?
Use 3/8″ to 1/2″ thick pine or poplar for the box sides, and 1/4″ plywood for the bottom – plywood resists warping better than solid wood at that thickness because of its cross-laminated layers. Drop to 1/4″ solid wood only on small boxes under about 6″ per side; anything larger flexes, and the joints work loose over time.
📊 Wood glue reaches full cure strength in 24 hours, though clamps can come off after just 30–60 minutes on an unstressed joint. At 50°F, full cure can take up to 48 hours – Source: Titebond FAQs
If you want a deeper look at clamp timing specifically, see our guide on how long to clamp Titebond 3.
Safety Precautions When Building a Wooden Box
Building a DIY wooden box involves saws, glue, and finish fumes – a few habits keep the project from turning into a trip to urgent care.
- Wear PPE: safety goggles, hearing protection around power tools, and a dust mask.
- Work in a ventilated area to limit dust and finish-fume exposure.
- Use the right tool for each cut and keep blades sharp – dull blades cause more kickback and tearout than sharp ones.
- Keep the workspace clear of sawdust and offcuts to avoid slips.
- Clamp every workpiece before cutting or drilling – never hold a small piece by hand near a spinning blade or bit.
- Keep hands clear of the blade path and use a push stick on a table saw.
Quick Tips for a More Sustainable Wooden Box
A few small choices cut waste and the environmental footprint of your box without changing how you build it:
- Choose FSC-certified or reclaimed wood – reclaimed lumber also brings character new stock can’t match.
- Plan your cutting list first to minimize offcuts and get more boxes out of the same board.
- Use water-based, low-VOC glues and finishes instead of solvent-based products.
Frequently Asked Questions
What Is the Best Wood to Make a Box Out Of?
For beginner and general-purpose boxes, softwoods like pine or cedar are easiest to work with. For a more durable or decorative box, hardwoods such as oak, walnut, or cherry hold finish and hardware better. Exotic woods like mahogany or teak look striking but cost significantly more per board foot.
Can You Make a Wooden Box With Plywood?
Yes. Plywood is stable, resists warping, and costs less than solid hardwood. Cut it to the same dimensions as solid wood, glue and clamp the joints the same way, then finish the edges carefully since plywood edge grain shows the ply layers unless sanded and sealed well.
What’s the Best Joint for a Wooden Box?
For most beginners, a rabbet joint is the best balance – it’s only slightly harder to cut than a butt joint but resists racking far better. Dovetail joints are stronger still but need practice and hand-cutting skill; save them for a box where appearance matters as much as strength.
Can You Make a Wooden Box Without Power Tools?
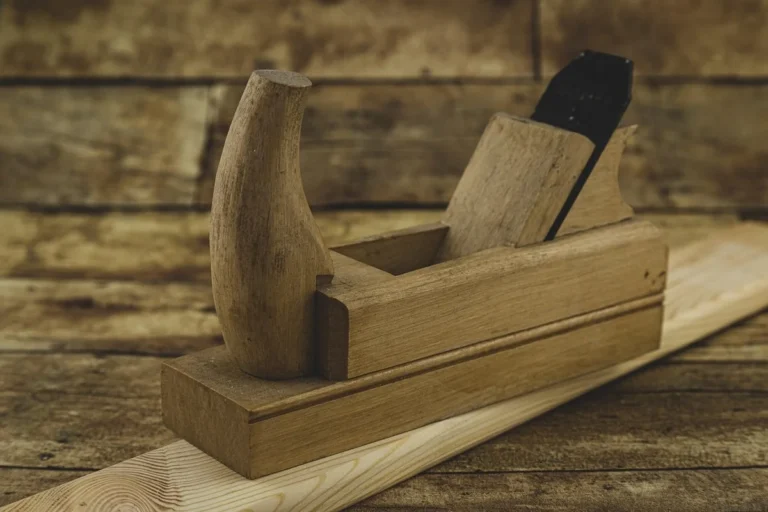
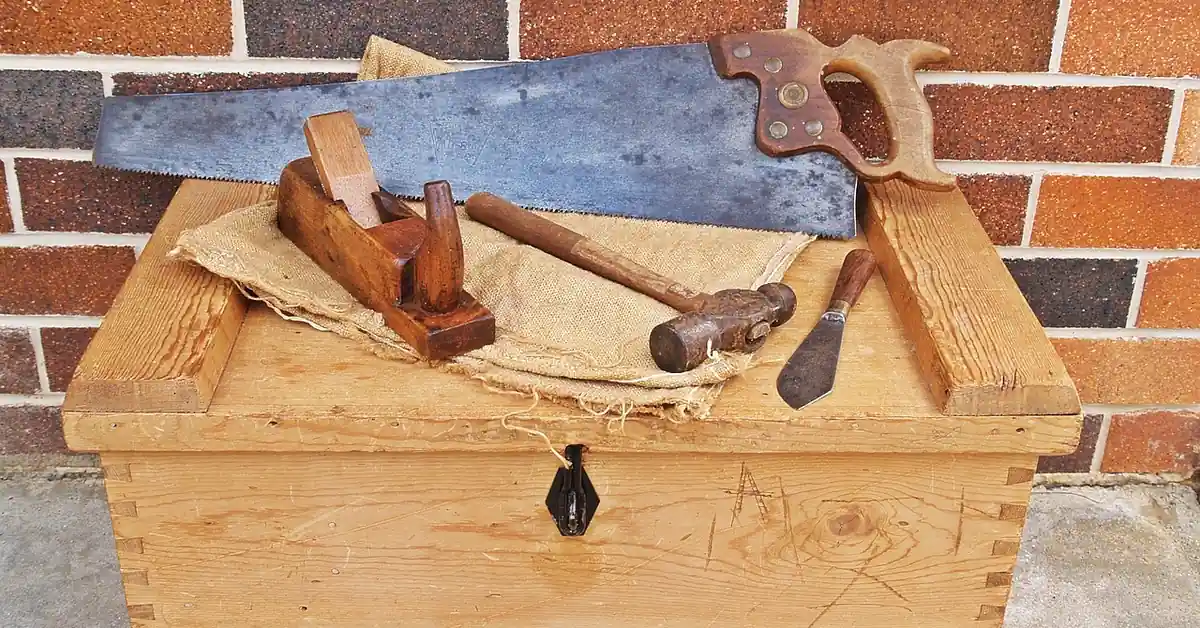
Yes. A hand saw, chisel, hammer, and hand plane can complete every step in this guide. It takes longer and demands more careful technique, but hand-tool boxes are a common and satisfying beginner project with no compromise on the final result.
How Long Should You Clamp a Wooden Box Before Removing the Clamps?
Keep clamps on for at least 30 to 60 minutes on an unstressed corner, then wait a full 24 hours before handling the box under any real load. Cold shops slow this down – at 50°F, full cure can take up to 48 hours instead of 24.
Do You Need Both Glue and Nails for a Wooden Box?
No, but they serve different jobs. Glue does the actual bonding – a properly glued joint is often stronger than the surrounding wood. Nails or screws aren’t there for strength; they hold the joint aligned while the glue cures and let you handle the box before the full 24-hour cure finishes.
Conclusion
Making a wooden box comes down to accurate cuts, a joint that matches your skill level, and giving the glue the time it actually needs before you handle the result. Get those three things right and the rest – hardware, finish, dimensions – is just personal preference. If your next box needs internal compartments, see our guide on building a wooden box with dividers, or browse more woodworking projects for your next build.
Sponsored / affiliate links. As an Amazon Associate I earn from qualifying purchases. I may earn additional commission from eligible campaigns.