Arch Bridge With Popsicle Sticks: Build Steps + Why Arches Fail
A popsicle stick arch bridge carries load by squeezing the arch, but an arch alone is not unbreakable: it also pushes outward at both feet, so it needs a tie across the base or very firm supports. Build it from soaked, bent and glued laminated strips tied to a flat deck. This guide covers materials, build steps, glue, a design comparison and a failure checklist.
Materials and Tools for a Popsicle Stick Arch Bridge
Best Bridge Glue Pick
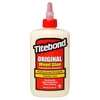 |
Titebond Original Wood Glue (8 oz), $3.33 Every joint in the arch laminate and the truss hangers below depends on glue that sets rigid, and a PVA wood glue is the cheapest way to get that.
|
As an Amazon Associate we earn from qualifying purchases.
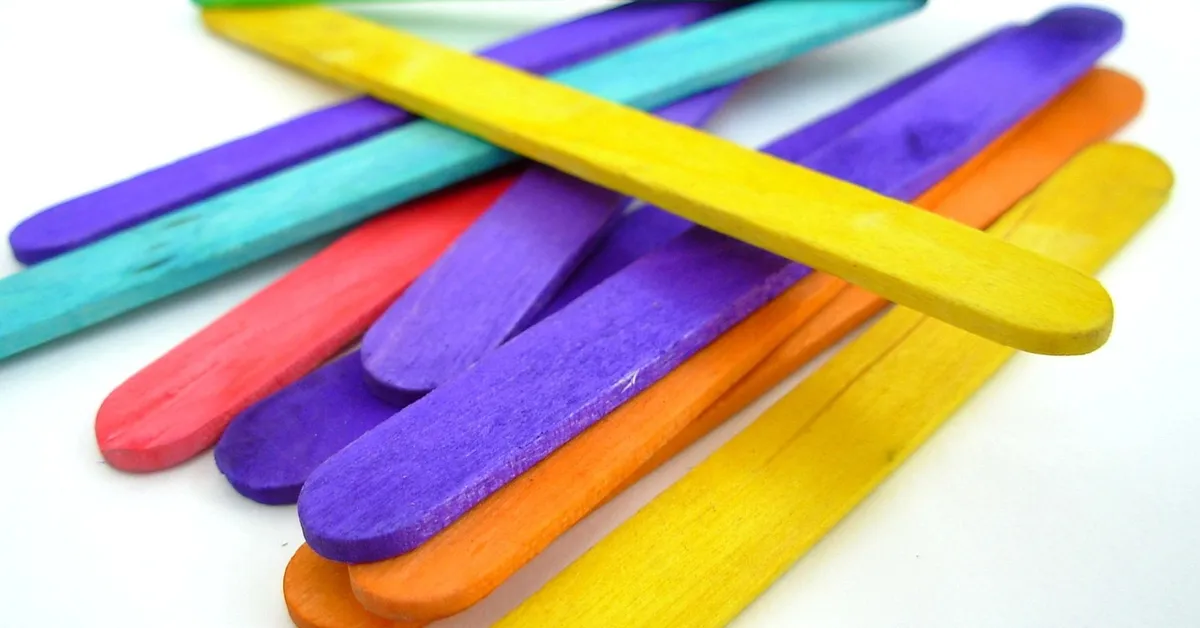
Standard craft sticks are about 4.5 inches long and 3/8 inch wide, while jumbo sticks are 6 inches long and 3/4 inch wide (see our popsicle stick dimensions guide for the full size chart). Standard sticks are easier to bend into an arch; jumbo sticks make a stiffer deck and tie.
- Craft sticks: buy more than you plan to use. The Garrett’s Bridges building guide points out that some sticks in a store pack are defective, so sort out warped, split or knotted ones before you start.
- Wood glue (PVA): the main structural adhesive for this build. A low-temperature glue gun is fine for tacking pieces in place while the wood glue sets.
- A curved form: a mixing bowl, a rolled-up piece of cardboard or a paint can lid to bend the arch around.
- Paper full-size plan, ruler and pencil: draw the bridge at actual size and build on top of it, covered with wax paper so the glue does not stick to the plan.
- Scissors or a small saw, fine sandpaper, clothespins or small clamps: see how to cut popsicle sticks without splitting them.
Eye protection is worth wearing for the cutting and for the final load test, because overloaded sticks snap with splinters.
How an Arch Bridge Carries Load (and Why It Is Not Unbreakable)
When you press down on the middle of an arch, the curve turns that downward force into compression along the arch, which is why stone arches stand for centuries. The catch is that a compressed arch also pushes sideways at its two feet. Engineers call this horizontal thrust, and a simple arch needs strong abutments on both sides to resist it, as explained in this overview of tied-arch bridges.
That is a part many tutorials gloss over. If you set a glued stick arch on two loose books or wooden blocks, the feet slide apart under load and the arch flattens and snaps at the glue joints. The fix is a tied arch: a horizontal chord (usually the deck itself) joins the two feet and carries the outward push as tension, like the string on a drawn bow. With a tie, the supports only have to hold the bridge up, not hold it in.
| Support condition | What the arch feet do | What to build |
|---|---|---|
| Arch on loose blocks, no tie | Slide outward, arch flattens, joints peel | Not recommended for a loaded bridge |
| Arch glued to a rigid deck (tied arch) | Thrust is carried by the deck in tension | Glue the arch ends into a layered deck so the joint overlaps several sticks |
| Arch pressed into fixed walls or clamped blocks | Thrust is carried by the supports | Only if the project rules let you use fixed abutments |
Because the deck is now doing structural work, make it a proper laminate: two or three layers of sticks with the joints staggered, not a single row of sticks butted end to end.
Popsicle Stick Bridge Designs Compared: Arch, Truss or Beam
The question of which popsicle stick bridge design is strongest has no single answer, because it depends on the contest rules (span, weight limit, where the load is applied). What you can compare honestly is how each design carries load and where it tends to fail first.
| Design | How the load travels | Usually fails first at | Best for |
|---|---|---|---|
| Beam (flat) | Bends the sticks; top is squeezed, bottom is stretched | Mid-span, where the sticks snap or the glued splice opens | First-time builders and short spans |
| Truss (Warren, Pratt, Howe) | Triangles turn the load into pushes and pulls in short members | A single joint or a thin diagonal that buckles | Contests: the usual choice, as in the Garrett’s Bridges guide |
| Arch (untied) | Compression along the curve, plus outward thrust at the feet | The feet spreading, then the glue joints | Display models resting on solid supports |
| Tied arch with hangers | Compression in the arch, tension in the deck and vertical hangers | Hanger joints, or sideways buckling of the arch | Looks like an arch and behaves well; more building time |

The Garrett’s Bridges guide names the Howe, Pratt and Warren trusses as the proven designs for stick bridges, and the photo above shows why triangles matter: a rectangle of sticks can rack sideways, a triangle cannot change shape without a stick breaking or a joint failing. A well-built tied arch borrows this idea by adding diagonal sticks between the arch and the deck.
How to Build an Arch Bridge With Popsicle Sticks, Step by Step
- Draw the plan at full size. Mark the span, the height of the arch and the deck line on paper, then tape wax paper over it. Everything you glue gets pinned or held on this plan, so both sides come out identical.
- Soak the sticks for the arch. Hot water for at least 30 minutes, or cool water for 12 to 24 hours, makes craft sticks pliable (see Garrett’s Bridges on craft stick bending).
- Bend and dry them on the form. Wrap the soaked sticks around the bowl or cardboard roll, hold with rubber bands or clothespins, and let them dry fully. Dried sticks keep the curve.
- Laminate the arch. Glue three bent sticks face to face with wood glue, clamp with clothespins and stagger the joints so no two seams line up. Wait for the clamp time before moving it.
- Build the deck. Glue two layers of sticks into a straight deck with overlapping joints. This deck is the tie that stops the arch feet from spreading.
- Fix the arch to the deck. Glue the arch ends over the deck ends so each foot overlaps several sticks, not just one edge.
- Add hangers and diagonals. Glue vertical sticks from the arch down to the deck, then add diagonals between them to form triangles.
- Build a second, identical arch. Join the pair with cross-braces at the top and between the hangers so neither side can twist. Garrett’s Bridges stresses keeping the two sides perfectly vertical when you join them.
- Let it cure for a full day. Do not test until the glue is fully cured.
If you also want to build other projects from the same sticks, our popsicle stick catapult and easy popsicle stick crafts guides use the same cutting and gluing skills.
Best Glue for a Popsicle Stick Bridge
For a bridge that will be loaded, joint quality matters more than anything else. Wood glue soaks into the wood fibers and sets rigid, which is why we point to it first. Hot glue is quick but stays somewhat flexible, and cyanoacrylate (super glue) sets fast but is brittle.
| Glue | Strengths | Weak points | Use it for |
|---|---|---|---|
| PVA wood glue | Rigid bond, water cleanup, strong overlapping joints | Needs clamping and a long cure | Arch laminate, deck, all load-bearing joints |
| Hot glue | Instant hold, no clamps | Stays flexible; thick glue lines add weight | Quick models and temporary tacking |
| Super glue (CA) | Sets in seconds | Brittle; sticks to fingers | Tiny tacking jobs, with wood glue for structure |
Our wood glue types and cure times guide reports typical PVA numbers: about 5-10 minutes of open time, 30-60 minutes of clamp time and about 24 hours to full cure. For a comparison with a glue gun, see our hot glue vs wood glue breakdown and types of hot glue. Use thin, even coats: a thick wet joint adds weight and can dry weaker than a thin one.
Why Popsicle Stick Bridges Fail and How to Fix Each Problem
| What you see | Likely cause | Fix |
|---|---|---|
| Joint peels apart cleanly | Too little glue, dry wood, or tested before cure | Overlap sticks face to face and wait the full cure |
| Arch feet slide outward and the arch flattens | No tie, or the arch is glued to one edge only | Tie the arch to the deck and overlap the feet |
| Bridge twists or leans sideways | Sides not braced against each other | Add cross-braces on top and between hangers |
| Sticks split along the grain | Cut across thin sticks, or notches too deep | Cut with a fine saw and sand instead of crushing |
| One diagonal bows out and snaps | Long thin member under compression | Shorten it, double it, or add a mid-point brace |
Failures in a glue joint tell you something useful. If the wood splits and the glue holds, the joint was good and the stick was the limit. If the glue lets go cleanly, the joint was the weak link.
How to Test Your Popsicle Stick Bridge Safely
- Set the bridge on two supports at the span stated in your project rules.
- Hang a bucket or loop from the center of the deck (or the load point your rules specify).
- Add weight slowly, such as small weights or sand, and stop if you hear cracking.
- Record the load at failure, weigh the bridge, and divide the load by the bridge weight. This efficiency ratio is how many contests compare bridges, per Garrett’s Bridges.
- Keep your face and hands back and wear eye protection. Place a box under the bridge to catch the pieces.
Premature testing is the most common reason a good design scores badly. The Garrett’s Bridges guide notes that testing before the glue has cured reduces load capacity noticeably, so wait the full day.
Frequently Asked Questions About Popsicle Stick Arch Bridges
What is the strongest bridge design for popsicle sticks?
Triangulated truss designs such as the Warren, Pratt and Howe are the proven choice for popsicle stick bridges, and a tied arch with diagonal hangers combines arch and truss behavior. No single design wins every contest: the best one depends on the span, the weight limit and where the load is applied.
How do you make an arch bridge with popsicle sticks?
Draw a full-size plan, soak sticks in hot water for at least 30 minutes, bend them around a curved form and let them dry. Glue three bent sticks into a laminated arch with staggered joints, glue the arch to a straight laminated deck, add vertical hangers and diagonals, then join two identical sides with cross-braces and let the glue cure for a day.
What glue is best for a popsicle stick bridge?
PVA wood glue is the best choice for load-bearing joints because it sets rigid and bonds into the wood. Hot glue is useful for quick models and holding pieces in place, but it stays somewhat flexible. Super glue is fast but brittle, so use it only for small tacking jobs.
How long should the glue dry before testing a popsicle stick bridge?
Typical PVA wood glue needs about 30-60 minutes of clamp time and about 24 hours to reach full cure, so wait a full day before loading the bridge. Testing early lowers the load a bridge can carry.
How do you bend popsicle sticks for an arch?
Soak the sticks in hot water for at least 30 minutes, or in cool water for 12 to 24 hours, until they flex easily. Wrap them around a bowl or cardboard roll, hold them in place and let them dry completely. Dried sticks keep the curve.
What are the rules for a popsicle stick bridge contest?
Rules vary by school or event, but they typically limit the materials, the span, the bridge weight and the glue allowed, and they specify how the load is applied. Read your own rules first, because a design that is strong but breaks a rule is disqualified.
Final Thoughts
An arch bridge from popsicle sticks is a good first lesson in how structures handle force, as long as you remember the arch needs a tie to hold its feet together. Pick sticks carefully, laminate the arch, tie it to a laminated deck, brace both sides, and give the glue a full day before you test.
Sponsored / affiliate links. As an Amazon Associate I earn from qualifying purchases. I may earn additional commission from eligible campaigns.