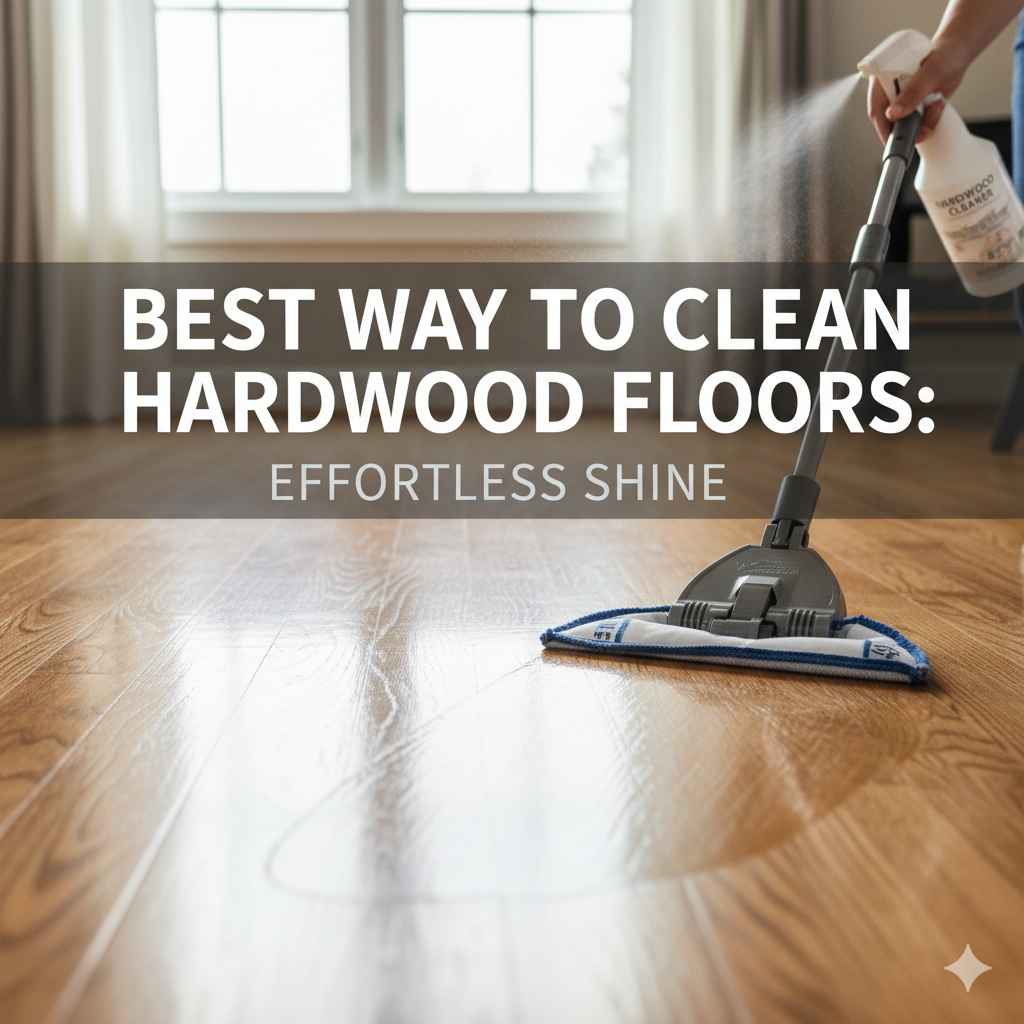
Best Way To Clean Hardwood Floors: Effortless Shine
The best way to clean hardwood floors for an effortless shine involves regular dry cleaning and a damp mop with a pH-neutral cleaner, avoiding excess water and harsh chemicals. This simple routine preserves the wood’s finish and keeps your floors looking beautiful for years.
Hey there, fellow DIYers and homeowners! Ever look down at your beautiful hardwood floors and just wish they’d sparkle like they did the day they were installed? It’s a common wish! Over time, dust, dirt, and everyday life can leave them looking a little dull. It can be frustrating when you want that showroom shine, but don’t worry! Cleaning hardwood floors doesn’t have to be a chore that leaves you exhausted or worried about damaging them.
With a few simple techniques and the right approach, you can easily bring back that glorious shine and keep your hardwood looking its absolute best. We’ll walk through it step-by-step, making it totally manageable, even if you’re just starting out with home maintenance. Get ready to transform your floors!
Why Proper Hardwood Floor Cleaning Matters
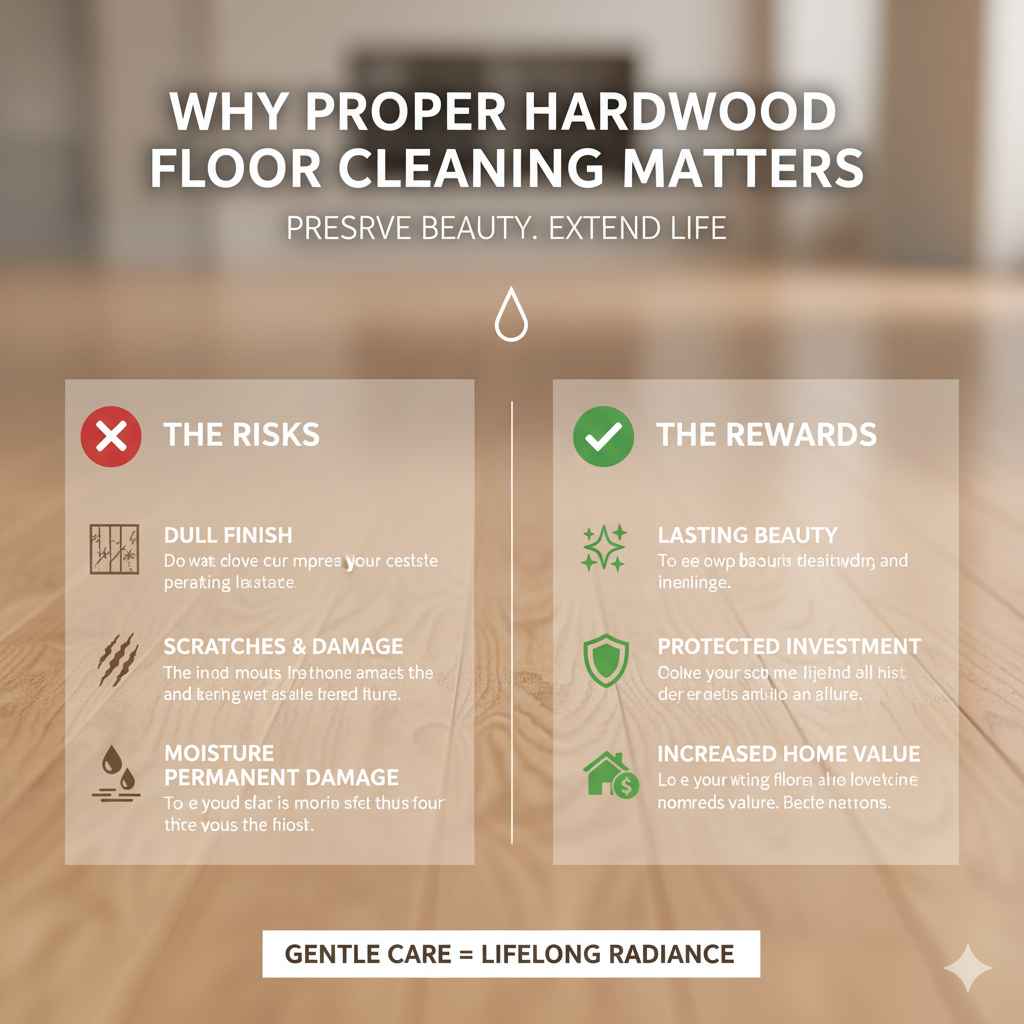
Your hardwood floors are more than just a surface; they’re a beautiful, natural feature of your home that adds warmth and value. Unlike carpet or tile, hardwood requires a gentle touch. Using the wrong cleaning methods can lead to a dull finish, scratches, or even permanent damage from excess moisture. The right cleaning routine protects your investment, making your floors last longer and look stunning.
Think of it like this: a little bit of care goes a long way. When you clean them correctly, you’re not just making them look good today; you’re preserving their natural beauty for years to come. We want to avoid things like water seeping into the wood or finishes being stripped away by harsh chemicals. The goal is always a gentle yet effective clean that reveals the wood’s natural radiance.
Understanding Your Hardwood Floor Finish
Before we dive into cleaning, it’s super important to know what kind of finish your hardwood floors have. This makes all the difference in choosing the right cleaning products and techniques. Most modern hardwood floors have a surface seal, meaning the finish is on top of the wood. Older floors might have a penetrating finish, where the seal soaks into the wood itself.
The most common surface finishes today are polyurethane, urethane, or polyacrylic. These are durable and offer good protection. They usually have a slight sheen, ranging from matte to high gloss. If you’re unsure, check with the manufacturer or a professional. Knowing your finish helps you avoid damaging it and ensures you’re using the best methods for a great shine.
Polyurethane/Surface Finishes: The Most Common
These are the finishes you’ll find on the vast majority of newer hardwood floors. They create a protective layer on top of the wood, making them quite resilient to everyday wear and tear. The key is to clean the surface without weakening this protective seal.
Key Characteristics:
- Durable and water-resistant (but not waterproof!).
- Typically has a noticeable sheen.
- Can be scratched or dulled by abrasive cleaners or excessive water.
- Generally easy to maintain with the right products.
Penetrating Finishes (Oil-Based/Waxes): Less Common Now
These finishes soak into the wood rather than sitting on top. They give a more natural, matte look but require different care. They don’t offer as much protection against spills and are more susceptible to wear.
Key Characteristics:
- Offers a more natural, matte appearance.
- Requires more frequent reapplication or buffing.
- More susceptible to stains and water damage.
- Specialized cleaning products are often needed.
For this guide, we’ll focus primarily on caring for those popular polyurethane/surface finishes, as they represent the most common scenario for homeowners. If you have an older floor with a wax or oil finish, you might need to consult specific manufacturer guidelines or a wood floor specialist.
Essential Tools and Supplies
Gathering the right supplies beforehand makes the cleaning process smooth and effective. You don’t need a lot of fancy equipment, just a few key items to get that effortless shine!
- Microfiber Mop: This is your best friend for hardwood floors. Microfiber pads are excellent at trapping dust and dirt without scratching, and they allow for minimal moisture use.
- Soft-Bristle Broom or Dust Mop: For daily or every-other-day cleaning to pick up loose debris. A good quality one will make a big difference.
- pH-Neutral Hardwood Floor Cleaner: Crucial! Look for cleaners specifically formulated for wood floors. Avoid all-purpose cleaners, vinegar, or ammonia, as they can dull or damage the finish.
- Two Buckets: One for your cleaning solution and one for rinsing your mop pad. This prevents spreading dirty water.
- Clean Water: For filling your rinse bucket.
- Optional: Soft Cloths or Towels: For drying any excess moisture if needed.
Having these on hand means that when it’s time to clean, you can get right to it without any last-minute trips to the store. It’s all about being prepared for that effortless shine!
The Best Way to Clean Hardwood Floors: Step-by-Step Guide
Here’s the straightforward process to get your hardwood floors looking their absolute best. We’ll break it down into simple steps you can easily follow.
Step 1: Dry Sweep or Dust Mop Daily (or Every Other Day)
This is the MOST important step for maintaining the shine and preventing scratches. Dirt and grit are like tiny sandpaper on your floors. Removing them frequently is key.
- Use a soft-bristle broom or a microfiber dust mop.
- Work with the grain of the wood.
- Sweep or dust the entire floor area, paying attention to corners and edges where dust bunnies love to hide.
- For larger areas, a wide microfiber dust mop is very efficient.
This quick daily sweep prevents debris from being ground into the finish. It’s the foundation of a great-looking floor!
Step 2: Prepare Your Cleaning Solution
For a deep clean, we’ll use a slightly damp mop. It’s crucial to use the right cleaner and the right amount of liquid.
- Choose the Right Cleaner: Select a pH-neutral cleaner formulated specifically for hardwood floors. Brands like Bona, Bruce, or Swiffer WetJet Wood Floor Cleaner (ensure it’s for wood!) are good options. Always check the product label. A quick search for “pH neutral cleaner for hardwood floors” will give you many reputable choices.
- Follow Dilution Instructions: If your cleaner requires dilution, mix it according to the manufacturer’s instructions in your first bucket. Never guess on the ratio! Too much soap can leave residue.
- Avoid Harmful Cleaners: Never use vinegar, ammonia, abrasive powders, steam mops, or excessive water. These can damage the finish and the wood. For more on what not to use, you can refer to guidelines from organizations like the National Wood Flooring Association (NWFA).
The key here is gentle and specific. We want to clean, not strip or damage the finish.
Step 3: Damp Mop Your Floors
This is where the shine really comes out, but it’s all about controlling moisture.
- Lightly Dampen the Mop Pad: Dip your microfiber mop pad into the cleaning solution, then wring it out THOROUGHLY. The mop should be barely damp, not wet. If you can see puddles or streaks of water left behind, it’s too wet.
- Mop with the Grain: Gently mop the floor in sections, always moving in the direction of the wood grain.
- Rinse Your Mop Pad Frequently: After mopping a small section, rinse the dirty mop pad in your second bucket of clean water, wring it out completely, and then dip it back into the cleaning solution bucket. This ensures you’re not just spreading dirty water around.
- Change Water/Solution as Needed: If your cleaning solution becomes visibly dirty, it’s time to change it.
The goal is to lift dirt and grime with the cleaning solution and the microfiber, without saturating the wood. If you see water sitting on the surface, wipe it up immediately with a dry cloth.
Step 4: Air Dry or Buff (If Necessary)
Once you’ve mopped a section, the floor should dry relatively quickly due to the minimal moisture used.
- Air Dry: Most of the time, the floor will dry on its own within a few minutes. Ensure good air circulation by opening windows or using fans if possible.
- Buff for Extra Shine: If you notice any faint water marks or want an extra touch of gleam, you can go over the still-damp areas with a clean, dry microfiber cloth or a separate dry microfiber mop pad. This buffs out any remaining moisture and leaves a brilliant shine.
This final touch really makes your floors pop, giving them that effortless, showroom look. It’s amazing what a little buffing can do!
Dealing with Spills and Stains Quickly
Accidents happen! The faster you clean up spills on hardwood, the less likely they are to cause lasting damage or stains.
- Immediate Action: For most spills, blot them up immediately with a clean, absorbent cloth. Don’t wipe, as this can spread the spill.
- Sticky Messes: For sticky residues, slightly dampen a cloth with your pH-neutral cleaner and gently wipe the area. Immediately dry with a clean, dry cloth.
- Stubborn Stains: For tougher stains that a damp cloth can’t remove, you might need a specialized wood floor stain remover. Always test these in an inconspicuous spot first. Follow the product instructions carefully, and make sure to rinse and dry the area thoroughly.
Quick action is your best defense against stains and marks on your beautiful floors.
Maintaining the Shine Between Deep Cleans
Keeping your floors looking their best between full mopping sessions is all about consistent, simple habits.
- Entryway Mats: Place doormats both outside and inside all exterior doors. This is the first line of defense against tracking in dirt, sand, and moisture.
- Area Rugs and Runners: Use rugs in high-traffic areas like hallways, living rooms, and kitchens. They protect the floor from wear and tear and can add decorative flair.
- Furniture Pads: Attach felt pads to the legs of all furniture (chairs, tables, sofas). This prevents scratches when furniture is moved. Regularly check and clean these pads to ensure no grit is trapped in them.
- Wipe Up Spills Immediately: As mentioned, prompt cleanup is critical.
- Avoid High Heels, Cleats, and Pet Nails: These can easily scratch or dent hardwood floors. Consider a “shoes off” policy at home, especially for guests. Keep pet nails trimmed.
These preventative measures drastically reduce the amount of dirt and damage your floors endure, making your regular cleaning much easier and keeping that shine longer.
Common Mistakes to Avoid
Even with the best intentions, some cleaning habits can do more harm than good. Being aware of these will help you protect your floors.
| Mistake | Why It’s Bad & What to Do Instead |
|---|---|
| Using too much water | Excess moisture can seep between floorboards, causing them to warp, swell, or discolor. The finish can also be damaged. Instead: Always use a barely damp mop. Wring it out thoroughly! |
| Using harsh chemicals | Vinegar, ammonia, bleach, or abrasive cleaners can strip the finish, dull the shine, or even etch the wood surface. Instead: Use only pH-neutral cleaners specifically made for hardwood floors. |
| Using a steam mop | The heat and moisture from steam mops can penetrate the wood and damage the finish and the wood itself, leading to warping and discoloration. Instead: Stick to a damp mop with a wood-specific cleaner. |
| Using a regular mop (string mop) | These mops hold a lot of water and can be difficult to wring out effectively, leading to over-wetting. They can also scratch better with their rougher fibers. Instead: Opt for a microfiber mop for better control and less moisture. |
| Ignoring dry cleaning | Not sweeping or dust mopping regularly allows grit to be ground into the floor, causing micro-scratches and dulling the finish over time. Instead: Sweep or dust mop daily or every other day to remove abrasive particles. |
| Not protecting furniture legs | Unprotected furniture legs can create deep scratches and scuff marks when moved. Instead: Always use felt pads on furniture legs and keep them clean. |
Avoiding these common pitfalls is key to maintaining a beautiful, long-lasting shine on your hardwood floors. It’s really about being mindful of the materials you’re working with.
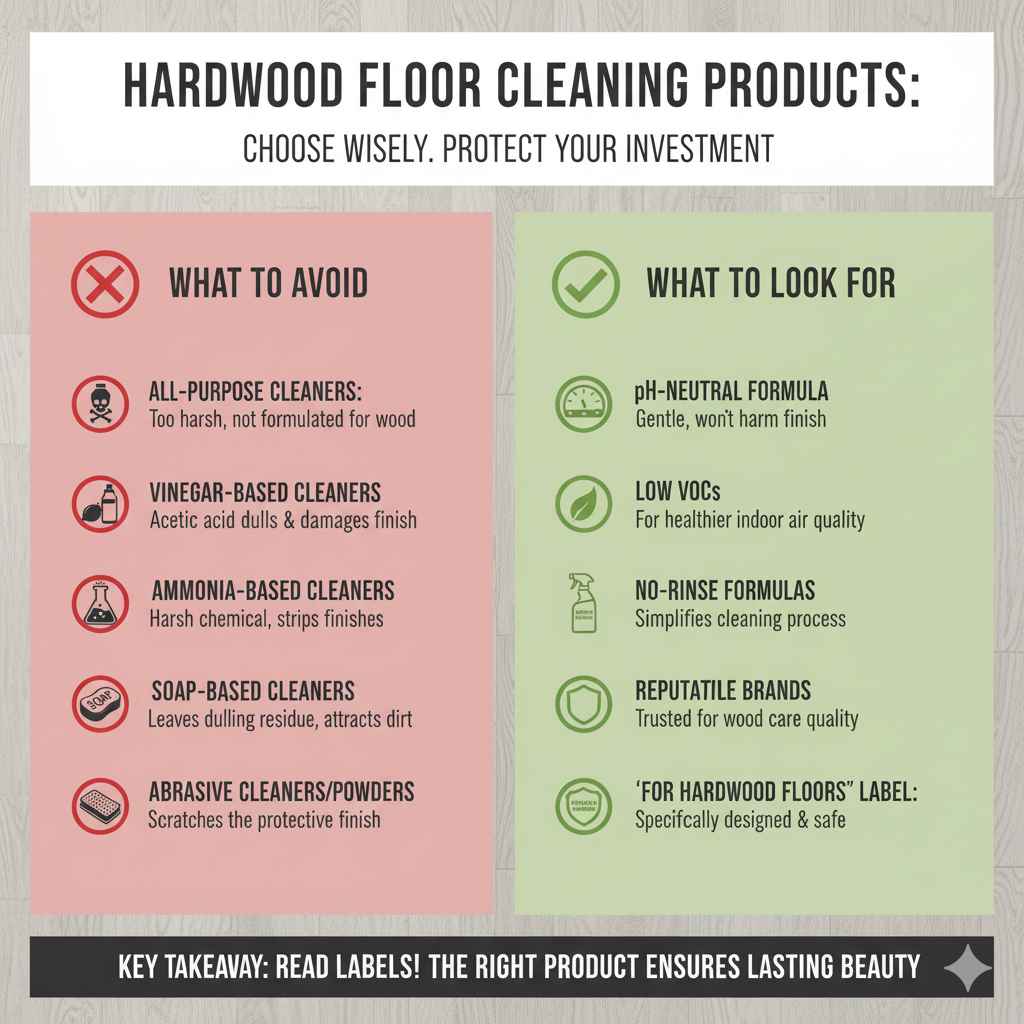
Hardwood Floor Cleaning Products: What to Look For
Choosing the right cleaner is half the battle. Here’s a quick guide to help you find the best product for your hardwood floors.
What to Look For:
- pH-Neutral Formula: This is the most critical feature. A pH of 7 is neutral. Cleaners with very low or very high pH can damage wood finishes.
- “For Hardwood Floors” Label: Products specifically designed for hardwood are formulated to be safe and effective.
- Low VOCs (Volatile Organic Compounds): For healthier indoor air quality.
- No-Rinse Formulas: Many can be used without needing to rinse the floor afterward, simplifying the process.
- Reputable Brands: Stick to brands known for quality wood floor care products. Examples include Bona, Bruce, Pallmann, and Armstrong.
What to Avoid:
- All-Purpose Cleaners: Often too harsh or not formulated for wood.
- Vinegar-Based Cleaners: Acetic acid in vinegar can dull and damage the finish over time.
- Ammonia-Based Cleaners: Similar to vinegar, ammonia is too harsh for wood finishes. All-purpose cleaners often contain ammonia.
- Soap-Based Cleaners: Can leave a dulling residue that’s hard to remove and attracts dirt.
- Oil Soaps: While they might seem natural, many can leave a residue that builds up and attracts dirt, dulling the finish.
- Abrasive Cleaners or Powders: These will scratch the finish.
- Wax-Based Polishes (unless you have a wax finish): These can build up on polyurethane finishes and make them slippery or dull.
When in doubt, always check the label and ensure it explicitly states it’s safe for your specific type of hardwood floor finish.
Frequently Asked Questions (FAQ)
Q1: How often should I clean my hardwood floors?
You should dry sweep or dust mop your hardwood floors daily or every other day to remove loose dirt and grit. A damp mop with a wood-specific cleaner should be used about once a week, or more often in high-traffic areas or if spills occur.
Q2: Can I use a Swiffer Wet Jet on hardwood floors?
Yes, but you must use the specific Swiffer Wet Jet solution designed for finished hardwood floors. Avoid using their regular multi-surface cleaner, as it may not be suitable and could potentially damage the finish.
Q3: Is it okay to use baking soda to clean hardwood floors?
No, baking soda is abrasive and can scratch your hardwood floor finish. It’s best to stick to soft brooms, microfiber mops, and pH-neutral cleaners.
Q4: My floors look dull even after cleaning, what could be wrong?
Several things can cause dullness: residue from improper cleaners, dirt build-up, an old or worn finish, or even scratches. Re-evaluate the cleaners you’re using, ensure you’re rinsing your mop properly, and consider if a professional refinishing might be needed for very old or damaged floors.
Q5: How do I remove scuff marks from my hardwood floors?
Most scuff marks can be easily removed by gently rubbing them with a clean, dry microfiber cloth. For tougher scuffs, you can try a tennis ball, a pencil eraser, or a slightly damp cloth with a pH-neutral cleaner, followed by drying. Always test in an inconspicuous area first.