Best Way To Remove Glued Carpet: Effortless Guide
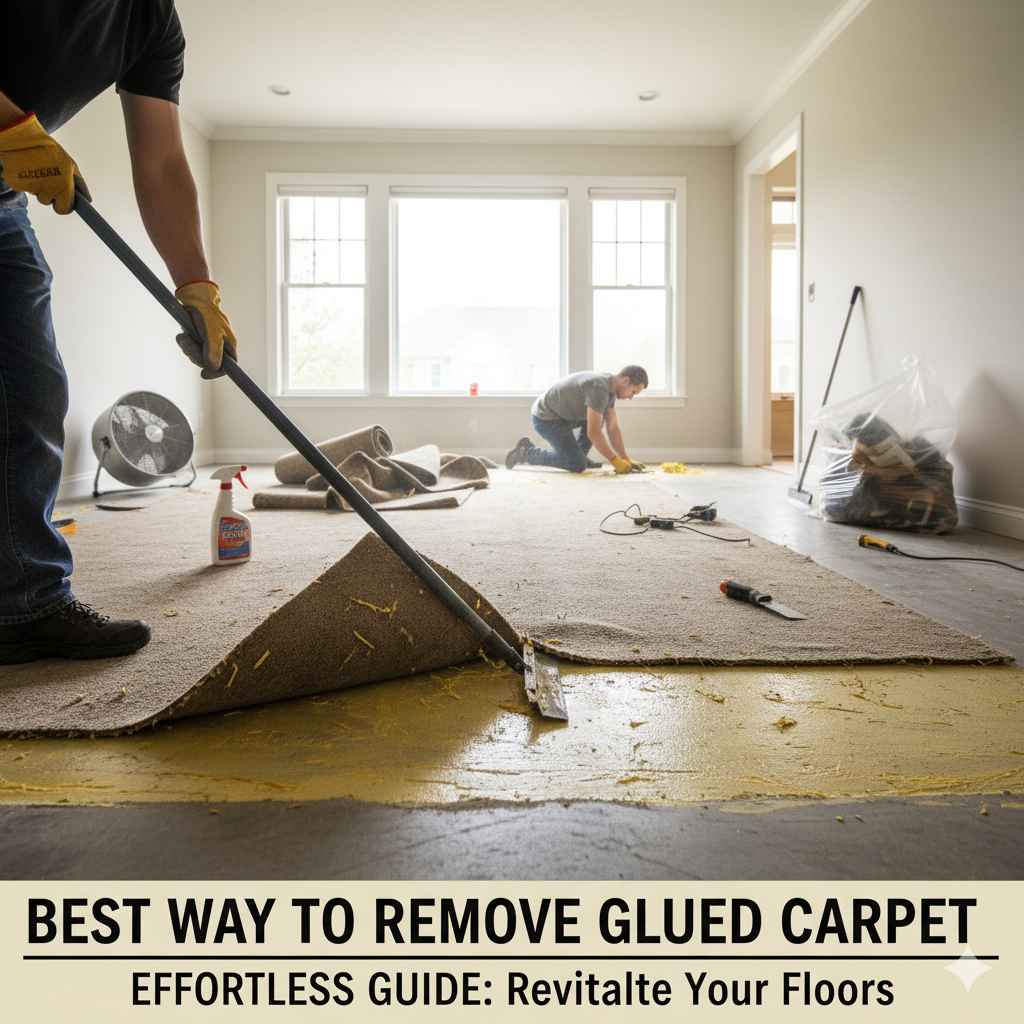
The best way to remove glued carpet from concrete involves scoring the carpet, using a scraper or putty knife to lift edges, and then pulling it up in manageable sections. Heat can help soften stubborn adhesive, making removal easier.
Hello there, DIY friends! Md Meraj here. Ever looked at a room with glued-down carpet and thought, “That’s going to be a nightmare to get rid of?” You’re not alone. Removing carpet adhesive can feel like a Herculean task, leaving you with sticky residue and a sore back. But don’t worry! With the right approach and a little patience, you can tackle this job effectively and prepare your floors for their next transformation. We’ll walk through it step-by-step, making it simpler than you might imagine.
Why is Removing Glued Carpet So Tricky?
Glued-down carpet is designed to stay put. That strong adhesive bonds the carpet backing directly to your subfloor, often concrete in areas like basements or garages. Unlike carpet tiles or loosely laid carpet, there are no seams to easily pry up. The tack strip system used with some carpets doesn’t exist here. This means you’re essentially peeling off a giant sticker that’s been stuck there for years, and the glue can be incredibly stubborn. Over time, the adhesive can harden, making it even more difficult to loosen its grip.
Preparing for the Carpet Removal: What You’ll Need
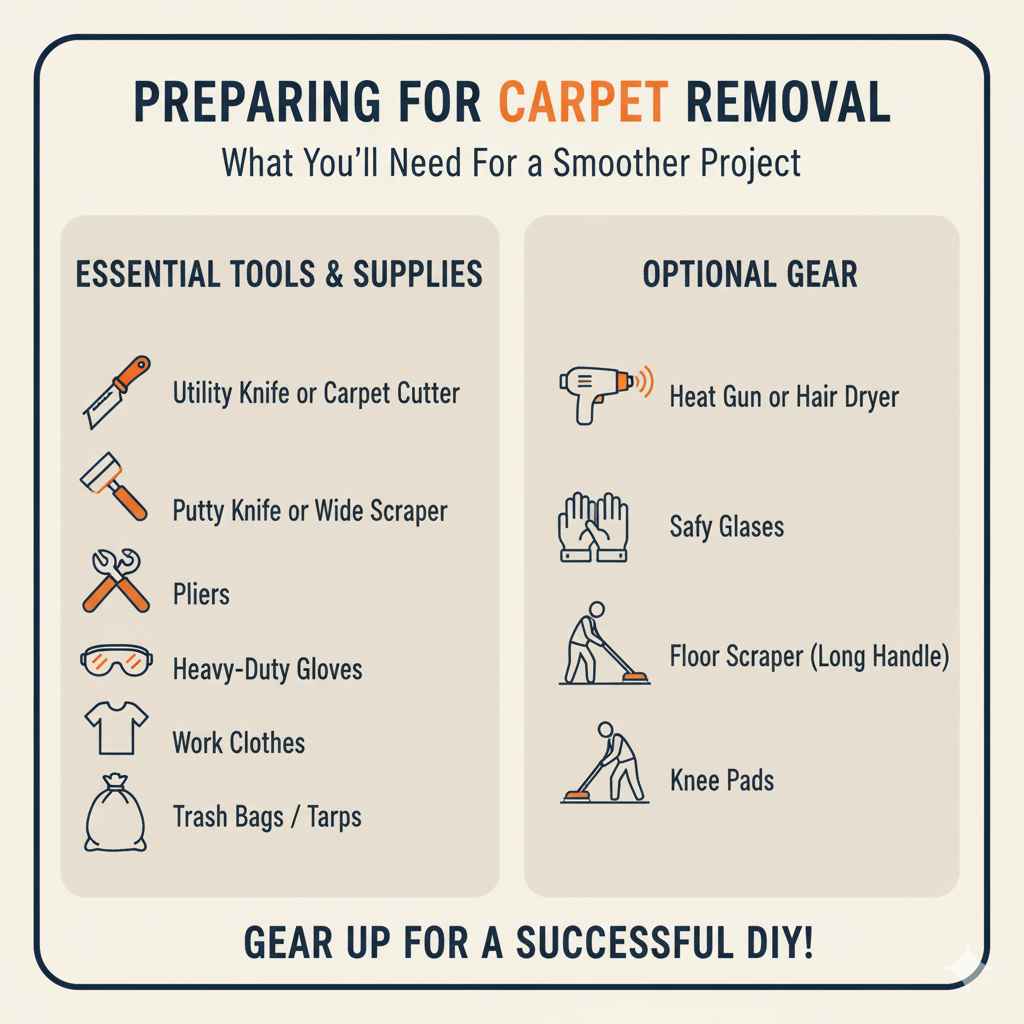
Before you dive in, gather your tools. Having everything ready makes the process much smoother and safer. Think of this as prepping your workshop before starting a woodworking project – it saves a lot of hassle! Here’s a list of what you’ll likely need:
Essential Tools and Supplies:
- Utility Knife or Carpet Cutter: For slicing the carpet into manageable strips. A sharp blade is key!
- Putty Knife or Wide Scraper: A sturdy one is best for getting under the carpet and lifting edges. A floor scraper with a long handle can save your back.
- Pliers: Useful for pulling up stubborn edges or loose carpet fibers.
- Heavy-Duty Gloves: Protect your hands from the carpet backing, potential sharp edges, and adhesive.
- Safety Glasses: Essential to protect your eyes from flying debris or stray carpet fibers.
- Work Clothes: Something you don’t mind getting dirty (or covered in adhesive!).
- Trash Bags or Tarps: To collect the removed carpet. Heavy-duty contractor bags are great.
- Optional: Heat Gun or Hair Dryer: Can help soften old adhesive, making it easier to scrape away.
- Optional: Floor Scraper with Long Handle: If you have a large area, this will make a huge difference in comfort and efficiency.
- Optional: Work Gloves: For extra comfort during long removal sessions.
Step-by-Step Guide to Removing Glued Carpet
Alright, let’s get down to business! We’re going to break this down into simple, actionable steps.
Step 1: Clear the Space
First things first, remove all furniture, rugs, and anything else from the room. You need a clear path to work. If you have baseboards, consider removing them first to get a cleaner edge where the carpet meets the wall. You can usually gently pry them off with a pry bar and a bit of care, then reattach them later.
Step 2: Safety First!
Put on your safety glasses and gloves. This might seem obvious, but it’s easy to forget when you’re eager to start. Carpet backing can be rough, and you don’t want to snag your fingers or get dust in your eyes.
Step 3: Score the Carpet
This is where the utility knife or carpet cutter comes in. You want to cut the carpet into strips. Don’t try to pull up large sections at once – it’s much harder! Aim for strips about 2-3 feet wide. Cut across the room, ensuring you cut all the way through the carpet backing. Imagine cutting wood into manageable pieces for a project; it’s the same principle for carpet. Make sure your blade is sharp; it makes a world of difference.
Step 4: Start Lifting an Edge
Find a corner or an edge of a strip you’ve cut. Use your putty knife or scraper to get it under the carpet backing. Gently pry upwards and away from the floor. Once you have a small section lifted, you can try to grip it with your hands or pliers and pull. Work slowly and steadily.
Step 5: Pull Up the Carpet in Sections
Continue pulling the carpet strips. If the adhesive is holding strong, you might need to use your scraper to help lift it as you pull. Try to pull in a consistent direction. If a strip is too heavy or gets stuck, cut it into smaller pieces. The goal is to get it up without excessive tearing of the backing, which can make the next step (adhesive removal) harder.
Step 6: Loosen Stubborn Areas with Heat (Optional)
If you encounter a section that’s incredibly difficult to lift, a heat gun or even a strong hairdryer can be a DIYer’s best friend. Gently warm the adhesive underneath the carpet backing. Heat softens many types of adhesives, making them more pliable and easier to scrape away or pull. Be careful not to overheat the area, especially if you have a wood subfloor beneath the concrete (though less common with direct glue-down). For concrete, it’s generally safe, but still, use common sense.
For more in-depth information on using heat tools safely, you might find resources from organizations like the Occupational Safety and Health Administration (OSHA) helpful in understanding general heat application safety practices in a work environment, even for DIY projects. You can typically find their guidelines readily available online through a quick search of their official website.
Step 7: Roll and Dispose
As you remove each section of carpet, roll it up tightly. This makes it easier to transport and dispose of. Place the rolled carpet into your heavy-duty trash bags or onto a tarp for hauling away. Old carpet can be surprisingly heavy and bulky!
Dealing with Adhesive Residue
Once the carpet itself is up, you’ll likely be left with the sticky adhesive residue. This is often the most challenging part. Here’s how to tackle it:
Method 1: Scraping and Scrubbing
For most situations, a combination of scraping and scrubbing works well. Use your sturdy scraper to remove as much of the thick, gummy residue as possible. For thinner, dried-on gunk, a stiff-bristled brush or floor scraper can help. You might need to apply some elbow grease here!
Method 2: Using a Solvent (With Caution!)
Some adhesives can be softened with specific cleaning solvents. Products designed for adhesive or mastic removal can be very effective. Always read the product label carefully and follow the manufacturer’s instructions. Ensure good ventilation in the room, as these products can have strong fumes. Test a small, inconspicuous area first to make sure it doesn’t damage your concrete subfloor. For concrete, many common solvents are safe, but it’s always wise to check. Websites like the Environmental Protection Agency (EPA) sometimes offer guidance on evaluating chemical products for home use, focusing on safety and effectiveness, which can be beneficial.
Important Note: Always ensure the area is well-ventilated when using solvents. Open windows and doors, and consider wearing a respirator designed for chemical fumes. Check the specific safety data sheet (SDS) for any product you use.
Method 3: Heat and Scrape
Similar to removing the carpet, gently heating the adhesive residue again can sometimes soften it enough to be scraped away more easily. This is particularly useful for older, hardened adhesives.
Step 8: Thorough Cleaning
After scraping and treating any stubborn spots, give the entire concrete floor a good cleaning. A stiff brush with some warm water and a mild detergent should suffice. Rinse the floor thoroughly to remove any remaining cleaning solution or loosened residue. Let the floor dry completely before proceeding with any new flooring installation.
Table: Adhesive Residue Removal Techniques
Here’s a quick comparison of common methods for tackling that sticky residue:
| Method | Pros | Cons | Best For |
|---|---|---|---|
| Scraping & Scrubbing | Low cost, readily available tools, no harsh chemicals. | Can be labor-intensive, may not remove all thin residue. | Most types of adhesive residue, especially thicker gunk. |
| Solvents | Effective on stubborn adhesives, faster removal. | Requires good ventilation, potential fumes, cost of product, test first. | Hardened or very difficult adhesives when scraping alone fails. |
| Heat & Scrape | Softens adhesive without chemicals, useful for older glues. | Requires a heat source, potential for overheating if not careful. | Stubborn, hardened adhesives; works in conjunction with scraping. |
What About the Carpet Backing?
Sometimes, as you pull up the carpet, the backing (the felt-like or rubbery layer) might stay stuck to the concrete. This is common! Most of the removal methods above will also help lift and remove this backing and any adhesive still attached to it.
Removing the Carpet Backing
If the backing is loose, try to peel it up with your scraper. If it’s stuck fast, consider these approaches:
- Scrape Aggressively: Use a flat floor scraper, perhaps with a longer handle, to get leverage.
- Soften with Water (Carefully): For some types of backing and adhesive, dampening the area can help loosen it. Don’t saturate concrete, but a good spray and wait can work wonders. Let it sit for 15-30 minutes before scraping.
- Use Adhesive Remover: Again, specific removers are often the quickest solution for stubborn backing stuck with tough adhesive.
The goal is to get down to a clean, smooth concrete surface. Any significant bumps or leftover adhesive can affect the installation of your new flooring.
When to Call a Professional
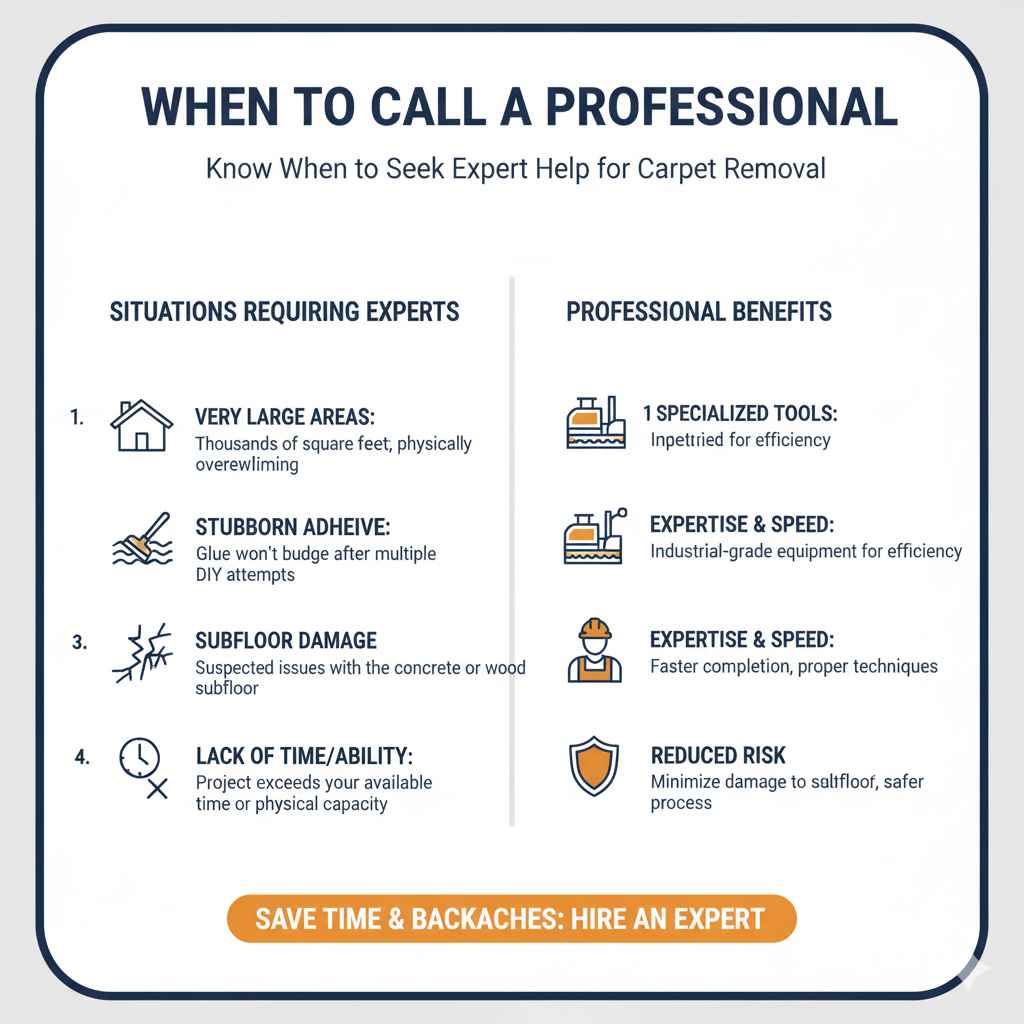
While this guide should help you tackle most glued carpet removal jobs, there are times when you might consider professional help:
- Very Large Areas: If you have thousands of square feet to cover, the sheer physical toll might be overwhelming.
- Extremely Stubborn Adhesive: If you’ve tried multiple methods and the adhesive simply won’t budge.
- Concerns About Subfloor Damage: If you suspect underlying issues with the concrete.
- Lack of Time or Physical Ability: If the project is beyond your available time or physical capacity.
Professionals have specialized tools and experience that can speed up the process and ensure a perfect finish, especially if you’re installing delicate new flooring immediately after.
Frequently Asked Questions (FAQ)
Q1: How long does it usually take to remove glued carpet?
A1: For a standard room (around 200-400 sq ft), it can take anywhere from 2-6 hours to remove the carpet and clean up the adhesive residue. This can vary greatly depending on the adhesive type, how long it’s been down, and the tools you’re using.
Q2: Can I just lay new flooring over the glued carpet?
A2: No, not usually. Glued carpet needs to be completely removed. The adhesive residue must also be cleared to provide a smooth, stable, and properly prepped surface for most new flooring types like laminate, vinyl, tile, or hardwood. Skipping this step can lead to serious installation problems and premature failure of your new floor.
Q3: What’s the best way to clean up the sticky adhesive residue on concrete?
A3: For most residues, a stiff scraper and some scrubbing with a stiff brush and a mild detergent is effective. For tougher spots, consider a commercial adhesive remover, but always test it in a small area first and ensure good ventilation. Heat can also help soften stubborn glue.
Q4: Do I need to remove the carpet backing if it’s stuck to the concrete?
A4: Yes, usually. The carpet backing and all adhesive residue should be removed to prepare a smooth, clean concrete subfloor for new flooring. If left, it can cause unevenness and compromise the adhesion of your new floor covering.
Q5: Is it safe to use a heat gun on my concrete floor?
A5: Generally, yes. Concrete is very heat resistant. However, avoid prolonged, intense heat, especially if you’re unsure about the subfloor composition beneath. Always follow the manufacturer’s instructions for the heat gun and ensure good ventilation. It’s typically used to soften adhesive, not to dry the concrete itself.
Q6: How do I dispose of old glued carpet?
A6: Check with your local waste management or recycling center. Many towns and cities have specific guidelines for disposing of construction debris or large items. You may need to schedule a special pickup or take it to a designated landfill or recycling facility. Rolling it tightly into large contractor bags often makes it easier to handle for disposal.
Conclusion
Removing glued-down carpet might seem like a daunting DIY task, but by breaking it down into manageable steps and using the right tools, you can achieve fantastic results. Remember to prioritize safety, work methodically, and take your time, especially when dealing with the adhesive residue. Preparing your concrete subfloor properly is crucial for the success of whatever beautiful new flooring you plan to install. With this guide, you’re well-equipped to tackle the job, save money, and gain the satisfaction that comes from a job well done. Happy DIYing!