Can Cherry Pie Filling: Essential Genius Hacks
Canning cherry pie filling is a safe and simple way to preserve summer flavor. The key is to wash and pit fresh cherries, cook them with sugar and ClearJel® (a special canning thickener), and process the filled jars in a water bath canner for the correct time. This creates a delicious, shelf-stable filling ready for pies and desserts all year.
Have you ever tasted a cherry pie in the middle of winter and been amazed by its fresh, vibrant flavor? Chances are, it was made with home-canned filling. Canning sounds like a big, complicated job, but I promise it’s easier than you think. It’s one of the most rewarding kitchen projects you can do.
Many people feel intimidated by canning. They worry about safety or making a mistake. That’s perfectly normal! But with the right steps and a few clever tricks, you can confidently fill your pantry with jars of delicious cherry pie filling. In this guide, we’ll walk through everything you need to know, one simple step at a time.
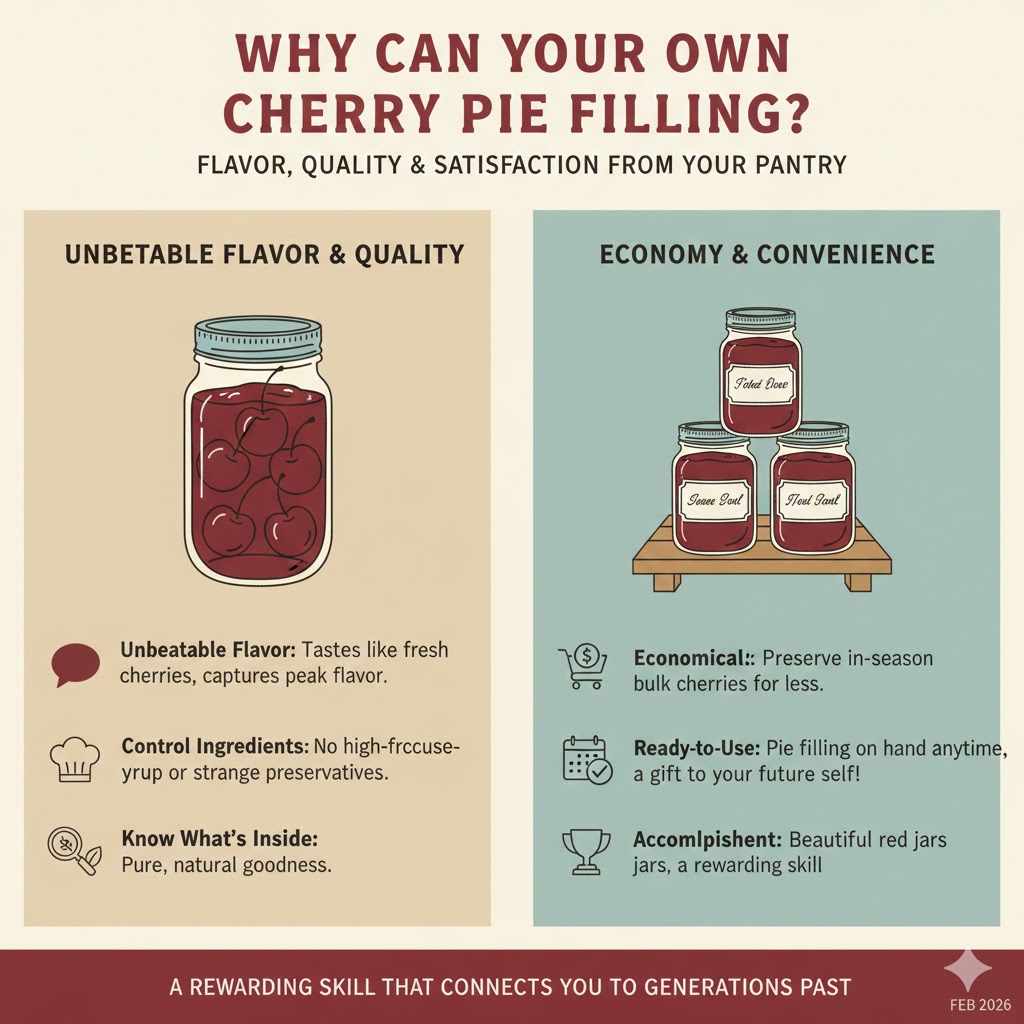
Why Can Your Own Cherry Pie Filling?
You might wonder why you should bother canning your own filling when you can just buy a can at the store. The answer is simple: flavor, quality, and satisfaction. Nothing compares to the taste of cherries you preserved yourself.
- Unbeatable Flavor: Home-canned filling tastes like fresh cherries, not a sugary syrup. You capture the peak flavor of the season in a jar.
- You Control the Ingredients: No high-fructose corn syrup or strange preservatives here. You choose the amount of sugar and know exactly what’s in your food.
- It’s Economical: When cherries are in season and on sale, you can buy them in bulk and preserve them for a fraction of the cost of store-bought filling.
- Ready-to-Use Convenience: Imagine wanting to bake a pie and having the main ingredient ready to go in your pantry. It’s a gift to your future self!
- A Sense of Accomplishment: Seeing those beautiful red jars lined up on a shelf is incredibly rewarding. It’s a skill that connects you to generations past.
Gathering Your Tools & Ingredients
Before we start, let’s get everything we need in one place. Being prepared is the secret to a smooth and stress-free canning day. Don’t worry if you don’t have everything; many of these items are common kitchen tools.
Essential Canning Equipment
This list might look long, but many of these tools come in affordable beginner canning kits. You don’t need fancy, expensive gear to get started.
- Water Bath Canner with Rack: This is just a large, deep pot with a rack on the bottom. The rack keeps jars from touching the hot bottom of the pot.
- Canning Jars, Lids, and Rings: For pie filling, quart-sized (32 oz) jars work perfectly. Always use new lids for a safe seal. Rings can be reused.
- Jar Lifter: This special tool helps you safely move hot jars in and out of the boiling water. It’s a must-have for safety.
- Canning Funnel: A wide-mouthed funnel that fits perfectly into canning jars. It makes filling them mess-free.
- Bubble Remover/Headspace Tool: A simple plastic tool used to remove air bubbles from the jars and measure headspace (the space at the top).
- Large Stockpot: For cooking the pie filling before it goes into the jars.
- Cherry Pitter: While not strictly necessary, a cherry pitter will save you a huge amount of time and effort.
- Ladle, Spatula, and Towels: Basic kitchen tools for stirring, scooping, and cleaning up.
The Perfect Ingredients
The quality of your ingredients will shine through in the final product. For about 7 quarts of pie filling, you’ll need the following.
| Ingredient | Quantity | Notes |
|---|---|---|
| Fresh Cherries (pitted) | 6 quarts (about 12 pounds whole) | Tart cherries like Montmorency are classic, but sweet cherries work too. |
| Granulated Sugar | 7 cups | You can adjust this slightly, but don’t reduce it too much as it helps with preservation. |
| ClearJel® (cook type) | 1 & 1/2 cups + 1/4 cup | This is NOT regular cornstarch. It’s the only thickener approved for home canning pie fillings. |
| Water | 9 & 1/2 cups | Cold, clean water. |
| Bottled Lemon Juice | 1/2 cup | Bottled is preferred for its consistent acidity, which is important for safety. |
| Almond Extract (optional) | 1 teaspoon | Adds a wonderful, classic cherry pie flavor. |
A Step-by-Step Guide to Canning Cherry Pie Filling
Alright, with our tools and ingredients ready, it’s time for the fun part! Follow these steps carefully, and you’ll be a canning pro in no time.
Step 1: Prepare Your Cherries
First things first, let’s get the star of the show ready. Give your cherries a good rinse under cold water. Remove all the stems and leaves. Now, it’s time to pit them. If you have a cherry pitter, this will go quickly. If not, you can place a cherry on top of a bottle and use a chopstick or sturdy straw to push the pit through into the bottle. It’s a bit slower but works just as well. As you pit them, place the cherries in a large bowl.
Step 2: Prepare Your Jars and Canner
Safety and cleanliness are key in canning. Wash your jars, lids, and rings in hot, soapy water and rinse them well. Since we will be processing the jars for more than 10 minutes, they don’t need to be sterilized, but they do need to be hot. To keep them hot, you can place them in your water bath canner as it heats up.
Fill your water bath canner about halfway with water and place the rack inside. Put it on the stove and turn the heat on high. You want the water to be simmering (about 180°F) by the time you’re ready to add your filled jars. Place the new lids in a small saucepan with water and heat them gently; do not boil them.
Step 3: Making the Filling
Now we’ll turn our beautiful cherries into delicious pie filling. This part happens on the stovetop.
- In a large stockpot, whisk together the sugar and the 1 & 1/2 cups of ClearJel®. Whisking them together while dry prevents clumps later.
- Gradually stir in the 9 & 1/2 cups of cold water, mixing until the mixture is smooth.
- Turn the heat to medium-high and bring the mixture to a boil, stirring constantly to prevent scorching. As it heats, it will become thick and bubbly.
- Once it boils, add the lemon juice and continue boiling for one minute, still stirring.
- Turn off the heat. Gently fold in the pitted cherries and the optional almond extract. Your pie filling is now ready for the jars!
Step 4: Filling the Jars
Carefully remove one hot jar from your canner using the jar lifter. Place it on a towel on your counter. Put the canning funnel in the jar and ladle the hot cherry pie filling into it.
Leave a generous 1-inch of headspace. Headspace is the empty space between the top of the filling and the rim of the jar. This is crucial for getting a good seal. Use your headspace tool to measure it accurately.
Slide the bubble remover tool down the inside of the jar in a few places to release any trapped air bubbles. Wipe the rim of the jar with a clean, damp cloth. Any stickiness on the rim can prevent a proper seal. Center a hot lid on the jar and screw on the ring until it is “fingertip tight.” This means tight, but not forced.
Step 5: Processing in the Water Bath Canner
Using your jar lifter, carefully place the filled jars into the simmering water in your canner. Make sure the jars are upright and not touching each other. The water must cover the tops of the jars by at least 1 to 2 inches. If you need more water, add hot water from a kettle.
Put the lid on the canner and turn the heat to high. Bring the water to a full, rolling boil. Once it’s boiling, start your timer. Process the jars for 30 minutes. Remember to adjust this time based on your altitude.
| Altitude | Additional Processing Time |
|---|---|
| 1,001 – 3,000 ft | + 5 minutes |
| 3,001 – 6,000 ft | + 10 minutes |
| Above 6,000 ft | + 15 minutes |
Step 6: Cooling and Checking the Seals
When the timer goes off, turn off the heat and remove the canner lid. Let the jars sit in the hot water for 5 minutes. This helps prevent siphoning (when liquid leaks out of the jars). Then, use your jar lifter to carefully remove the jars and place them on a towel on the counter, leaving space between them. Do not place them in a cold draft.
Let the jars cool, undisturbed, for 12 to 24 hours. As they cool, you will hear a satisfying “ping!” sound. This is the sound of the lid sealing! The next day, check the seals by pressing on the center of each lid. If it doesn’t move or flex, it’s sealed. If it clicks up and down, it did not seal. You can reprocess that jar with a new lid or just put it in the fridge and use it within a week.
Remove the rings, wipe the jars clean, and label them with the contents and date. Your home-canned cherry pie filling is ready for the pantry!
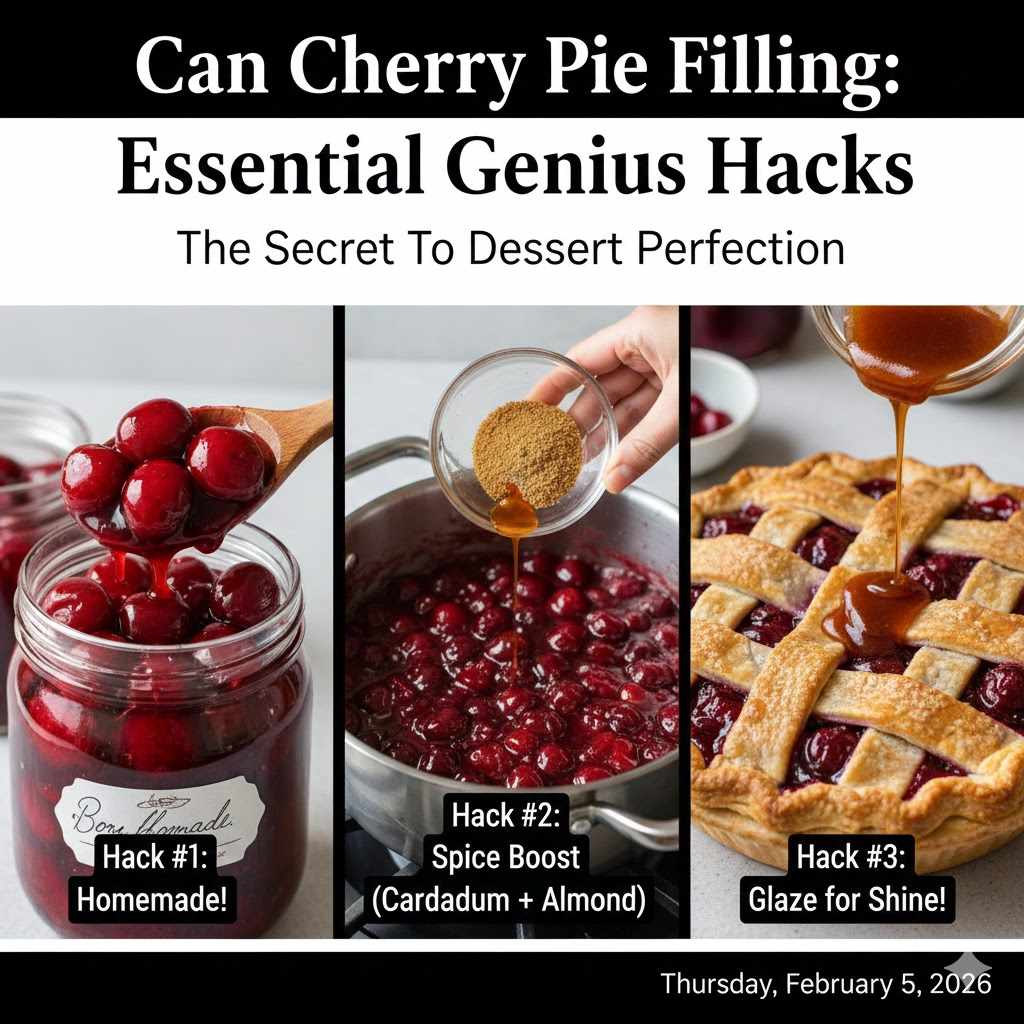
Genius Hacks for Perfect Cherry Pie Filling Every Time
Ready to take your pie filling from great to amazing? These little tricks make a big difference.
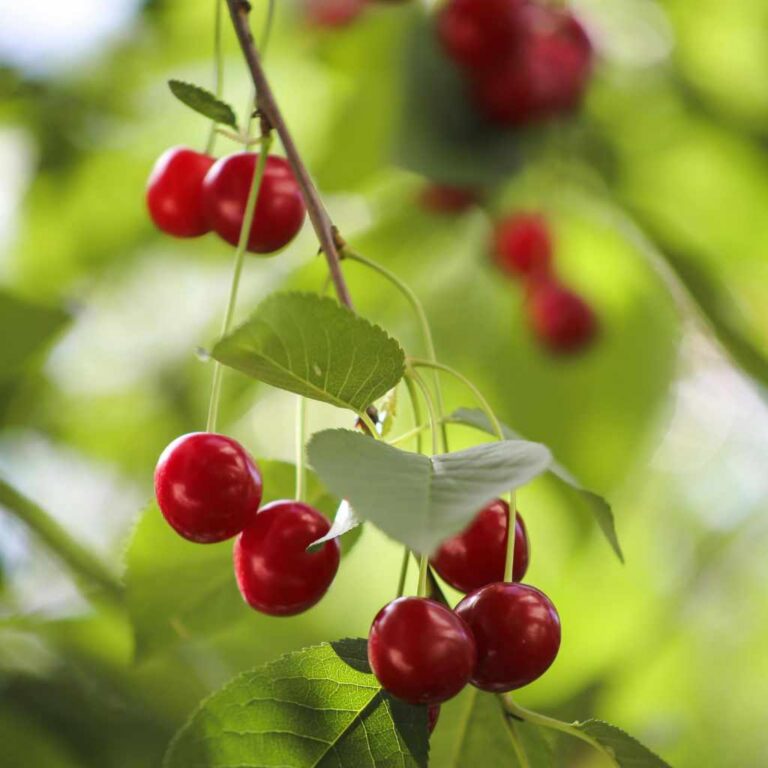
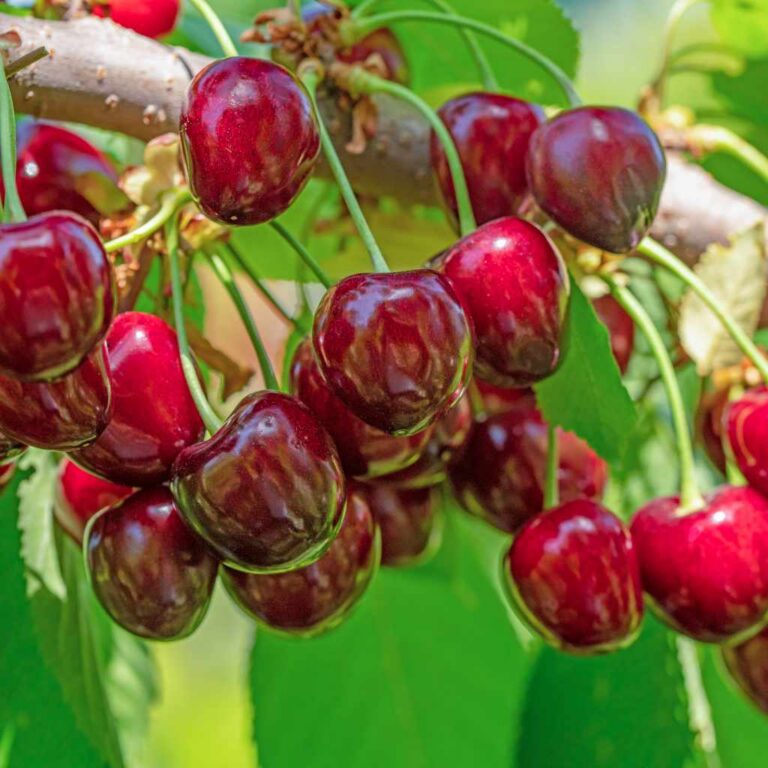
Hack #1: Choose the Right Cherries
The type of cherry you use matters! Tart cherries like Montmorency or Morello give you that classic, tangy pie flavor. If you use sweet cherries like Bing or Rainier, you might want to slightly reduce the sugar and increase the lemon juice to balance the sweetness and ensure it’s acidic enough for safe canning.
Hack #2: The ClearJel® Secret
This is the most important hack for safety and quality. You cannot substitute cornstarch, flour, or other thickeners for ClearJel® when canning. Why? Regular starches can clump or break down during the canning process, leading to uneven heat distribution. This can create cold spots where harmful bacteria might survive. According to the National Center for Home Food Preservation, ClearJel® is the only thickener tested and proven safe for home canning pie fillings because it remains stable and allows heat to penetrate evenly.
Hack #3: Add a Flavor Boost
While classic cherry is amazing, you can add a little something extra. A half-teaspoon of almond extract per batch deepens the cherry flavor wonderfully. You could also add a cinnamon stick to the pot while the filling cooks (remove it before canning) for a hint of warm spice.
Hack #4: Pitting Cherries Like a Pro
Don’t have a cherry pitter? No problem! Grab a sturdy straw, a chopstick, or even a plastic piping tip. Place the cherry over the opening of a glass bottle, and push the pit through with your tool. The pit falls right into the bottle, keeping your workspace clean.
Hack #5: Preventing Color Loss
To keep your filling a beautiful, vibrant red, add a product called Fruit-Fresh® (ascorbic acid) to the water you hold your pitted cherries in before cooking. It prevents the fruit from oxidizing and turning brown, ensuring your jars look as good as they taste.
Troubleshooting Common Canning Problems
Sometimes things don’t go perfectly, and that’s okay! Here are some common issues and how to fix them.
| Problem | Possible Cause | Solution |
|---|---|---|
| My filling is runny. | Not enough ClearJel® was used, or it wasn’t cooked long enough to activate. | The filling will still be safe and delicious! It will thicken more when baked in a pie. Next time, double-check your measurements and cook until bubbly and thick. |
| The liquid level in my jars is low (siphoning). | Jars cooled too quickly, or there were big temperature changes. | As long as the jar is still sealed and the liquid covers most of the fruit, it is safe to store. To prevent this, let jars rest in the canner for 5 minutes after processing. |
| My jars didn’t seal. | A dirty rim, a faulty lid, or rings that were too tight. | Place the unsealed jar in the refrigerator to use within a week. You can also reprocess it within 24 hours with a new lid and a clean rim. |
| The filling turned brown. | The cherries oxidized before they were processed. | This is usually just a cosmetic issue, and the filling is still safe to eat if sealed. Use Fruit-Fresh® or a little lemon juice next time to prevent browning. |
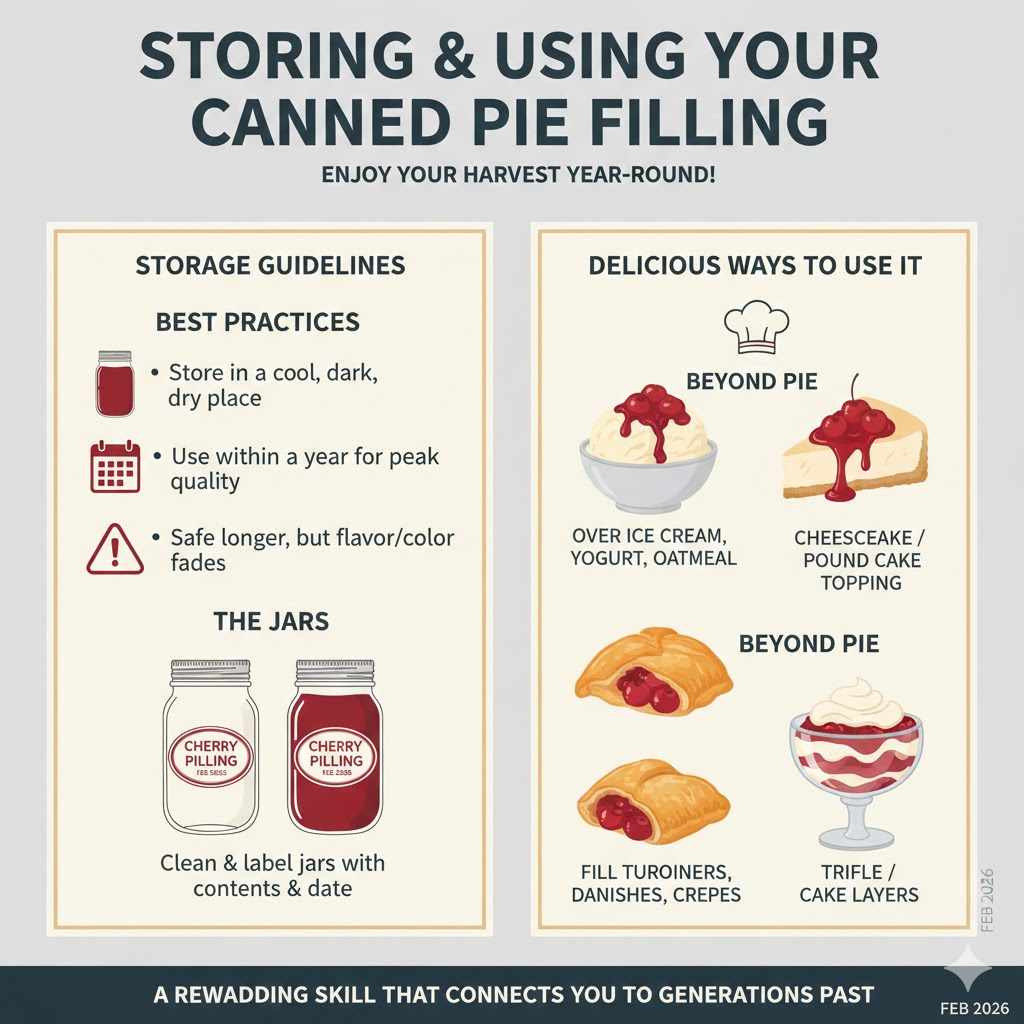
Storing and Using Your Canned Pie Filling
Once your jars are sealed, cleaned, and labeled, store them in a cool, dark, dry place like a pantry or cupboard. For the best quality, use your home-canned cherry pie filling within one year. It is safe to eat for longer, but the color and flavor may begin to fade over time.
The best part is using it! Of course, it’s perfect for pies, but don’t stop there. Here are a few other ideas:
- Spoon it over ice cream, yogurt, or oatmeal.
- Use it as a topping for cheesecake or pound cake.
- Fill turnovers, danishes, or crepes.
- Mix it into a trifle or use it between cake layers.
Frequently Asked Questions (FAQ)
Can I use frozen cherries to make pie filling?
Yes, you can! Thaw the frozen cherries and drain them well, reserving the juice to use as part of the water in the recipe. This is a great way to make pie filling when fresh cherries aren’t in season.
Why can’t I use cornstarch or regular flour to thicken?
Cornstarch and flour are not recommended for canning because they can form dense clumps that prevent heat from penetrating to the center of the jar. This is a safety risk. ClearJel® is a modified cornstarch specifically designed to withstand the high temperatures of canning without clumping, ensuring the product is heated evenly and safely. More information can be found at food preservation resources like the Penn State Extension.
How long does canned cherry pie filling last?
When stored in a cool, dark place, your canned cherry pie filling will maintain its best quality for about one year. It remains safe to eat much longer as long as the seal is intact, but you might notice changes in color and texture over time.
What should I do if a jar doesn’t seal?
If a jar does not seal within 24 hours, you have two options. You can either refrigerate it immediately and use the filling within a few days, or you can reprocess it. To reprocess, empty the jar, heat the filling, clean the jar rim, use a new lid, and process it in the water bath canner again for the full time.
Can I reduce the amount of sugar in the recipe?
You can reduce the sugar slightly, but it’s not recommended to cut it drastically. Sugar plays a role in preservation and texture. Reducing it too much can affect the final consistency and shelf life. For tested, low-sugar recipes, always consult a trusted source like the National Center for Home Food Preservation.
My pie filling is cloudy. Is it safe?
Cloudiness can sometimes be caused by minerals in your water or by the starch in the ClearJel®. As long as the jar is properly sealed and there are no other signs of spoilage (like bubbling, a bad smell, or a bulging lid), it should be safe to eat.
Your Pantry, Your Masterpiece
You did it! You took fresh, beautiful cherries and turned them into something that will bring joy to your table for months to come. Every time you open one of those jars, you’ll remember the fun you had making it. Canning isn’t about being perfect; it’s about learning a timeless skill and enjoying the delicious results.
Don’t be afraid to try. Start with one batch, follow the steps, and trust the process. Soon enough, you’ll be looking at a pantry full of your own homemade treats, feeling proud and accomplished. Happy canning!