Do You Need to Thin Water-Based Paint for Spraying?
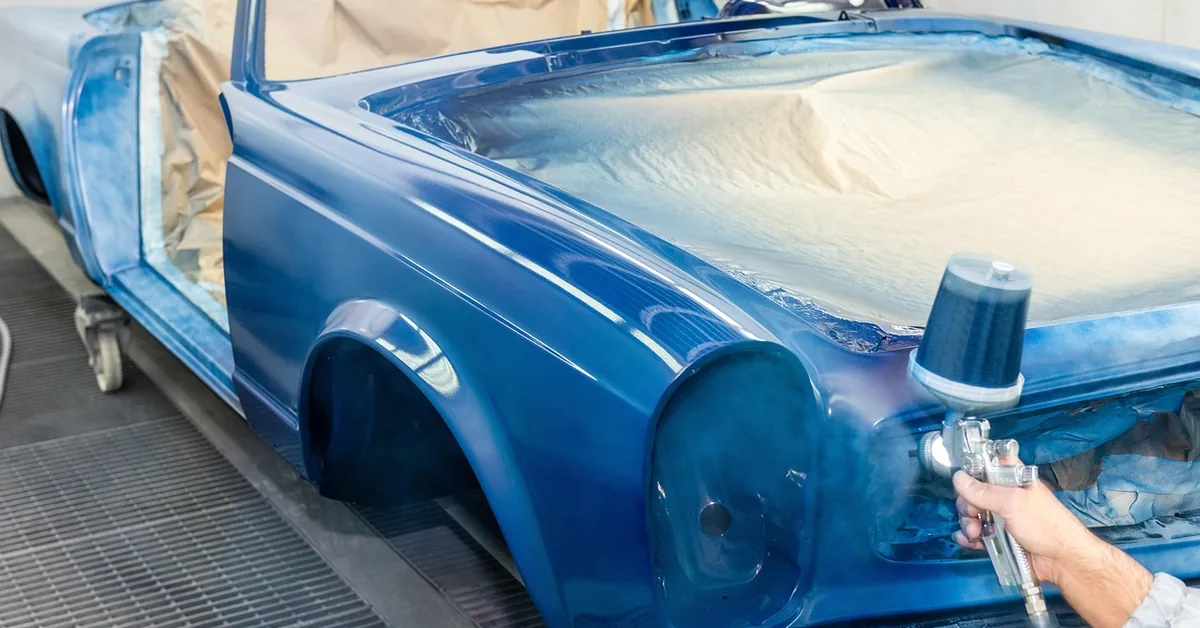
Water-based paint usually needs thinning before spraying, but how much depends entirely on the sprayer: HVLP guns typically need 10–20% water, compressed-air guns need 15–20%, and most airless sprayers need little or none. Guess wrong and you get a clogged nozzle, spider-webbing, or a blotchy coat that wastes half a can. This guide covers exact ratios by sprayer type, how to check consistency with a viscosity cup, and when thinning will actually hurt your finish.
This post contains affiliate links. As an Amazon Associate we earn from qualifying purchases at no extra cost to you.
Why Water-Based Paint Needs Thinning for Spraying
Best HVLP Sprayer Pick
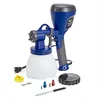
HomeRight Super Finish Max HVLP Sprayer – $57.00
Ships with three interchangeable brass tips, which matters here — this guide’s ratio table only works if the tip size matches your paint’s thinned viscosity.
- Best for: furniture, cabinets, and trim where a smooth HVLP finish matters more than speed
- Why we picked it: three tip sizes let you match the gun to the 10–20% thin ratio this guide covers
- Main drawback: small 39oz cup means refilling often on larger projects
Compare more paint-spraying tools
 Option 1 Graco Magnum X5 Airless – $314.00
|
 Option 2 Ford #4 Viscosity Cup – $9.99
|
 Option 3 190-Micron Paint Strainers – $8.99
|
As an Amazon Associate we earn from qualifying purchases.
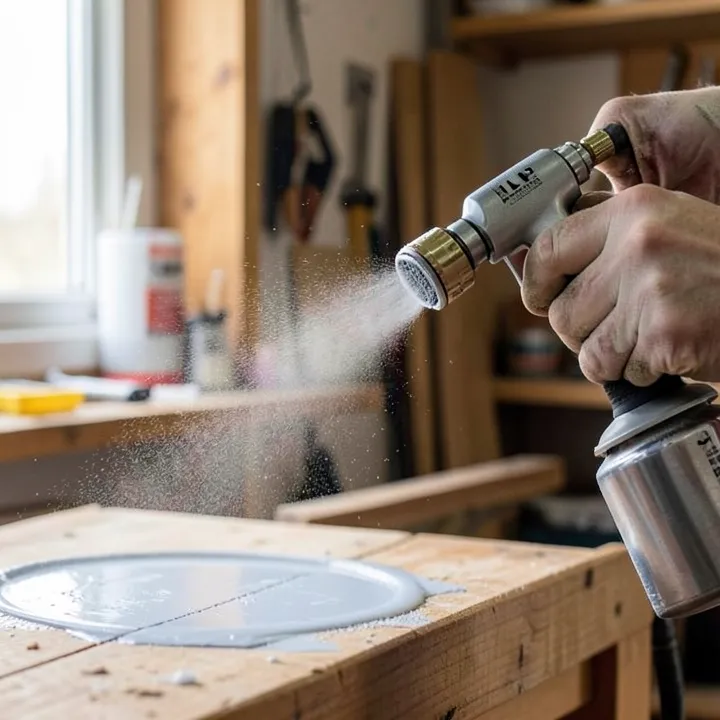
Water-based (latex/acrylic) paint is formulated thicker than solvent-based paint so it covers well in a single brushed coat. That same thickness is what jams a spray tip. A spray gun atomizes paint by forcing it through a small nozzle — usually 1.0–1.8mm on an HVLP gun, smaller on fine-finish tips — and paint straight from the can is frequently too viscous to pass through that opening as a fine, even mist.
Thin the paint correctly and the mist atomizes evenly, lays flat, and self-levels without runs. Thin it too little and you get sputtering, tip-clogging, and a stippled “orange peel” texture. For a side-by-side look at when spraying beats brushing in the first place, see our guide on brushing vs. spraying paint.
Thinning Ratios by Sprayer Type (HVLP vs. Airless vs. Compressed Air)
Most articles on this topic treat every sprayer the same way and tell you to add a flat percentage of water no matter what gun you own. That’s not accurate — the three common sprayer designs atomize paint through completely different mechanics, so they tolerate viscosity differently. Here’s what each one actually needs, based on sprayer manufacturer guidance:
| Sprayer Type | Typical Water Ratio | Ford #4 Cup Target | Why |
|---|---|---|---|
| HVLP (turbine or gravity-feed) | 10–20% (up to 30% on very absorbent surfaces) | ~20–25 seconds | Low air pressure needs thinner paint to atomize into a fine mist |
| Compressed air / conventional gun | 15–20% | ~20 seconds | Higher pressure atomizes better, but is still air-driven and viscosity-sensitive |
| Airless | 0–10%, often none | 30+ seconds is usually fine | Hydraulic pressure (not air) forces paint through the tip — built to handle unthinned latex |
Wagner, which manufactures both airless and HVLP equipment, gives interior wall/latex paint a published dilution range of just 0–10% for its airless units, versus a materially higher range for air-assisted guns — confirming that the sprayer type, not just the paint, sets the ratio. If you’re brushing or rolling instead of spraying, ratios and technique differ further — see our full breakdown of latex paint thinning ratios by application method.
Whichever gun you use, the nozzle and pressure settings matter as much as the ratio — a correctly thinned paint will still sputter through a mismatched tip. See our guide on how to adjust a spray paint gun for fluid, air, and pattern settings.
How to Test Paint Viscosity Before Spraying
Ratios above are starting points — humidity, paint brand, and how long the can has been open all shift the actual viscosity. A viscosity cup removes the guesswork:
- Stir first: mix the paint thoroughly so pigment settled at the bottom doesn’t skew the reading.
- Dip and lift: submerge the Ford #4 cup fully, then lift it straight out and start a stopwatch the instant the cup clears the surface.
- Time the stream: stop timing when the steady stream of paint first breaks into drips.
- Compare to target: match the seconds against the table above — roughly 20–25 seconds for HVLP, 20 seconds for a compressed-air gun, 30+ seconds is fine for airless.
- Adjust in small steps: add water in 10% increments, re-test each time rather than dumping in a large amount at once.
- Test spray a scrap piece: confirm the fan pattern is even and free of tails or spitting before spraying your actual project.
Do You Need to Strain Paint Before Spraying?
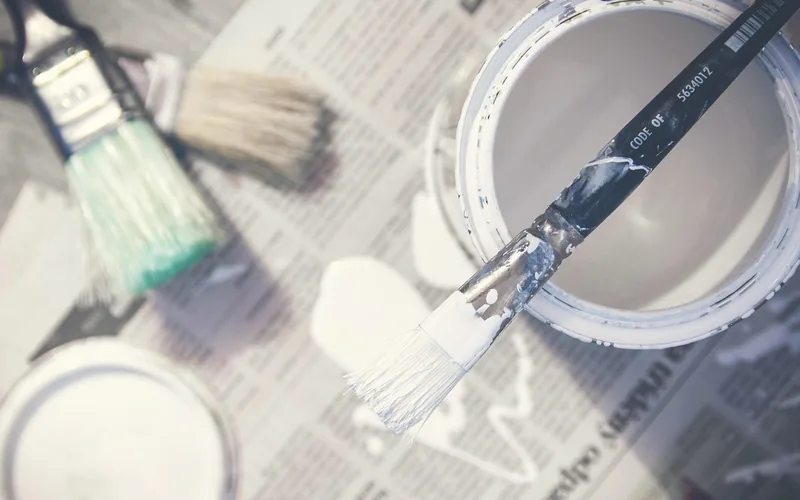
Yes — straining is a separate step from thinning, and skipping it is one of the most common causes of a clogged tip even in properly thinned paint. Dried skin, dust, and pigment clumps form in almost every can that’s been opened before, and a spray tip’s opening is small enough that even minor debris will jam it mid-pass. Pour the paint through a 190-micron paint strainer (a cone or bag filter) into your gun’s cup every time you spray, not just when the paint looks visibly dirty — particles too small to see will still block a 1.0–1.4mm tip.
When You Should NOT Thin Water-Based Paint for Spraying
Thinning isn’t automatic, and adding water when you don’t need to costs you coverage and durability. Skip it in these cases:
- You’re using a modern airless sprayer. Wagner’s own guidance rates interior latex at 0–10% dilution on its airless units — many newer latex formulas spray fine completely unthinned.
- The label says “spray-ready” or “self-leveling.” These are pre-formulated to the viscosity the manufacturer’s test equipment already targets — added water throws that off.
- The manufacturer’s data sheet says not to. Some products, including certain oil-modified and specialty coatings, explicitly instruct against thinning — follow the can, not a generic percentage.
- Coverage or durability is the priority. Every bit of water added reduces film build (the dry paint thickness) and can lower UV resistance and hide — fine for a light coat, a problem on an exterior door that needs to last.
📊 Wagner rates its airless sprayers for interior latex/emulsion paint at just 0–10% dilution, versus a materially higher range for its air-assisted guns — Source: Wagner Group, Airless Sprayer FAQ
“With the Control 150 M airless paint sprayer and the Control Pro series, it is possible to spray interior wall paints, wood and metal paints either undiluted or slightly diluted.”
Common Mistakes When Thinning Water-Based Paint for Spraying
Adding all the water at once. Dump in a full 20% and you can’t easily undo it — once paint is over-thinned it sags, drips, and loses hide. Add water in small increments and re-test with the viscosity cup after each one.
Using the same ratio for every gun. As the table above shows, a ratio that’s correct for an HVLP gun will be too thin for an airless sprayer and too thick for some compressed-air setups. Match the ratio to the equipment, not a single number you saw once.
Skipping the manufacturer’s data sheet. Every paint line specifies its own recommended reduction — some accept 20% water, others recommend none at all. The can or technical data sheet overrides any general ratio, including the ones in this article.
Not test-spraying scrap first. A viscosity cup reading tells you the paint is thin enough on paper; a scrap test confirms the actual fan pattern is even, with no tails, spitting, or heavy edges, before you commit to the real surface.
Don’t have a sprayer yet and only need one for a single project? You can also rent a paint sprayer instead of buying one outright.
Frequently Asked Questions
How do you thin water-based paint for a sprayer?
Add water in small increments — start around 10% of the paint’s volume — and stir thoroughly after each addition. Check consistency with a Ford #4 viscosity cup, aiming for roughly 20–25 seconds for HVLP or 30+ seconds for airless, then confirm with a test spray on scrap material before starting your real project.
Can you use water-based paint in a spray gun without thinning it?
Yes, with an airless sprayer — many modern latex paints spray fine unthinned or with only 0–10% water through airless equipment. HVLP and compressed-air guns are more likely to need 10–20% thinning to atomize properly, since they rely on air pressure rather than hydraulic force.
What happens if you don’t thin paint for a sprayer that needs it?
Unthinned paint that’s too thick for the gun will clog the nozzle, sputter instead of atomizing into a mist, and leave a heavy, uneven, textured coat instead of a smooth finish. On an HVLP or compressed-air gun this is one of the most common causes of a ruined spray session.
Does house paint need to be filtered before spraying?
Yes. Straining removes dried paint skin, dust, and pigment clumps that form in almost any can that’s been opened before — particles too small to see with the naked eye can still block a fine spray tip. Pour paint through a 190-micron strainer bag or cone every time you fill the gun’s cup, thinned or not.
How do I know when paint is thin enough to spray?
A viscosity cup gives the most reliable answer — time how long it takes paint to drain through a Ford #4 cup and compare against your sprayer’s target range. Without a cup, a rough check is pouring the paint off a stir stick: it should flow off in a steady ribbon, not clumps, and not a thin, watery stream.
Can you over-thin water-based paint?
Yes, and it’s a common mistake. Too much water reduces film build and hide, causes sagging and drips on vertical surfaces, and can weaken adhesion and UV resistance. Add water in small increments and re-check viscosity after each one instead of thinning by a fixed percentage all at once.
Conclusion
Whether you need to thin water-based paint for spraying comes down to the sprayer in your hands: plan on 10–20% water for HVLP, 15–20% for a compressed-air gun, and 0–10% or none for most airless sprayers. Confirm with a viscosity cup rather than guessing, always strain the paint first, and check the paint’s own data sheet before you override it with a general ratio. For broader finishing decisions beyond spraying, our wood finishing guide covers stains, sealers, and cure times as well.
Sponsored / affiliate links. As an Amazon Associate I earn from qualifying purchases. I may earn additional commission from eligible campaigns.