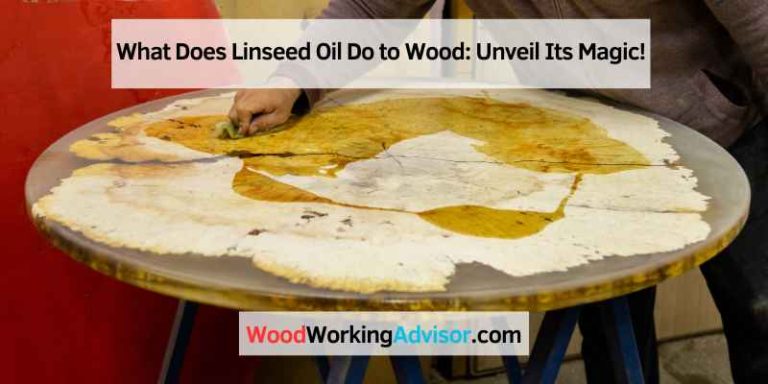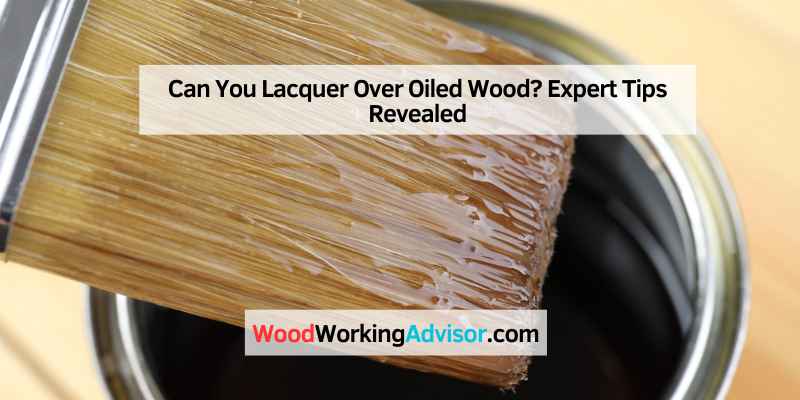
Can You Lacquer Over Oiled Wood? Expert Tips Revealed
Yes, you can lacquer over oiled wood. It is important to properly prepare the surface before applying lacquer to ensure adhesion.
Oiled wood must be clean, dry, and lightly sanded to promote better bonding with the lacquer. Using a compatible lacquer product will help achieve a smooth and durable finish on the oiled wood surface. By following proper preparation and application techniques, you can successfully lacquer over oiled wood to enhance its appearance and protection.
Whether you are refinishing furniture or adding a protective layer to wooden surfaces, lacquer can be a great option for achieving a professional and long-lasting finish.
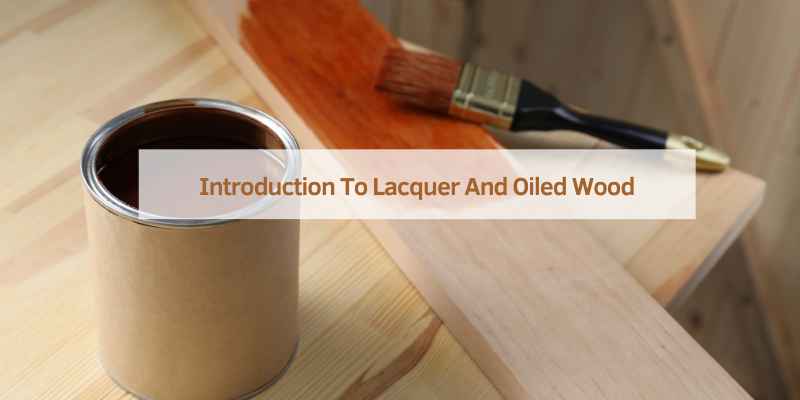
Introduction To Lacquer And Oiled Wood
When considering finishing options for wood, the choice between lacquer and oil is often a point of discussion. Lacquer and oil are both popular choices for enhancing the appearance and durability of wood surfaces. Understanding the differences between these two finishes is crucial in determining whether it’s possible to lacquer over oiled wood.
The Basics Of Wood Finishing
Wood finishing is the process of enhancing and protecting the surface of wooden materials. It involves the application of various products to achieve desired aesthetic and protective qualities. Common wood finishing products include lacquers, oils, varnishes, and stains.
Lacquer Vs. Oil: Key Differences
When comparing lacquer and oil, it’s essential to consider their key differences. Lacquer is a hard and durable finish that provides a glossy and smooth appearance. On the other hand, oil finishes penetrate the wood, enhancing its natural beauty while providing a more natural look and feel. Understanding these distinctions is essential when determining the compatibility of lacquer over oiled wood.
Preparation Matters
Preparation is a crucial step when it comes to lacquering over oiled wood. Proper preparation ensures that the lacquer adheres to the surface and creates a smooth, durable finish. In this article, we’ll discuss the importance of preparation and the steps involved in preparing oiled wood for lacquering.
Assessing Wood Condition
Before applying lacquer over oiled wood, it’s essential to assess the condition of the wood. Check for any damage, such as scratches, dents, or discoloration. Additionally, evaluate the level of oil saturation in the wood. Ensure the wood is dry and free from any oily residues that may interfere with the adhesion of the lacquer.
Cleaning And Sanding Techniques
Proper cleaning and sanding are imperative for ensuring a successful lacquer application. Start by cleaning the wood surface with a suitable wood cleaner to remove any dirt, grease, or wax. Next, sand the wood using fine-grit sandpaper to create a smooth and uniform surface for the lacquer to adhere to. Remove all dust and debris from sanding before proceeding with the lacquering process.
Compatibility Challenges
When it comes to refinishing a piece of wood furniture or flooring, one of the biggest challenges is determining whether you can apply lacquer over an oiled surface. While lacquer is a popular choice for finishing wood, it may not always be compatible with surfaces that have been treated with oil. In this post, we will focus on the compatibility challenges that arise when attempting to lacquer over oiled wood, as well as specific adhesion issues with oiled surfaces and the role of wood porosity in determining compatibility.
Adhesion Issues With Oiled Surfaces
One of the primary challenges with applying lacquer over oiled wood is achieving proper adhesion. Oil can penetrate deep into the wood fibers, creating a barrier that prevents the lacquer from adhering to the surface. This can result in the lacquer peeling or flaking off, leaving an uneven and unsightly finish.
To ensure proper adhesion, it may be necessary to remove all traces of oil from the surface prior to applying lacquer. This can be done by sanding the surface down to bare wood and then cleaning it with a solvent such as denatured alcohol or acetone. It is important to note that sanding can also affect the porosity of the wood, which may impact the compatibility of the lacquer.
The Role Of Wood Porosity
The porosity of wood refers to its ability to absorb and retain moisture. This characteristic can impact the compatibility of lacquer with oiled surfaces. Wood that is more porous may absorb the lacquer too quickly, resulting in an uneven or blotchy finish. Conversely, wood that is less porous may not absorb the lacquer enough, leading to poor adhesion and a weak finish.
To ensure compatibility, it may be necessary to test the porosity of the wood prior to applying lacquer. This can be done by applying a small amount of lacquer to an inconspicuous area and observing how quickly it is absorbed. If the lacquer is absorbed too quickly, it may be necessary to apply a sealer or primer prior to applying the lacquer to ensure proper adhesion.
Overall, the compatibility challenges of applying lacquer over oiled wood can be overcome with proper preparation and testing. By understanding the adhesion issues with oiled surfaces and the role of wood porosity, you can achieve a smooth and durable finish that enhances the natural beauty of the wood.
Expert Tips For Lacquering Over Oil
Surface Treatment Options
Before lacquering, consider sanding the oiled wood surface lightly.
Ensure the surface is clean and free from dust or debris.
Choosing The Right Lacquer
Opt for a high-quality lacquer compatible with oiled wood finishes.
Water-based lacquers are suitable for most oiled wood surfaces.
Avoid lacquers with strong solvents that may affect the oil finish.
Application Techniques
Lacquering over oiled wood requires precise application techniques for a successful finish.
Brush Vs. Spray Methods
When choosing between brush and spray methods:
- Brush Method: Provides more control over application.
- Spray Method: Yields a smoother, more even finish.
Achieving A Smooth Finish
To achieve a smooth finish:
- Sand the surface to ensure adhesion.
- Apply thin coats for even coverage.
- Use a high-quality brush or sprayer for best results.
Drying And Curing Considerations
Consider the drying and curing process when deciding to lacquer over oiled wood. Ensure the wood is fully dry and cured to avoid adhesion issues with the lacquer. Proper preparation is key for a successful application on oiled surfaces.
When it comes to lacquering over oiled wood, it’s important to consider the drying and curing conditions. Failure to do so can result in a poor finish or even damage to the wood surface. Here are some important things to keep in mind:
Optimal Conditions for Drying:
Before applying lacquer over oiled wood, it’s important to ensure that the wood is completely dry. The optimal conditions for drying include:
– Temperature: The ideal temperature for drying wood is between 60-70°F.
– Humidity: The humidity level should be between 40-60% to prevent warping and cracking.
– Airflow: Good ventilation is necessary to ensure the wood dries evenly.
Time Frames for Curing:
After the lacquer has been applied, it’s important to allow sufficient time for it to cure. The time frame for curing will depend on the type of lacquer used and the environmental conditions. Here are some general guidelines:
– Water-based lacquer: Allow at least 24 hours for curing.
– Solvent-based lacquer: Allow at least 48 hours for curing.
– Environmental conditions: High humidity or low temperature can slow down the curing process. In these conditions, it may be necessary to allow additional time for curing.
In conclusion, proper drying and curing conditions are crucial when lacquering over oiled wood. By following these guidelines, you can ensure a smooth and durable finish that will protect your wood surface for years to come.
Maintenance And Care
Proper maintenance and care are essential for keeping your oiled wood surfaces looking their best and ensuring their longevity. By following a routine upkeep and knowing how to repair scratches and damage, you can preserve the beauty of your lacquered wood furniture or flooring. Let’s dive into the details:
Routine Upkeep
Maintaining oiled wood requires regular cleaning and protection to prevent dirt, dust, and moisture from causing damage. Here are some important steps to include in your routine upkeep:
- Dust the surface regularly with a soft cloth or microfiber duster to remove loose particles.
- Wipe spills immediately using a slightly damp cloth to prevent staining.
- Use a mild wood cleaner specifically designed for oiled wood surfaces, following the manufacturer’s instructions.
- Apply a thin layer of wood oil or maintenance oil every few months to nourish the wood and enhance its natural luster.
Repairing Scratches And Damage
Despite your best efforts, scratches or damage may occur over time. Luckily, there are ways to repair and restore the appearance of your oiled wood surfaces. Here’s what you can do:
- Light Scratches: For minor scratches, try using a wood touch-up pen or marker that matches the color of your wood. Apply the marker to the scratch, let it dry, and then gently buff the area with a soft cloth.
- Deeper Scratches: For deeper scratches, use fine-grit sandpaper to carefully sand the affected area along the grain of the wood. Clean the area to remove any dust, then apply a matching wood filler. Once dry, sand the filler until smooth and blend it with the surrounding wood. Finish by applying a new layer of oil or lacquer.
- Water Damage: If your oiled wood has water stains or damage, lightly sand the affected area with fine-grit sandpaper. Clean the surface and apply a wood stain that matches the original color. Finish by reapplying a layer of oil or lacquer.
Remember, it’s always best to test any cleaning or repair products on a small, inconspicuous area of your oiled wood surface before applying them to the entire surface. This will help ensure that the products do not cause any unwanted discoloration or damage.
By regularly maintaining and repairing your oiled wood surfaces, you can enjoy their natural beauty for years to come. Implementing these simple steps will help protect your investment and keep your wood looking stunning.
Common Mistakes To Avoid
When it comes to lacquering over oiled wood, the most common mistake to avoid is not properly sanding the surface beforehand. This can cause the lacquer to peel or not adhere properly. It’s also important to use the correct type of lacquer for the specific type of wood and to follow the manufacturer’s instructions carefully.
When it comes to lacquering over oiled wood, it is important to be aware of the common mistakes that people often make. By avoiding these pitfalls, you can ensure a successful and long-lasting finish for your wood surfaces. In this section, we will discuss two key mistakes to watch out for: over-application pitfalls and ignoring environmental factors.
Over-application Pitfalls
One of the most common mistakes when lacquering over oiled wood is over-application of the lacquer. While it may seem like applying more lacquer will result in a better finish, it can actually have the opposite effect. Over-application can lead to issues such as streaks, bubbles, and an uneven surface. It is crucial to follow the manufacturer’s instructions and apply the lacquer in thin, even coats. This will allow the wood to absorb the lacquer properly and result in a smooth and flawless finish.
Ignoring Environmental Factors
Another mistake to avoid is ignoring environmental factors when lacquering over oiled wood. The surrounding environment can greatly impact the drying and curing process of the lacquer. Factors such as temperature, humidity, and ventilation can affect the overall quality of the finish. It is essential to work in a well-ventilated area with optimal temperature and humidity levels recommended by the manufacturer. Ignoring these factors can lead to issues like drying too quickly or too slowly, which can result in an uneven or compromised finish.
To summarize, when lacquering over oiled wood, it is crucial to avoid common mistakes such as over-application and ignoring environmental factors. By following the manufacturer’s instructions, applying thin and even coats, and considering the surrounding environment, you can achieve a beautiful and durable finish for your wood surfaces. Keep these tips in mind to ensure a successful lacquering project that will stand the test of time.
Please note that the above response is in plain text format. When implementing it in WordPress, you will need to add appropriate HTML tags, such as “ for headings, `
Case Studies
When it comes to refinishing wood, there are many different approaches one can take. Some homeowners may choose to oil their wood surfaces for a natural, matte finish, while others may prefer a glossy, lacquered look. But can you lacquer over oiled wood? The answer is yes – with some careful preparation and the right techniques. Here are some case studies to demonstrate both successful and failed attempts at lacquering over oiled wood.
Successful Projects
One homeowner, Sarah, had a beautiful oak dining table that had been oiled for years. However, she wanted to give it a fresh, modern update with a high-gloss finish. She consulted with a professional woodworker who recommended sanding down the surface to remove the oil and create a smooth base for the lacquer. After sanding, the woodworker applied a coat of sanding sealer to further smooth out the surface and help the lacquer adhere. He then applied several coats of lacquer, sanding lightly between each coat to ensure a smooth finish. The end result was a stunning, glossy table that looked brand new.
Lessons From Failures
However, not all attempts at lacquering over oiled wood are successful. One DIY enthusiast, John, attempted to lacquer over an oiled pine desk with no prior experience or professional guidance. He simply applied the lacquer over the existing oil without any preparation. The result was a messy, uneven finish that looked unprofessional. The lacquer did not adhere properly to the oiled surface, resulting in bubbling and cracking over time. John learned the hard way that proper preparation is key when it comes to refinishing wood.
In Conclusion
While it is possible to lacquer over oiled wood, it is important to do so carefully and with the right techniques. The key is to remove the oil and create a smooth, clean surface for the lacquer to adhere to. Seek professional guidance if you are unsure about the process, and always do proper preparation before applying any finishes.
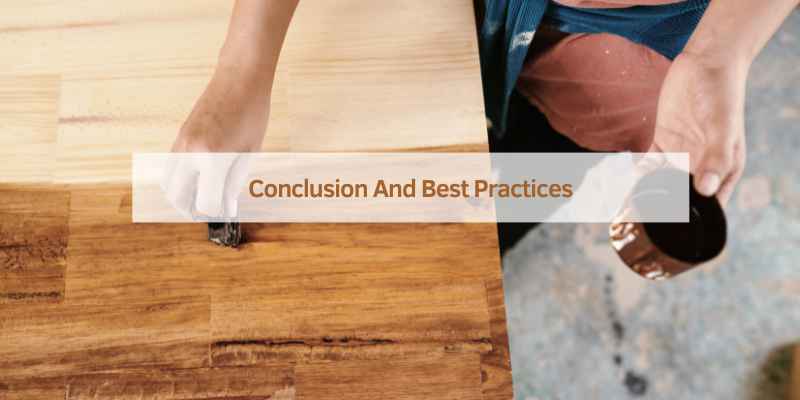
Conclusion And Best Practices
You can lacquer over oiled wood by following best practices. Start by sanding the oiled wood to remove any finish, then apply a thin layer of lacquer. Once dry, sand lightly and apply additional coats for a smooth, durable finish.
Remember to clean the surface thoroughly before lacquering for best results.
Summing Up The Do’s And Don’ts
Do ensure the oiled wood is fully cured before lacquering. Don’t rush the process.
Do clean the surface thoroughly. Don’t apply lacquer directly over dirty or oily wood.
Do sand the oiled wood lightly. Don’t skip this step for proper adhesion.
Do use a compatible lacquer. Don’t mix incompatible products.
Further Resources And Expert Advice
Consult with professionals for specific guidance on your project.
Explore online tutorials for detailed step-by-step instructions.
Consider attending workshops or classes for hands-on experience.
Visit hardware stores for recommendations on lacquer and tools.
Frequently Asked Questions
Can You Lacquer Over Oiled Wood?
Yes, you can lacquer over oiled wood. However, it is important to properly prepare the surface before applying the lacquer. This may involve sanding down the oiled wood to create a smooth and clean surface. Additionally, make sure to choose a lacquer that is compatible with the type of oil used on the wood.
By following these steps, you can achieve a beautiful and durable finish on your oiled wood.
Conclusion
Lacquering over oiled wood is possible with careful preparation and the right products. Understanding the process and using high-quality materials is essential for a successful outcome. By following the necessary steps and considering the type of wood and finish, you can achieve a beautifully lacquered surface on oiled wood.