Can You Paint Over Spar Urethane? Yes, Here’s How to Prep It Right
Yes, you can paint over spar urethane, but it takes different prep than painting over a plain indoor polyurethane finish. Spar urethane is formulated to stay flexible and UV-resistant outdoors, which means the cured film is glossier and slicker than standard interior poly, and paint needs a little help finding something to grip. Scuff-sand or degloss the surface, prime it with a bonding primer rated for glossy or all-surface use, and the paint job holds up for years instead of peeling within a season.
Why Spar Urethane Needs Different Prep Than Regular Polyurethane
Best Bonding Primer for Glossy Urethane
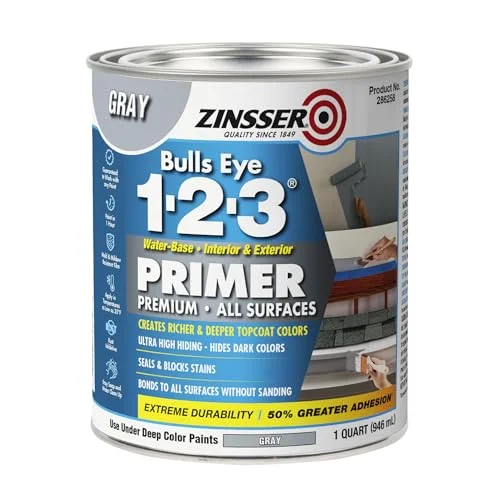 |
Zinsser Bulls Eye 1-2-3 All Surface Primer, Quart – $11.99 A water-based bonding primer rated for both interior and exterior use, formulated to grip glossy, sealed surfaces like cured spar urethane without a full sanding pass.
|
Spar urethane isn’t just polyurethane with a different label. It’s built with UV inhibitors and extra plasticizers so the cured film can flex slightly as outdoor wood expands and contracts with temperature and humidity — that’s what keeps it from cracking on a deck rail or boat trim the way a rigid interior finish would (and it’s part of why spar urethane holds up outdoors longer than an interior-rated finish would in the same spot). The tradeoff is a softer, slicker cured surface that sheds a plain interior primer more easily than indoor polyurethane does. If you’re working with standard interior polyurethane instead of the exterior-rated spar version, the prep steps are close but not identical — see our guide on painting over polyurethane on wood for that version. (And if you went the other direction and accidentally used interior polyurethane outside, that’s a different repair problem than what this guide covers.)
Do You Really Need to Sand First? The Deglosser Myth
A lot of “paint over urethane without sanding” advice online oversells liquid deglossers as a full replacement for sanding. In practice, a deglosser (a wipe-on chemical etching solution) is genuinely useful on carved trim, spindles, or other detailed surfaces where sandpaper can’t reach every groove — it softens and dulls the top layer of the cured urethane chemically instead of mechanically. But on a flat tabletop, deck board, or door, a light scuff-sand with 150- to 180-grit paper still does a more reliable job of creating a surface the primer can lock onto, and it only takes a few minutes. You don’t need to sand down to bare wood; you’re just breaking the gloss, not stripping the finish.
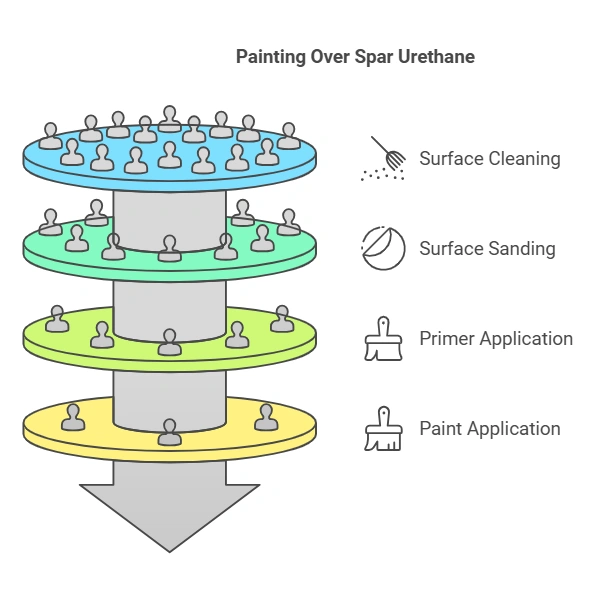
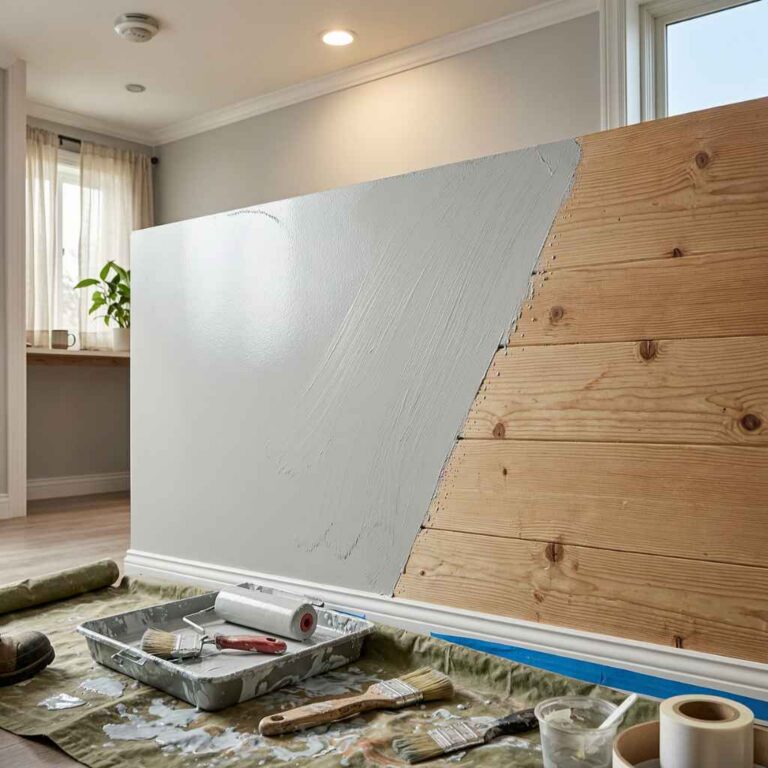
Step-by-Step: How to Paint Over Spar Urethane
Step 1: Clean the Surface
Wash the surface with a degreasing cleaner or a TSP substitute to remove dirt, oils, and any chalking residue from UV exposure. Rinse and let it dry completely before moving on — sanding over grime just grinds it into the finish instead of removing it.
Step 2: Scuff-Sand or Degloss
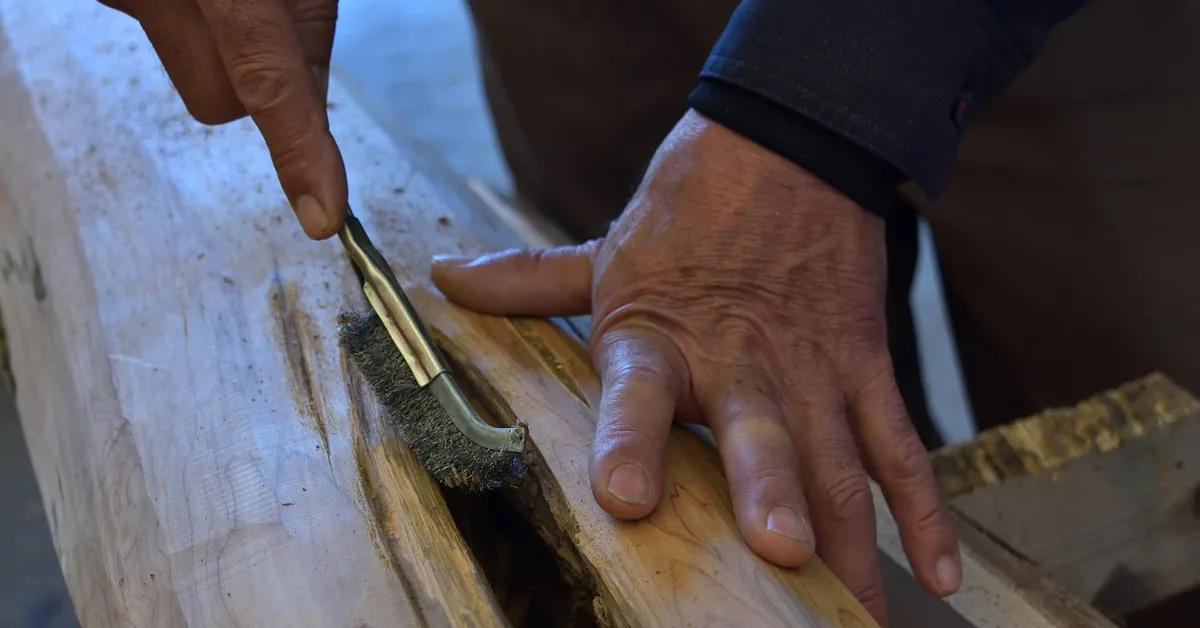
Sand with 150- to 180-grit sandpaper until the glossy sheen turns flat and dull, or use a liquid deglosser on detailed areas sandpaper can’t reach. Wipe away the dust with a tack cloth afterward.
Step 3: Apply a Bonding Primer
Use a primer rated for glossy or all-surface adhesion, applied in a thin, even coat. Let it dry fully per the can’s label before recoating or topcoating — rushing this step is where a lot of paint jobs on urethane start to fail.
Step 4: Apply Your Paint
Once the primer is dry, apply two thin coats of your chosen paint rather than one thick one, letting each coat dry per the label. Thin coats level out more evenly and are far less likely to sag or show brush marks on a surface that was glossy to begin with.
Choosing the Right Primer and Paint
Oil-based and water-based bonding primers both work on cured spar urethane, but check that the label specifically says it bonds to glossy surfaces or “all surfaces” — a plain interior wall primer usually won’t. For pieces that stay outdoors, stick with an exterior-rated topcoat afterward; acrylic latex exterior paint and oil-based exterior enamel both hold up over a properly primed spar urethane base. Shellac-based primers (like Zinsser B-I-N) are excellent at gripping glossy surfaces too, but their own manufacturer data sheets rate them for exterior spot-priming only — sealing a knot or repair spot — not a full exterior surface exposed to sustained weather, so they’re a better fit for indoor spar-urethane-coated trim than an outdoor deck or bench.
Sheen matters more than most people expect. A satin or semi-gloss exterior paint hides small prep imperfections — a spot you scuffed a little less than the rest — better than a flat finish does, because flat paint telegraphs uneven texture under raking light. If the piece will see direct sun for most of the day, a paint with UV-resistant pigment (most quality exterior paints list this on the can) will hold its color longer than an interior formula repurposed for outdoor use.
What About Chalk Paint or Milk Paint Over Spar Urethane?
Chalk paint is often marketed as a paint-anything, no-prep product, and it does grip most finishes better than standard latex paint straight out of the can. On cured spar urethane specifically, though, “no prep” is optimistic — the same UV-resistant, flexible film that makes spar urethane durable outdoors also makes it slicker than the furniture and cabinet paint chalk paint is usually tested on. A quick scuff-sand or a coat of bonding primer first still meaningfully improves how well chalk paint holds up over months of outdoor use, even though the product itself will technically stick without it. Milk paint behaves similarly — it needs a bonding agent mixed in or a primed surface to adhere to anything glossy, spar urethane included.
Mistakes That Ruin the Finish
The most common failure is skipping prep entirely and painting straight over a glossy, unsanded surface — the paint may look fine for a few weeks and then start peeling in sheets. The second most common mistake is painting before the spar urethane has fully cured (allow about 72 hours), which traps solvent underneath the new coat and causes bubbling. Applying paint too thick, in one heavy coat instead of two thin ones, is the third — thick coats sag and show brush marks far more on a formerly glossy surface than they would on bare wood. A fourth, smaller mistake: skipping a test patch on an inconspicuous spot (the underside of a shelf, the back of a leg) before committing to the whole piece — it takes ten minutes and catches an adhesion problem before it’s on the visible surface.
Frequently Asked Questions
Do You Need to Sand Before Painting Spar Urethane?
For the most reliable adhesion, yes. Spar urethane cures to a hard, glossy film, and paint needs some texture to grip onto. Scuffing the surface with 150- to 180-grit sandpaper until the shine dulls is the standard prep step, and you don’t need to sand down to bare wood — just break the gloss. A bonding primer built for glossy surfaces can reduce how much sanding you need, but skipping surface prep entirely is the most common reason painted spar urethane peels within a year.
What’s the Difference Between Painting Over Spar Urethane and Regular Polyurethane?
Spar urethane is formulated with UV inhibitors and extra plasticizers so the film stays flexible and doesn’t crack as the wood expands and contracts outdoors. That same flexibility makes the cured surface slightly softer and more slippery than indoor polyurethane, so it can shed a rigid primer that would otherwise bond fine to interior poly. Use a primer rated for exterior or all-surface use rather than one meant only for interior trim.
Can You Use a Liquid Deglosser Instead of Sanding?
A liquid deglosser (sometimes sold as a “paint deglosser” or wipe-on etching solution) chemically softens and dulls the top layer of the urethane so paint can grip it, and it’s a legitimate substitute for hand-sanding on detailed trim or carved surfaces where sandpaper is impractical. It’s not a substitute for cleaning the surface first, and on heavily built-up, glossy spar urethane you’ll usually get a more durable bond by combining a light scuff-sand with the deglosser rather than relying on either one alone.
How Long Should Spar Urethane Cure Before You Paint Over It?
Spar urethane is typically dry to the touch in 24 hours but needs about 72 hours (3 days) to fully cure before you prep and paint it. Painting over it too early traps solvents that are still off-gassing, which can cause the primer or paint to bubble or stay tacky. If the surface has had months of sun and weather exposure already, cure time isn’t the concern — focus on cleaning off any chalking or UV-degraded residue before you sand.
Painting over spar urethane comes down to three things: clean it, break the gloss with sanding or a deglosser, and prime it with something actually rated to grip a sealed, flexible film. Skip any one of those and the paint job is on borrowed time; get all three right and it holds up as well as painting bare, properly primed wood.
Sponsored / affiliate links. As an Amazon Associate I earn from qualifying purchases. I may earn additional commission from eligible campaigns.