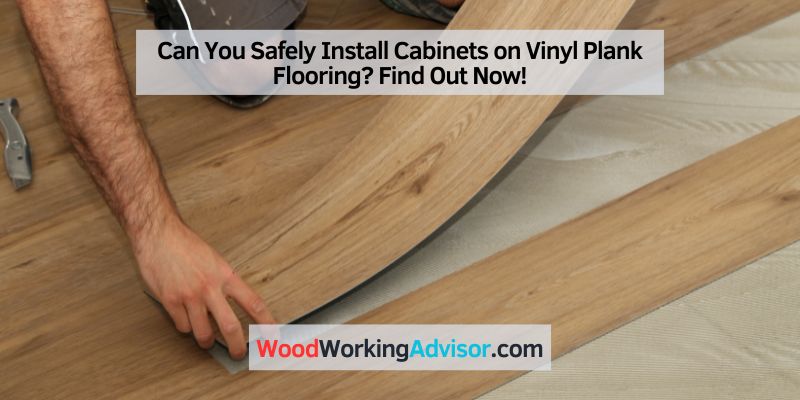
Can You Put Cabinets on Vinyl Plank Flooring?
Floating click-lock vinyl plank flooring should not have cabinets set on top of it – the floor needs room to expand and contract, and cabinet weight can buckle the seams. Skip that expansion gap and the planks can crack or pop apart within a year, voiding most manufacturer warranties. This guide covers why installation order matters, the one exception (glue-down LVP), and how to handle cabinets on a floor that’s already installed.
This article contains affiliate links. We may earn a small commission at no extra cost to you. We only recommend products we use and trust.
Quick Answer
No – if your vinyl plank flooring is floating (click-lock, not glued), don’t set permanent cabinets on top of it. The floor needs a 1/4- to 3/8-inch expansion gap at every fixed obstruction, and cabinet weight blocks that movement, which can buckle planks or snap the locking seams. Install cabinets on the subfloor first, then run the flooring up to the cabinet line. Glue-down LVP is the exception – it can go under cabinets safely.
Why You Shouldn’t Set Cabinets On Top Of Floating Vinyl Plank Flooring
Best Cabinet Leveling & Floor Protection Pick
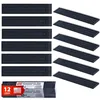
Glazelock Prescored Cabinet Leveling Shims (12-Pack)
Prescored, quick-snap shims built for leveling cabinets and other fixed installs – not just furniture legs.
- Best for: Leveling cabinet bases on an uneven subfloor before flooring goes in around them
- Why we picked it: Prescored snap lines let you match shim thickness exactly instead of stacking loose wedges
- Main drawback: Rigid plastic – doesn’t compress like rubber shims on very uneven spots
Compare more cabinet-on-vinyl-plank options
 Option 1 QuietWalk LV Moisture Barrier Underlayment for LVP
|
 Option 2 Pro-Grade Composite Heavy Duty Leveling Shims
|
 Option 3 X-PROTECTOR Felt Furniture Pads (133pc)
|
As an Amazon Associate we earn from qualifying purchases.
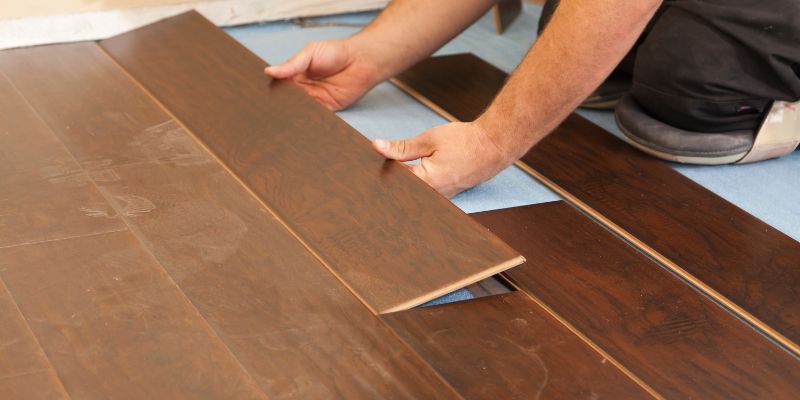
Floating vinyl plank flooring is not attached to the subfloor – the planks lock together and “float” as one connected sheet, which lets the whole floor expand and contract with seasonal temperature and humidity changes. That’s why installers leave a 1/4- to 3/8-inch expansion gap around the room perimeter and at every fixed vertical obstruction: walls, support columns, and cabinets included.
Setting a heavy, immovable cabinet run directly on top of that floating floor removes its ability to move. When the floor tries to expand against a cabinet base it can’t push past, the pressure has nowhere to go – planks can buckle, peak at the seams, or the click-lock joints can crack under sustained load. This isn’t a rare edge case; it’s the documented failure mode manufacturers warn against in nearly every LVP installation guide.
📊 Manufacturer installation guidelines call for a 1/4-inch to 3/8-inch expansion gap at every wall, column, and cabinet edge for floating click-lock vinyl plank flooring – Source: flooring manufacturer installation instructions (D&G Floors, Best Laminate installation guides, 2026)
Floating Vs. Glue-Down LVP: Does The Installation Type Change The Rule?
Yes – the installation method is what actually determines the answer, and most articles on this topic skip that distinction entirely. Floating click-lock LVP and glue-down LVP behave completely differently once cabinets are involved.
Floating (Click-Lock) Vinyl Plank
Floating LVP is a resilient flooring type that locks together at the edges but is never fastened to the subfloor. Because nothing holds it in place except its own connected weight, it needs continuous room to expand and contract – which means it should never be trapped under permanent cabinetry.
Glue-Down Vinyl Plank
Glue-down LVP is fully adhered to the subfloor with flooring adhesive, so it doesn’t move the way a floating floor does. That makes it the one legitimate exception to the “cabinets go on the subfloor” rule – glue-down LVP can be installed under cabinets safely, since there’s no expansion gap to protect.
| Installation Type | Cabinets On Top? | Why |
|---|---|---|
| Floating click-lock LVP | No | Needs to expand/contract; cabinet weight blocks movement and can buckle seams |
| Glue-down LVP | Yes | Fully adhered to subfloor – no expansion gap needed |
| Loose-lay vinyl sheet/tile | No | Relies on friction fit; cabinet weight can create permanent indentations |
If you’re not sure which type you have, check the manufacturer’s installation sheet or look for click-lock seams along the plank edges – visible interlocking edges mean it’s floating, not glued. If you’re still shopping for vinyl plank flooring, ask the retailer directly which installation type a specific product uses before you buy.
The Correct Installation Order For Cabinets And Floating Vinyl Plank Flooring
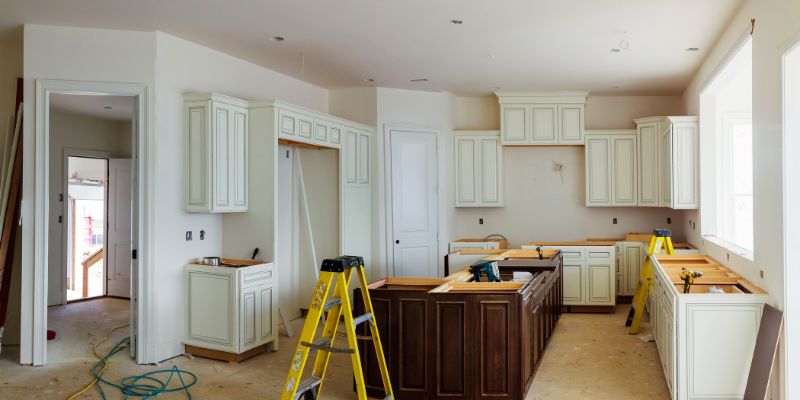
For floating LVP, the industry-standard sequence is the opposite of what many DIYers assume: cabinets go in first, flooring goes in around them.
- Install cabinets directly on the subfloor: Set and level base cabinets on the bare subfloor, not on top of finished flooring.
- Install the floating floor up to the cabinet line: Lay the vinyl plank flooring around the cabinet base, stopping at the toe-kick.
- Leave the expansion gap at the cabinet edge: Maintain the same 1/4- to 3/8-inch gap you’d leave at a wall, right where the flooring meets the cabinet base.
- Cover the gap with trim or toe-kick: A toe-kick, quarter-round, or base trim hides the expansion gap while still leaving the floor free to move underneath it.
This order also protects your plank layout and direction since you’re not cutting around cabinet obstacles later – and it’s the sequence most kitchen remodel contractors follow by default, even without being asked. You’ll still need to cut planks to fit around the cabinet base and any door casings in the room.
“A floating vinyl floor needs room to move for its entire service life, not just on installation day. Any fixed load that pins it down – cabinets, islands, built-ins – is exactly what expansion gaps are designed to protect against.”
What If Your Cabinets Are Already Sitting On Floating Vinyl Plank Flooring?
If the cabinets are already installed on top of floating LVP, ripping everything out isn’t always realistic. A few damage-limitation steps help, though none of them fully replace a proper expansion gap:
- Watch for early warning signs: Check the plank seams nearest the cabinet base every few months for peaking, gaps, or a slight hump – that’s the floor telling you it’s under pressure.
- Add felt pads or a buffer strip: A protective barrier between the cabinet base and the floor won’t create an expansion gap, but it reduces scratching and point-load damage.
- Consider floating (leg-mounted) cabinets going forward: Cabinets that stand on adjustable legs rather than resting flush on the floor don’t transfer weight the same way, which is why some kitchen designers use them specifically over floating floors.
- Control indoor climate swings: Since the damage mechanism is expansion/contraction, keeping indoor humidity and temperature relatively stable reduces how hard the floor pushes against the cabinet base.
None of these steps undo the lack of an expansion gap – they only slow the damage. If you’re planning a floor replacement or re-installation, that’s the point to fix the installation order permanently.
Weight Limits And General Care For Vinyl Plank Flooring Near Cabinets
Even where cabinets are correctly installed on the subfloor, appliances, furniture, and foot traffic still rest on the floating LVP around them. Most residential-grade vinyl plank flooring is rated to support roughly 50 pounds per square foot under normal use, but concentrated point loads – a refrigerator’s four small feet, for example – benefit from wide furniture pads or floor protectors to spread that weight out.
- Clean regularly: Sweep or vacuum to remove grit that can scratch the wear layer, and damp-mop with a manufacturer-approved cleaner. If damage already happened, here’s how to get a scratch out of vinyl plank flooring.
- Protect against sun fading: Direct, sustained sunlight can discolor vinyl over years – blinds or UV window film help in south-facing kitchens.
- Never nail or screw through the flooring into the subfloor near cabinets: Doing so pins the floating floor at exactly the point it needs to move.
Frequently Asked Questions On Cabinets And Vinyl Plank Flooring
Can Vinyl Plank Flooring Go Under Kitchen Cabinets?
Only if it’s glue-down. Floating click-lock vinyl plank flooring should not go under cabinets – it needs an expansion gap that cabinet weight blocks, which can buckle planks or crack the seams. Install floating LVP up to the cabinet line instead.
Should Cabinets Be Installed Before Or After Vinyl Plank Flooring?
Cabinets go first, directly on the subfloor. Floating vinyl plank flooring is then installed around them, stopping at the cabinet base with a proper expansion gap covered by toe-kick or trim.
Can I Install Vinyl Floors Under Cabinets?
It depends on the installation type. Glue-down vinyl plank can go under cabinets since it’s fully adhered and won’t expand or contract. Floating click-lock vinyl plank cannot – it needs to move freely, which cabinets prevent.
Is It Safe To Install Base Cabinets On Top Of Vinyl Plank Flooring?
Only on glue-down vinyl plank that has fully cured. On floating click-lock vinyl plank, setting cabinets on top blocks the required expansion gap and risks buckled planks or damaged locking seams over time.
Can You Put A Refrigerator On Top Of Vinyl Plank Flooring?
Yes. Vinyl plank flooring can generally support a refrigerator’s weight. Use furniture pads or a floor protector under the feet to spread the load and avoid concentrated indentations.
How Much Weight Can You Put On Vinyl Plank Flooring?
Most residential vinyl plank flooring is rated for roughly 50 pounds per square foot under normal use. Heavier appliances or fixed installations still benefit from added support or wide load-bearing pads to prevent indentation.
Conclusion
The short version: don’t set cabinets on top of floating click-lock vinyl plank flooring. The floor needs its expansion gap, and cabinet weight is exactly the kind of fixed load that gap is designed to protect against. Install cabinets on the subfloor first, run the flooring up to the cabinet line, and cover the gap with trim. Glue-down LVP is the one real exception – since it’s fully adhered, it can go under cabinets without the same risk.
If you’re still deciding on flooring type for a kitchen remodel, browse our full vinyl flooring guides for installation and material comparisons before you commit to floating or glue-down.
Sponsored / affiliate links. As an Amazon Associate I earn from qualifying purchases. I may earn additional commission from eligible campaigns.