Can You Stain Over Stain? Discover the Surprising Power of Double Staining
Yes, you can stain over stain. Staining over existing stain allows you to refresh the color or change the shade while maintaining the wood’s natural grain.
Staining wood is a popular way to enhance its beauty and protect it from damage. But what if you want to update the look or change the color of a piece of furniture or a deck that has already been stained?
Can you stain over an existing stain? The answer is yes, you can. Staining over stain is a technique that allows you to refresh the color or change the shade while still preserving the natural grain of the wood. This process is suitable for both interior and exterior projects and can be done with oil-based or water-based stain. We will explore the steps and considerations involved in staining over stain to help you achieve the desired results.
Understanding The Basics Of Staining
Understanding the basics of staining involves knowing whether it is possible to stain over an existing stain. Explore the techniques and considerations involved in achieving the desired results.
What Is Staining?
Staining is a popular technique used to enhance the appearance of wood surfaces. It involves applying a colored solution to wood to achieve a desired hue and bring out the natural grain of the material. Whether you’re looking to refresh the look of your furniture or add character to your flooring, staining can provide a beautiful, long-lasting finish.
How Does Staining Work?
Staining works by penetrating the pores of the wood and depositing pigments into the surface. The pigments in the stain interact with the natural color of the wood, resulting in a unique shade. The depth of color achieved depends on several factors, including the type of stain used, the number of coats applied, and the duration of the staining process.
Types Of Stain
There are several types of stain available, each with its own unique characteristics and applications:
- Oil-based stain: Oil-based stains are popular for their deep penetration and rich color. They are easy to apply and provide excellent durability. This type of stain is ideal for outdoor applications such as decks and fences, as it offers protection against moisture and UV damage.
- Water-based stain: Water-based stains are known for their fast drying time and low odor. They are also environmentally friendly, making them a popular choice among homeowners. Water-based stains are suitable for interior projects and offer a variety of color options.
- Gel stain: Gel stains have a thicker consistency compared to traditional stains, allowing for better control and less mess during application. They are commonly used on vertical surfaces such as doors and cabinets, as the gel formulation reduces drips and runs.
- Varathane stain: Varathane stains are a type of oil-based stain that offers enhanced color and protection. They are popular for their fast drying time and easy application process. Varathane stains are typically used on furniture and hardwood floors to achieve a rich, professional finish.
When selecting a stain, it’s important to consider factors such as the desired color, the type of wood being stained, and the intended use of the finished product. Consulting with a professional or conducting small test samples can help ensure you choose the right stain for your project.

Exploring The Concept Of Double Staining
Double staining, as the name suggests, is the process of applying a second layer of stain over an already stained surface. While it may seem counterintuitive, double staining offers an intriguing way to enhance the appearance of your wooden furniture or surfaces. In this article, we will delve deeper into the concept of double staining, why you might want to consider it, and the important considerations before diving into this technique.
What Is Double Staining?
Double staining involves applying a second coat of stain over an existing stained surface. Typically, this technique is used when the initial stain has faded, become discolored, or no longer matches your desired aesthetic. By adding a new layer of stain, you can revitalize the appearance of the wood and give it a fresh, updated look. It can also help deepen the color or add new tones to the wood, allowing for a more customized finish.
Why Would You Want To Double Stain?
There are several reasons why you might want to consider double staining. Firstly, if you are looking to change the color of your wood or enhance the current stain, double staining provides an opportunity to achieve the desired look. This technique allows for greater control and precision over the final result, as you can layer stains to create unique shades and tones.
Additionally, by double staining, you can breathe new life into old furniture or surfaces that may have lost their vibrancy over time. Instead of completely refinishing the wood, which can be time-consuming and costly, double staining offers a quicker and more cost-effective solution to rejuvenate your cherished pieces.
Considerations Before Double Staining
Before diving into double staining, it is essential to consider a few factors to ensure the best possible outcome. Firstly, it is crucial to choose the right type of stain for your project. Certain stains may not adhere well to an already stained surface, leading to inconsistent results. It is advisable to test the compatibility of the stains by applying a small amount in an inconspicuous area before proceeding with the full application.
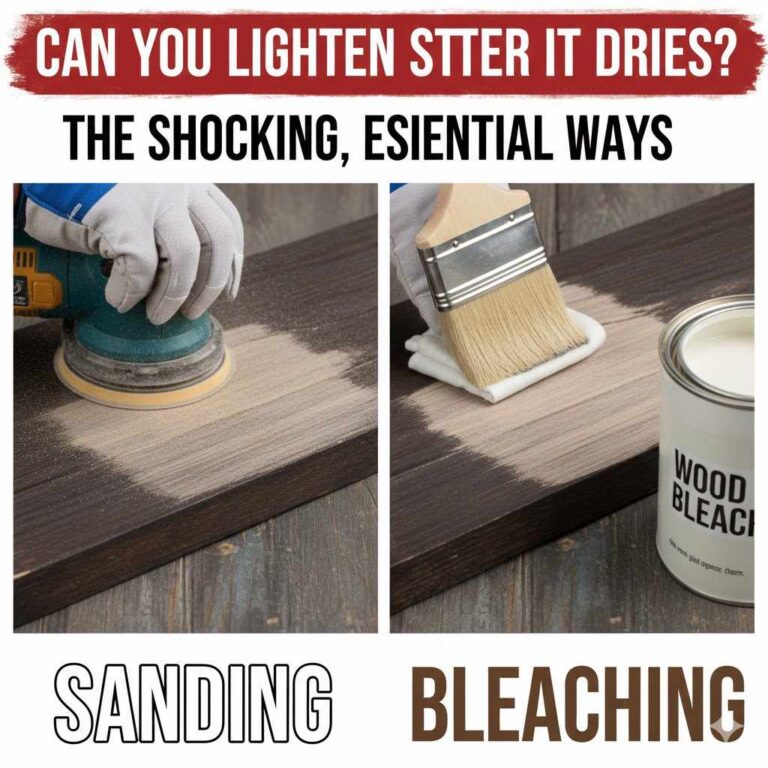
Furthermore, proper preparation is key to achieving a successful double staining project. Ensure the surface is thoroughly cleaned, free from dust, dirt, and any previous finishes. Lightly sanding the existing stain can help create a smoother surface for the new stain to adhere to. Applying a pre-stain wood conditioner can also help improve the color absorption and prevent blotchiness.
Lastly, it is vital to have a clear vision of the desired outcome before double staining. Experimenting with different stain combinations on a scrap piece of wood can help you determine the right colors and techniques to achieve your desired look. Patience and attention to detail are crucial, as the success of double staining often lies in the precision and meticulousness of the application process.
Step-by-step Guide To Double Staining
When it comes to updating the look of your wood furniture, staining can be a great option. But what if you already have a stain on the wood? Can you stain over stain? The answer is yes! By following this step-by-step guide to double staining, you can achieve a beautiful, layered look for your furniture or other wooden surfaces.
Preparing The Surface
Before you begin the double staining process, it’s important to properly prepare the surface. This involves cleaning the wood and removing any existing finish or varnish. Start by wiping the surface with a damp cloth to remove any dirt or debris. If there is a previous stain or varnish, use a sandpaper or paint stripper to strip it away. This will ensure that the new stain adheres properly to the wood.
Applying The First Stain
Now that the surface is prepared, it’s time to apply the first stain. Choose a stain color that complements the existing stain or the desired final look. Using a brush or a clean cloth, apply an even layer of stain to the wood. Work in small sections to ensure that the stain is applied evenly and avoid any overlap or blotches. Allow the first stain to dry completely, following the manufacturer’s instructions.
Drying And Sanding
Once the first stain is dry, it’s important to double-check for any uneven spots or areas that need touch-ups. If necessary, lightly sand the surface with fine-grit sandpaper to smooth out any imperfections and create a smooth base for the second stain. After sanding, wipe away any dust with a clean cloth to prevent it from interfering with the second stain application.
Applying The Second Stain
Now it’s time to apply the second stain. Choose a stain color that complements or enhances the first stain. Using a brush or a clean cloth, apply the second stain in the same manner as the first, working in small sections and ensuring even coverage. Allow the second stain to dry completely, following the manufacturer’s instructions.
Finishing Touches
After the second stain is dry, it’s time to add the finishing touches to your double-stained project. Use a clear protective finish, such as polyurethane or varnish, to seal and protect the wood. Apply the protective finish with a brush or cloth, following the manufacturer’s instructions. Allow the finish to dry completely before using or displaying your newly double-stained piece.
By following this step-by-step guide to double staining, you can achieve a stunning layered look for your wood furniture or other wooden surfaces. Remember to properly prepare the surface, apply the first stain, dry and sand, apply the second stain, and add the finishing touches. With a little patience and attention to detail, you can transform your wood surfaces into beautiful works of art.

Tips And Tricks For Successful Double Staining
Discover effective tips and tricks for successful double staining, including whether you can stain over existing stain. Enhance your woodworking projects with this insightful guide.
Choosing Compatible Stains
When it comes to double staining, choosing compatible stains is crucial for achieving the desired results. Certain types of stains may not adhere well or may react negatively when applied over existing stain. To ensure compatibility, opt for stains that have a similar base, such as water-based stains over existing water-based stains or oil-based stains over oil-based stains. Checking the compatibility guidelines provided by the stain manufacturer can save you from potential disasters.
Testing On A Small Area
Before diving into double staining your entire project, it’s highly recommended to test the new stain on a small, inconspicuous area. This gives you a preview of how the new stain will interact with the existing stain and allows you to adjust the application process or select a different stain if needed. By testing the double stain on a small area, you can avoid any unpleasant surprises and ensure that the final result matches your vision.
Techniques For Achieving Desired Results
Achieving the desired results with double staining requires careful application techniques. Here are a few techniques to consider:
- Proper surface preparation: Ensure that the surface is clean, free from dust or debris, and sanded properly before applying the new stain.
- Uniform application: Apply the new stain in even, smooth strokes to ensure a consistent color without blotches or streaks.
- Layering technique: If you want to create depth or a different color tone, consider applying multiple thin layers of the new stain, allowing each layer to dry thoroughly before applying the next.
- Blending technique: To achieve a seamless blend between the old and new stain, use a blending technique by overlapping the application of the new stain onto the existing stain.
Common Mistakes To Avoid
When double staining, it’s important to avoid common mistakes that can ruin your project. Here are a few mistakes to steer clear of:
- Not properly removing old stain: Failing to remove the old stain completely can interfere with the adhesion of the new stain and result in a patchy or uneven appearance.
- Skipping the compatibility test: Neglecting to test the new stain on a small area can lead to unexpected reactions, such as color variations or the formation of a gummy residue.
- Applying too thick or too thin: Applying the new stain too thickly can result in an uneven or sticky finish, while applying it too thinly may result in a lack of color intensity.
- Not allowing sufficient drying time: Rushing the drying process can compromise the final result, causing the new stain to smudge, peel, or not adhere properly.
Conclusion
To sum it up, staining over stain is indeed possible, provided you follow certain steps and considerations. Remember to thoroughly clean and sand the surface beforehand to ensure proper adhesion. Additionally, choosing a compatible stain color and type can greatly enhance the final outcome.
With careful preparation and the right techniques, you can achieve a beautiful, refreshed look while preserving the integrity of the existing stain. Happy staining!