How Many Coats of Primer on Wood? (2 Is the Rule, Not 1)
Bare wood needs at least 2 coats of primer — a single coat soaks in unevenly on porous grain and leaves patchy spots the topcoat will show through. Previously painted wood that’s clean, sanded, and not still shedding old finish can often get by with 1 coat. This guide covers coats by wood condition, coverage rates by primer type, and how tannin-heavy woods like cedar and knotty pine change the number.
Insert your Affiliate Disclosure reusable block here
How Many Coats Does Bare Wood Need?
Best Wood Primer Pick
Zinsser Bulls Eye 1-2-3 Water-Base Primer – $9.55
A water-based, all-purpose primer that bonds to glossy surfaces without scuff sanding — a solid 2-coat choice for bare softwood or hardwood covered in the sections above.
- Best for: bare softwood/hardwood, general interior and exterior primer jobs
- Why we picked it: fast 1-hour recoat time makes 2-coat jobs a same-day project
- Main drawback: not a true stain blocker for cedar or knotty pine bleed-through
Compare more wood primer options
 Option 1 Zinsser Cover-Stain Primer – $18.48
|
 Option 2 Zinsser Odorless Oil Primer – $21.35
|
 Option 3 Zinsser 1-2-3 Plus Spray – $10.98
|
As an Amazon Associate we earn from qualifying purchases.
Bare, unfinished wood always needs a minimum of 2 primer coats. Wood grain absorbs primer unevenly — end grain and softer earlywood soak up far more liquid than dense latewood, so a single coat dries blotchy with thin spots. The second coat evens that absorption out and gives the topcoat a uniform surface to bond to.
- Softwoods (pine, fir, spruce): 2 coats minimum — these absorb the most and show blotching fastest without a second coat.
- Hardwoods (oak, maple, birch): 2 coats recommended; the wood is denser but the goal is still an even film, not just coverage.
- MDF and engineered wood: 2–3 coats of an oil-based primer — water-based primer raises MDF’s wood fibers and roughens the surface.
How Many Coats for Previously Painted Wood?
Previously painted wood can often get by with 1 coat of primer, but only if the surface is clean, degreased, and lightly sanded so the new primer has something to grip. If the old finish is glossy, chalky, peeling, or you’re switching from oil-based to water-based paint, apply 2 coats — the first coat is doing adhesion work, not just coverage.
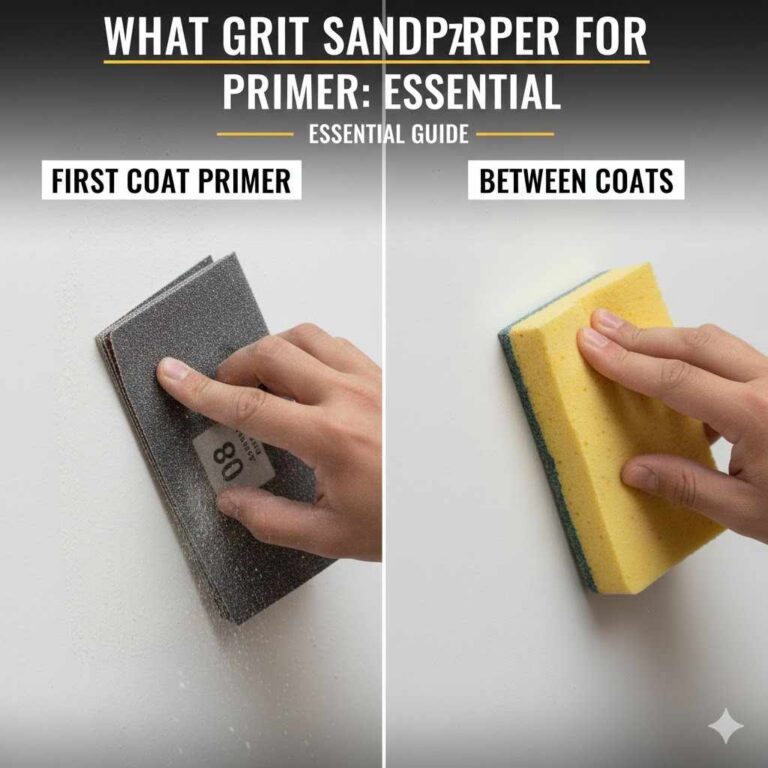
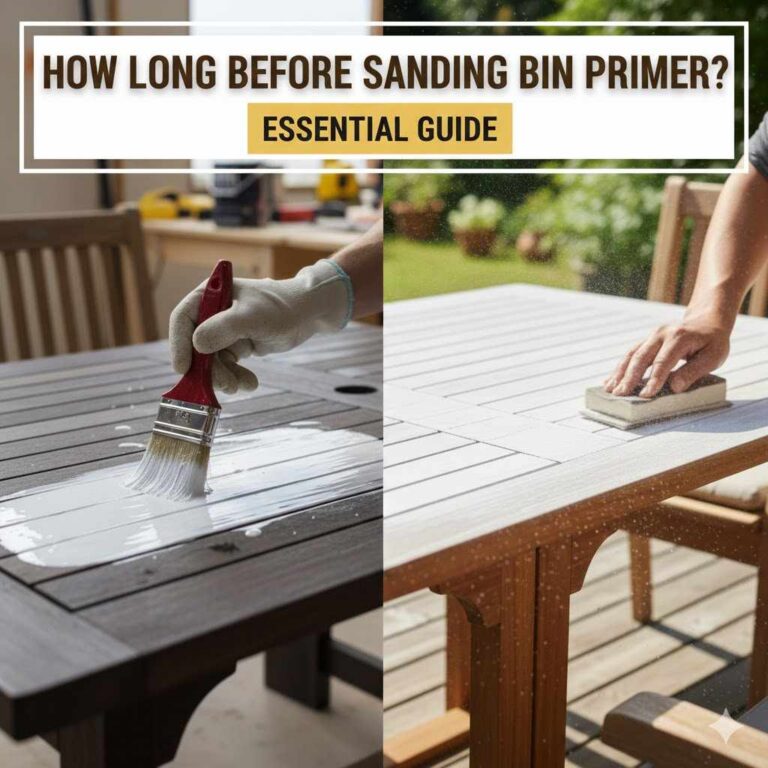
Sanding between primer coats isn’t structurally required — a second coat will bond to a dry first coat either way — but a light pass with 220-grit sandpaper knocks down raised grain and brush marks, which matters most on furniture, trim, and cabinet doors where the finish is seen up close.
Primer Coats for Cedar, Redwood, and Knotty Pine
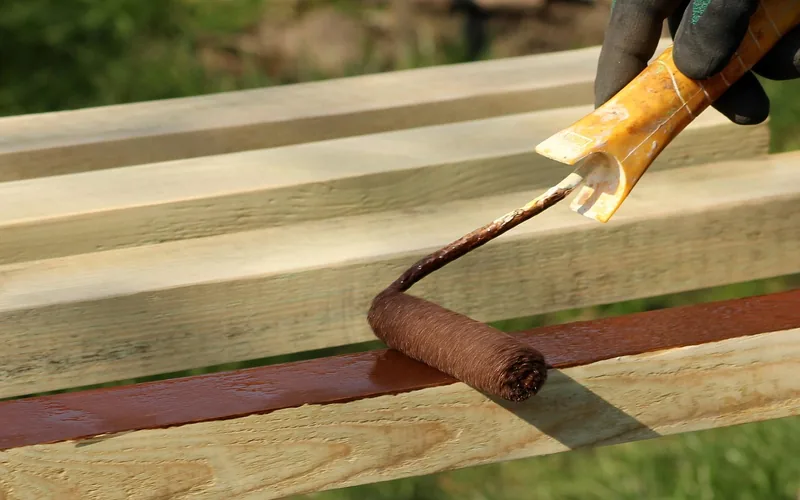
Tannin bleed is a reddish-brown or yellow stain that migrates up through paint from wood’s natural extractives. Cedar and redwood are the worst offenders because of their high tannin content; pine is more prone to sap and resin bleeding from knots specifically. Both need at least 2 coats of a genuine stain-blocking primer — a standard all-purpose primer will not stop it.
- Cedar and redwood: 2 coats of an oil-based or shellac-based stain-blocking primer, letting each coat dry fully (not just to the touch) before recoating.
- Knotty pine: spot-prime each knot with a shellac-based sealer first — acrylic stain blockers alone often don’t stop sap bleeding from the knot itself — then apply 2 full coats over the whole board.
How Much Primer Do You Need? (Coverage Rates)
Coverage depends on the primer’s formula and how porous the wood surface is — rougher, more porous wood always uses more primer per gallon than a smooth, planed board.
| Primer type | Coverage (smooth wood) | Coverage (rough/porous wood) |
|---|---|---|
| Zinsser Cover-Stain (oil-based) | ~400 sq ft/gal | 200–300 sq ft/gal |
| Kilz all-purpose (water & oil) | 300–400 sq ft/gal | 200–300 sq ft/gal |
| General exterior wood primer | 300–400 sq ft/gal | 200–300 sq ft/gal (cedar shake, rough-sawn) |
For 2 coats on a smooth 100 sq ft surface, budget roughly half a gallon to a full gallon of primer — buy the larger can if the wood is rough-sawn, weathered, or heavily porous, since coverage can drop by a third on those surfaces. Still deciding which primer to buy? See our full best wood primer comparison for picks by budget and job size.
How to Apply Primer Coats on Wood
- Clean the surface: Wipe off dust, grease, and sanding residue with a tack cloth or damp rag.
- Sand for adhesion: Sand the wood with fine-grit paper to open the grain and remove any glossy old finish.
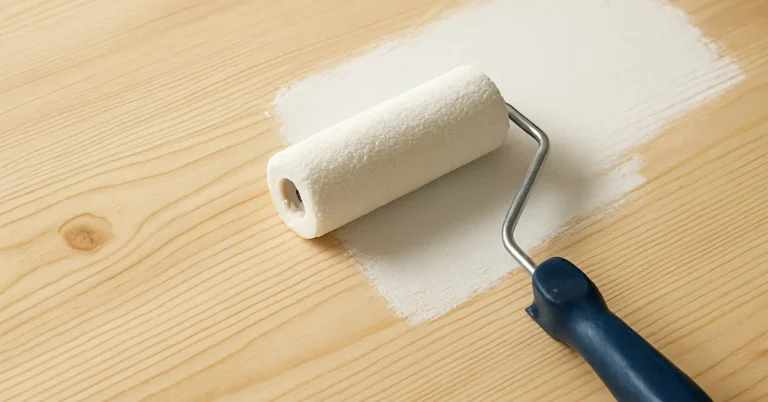
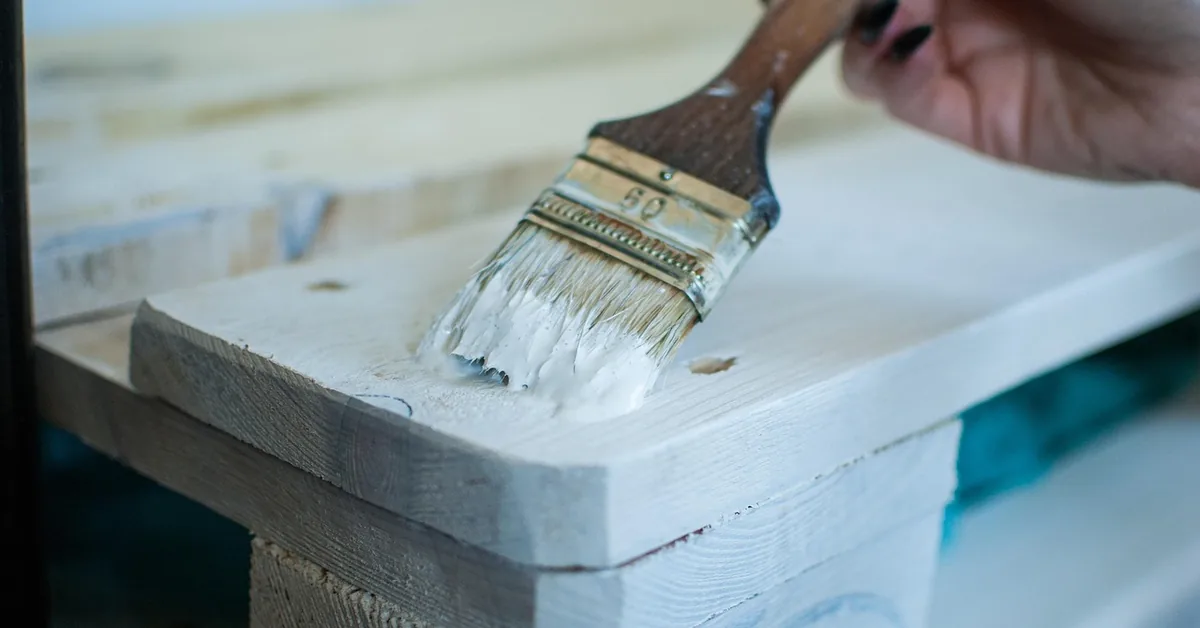
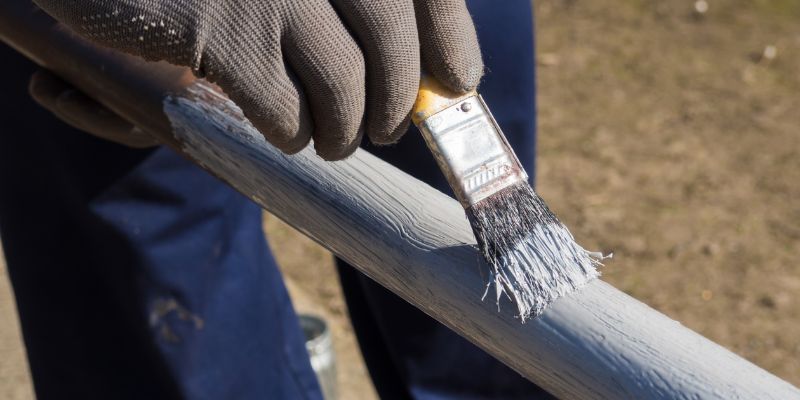
- Apply the first coat: Brush or roll on a thin, even coat — thick coats sag, drip, and dry unevenly.
- Let it dry fully: Oil-based primer needs 12–24 hours; water-based needs 1–2 hours. Don’t rush this — recoating too soon traps solvent under the second coat.
- Sand lightly (optional): A light pass with 220-grit paper knocks down raised grain before the second coat, especially on furniture and trim.
- Apply the second coat: Cover any spots still showing bare wood or old-finish color.
- Check coverage: Hold the surface at an angle to the light — any dull, absorbent patches mean a third spot-coat is needed before you paint.
Common Mistakes That Waste Primer Coats
- Skipping to 1 coat on bare wood to save time: the blotching shows through the topcoat and you end up stripping and starting over.
- Using an all-purpose primer on cedar or knotty pine: tannins and sap bleed through within weeks without a real stain-blocking formula.
- Applying primer too thick: thick coats trap solvent, wrinkle, and take days longer to cure than two thin coats would.
- Skipping the dry-time between coats: recoating a tacky first coat lifts it and creates soft spots under the topcoat.
How many coats of primer should you put on new, bare wood?
Yes, plan on 2 coats for new, bare wood. A single coat almost always dries with visible thin spots because porous grain absorbs primer unevenly — the second coat is what levels that out into a uniform surface for paint.
Is one coat of primer enough on exposed timber?
No, one coat is rarely enough on exposed, weathered timber. Weathered wood is more porous than fresh-cut lumber, so it absorbs primer even less evenly — use 2 full coats and expect coverage to run lower than the can states.
How many coats of grey (tinted) primer on wood?
The same rule applies regardless of tint: 2 coats on bare wood. Tinted primer just makes it easier to see missed spots, since a thin first coat lets the wood color show through the grey. If you’re using untinted white primer instead, the same 2-coat minimum still applies — tint only affects visibility of missed spots, not coverage.
What’s the real coverage of wood primer per gallon?
Most wood primers cover 300–400 square feet per gallon on smooth, planed wood, dropping to 200–300 square feet per gallon on rough-sawn, weathered, or highly porous surfaces like cedar shake.
Do you need to sand between primer coats?
Not structurally — a second coat bonds fine to a dry first coat without sanding. But a light 220-grit pass smooths raised grain and brush marks, which is worth doing on furniture, cabinet doors, and trim where the finish is seen up close.
“A single coat of primer on porous, bare wood almost always dries patchy — a second coat is what gives you an even base, not just extra thickness.”
The number of primer coats you need comes down to two things: how porous the wood is, and whether it’s bleeding tannins or sap. Bare or weathered wood always gets 2 coats; clean, sanded, previously painted wood can sometimes get by with 1. Cedar, redwood, and knotty pine need a real stain-blocking primer and 2 full coats regardless of condition. Check the coverage rate on your specific can before buying, since porous and rough-sawn wood eats through primer faster than the label suggests.
Sponsored / affiliate links. As an Amazon Associate I earn from qualifying purchases. I may earn additional commission from eligible campaigns.