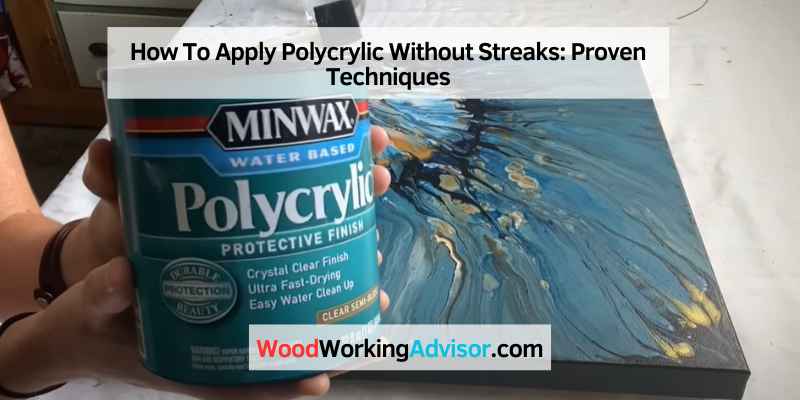
How To Apply Polycrylic Without Streaks: Proven Techniques
To apply polycrylic without streaks, ensure a smooth application by using even brush strokes and a high-quality brush.
Preparation
Achieve a streak-free finish when applying Polycrylic with these easy steps, ensuring a flawless outcome every time. Follow these guidelines to prevent streaks and create a smooth, professional look.
Cleaning The Surface
Before applying polycrylic, it’s crucial to start with a clean surface. This will ensure that the polycrylic adheres properly and minimizes the risk of streaks or imperfections in the finish. Use a mild detergent and warm water to clean the surface, and then rinse it thoroughly. Make sure to remove any dust, dirt, or grease that may be present. Allow the surface to dry completely before proceeding with the next step.

Choosing The Right Tools And Materials
Achieve a streak-free finish when applying polycrylic by selecting the right tools and materials for the job. With careful consideration and proper application techniques, you can achieve a flawless result without any unwanted streaks.
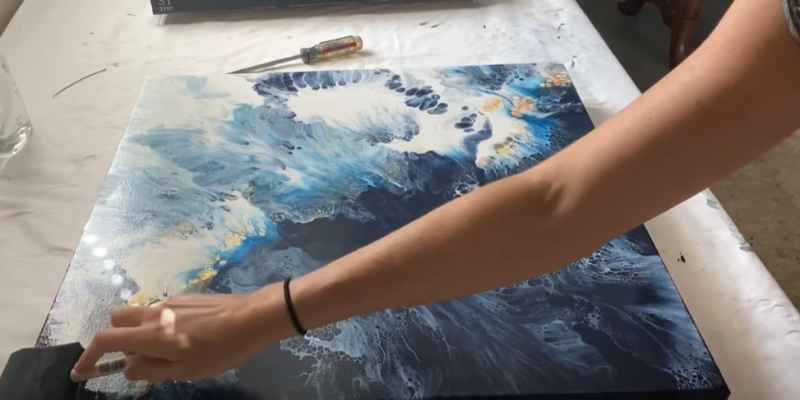
Choosing the right tools and materials is crucial when it comes to applying polycrylic without streaks. By selecting high-quality polycrylic and using the right brush or roller, you can achieve a smooth and flawless finish that enhances the appearance of your woodwork. In this section, we will discuss how to select a high-quality polycrylic and the importance of using the right brush or roller for your application.
Selecting A High-quality Polycrylic
When selecting a high-quality polycrylic, it’s important to consider several factors. First, look for a brand that is known for producing reliable and durable products. Reading customer reviews can also be helpful in determining the quality of a specific product.
Next, consider the finish you desire for your woodwork. Polycrylic is available in different sheens, such as gloss, semi-gloss, and satin. Choose a sheen that matches your preference and complements the overall aesthetic of your project.
Additionally, check the label for important information such as the recommended drying times, coverage area, and any special instructions. Following these guidelines will help ensure that you achieve the best possible results.
Using The Right Brush Or Roller
The brush or roller you use plays a crucial role in achieving a streak-free finish when applying polycrylic. Here are some tips for selecting the right tools:
1. Brushes:
– Use a high-quality synthetic bristle brush specifically designed for applying water-based finishes.
– Look for a brush with fine bristles to minimize the chances of leaving visible brush strokes.
– Consider the size of the brush, selecting one that suits the size of your project for more precise application.
2. Rollers:
– If you prefer using a roller, choose a high-density foam roller designed for smooth finishes.
– Look for a roller with a short nap to minimize the texture left on the surface.
– Use a roller frame that is compatible with the roller sleeve to ensure ease of use and stability during application.
Remember to clean your brushes or rollers thoroughly before using them with polycrylic to remove any residual debris or old paint. This will help prevent any unwanted particles from getting trapped in the finish.
Following these tips for selecting the right polycrylic and using the appropriate tools will help you achieve a streak-free and professional-looking finish. Now that you have the right tools and materials, let’s move on to the next section, where we will discuss the steps for applying polycrylic without streaks.
Applying The Polycrylic
Applying polycrylic to your project is a crucial step in achieving a smooth and streak-free finish. By following the right techniques and using the proper tools, you can ensure a professional-looking result. In this section, we will discuss three key aspects of applying polycrylic without streaks: applying thin and even coats, using proper brushing techniques, and avoiding overworking the surface.
Applying Thin And Even Coats
One of the most important factors in achieving a streak-free finish with polycrylic is to apply thin and even coats. Thick coats can create uneven drying, leading to streaks and bubbles. To ensure an even application, follow these steps:
- Prepare the surface: Before applying polycrylic, make sure the surface is clean and free of dust and debris. Sanding the surface with fine-grit sandpaper can also help create a smooth base for the polycrylic.
- Use a high-quality brush: Invest in a good quality brush specially designed for applying water-based finishes. A brush with synthetic bristles will provide better control and a smoother application.
- Apply thin coats: Dip the brush into the polycrylic and remove any excess by gently tapping it on the side of the container. Apply the polycrylic using long, even strokes, working in the direction of the wood grain. Avoid overloading the brush with polycrylic, as this can result in drips and streaks.
- Allow drying time: Let each coat dry completely before applying the next one. Follow the manufacturer’s instructions for drying times, as they can vary depending on the temperature and humidity of your environment.
Using Proper Brushing Techniques
The way you handle your brush can greatly affect the outcome of your polycrylic application. Use the following tips to ensure a streak-free finish:
- Hold the brush correctly: Hold the brush near the base of the handle, using a relaxed grip. This will give you better control and prevent excessive pressure on the brush, which can lead to streaks.
- Brush in one direction: Always brush in the direction of the wood grain. This will help prevent brush marks and enhance the overall appearance of the finish.
- Blend the strokes: After applying the polycrylic with long, even strokes, lightly brush over the surface in the same direction to blend any visible brush marks.
Avoiding Overworking The Surface
Overworking the surface is a common mistake that can lead to streaks and unevenness in the polycrylic finish. To avoid this, keep the following points in mind:
- Work in small sections: Divide your project into smaller sections and focus on one area at a time. Applying polycrylic to large surfaces all at once can increase the chances of streaks and drying inconsistencies.
- Avoid excessive brushing: Once you have applied the desired amount of polycrylic to an area, resist the temptation to keep brushing over it. Overworking the surface can disrupt the drying process and result in streaks.
- Minimize dust: Dust particles can easily settle on the wet polycrylic, creating imperfections. Keep your work area clean and dust-free to prevent these unwanted particles from ruining your finish.
Drying And Sanding Between Coats
Ensuring proper drying and sanding between coats is crucial to achieve a smooth and streak-free finish when applying polycrylic. Allowing sufficient drying time and sanding the surface between coats helps to eliminate any imperfections and promotes better adhesion for subsequent layers.
Allowing Sufficient Drying Time
Patience is key when it comes to applying polycrylic without streaks. After each coat, it is important to allow sufficient drying time before applying the next layer. This will prevent any tackiness or smudging, ensuring a flawless result.
While the exact drying time may vary depending on environmental conditions, it is generally recommended to wait at least 2 to 4 hours before sanding or applying another coat of polycrylic. Remember to always check the manufacturer’s instructions for specific drying times.
Sanding The Surface Between Coats
In addition to drying time, sanding the surface between coats is vital to achieve a smooth and even finish. This process removes any imperfections such as brush strokes, dust particles, or raised wood grain, resulting in a flawless application.
Before sanding, make sure the previous coat of polycrylic is completely dry. Using fine-grit sandpaper (220 grit), gently sand the entire surface in a circular motion. This will create a smooth texture and promote better adhesion for the next coat.
After sanding, wipe away any dust using a clean, lint-free cloth or a tack cloth. This will ensure a clean surface for the next coat of polycrylic. Avoid applying excessive pressure while sanding as it can damage the previous coat and create unevenness.
Remember to always apply multiple thin coats rather than one thick coat. This not only allows for better control and even application but also reduces the chances of streaks or brush marks. By following these steps and allowing sufficient drying time, you can achieve a streak-free and professional-looking finish when applying polycrylic.
Troubleshooting And Tips
Applying polycrylic to your project can give it a beautiful, protective finish. However, sometimes you may encounter streaks or bubbles that can mar the final result. Don’t worry, though – we’ve got some troubleshooting tips to help you achieve a flawless finish!
Fixing Streaks Or Bubbles
If you notice streaks or bubbles in your polycrylic finish, don’t panic. Here are a few remedies to get that smooth, streak-free surface you desire:
- Lightly sand the affected area: Using a fine-grit sandpaper, gently sand the surface to remove the streaks or bubbles. Be careful not to sand too much, as this can damage the underlying surface.
- Apply additional coats: Sometimes, applying another coat of polycrylic can help blend in any streaks or bubbles, giving you a more even finish. Make sure to follow the proper drying time between coats.
- Use a foam brush: Foam brushes are great for applying polycrylic as they help minimize streaks and bubbles. Dip the foam brush into the polycrylic and apply thin and even coats, using long, smooth strokes.
- Work in a well-ventilated area: Lack of proper ventilation can cause streaks and bubbles to form. Ensure that your workspace is well-ventilated to allow the polycrylic to dry properly.
Applying Additional Coats If Needed
If you find that one coat of polycrylic is not sufficient for the desired level of protection and sheen, you can apply additional coats. Follow these tips for a successful application:
- Sand between coats: Before applying another coat, lightly sand the previous coat to create a smooth surface for the new layer to adhere to. This will help ensure a professional finish.
- Watch for drips: When applying multiple coats, be mindful of any drips or excess polycrylic that may accumulate. Smooth them out with a brush or cloth before they dry to avoid blemishes in the final finish.
- Allow proper drying time: Each coat of polycrylic needs sufficient drying time. Check the product instructions for the recommended time between coats. Rushing the process may result in streaks or a tacky surface.
Maintaining The Finished Surface
To maintain the beauty and longevity of your polycrylic finish, follow these tips:
- Clean gently: Use a soft, lint-free cloth to wipe the surface clean. Avoid using abrasive cleaners or rough materials that can scratch the finish.
- Avoid heat and moisture: Protect your polycrylic finish from extreme temperatures and excessive moisture. Use trivets or coasters to prevent heat and liquid damage.
- Re-apply if necessary: Over time, the polycrylic finish may wear off or become dull. If necessary, you can re-apply the product following the same application steps.
Conclusion
Achieving a streak-free finish when applying polycrylic requires careful preparation, application techniques, and attention to detail. By following the steps outlined in this guide, you can ensure a smooth and flawless result. Remember to apply thin coats, sand between layers, and use quality brushes or foam applicators.
With practice and patience, you can master the art of applying polycrylic without streaks, enhancing the beauty and longevity of your projects.