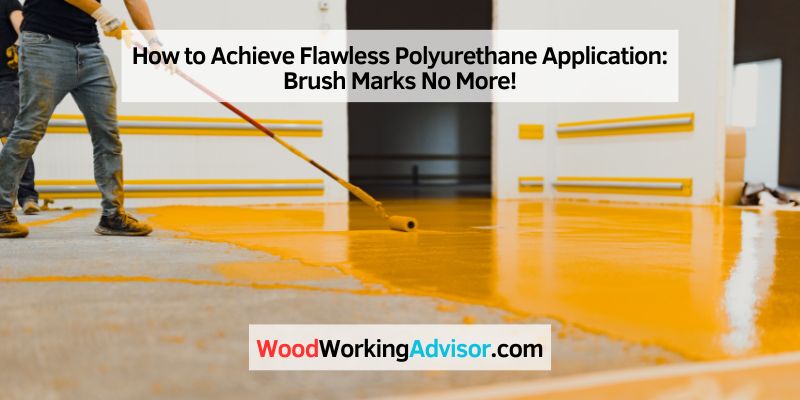
How to Achieve Flawless Polyurethane Application: Brush Marks No More!
To apply polyurethane without brush marks, lightly sand the surface, use a high-quality brush, and apply thin coats with long, smooth brush strokes. This ensures a smooth and even finish.
Want to achieve a flawless finish when applying polyurethane? Follow these simple steps for a brush mark-free surface.
Choosing The Right Brush
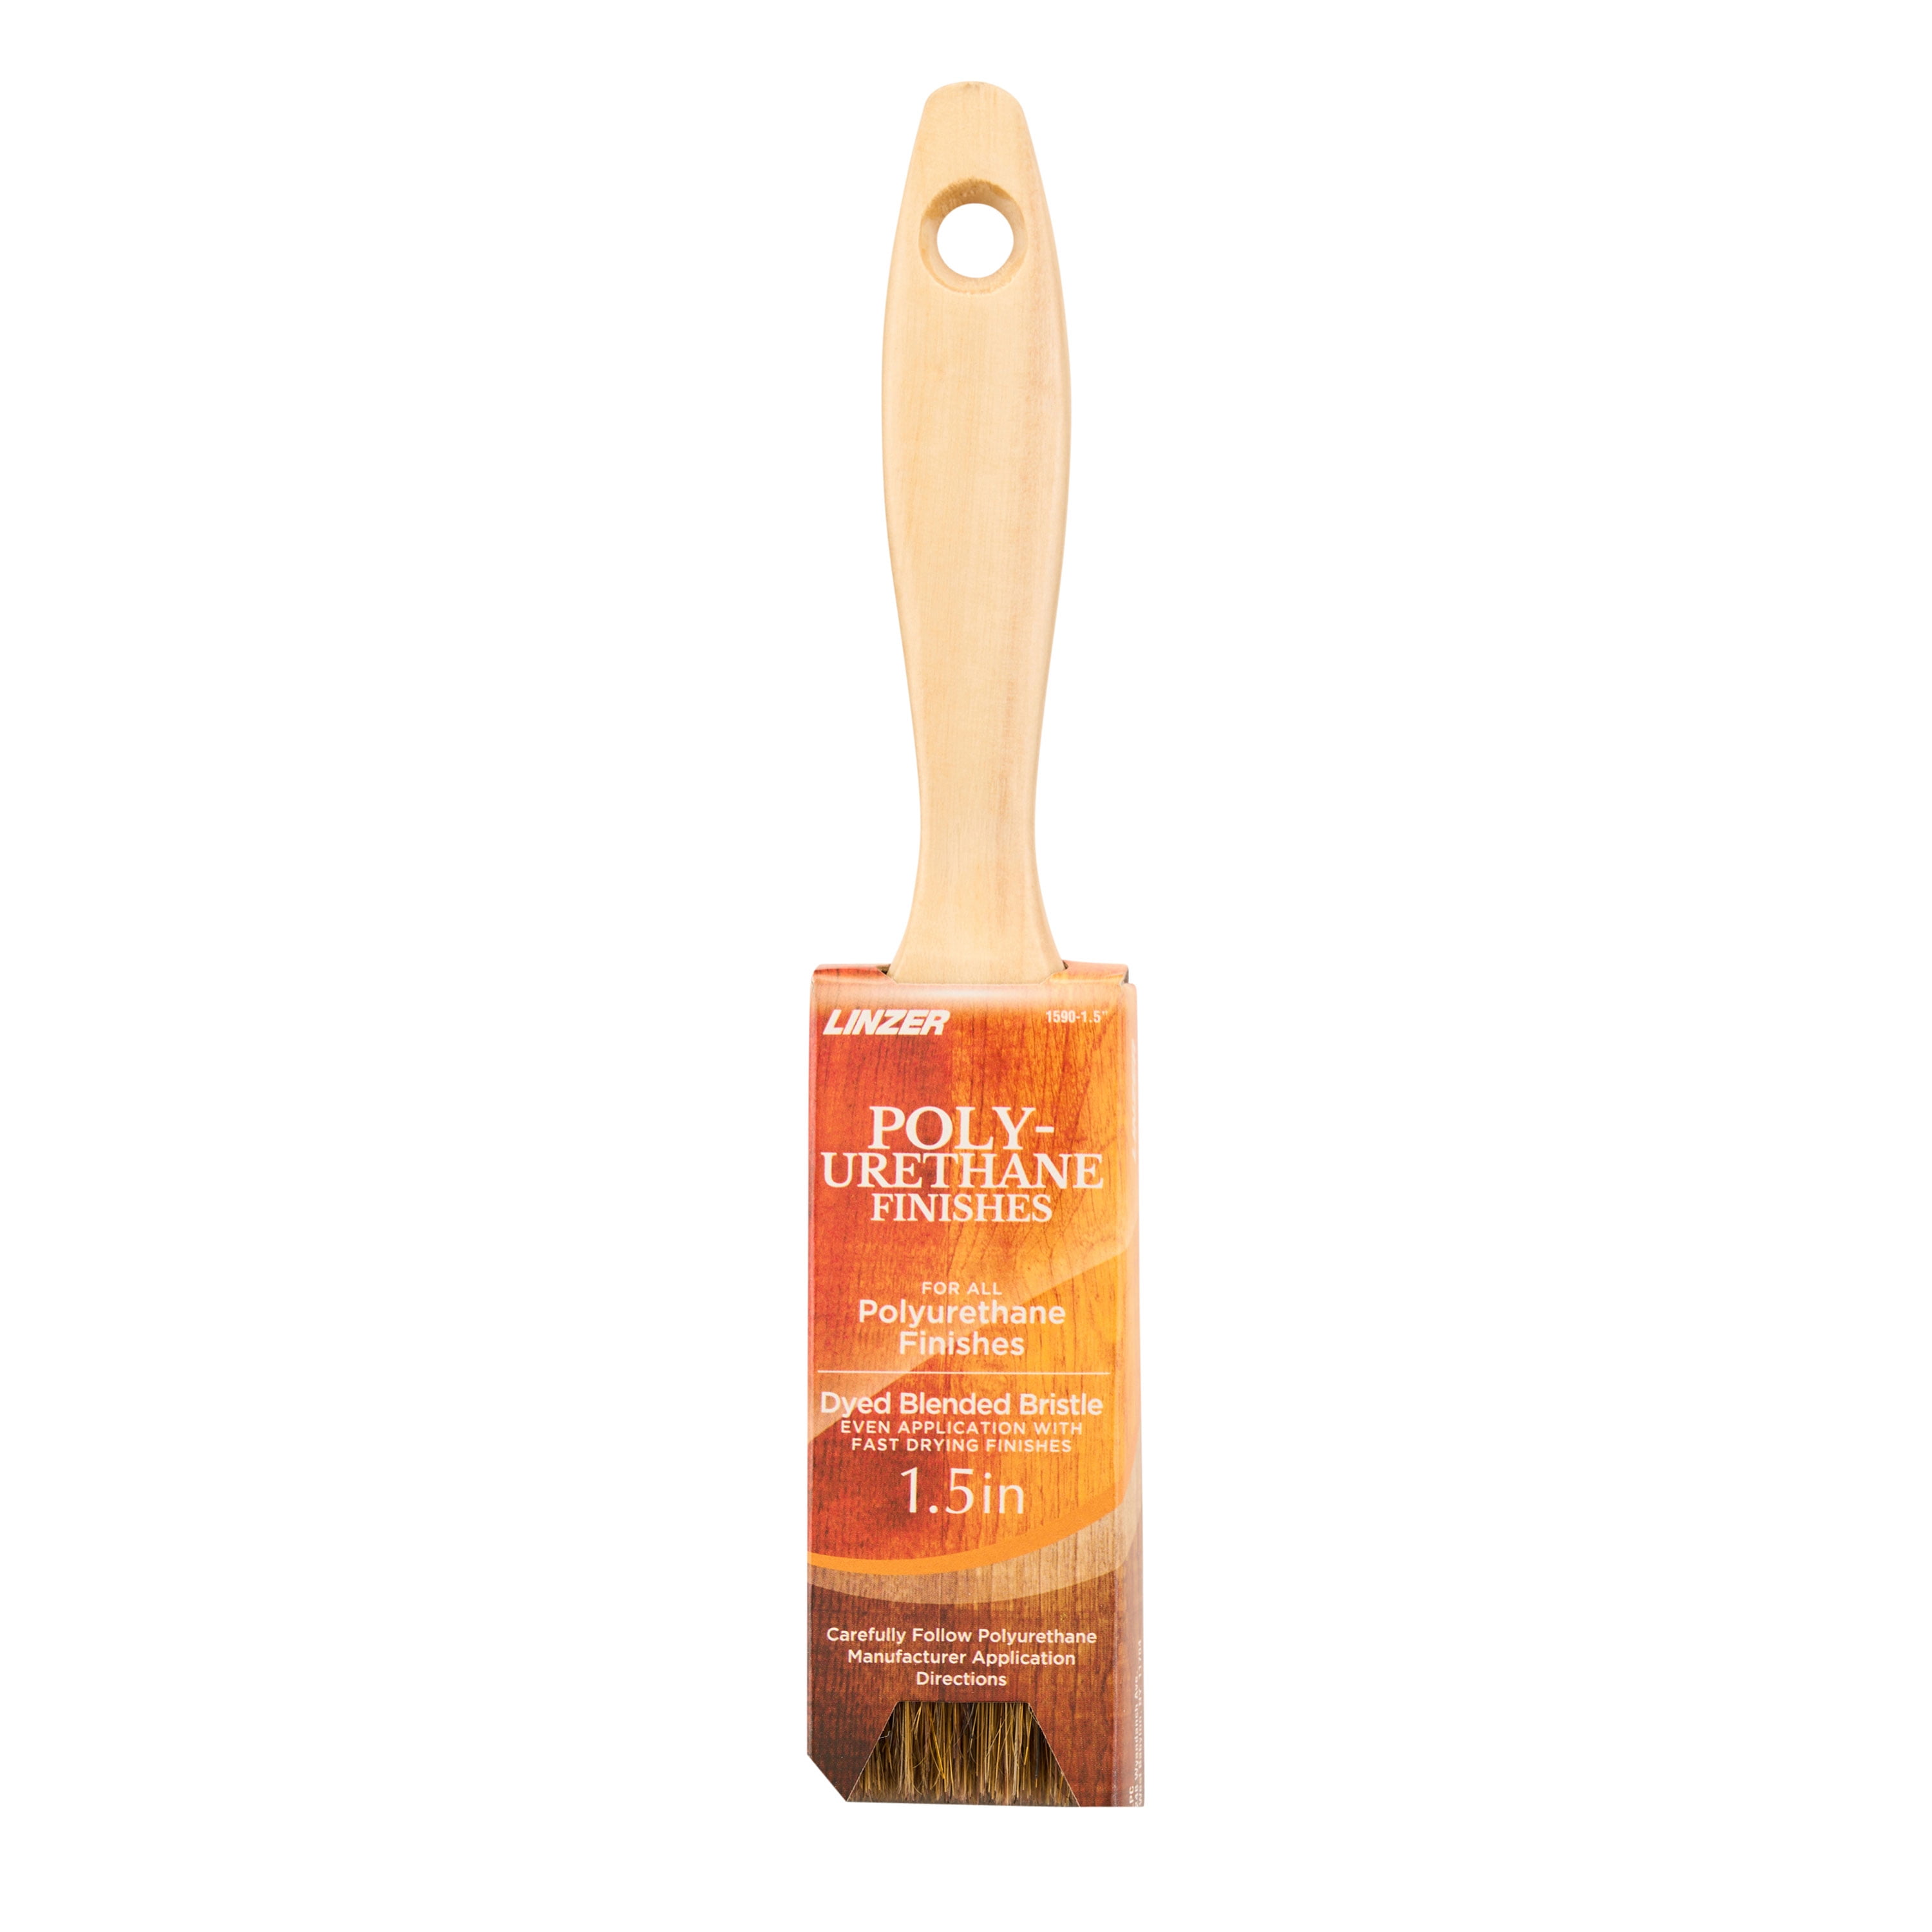
Achieving a flawless polyurethane finish without brush marks is possible with the right brush. Opt for a high-quality synthetic brush to minimize marks. Selecting a brush designed for smooth application helps ensure a professional, streak-free finish.
Consider The Bristle Material
When it comes to choosing the right brush for applying polyurethane without brush marks, considering the bristle material is essential. There are two main types of bristle materials to choose from – natural bristles and synthetic bristles.
Natural bristles, typically made from animal hair such as hog hair or ox hair, are known for their ability to hold more paint or polyurethane. They are best suited for oil-based products and can provide smooth, even finishes. On the other hand, synthetic bristles, usually made from nylon or polyester, are more suitable for water-based finishes. They are durable, do not typically shed, and perform well with latex and acrylic-based products.
Considering the type of polyurethane finish you will be working with, and the compatibility with either natural or synthetic bristles, will help you select the appropriate brush for your project.
Select The Appropriate Brush Size
Another important factor in applying polyurethane without brush marks is selecting the appropriate brush size. The brush size you choose should match the size of the surface you will be working on.
For smaller surfaces or intricate details, a smaller brush with a width of 2 to 2.5 inches would be ideal. This allows for better control and precision while applying the polyurethane. On the other hand, for larger surfaces such as floors or tabletops, a wider brush with a width of 3 inches or more would be more efficient to cover a larger area.
Ensuring the brush size is appropriate for the surface will help you achieve a smoother application and reduce the chances of brush marks.
Tables:
| Surface Size | Recommended Brush Size |
|---|---|
| Smaller surfaces or intricate details | 2 to 2.5 inches |
| Larger surfaces such as floors or tabletops | 3 inches or more |

Credit: www.amazon.com
Preparing The Surface
Before applying polyurethane, it’s crucial to prepare the surface properly. By taking the time to sand and clean, and possibly use a primer, you can achieve a smooth and flawless finish without any brush marks. Let’s dive into the details of each step:
Sanding And Cleaning The Surface
Sanding the surface is an essential step to ensure an even and uniform finish. Start by using fine-grit sandpaper, around 220 grit, to smooth out any imperfections or rough spots. Gently sand the entire surface in the direction of the wood grain, being careful not to apply too much pressure.
Once the sanding is complete, it’s crucial to clean the surface to remove any dust or debris. Use a tack cloth, which is designed to pick up fine particles and leave the surface clean. Run the tack cloth over the entire surface, making sure to reach all corners and edges. This step is vital to achieving a flawless finish without any unwanted particles.
Using A Primer If Needed
In some cases, applying a primer can further enhance the adhesion of the polyurethane and reduce the chances of brush marks. Primers fill in any imperfections and create a smooth and even surface for the polyurethane to adhere to.
Before applying the primer, make sure to read and follow the manufacturer’s instructions. Some primers may require sanding after application, while others can be applied directly. Use a brush or roller to evenly apply the primer, covering the entire surface.
If you’re not sure whether a primer is necessary for your project, it’s always a good idea to test a small inconspicuous area first. This way, you can assess the results and determine whether the primer will improve the final outcome.
Mastering The Application Technique
Applying The Polyurethane In Thin Layers
When applying polyurethane, it’s crucial to work in thin layers to achieve a smooth and brush-mark-free finish. Thick layers can lead to uneven coating and visible brush marks. To ensure the best results, apply the first coat thinly, and gradually build up additional layers as needed, allowing each layer to dry completely before applying the next. This method reduces the risk of brush marks and promotes a professional-looking finish.
Using The Correct Brushing Technique
Choosing the right brushing technique plays a vital role in achieving a flawless polyurethane application. Opt for a high-quality bristle brush to ensure smooth and even coverage. The correct brush strokes are essential – always apply the polyurethane with the grain of the wood, using long, even strokes to prevent streaks and visible lines. Additionally, be mindful of the pressure applied, as excessive pressure can lead to streaks and brush marks.
Handling Drying And Curing
Learn how to apply polyurethane without brush marks with these easy tips for handling drying and curing. Achieve a flawless finish by following these expert guidelines that will help you avoid brush marks and achieve a smooth, professional look.
Drying and curing are critical steps in the process of applying polyurethane without brush marks. By understanding and following proper drying and curing techniques, you can achieve a smooth and flawless finish on your project. Let’s dive into two important aspects to consider when handling drying and curing: allowing sufficient drying time between coats and understanding the curing process.
Allowing Sufficient Drying Time Between Coats
To avoid brush marks and ensure a professional-looking finish, it’s essential to allow sufficient drying time between each coat of polyurethane. Rushing this process can cause the layers to become uneven, resulting in visible brush strokes and imperfections. Here are some guidelines to properly space out your coats:
- Refer to the manufacturer’s instructions for recommended drying times.
- Avoid adding additional coats of polyurethane until the previous coat is completely dry. This not only prevents brush marks but also ensures proper adhesion between layers.
- Factors such as temperature and humidity can affect drying times. In humid environments, it may be necessary to allow for longer drying times.
By patiently allowing each coat to dry fully, you can achieve a smooth and flawless finish without any visible brush marks.
Understanding The Curing Process
Curing is the final stage of the drying process and involves the chemical reaction that transforms the polyurethane from a liquid to a solid state. Proper understanding of the curing process is crucial to achieving the desired results. Here are some factors to consider:
| Factors | Explanation |
|---|---|
| Time | Allow sufficient time for the polyurethane to fully cure. This may take anywhere from 24 to 48 hours, depending on the product and environmental conditions. |
| Temperature | The curing process is affected by temperature. Warmer temperatures help expedite the curing process, while cooler temperatures can slow it down. Aim for an environment with moderate temperatures for optimal results. |
| Ventilation | Good airflow is important during the curing process as it helps the polyurethane cure evenly. Ensure proper ventilation in the area, but avoid excessive drafts that could disturb the drying process. |
Understanding these factors and following the recommended guidelines for curing will help you achieve a smooth and flawless finish on your project.
Troubleshooting And Refinishing
When it comes to applying polyurethane, achieving a smooth and flawless finish can be a challenge. Brush marks and imperfections can mar the surface, leaving behind a less-than-desirable result. However, with the right techniques and a little bit of patience, you can troubleshoot these issues and ensure a perfect outcome. In this article, we will explore how to address brush marks and imperfections, as well as refinishing tips for achieving a flawless finish.
Addressing Brush Marks And Imperfections
Brush marks can occur when applying polyurethane, resulting in a streaky or uneven finish. Fortunately, there are several steps you can take to minimize and address these brush marks.
- Choose the right brush : Opt for a high-quality, synthetic brush specifically designed for polyurethane application. This will help to reduce the likelihood of leaving brush marks behind.
- Sand between coats: Before applying a new coat of polyurethane, lightly sand the surface with fine-grit sandpaper. This will help to smooth out any imperfections and create a better surface for the next coat. Be sure to wipe away any dust before applying the next coat.
- Apply thin coats: Instead of applying one thick coat of polyurethane, it’s better to apply multiple thin coats. This will allow each coat to dry more evenly and reduce the chances of brush marks.
- Feather out brush strokes: As you apply the polyurethane, feather out your brush strokes in one smooth motion. This will help to create a more uniform finish and minimize visible brush marks.
- Use a foam brush or pad: If you’re still struggling with brush marks, consider using a foam brush or pad instead of a traditional brush. Foam applicators tend to leave behind fewer brush marks and can result in a smoother finish.
Refinishing For A Flawless Outcome
If you’ve already applied polyurethane and are unhappy with the finish, don’t worry! There are steps you can take to refinish and achieve a flawless outcome.
- Remove the old finish: If the existing polyurethane finish has brush marks or imperfections, you’ll need to remove it before refinishing. Use a chemical stripper or sandpaper to strip away the old finish, making sure to follow the instructions carefully.
- Sand the surface: Once the old finish is removed, sand the surface to create a smooth and even base. Start with rough-grit sandpaper and gradually move to finer grits for a polished result.
- Apply a new coat: After sanding, wipe away any dust and apply a new coat of polyurethane. Use the same techniques mentioned earlier, such as applying thin coats and feathering out brush strokes, to achieve a flawless finish.
- Sand between coats: Just like before, lightly sand between each coat of polyurethane to remove any imperfections and ensure a smooth surface for the next coat.
- Finish with a topcoat: To further enhance the durability and beauty of your polyurethane finish, consider applying a topcoat. This can provide an added layer of protection against scratches and wear.
By following these troubleshooting and refinishing tips, you can effectively address brush marks and imperfections, as well as achieve a flawless outcome when applying polyurethane. With a little know-how and practice, you’ll be able to create stunning, professional-looking finishes that enhance the beauty of your woodworking projects.
Credit: www.walmart.com
Frequently Asked Questions Of How To Apply Polyurethane Without Brush Marks
How Do You Prevent Brush Marks On Polyurethane?
To prevent brush marks on polyurethane, follow these steps:
1. Use a high-quality brush with fine bristles.
2. Apply thin coats of polyurethane and sand lightly between each coat.
3. Brush in the direction of the wood grain.
4. Avoid overworking the brush or applying too much pressure.
5. Allow proper drying time between coats.
How Do I Get A Smooth Finish With Polyurethane?
To achieve a smooth polyurethane finish, sand the surface between coats with fine-grit sandpaper. Apply thin, even layers. Use a high-quality brush or applicator to minimize brush marks. Avoid overworking the polyurethane to prevent bubbles and streaks. Finally, allow ample drying and curing time for a flawless finish.
What Is The Best Method To Apply Polyurethane?
The best method to apply polyurethane is to start with clean, sanded surfaces. Use a high-quality brush and apply thin coats, allowing each coat to dry completely. Sand the surface lightly between coats for a smooth finish.
How Do You Get Streak-Free Polyurethane Finish?
To achieve a streak-free polyurethane finish, follow these steps:
1. Thoroughly clean the surface before applying polyurethane.
2. Use a high-quality brush or applicator to evenly distribute the polyurethane.
3. Apply thin coats, allowing each coat to dry completely before adding another.
4. Sand lightly between coats to smooth out imperfections.
5. Work in a well-ventilated area to prevent dust and debris from settling on the wet finish.
Conclusion
Applying polyurethane without brush marks is achievable with the right techniques and careful attention to detail. By following the steps outlined in this guide, you can achieve a smooth and professional finish on your woodworking projects. Remember to take your time and ensure proper preparation for the best results.
With practice and patience, you’ll master this skill in no time.